Installing and configuring ClamAV
Instructions for installing and configuring ClamAV antivirus for Linux
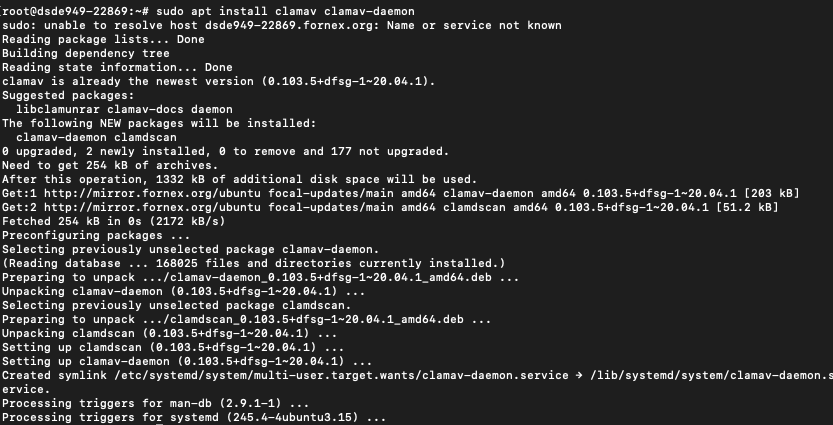
Installing Clamav antivirus is very simple:
Debian and Ubuntu:
sudo apt install clamav clamav-daemon
After installation, you need to set up automatic antivirus database updates and regular disk system scans In order to update the anti-virus database you should first stop the automatic database update service:
sudo systemctl stop clamav-freshclam
Then enter the following command in the terminal:
sudo freshclam

Next, run the automatic update command again:
sudo systemctl start clamav-freshclam
You can also update the virus databases manually. To do this, download the files main.cvd, daily.cvd and bytecode.cvd from official site.
Then put them in the /var/lib/clamav/ folder:
cp ~/ Downloads/*.cvd /var/lib/clamav/
And make them the owner of the clamav user:
chown clamav:clamav /var/lib/clamav/*.cvd

chmod 644 /var/lib/clamav/*.cvd
To re-read the databases, you need to restart the antivirus service:
sudo systemctl restart clamav
To check the version of your antivirus, you can do the following:
clamd --version
root@dsde949-22869:~# clamd --version
ClamAV 0.103.5
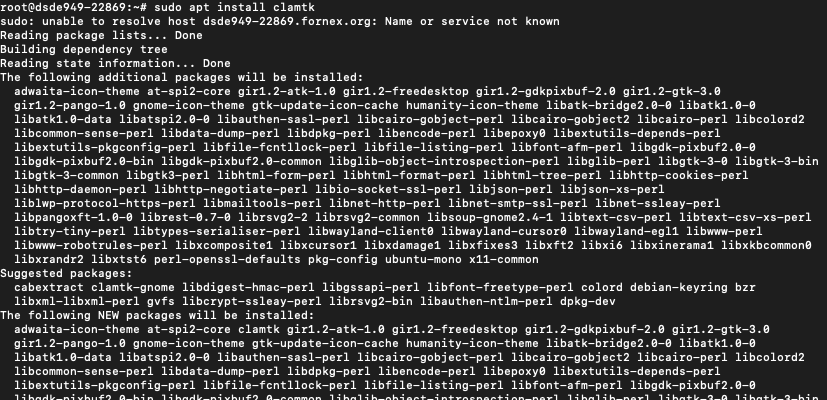
If you like working in a graphical interface, you can install the ClamTK utility for antivirus management. This tool is also available from the official repositories:
sudo apt install clamtk
Then you can run the utility from the main menu:
All that remains is to add the script to run automatically on a schedule (daily, for example) To do this, edit cron:
# crontab -e
And add to it the line
39 3 1-5 * * /root/clamav.sh
Uninstalling CLAMAV antivirus
If you want to remove ClamAV from Ubuntu, use this command:
sudo apt remove clamav clamav-daemon
And if you installed the database files separately, you should remove them too:
sudo rm -Rf /var/lib/clamav
If you have any configuration difficulties or have further questions, you can always contact our support team via ticket system.