Managing Cloudflare cache
How to clear or temporarily disable caching to update your website content.
When managing a website hosted on Web Hosting, VPS, or a dedicated server, you may need to clear the Cloudflare cache to ensure your visitors see the most recent updates immediately.
Full cache purge
If you have updated images, stylesheets, or scripts and want Cloudflare to fetch the latest versions from your server:
- Log in to your Cloudflare dashboard and select your domain.
- Navigate to Caching → Configuration in the sidebar menu.
- Locate the Purge cache section.
- Click the Purge everything button to clear the entire site cache.
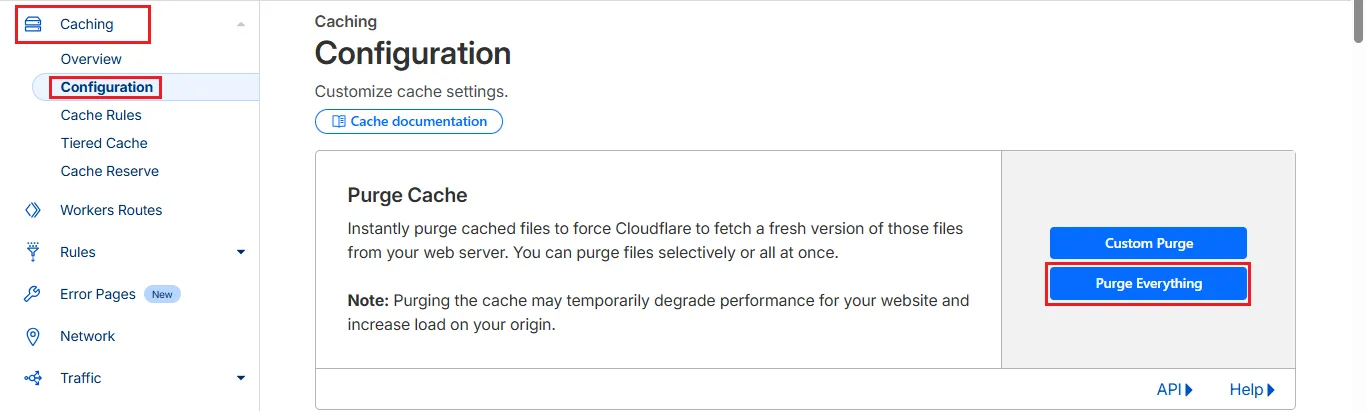 The full purge option in the Cloudflare dashboard
Temporarily disabling cache (Development mode)
For active development or technical maintenance, it is recommended to use Development mode. This bypasses the Cloudflare edge cache, sending all requests directly to your origin server.
- Navigate to Caching → Configuration.
- Locate the Development mode toggle and switch it to On.

Key features of this mode:
- It stays active for 3 hours before automatically turning off and resuming normal caching.
- It allows you to see code changes in real-time without manually purging the cache after every edit.
- You can manually disable this mode at any time by switching the toggle back to Off.
Best practices
- Custom purge: If you only updated a specific file, use the Custom purge button instead of clearing everything. This maintains optimal performance for the rest of your site’s assets.
- Verification: After purging the cache, remember to force a refresh in your browser by pressing
Ctrl + F5to clear your local cache as well.
Help
If you have any questions or need assistance, please contact us through the ticket system — we're always here to help!