Understanding IPMI (Intelligent Platform Management Interface)
Remote hardware management for your dedicated server.
IPMI (Intelligent Platform Management Interface) is an intelligent server management interface built directly into the hardware. It operates independently of the processor, BIOS, and operating system — meaning it remains accessible even when the server is powered off. With IPMI, you can monitor hardware status, review event logs, and fully manage the server remotely.
We provide 24/7 IPMI access for all dedicated servers.
Using IPMI, you can:
- Power the server on, off, and reboot it
- Access the server console (including BIOS)
- Mount disk images and reinstall the operating system
- Monitor hardware health (temperature sensors, voltage, etc.)
Classic IPMI Interface
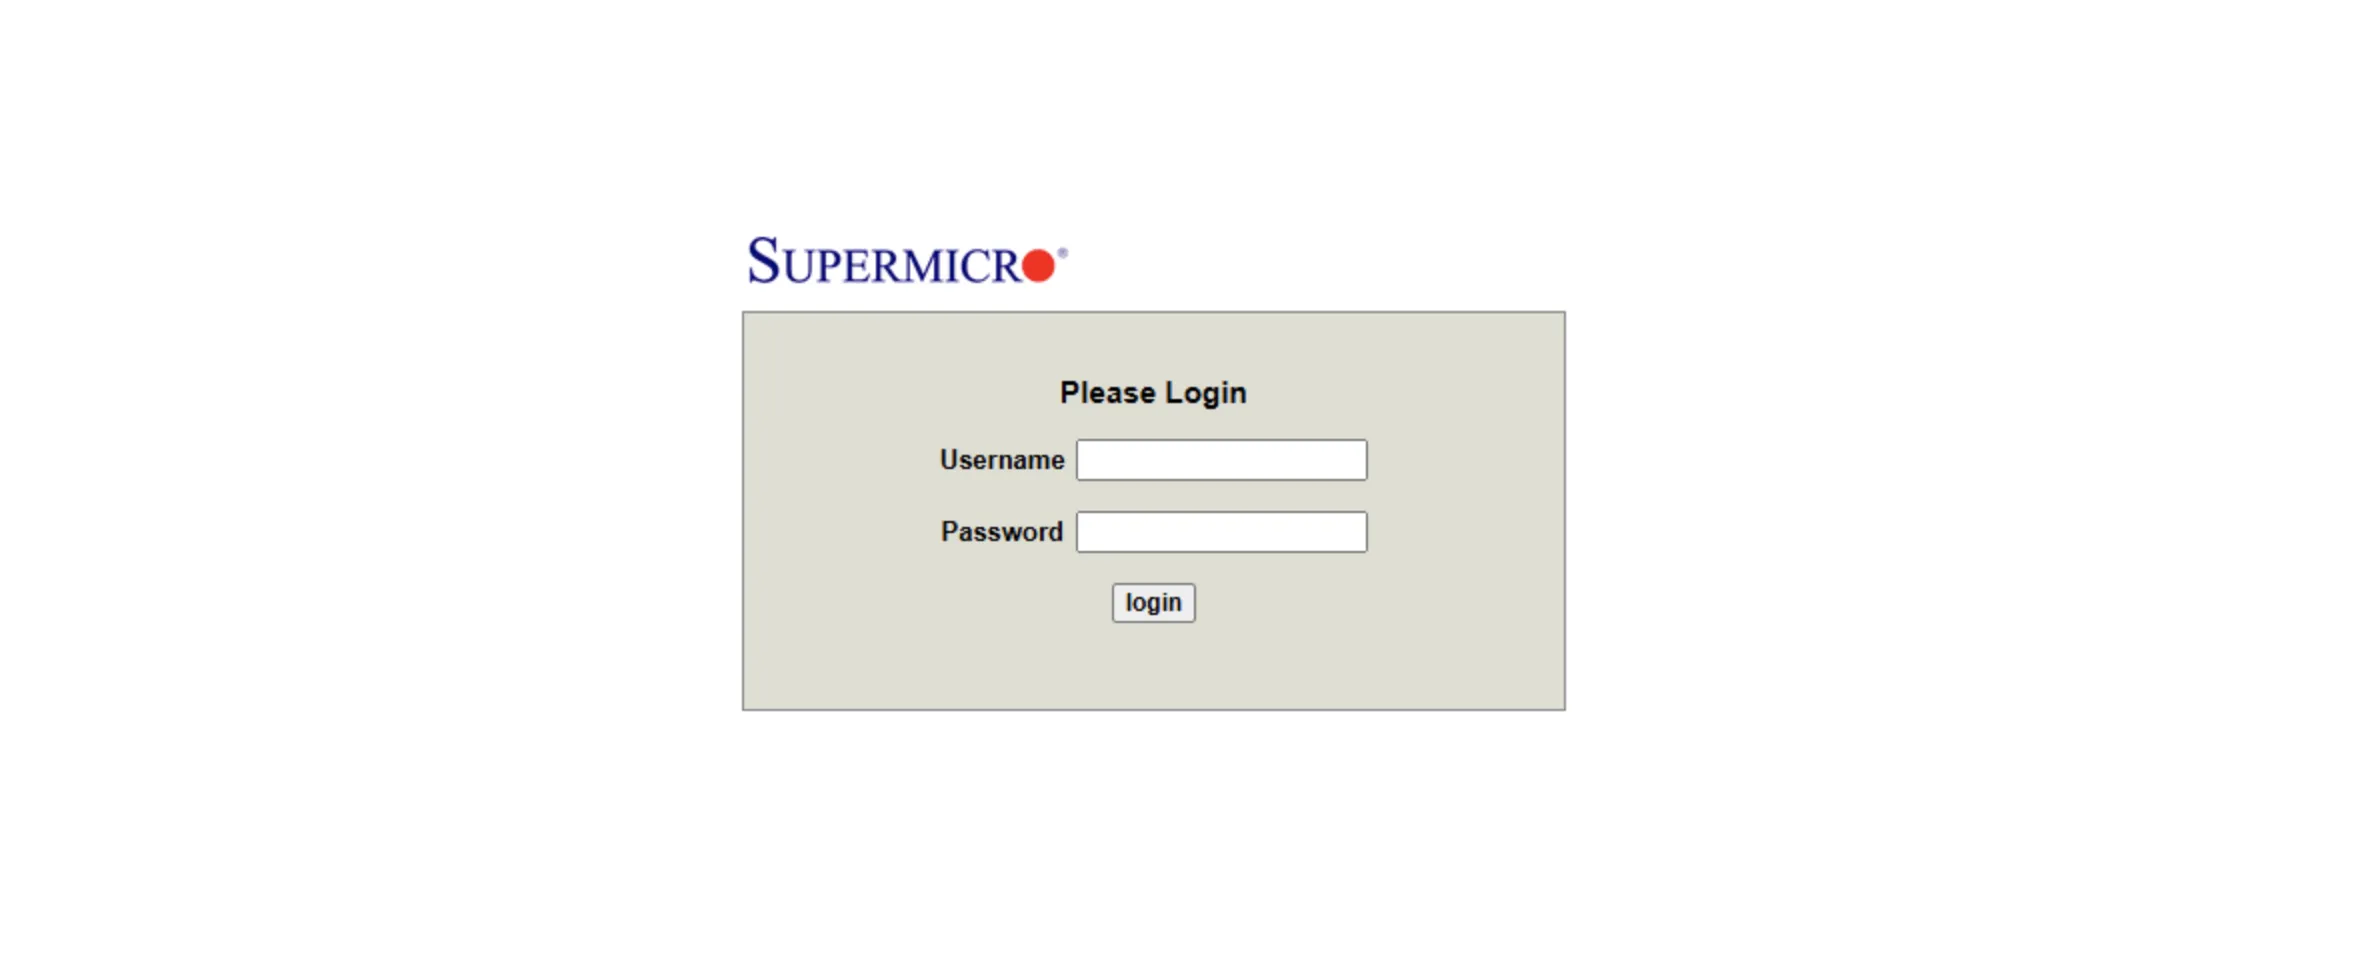
Connecting to IPMI
To use IPMI, you need any modern web browser and Java Runtime Environment (JRE) installed on your system. You can download JRE бесплатно for your operating system from the official website.
- In your client area, open the server dashboard → iKVM/IPMI section
- Enable the web interface and click
Go

You can also share IPMI/KVM access using the corresponding button.
After launching the console, you can download the Java application file from the Remote control section.
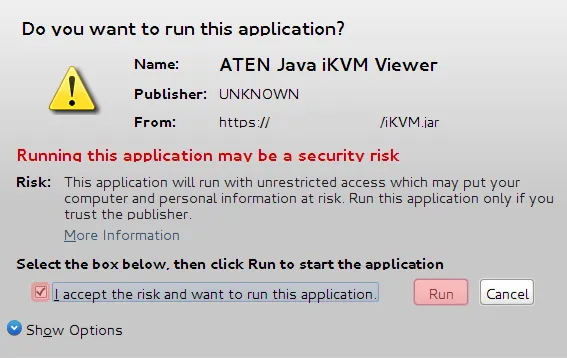
If this error appears while configuring the Java console, you need to add the website to the Java security exception list.

Instructions for adding a website to Java exceptions are available in the official documentation.
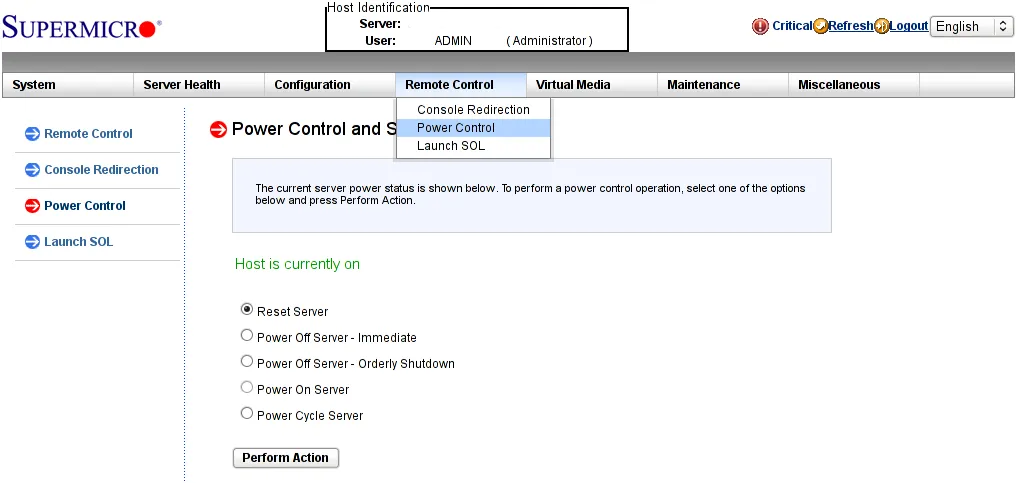
Powering On, Off, and Rebooting the Server
After connecting, you can control the server power state — power off, reboot, etc. To do this, select Remote control in the main menu:
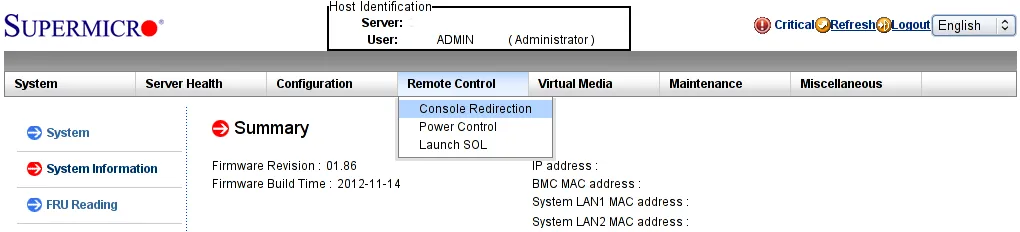
Then choose Power control from the dropdown menu (or the left-side menu):
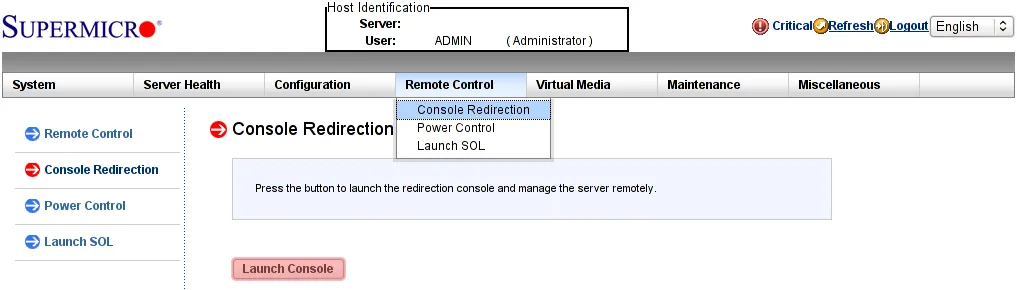
Launching the Console
To connect to the server console, in the same Remote control menu select Console redirection and click Launch console:
When launching the console, Java Runtime Environment may ask for confirmation. Confirm the launch:
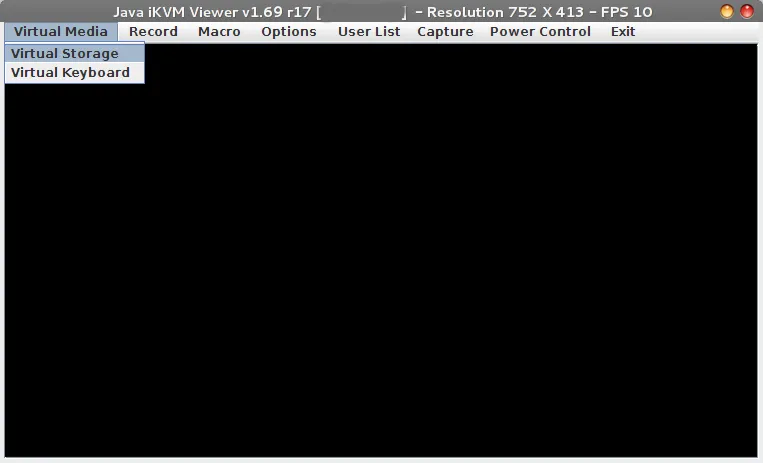
After that, the console window will open (an example is shown in the next section), allowing you to fully manage the system remotely — including changing BIOS settings and reinstalling the operating system if necessary.
Mounting an ISO Image
Warning: Mount disk images only through the management console, not through the IPMI web interface.
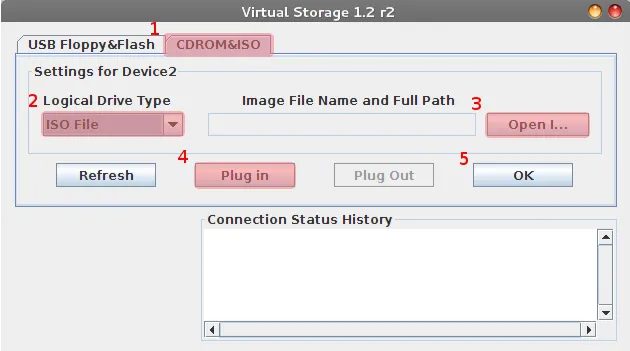
To mount a disk image (including a bootable ISO), open Virtual media → Virtual Storage manager:
In the opened window:
- Go to the CDROM&ISO tab.
- Select ISO File as the type.
- Choose the file from your local drive.
- Mount it using Plug in.
- Close the Virtual Storage Manager by clicking OK.
After mounting the image, you can reboot the server and select booting from the mounted device in BIOS. During startup, press F11 (boot menu) or Del (BIOS setup).
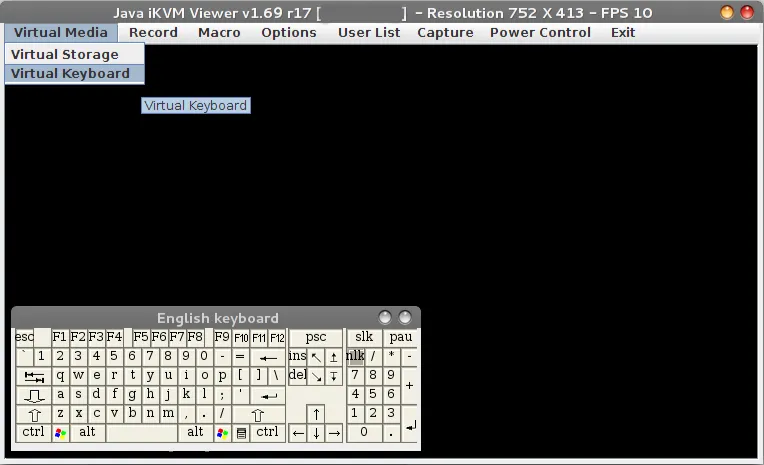
Your local operating system may intercept certain key combinations (for example, Ctrl+Alt+Del). To send them to the remote server, use the virtual keyboard or macros.
Virtual Keyboard
Some keyboard shortcuts cannot be entered directly from your local keyboard because they are reserved by the local operating system. Therefore, the management console provides macros:
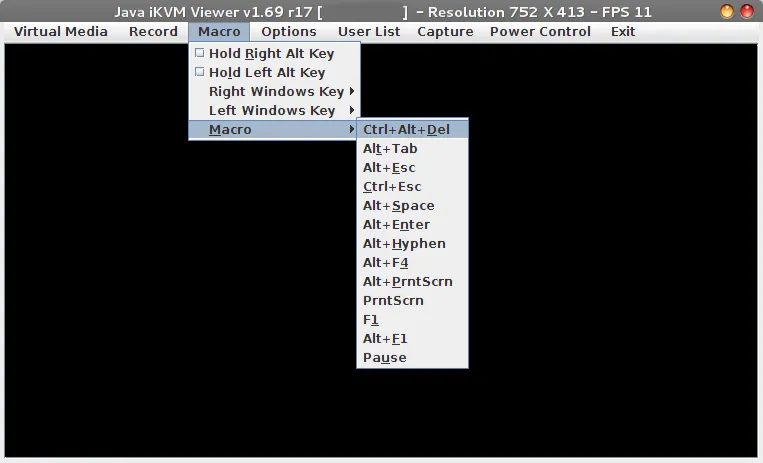
Simply select the required menu item, and the chosen key combination will be sent to the server as if it were entered on a directly connected physical keyboard.
If the built-in macros are not enough, you can enable the virtual keyboard:
Updated IPMI Interface
Connecting to IPMI
In the updated interface, Java installation is no longer required. Management is performed directly through the browser thanks to HTML5 support.
- In your client area, open the server dashboard → iKVM/IPMI section
- Enable the web interface and click
Go

Powering On, Off, and Rebooting the Server
The power management buttons are located in the right sidebar (vertical icon panel). To open the menu, click the top power icon.

In the Power Control window, select the required action and click Apply:
- Power Down - Immediate — immediate (“hard”) shutdown. Power is cut instantly. Warning: this may damage the filesystem.
- Graceful Shutdown — safe shutdown. The server receives a soft power-off signal (similar to briefly pressing the physical power button).
- Power Cycle — power cycle. The server will shut down and automatically power back on after a short pause. Useful for a “cold” reboot.
- Power Reset — forced reboot. Used when the operating system is frozen and does not respond to commands.
Launching the Console
To manage the server, open the Remote Control section in the left sidebar.

Before launching the console, configure the following options:
- Current Interface: select HTML5. The console will open in a new browser tab.
- Mouse Mode:
- Set Mode to Absolute — recommended for modern operating systems (Windows, Ubuntu, CentOS 7+). The console cursor will match your local cursor.
- Set Mode to Relative — recommended for older Linux distributions.
- Click Launch Console.
Note: For the best video and remote control compatibility, it is recommended to use Chromium-based browsers (Chrome, Edge).

The console window provides the following tools:
- Language and Keyboard — configure the interface language and keyboard layout.
- Keyboard Mouse Hotplug — emulate reconnecting keyboard and mouse devices.
- Macro and Hotkey — send complex keyboard shortcuts to the server (for example,
Ctrl+Alt+Del) that may otherwise be intercepted by your local OS. - Preference — personalize console display settings.
- Capture — take a screenshot of the current server screen.
- Full Screen — switch to fullscreen mode.
Our products and services
iKVM Reset
If the console does not open or you receive the “Session limit reached” error, open the Remote Control section and locate the iKVM Reset block. Click the Reset button.
This will restart the management controller (including virtual media and keyboard/mouse functionality) without affecting the operation of the server itself.
Help
If you have any questions or need assistance, please contact us through the ticket system — we're always here to help!