When ordering a Virtual Server, you have the ability to make changes to it directly through Billing:
«Overview»
This section can be conditionally divided into parts:
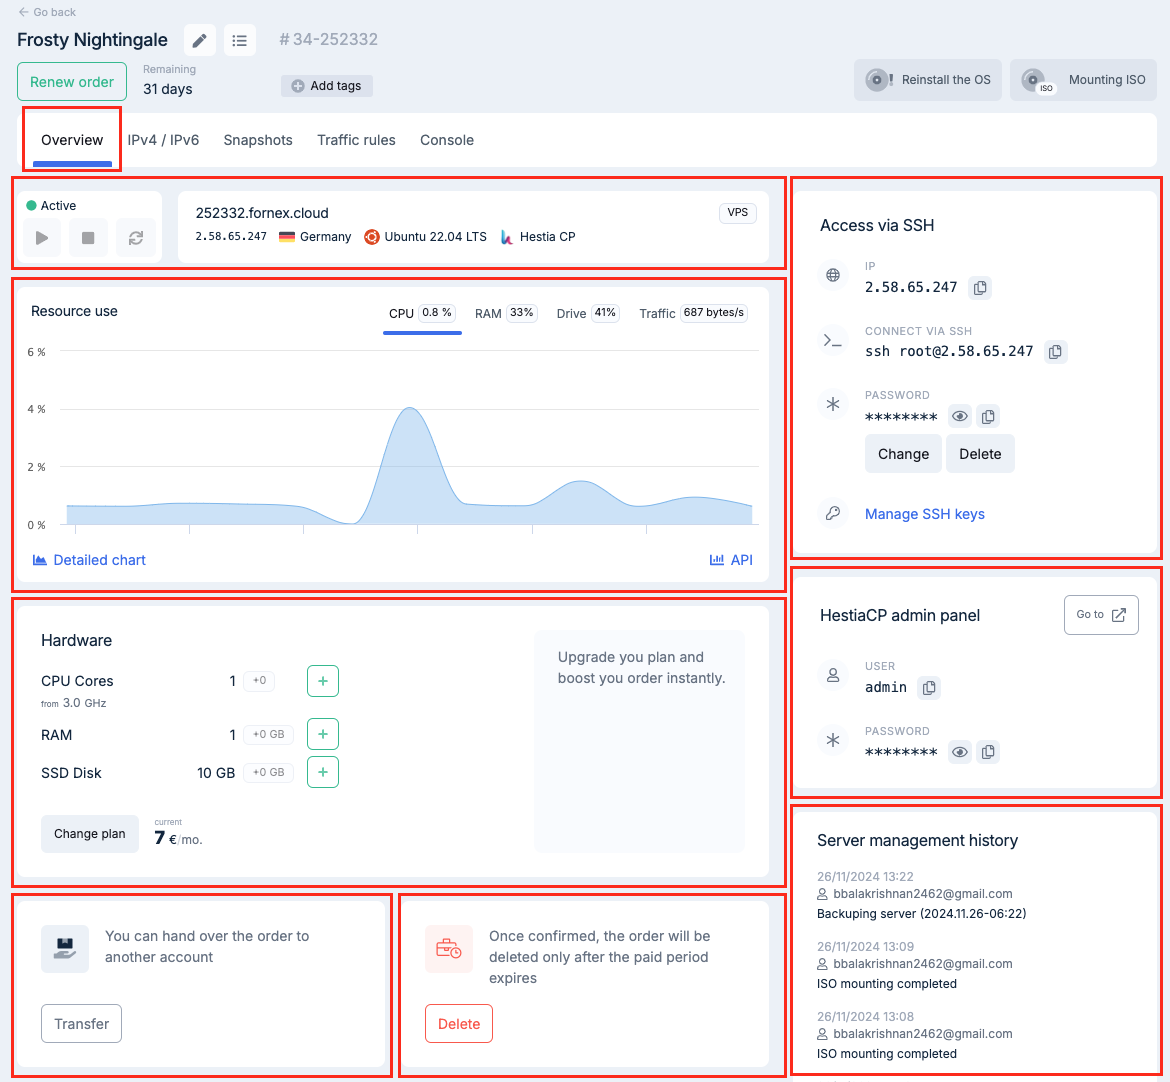

- VPS Management.
- This menu displays all of your basic ordering activities performed in Billing.
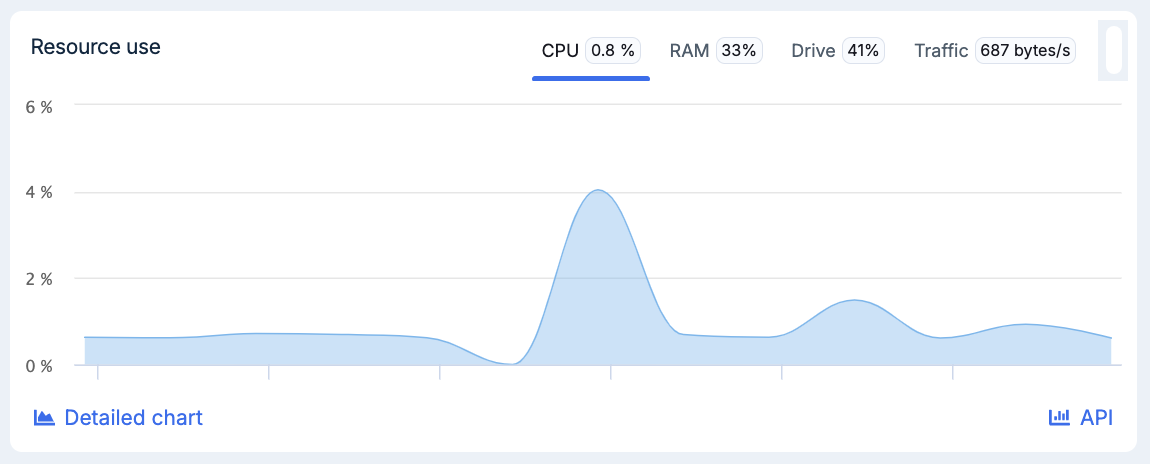
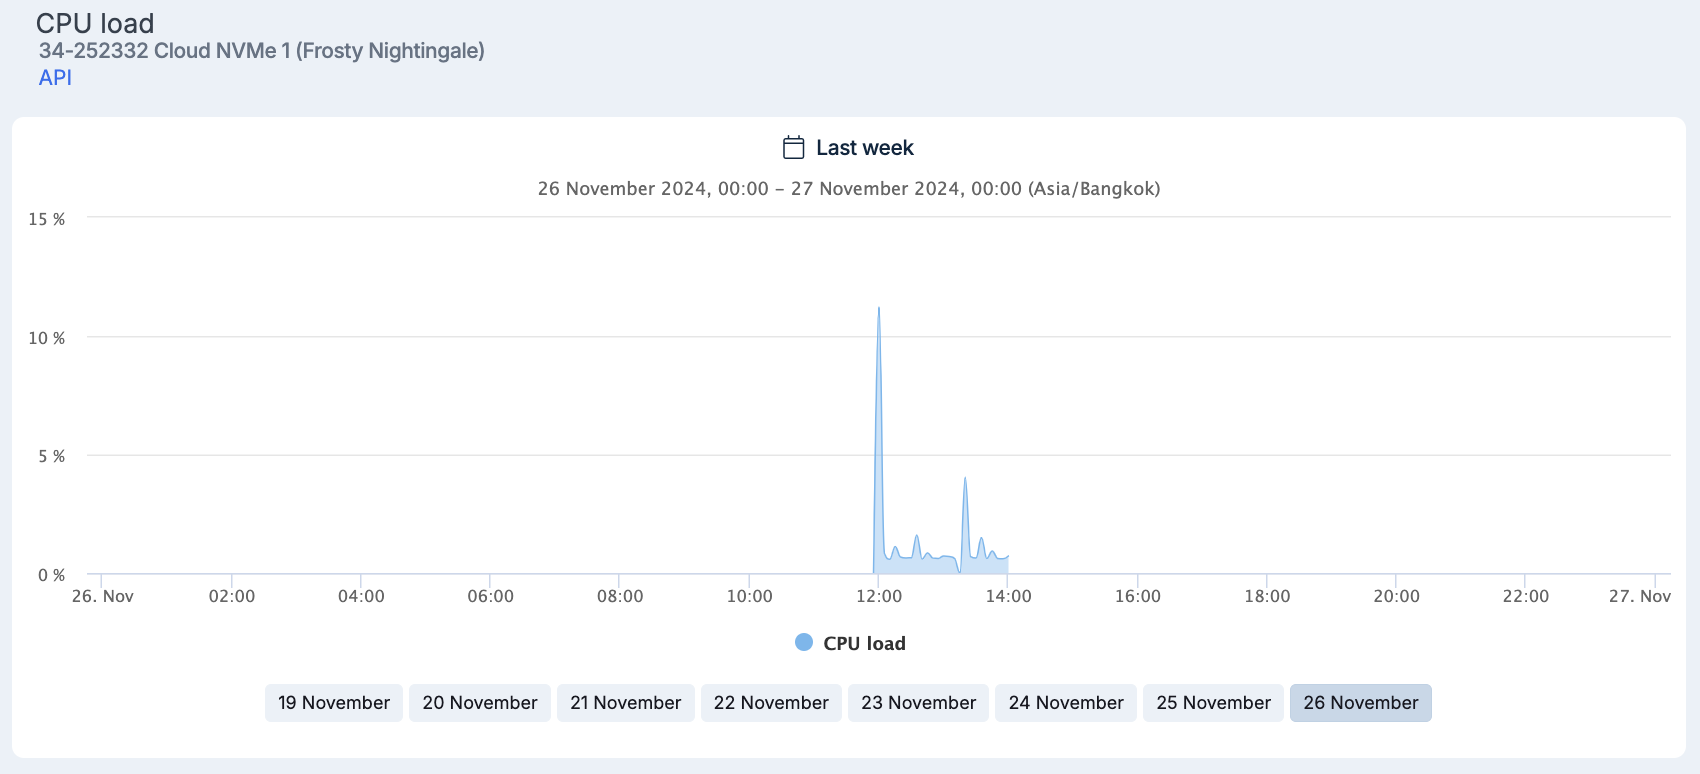
- Information about the resources consumed by your order (updated every 15 minutes).
- In the "Detailed chart" menu, you can view the detailed resource consumption of your projects.
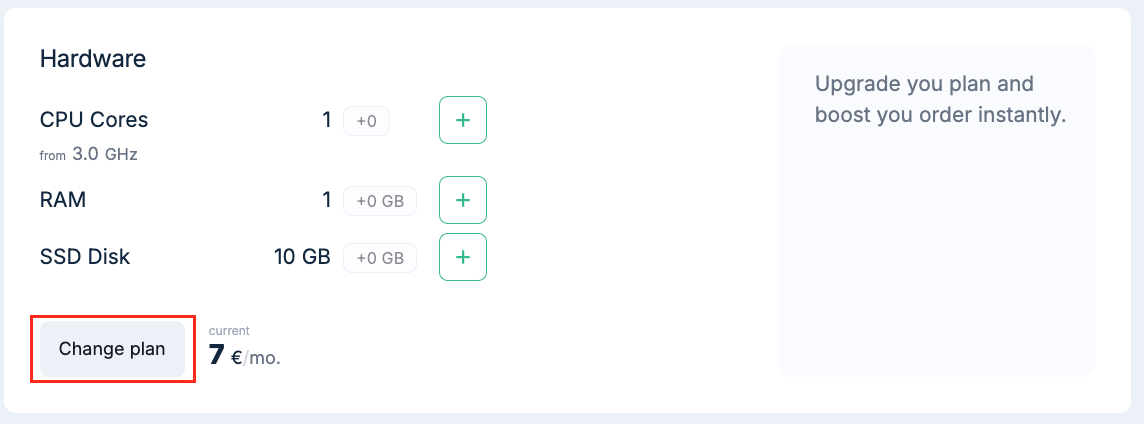
- Your server information and the «Change plan» button.
- How to switch to a new plan can be found in detail here.
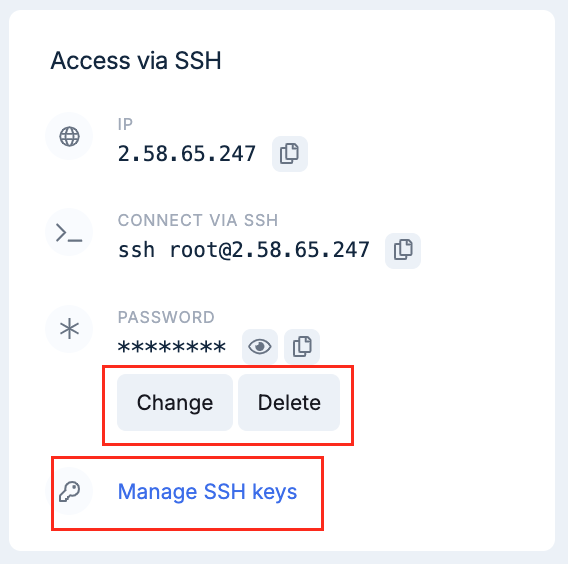
- SSH Accesses.
- In this menu, you can change/delete the Root user password;
- In this menu you can add SSH keys for your server to connect to it without entering a password;
- How to generate keys and add them to a virtual server can be found here.
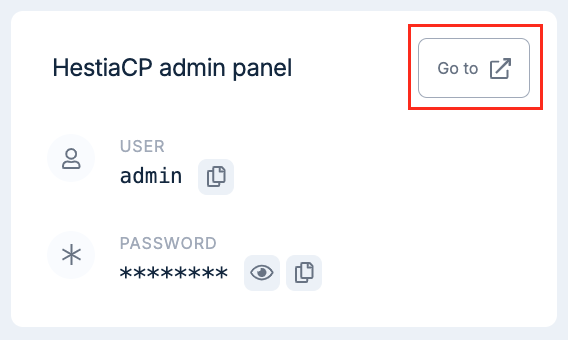
- Control Panel Accesses.
- Current control panels are HestiaCP, BrainyCP, aaPanel
- Legacy control panels - VestaCP or ISPmanager 5.
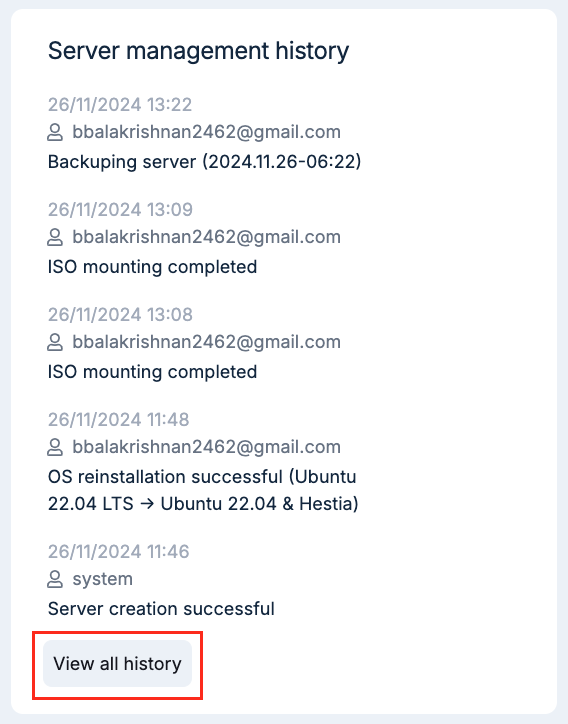
- Information about the management history of your server.
- In the "View Full History" menu, you can review the detailed management history of your server.
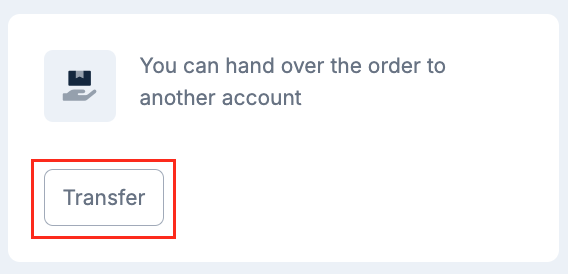
- In this menu, you can transfer the order to another account.
- You can find detailed instructions on how to transfer the order to another user here.

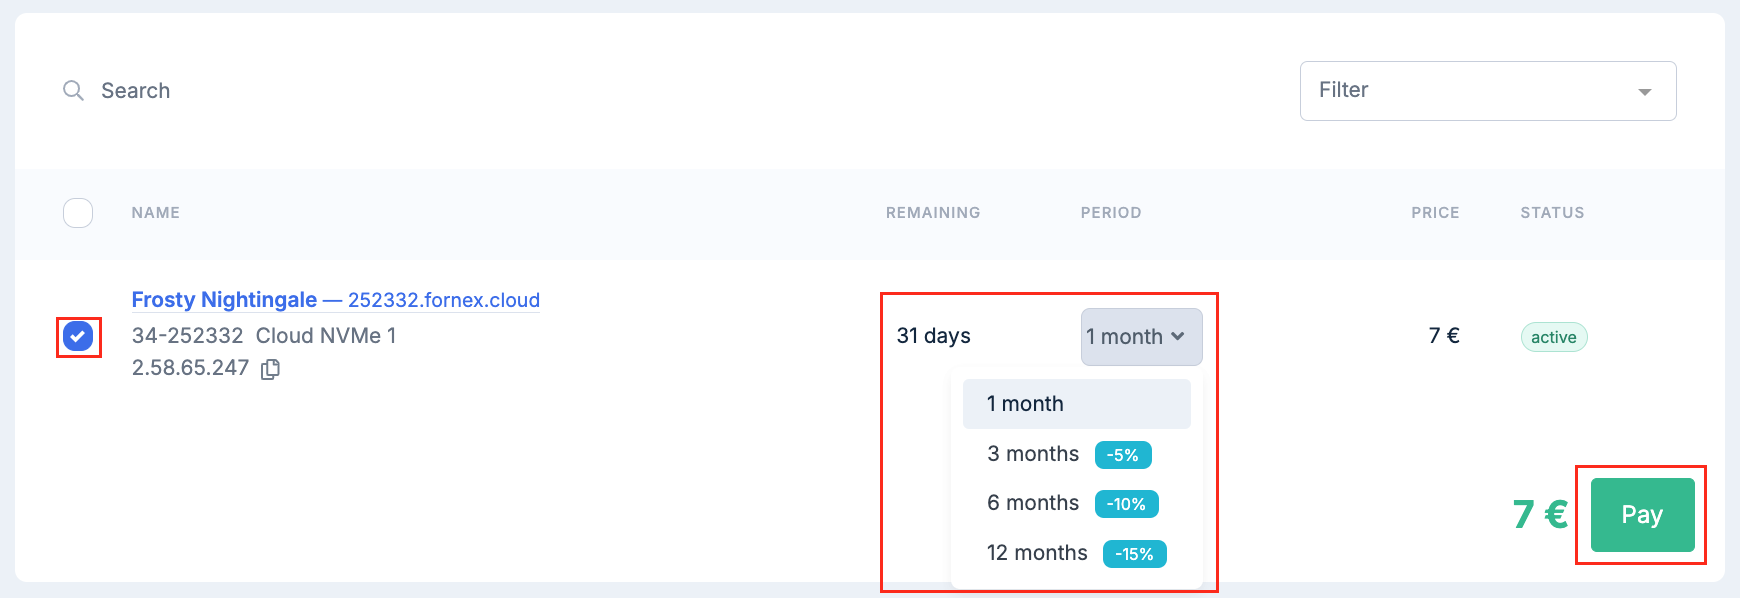
- The «Renew order» button.
To do this, select the order you are going to extend and the period for which you are going to extend it, then click «Pay».
-
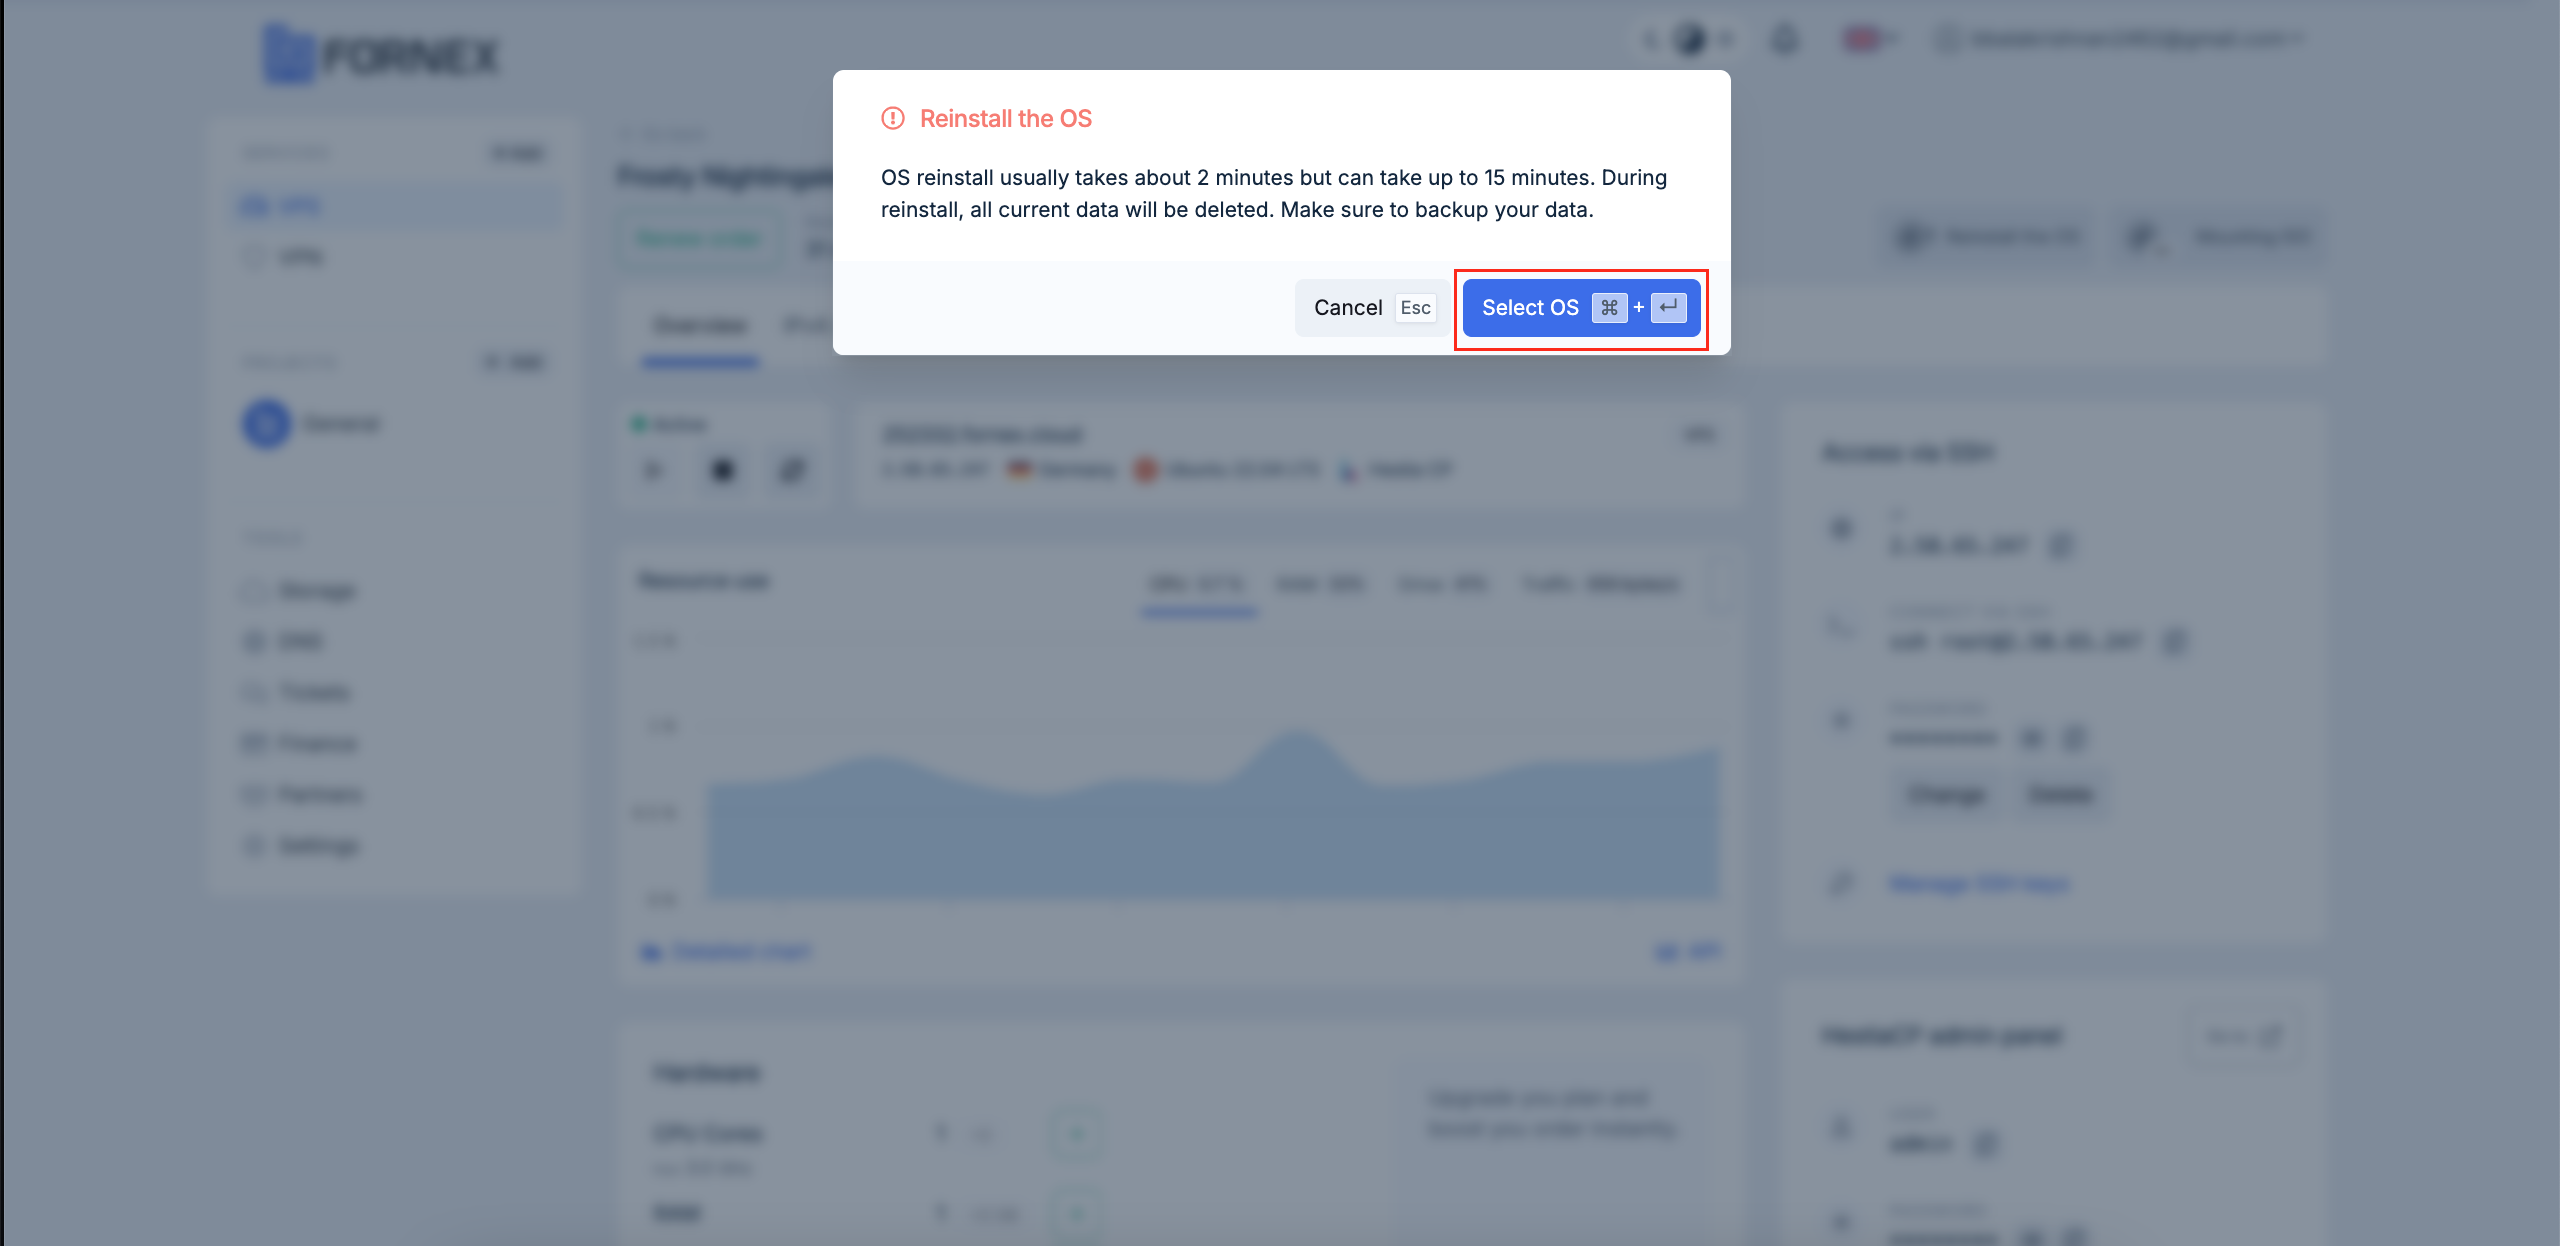
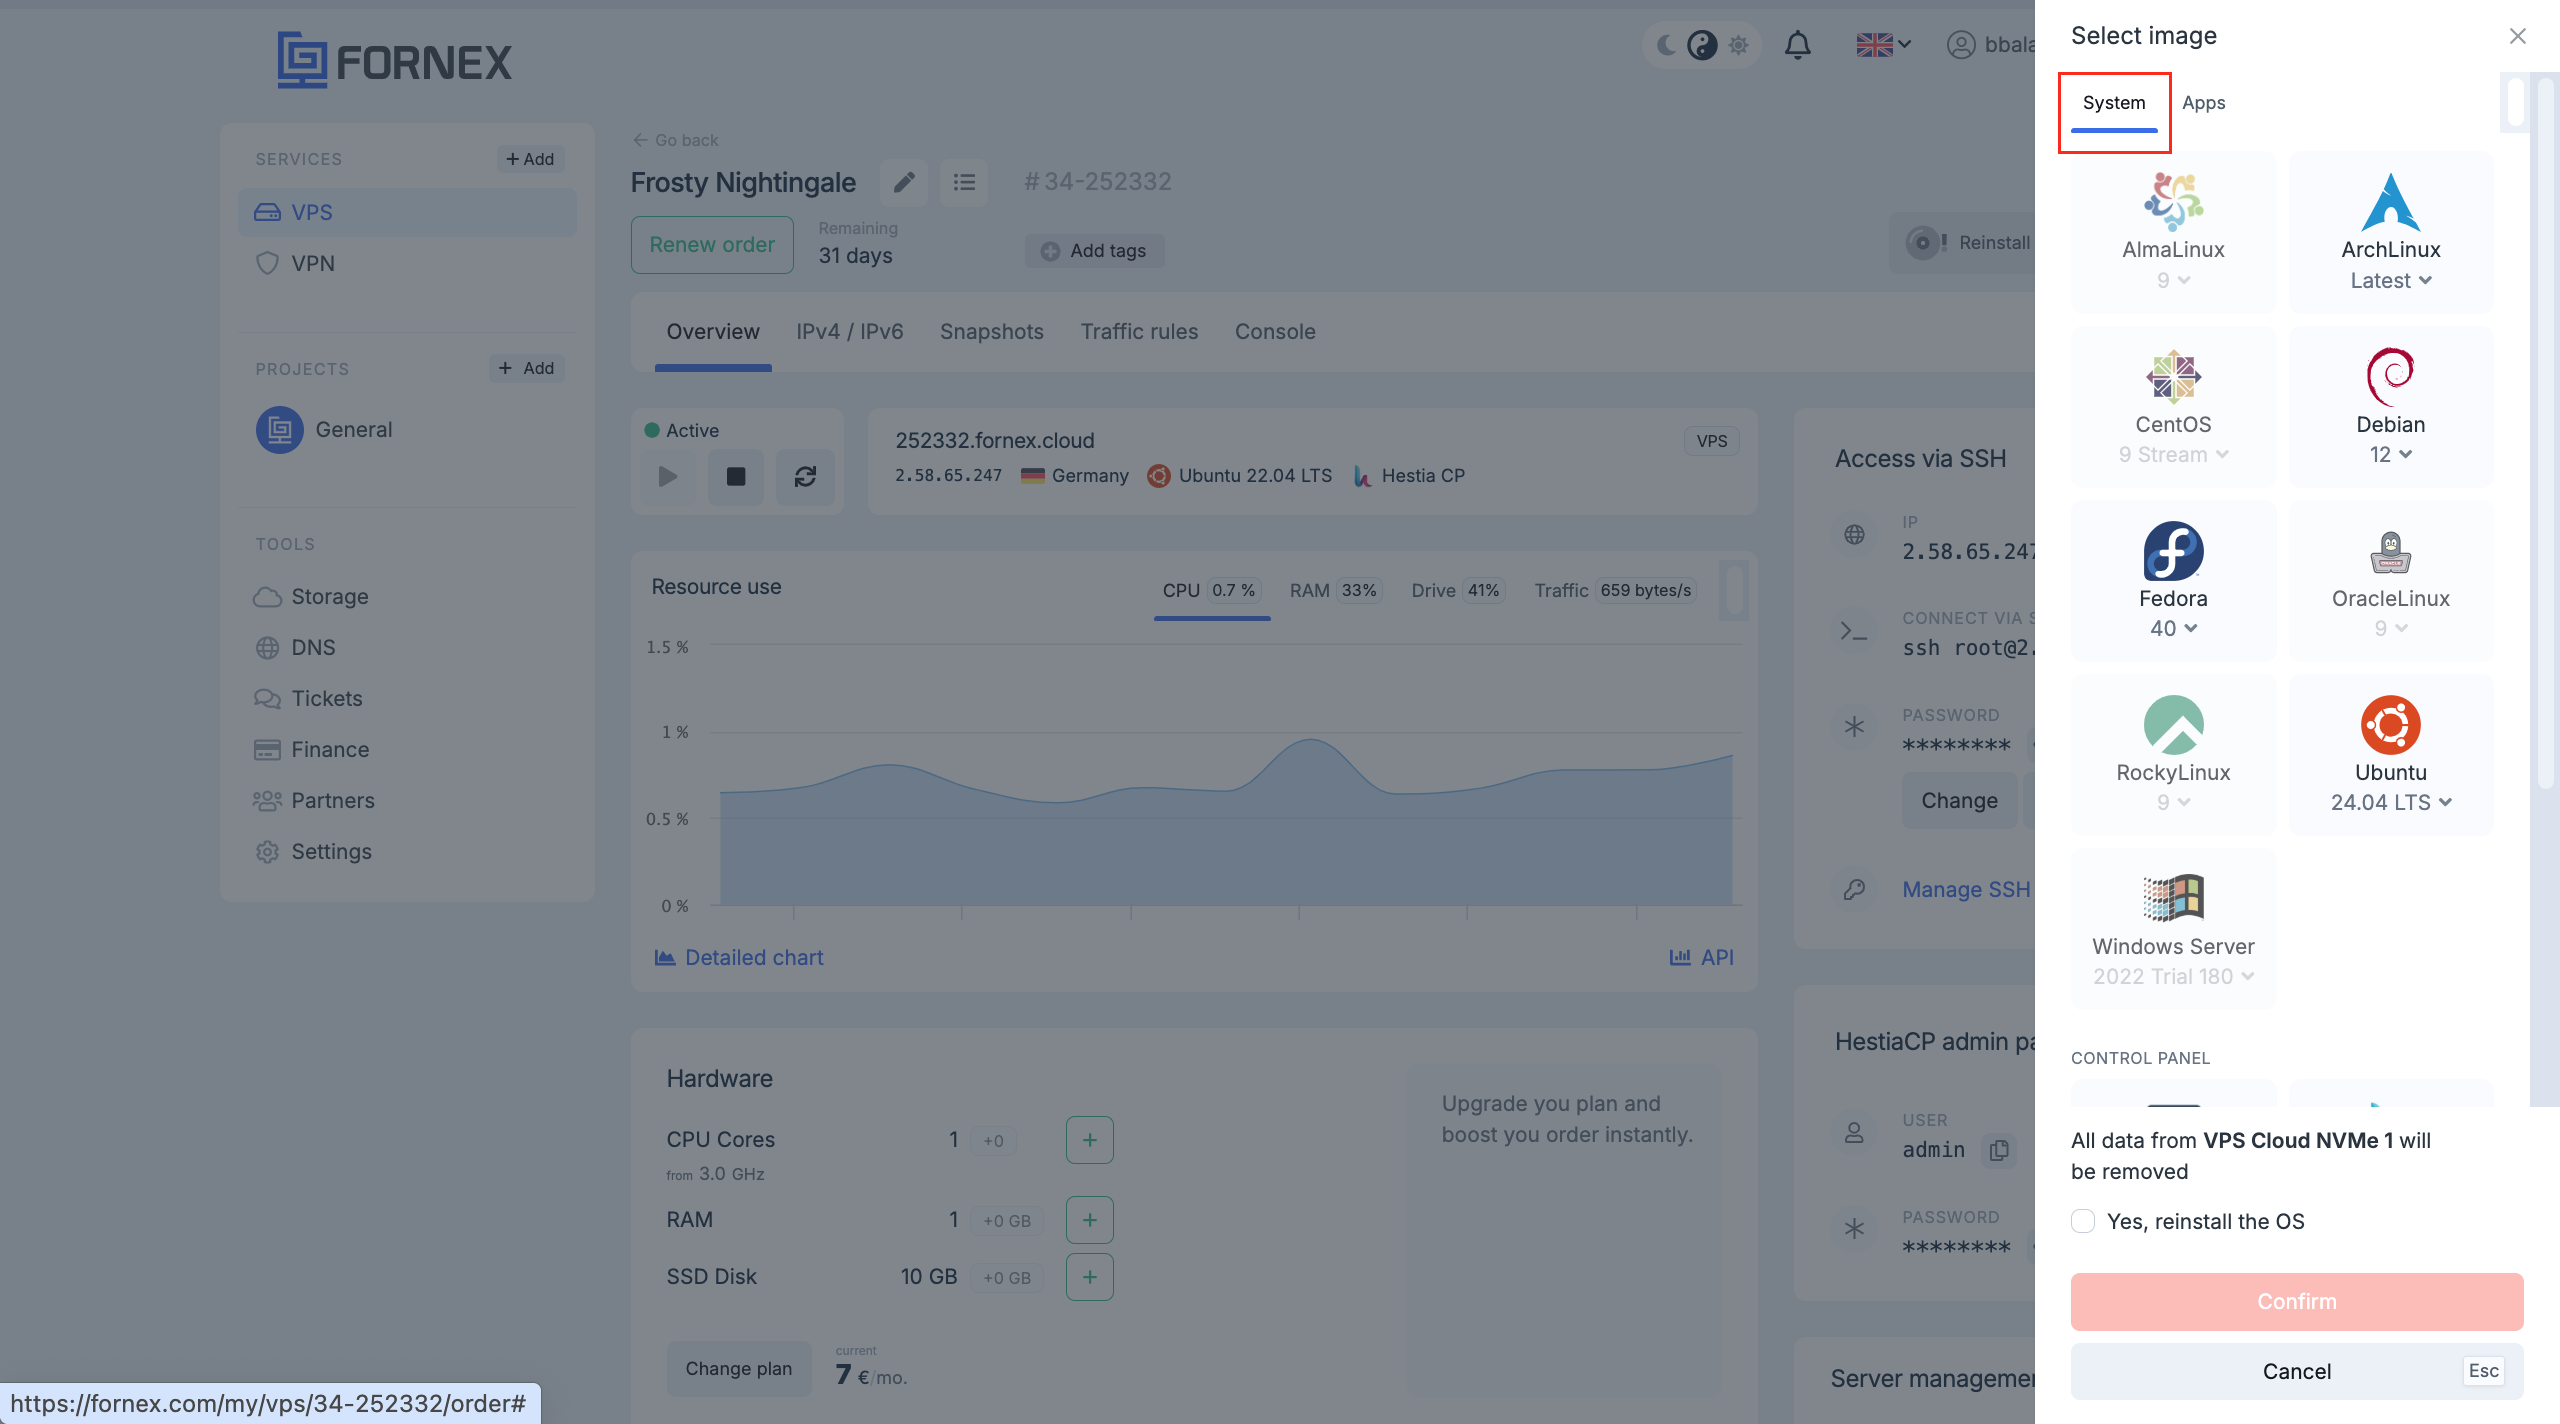
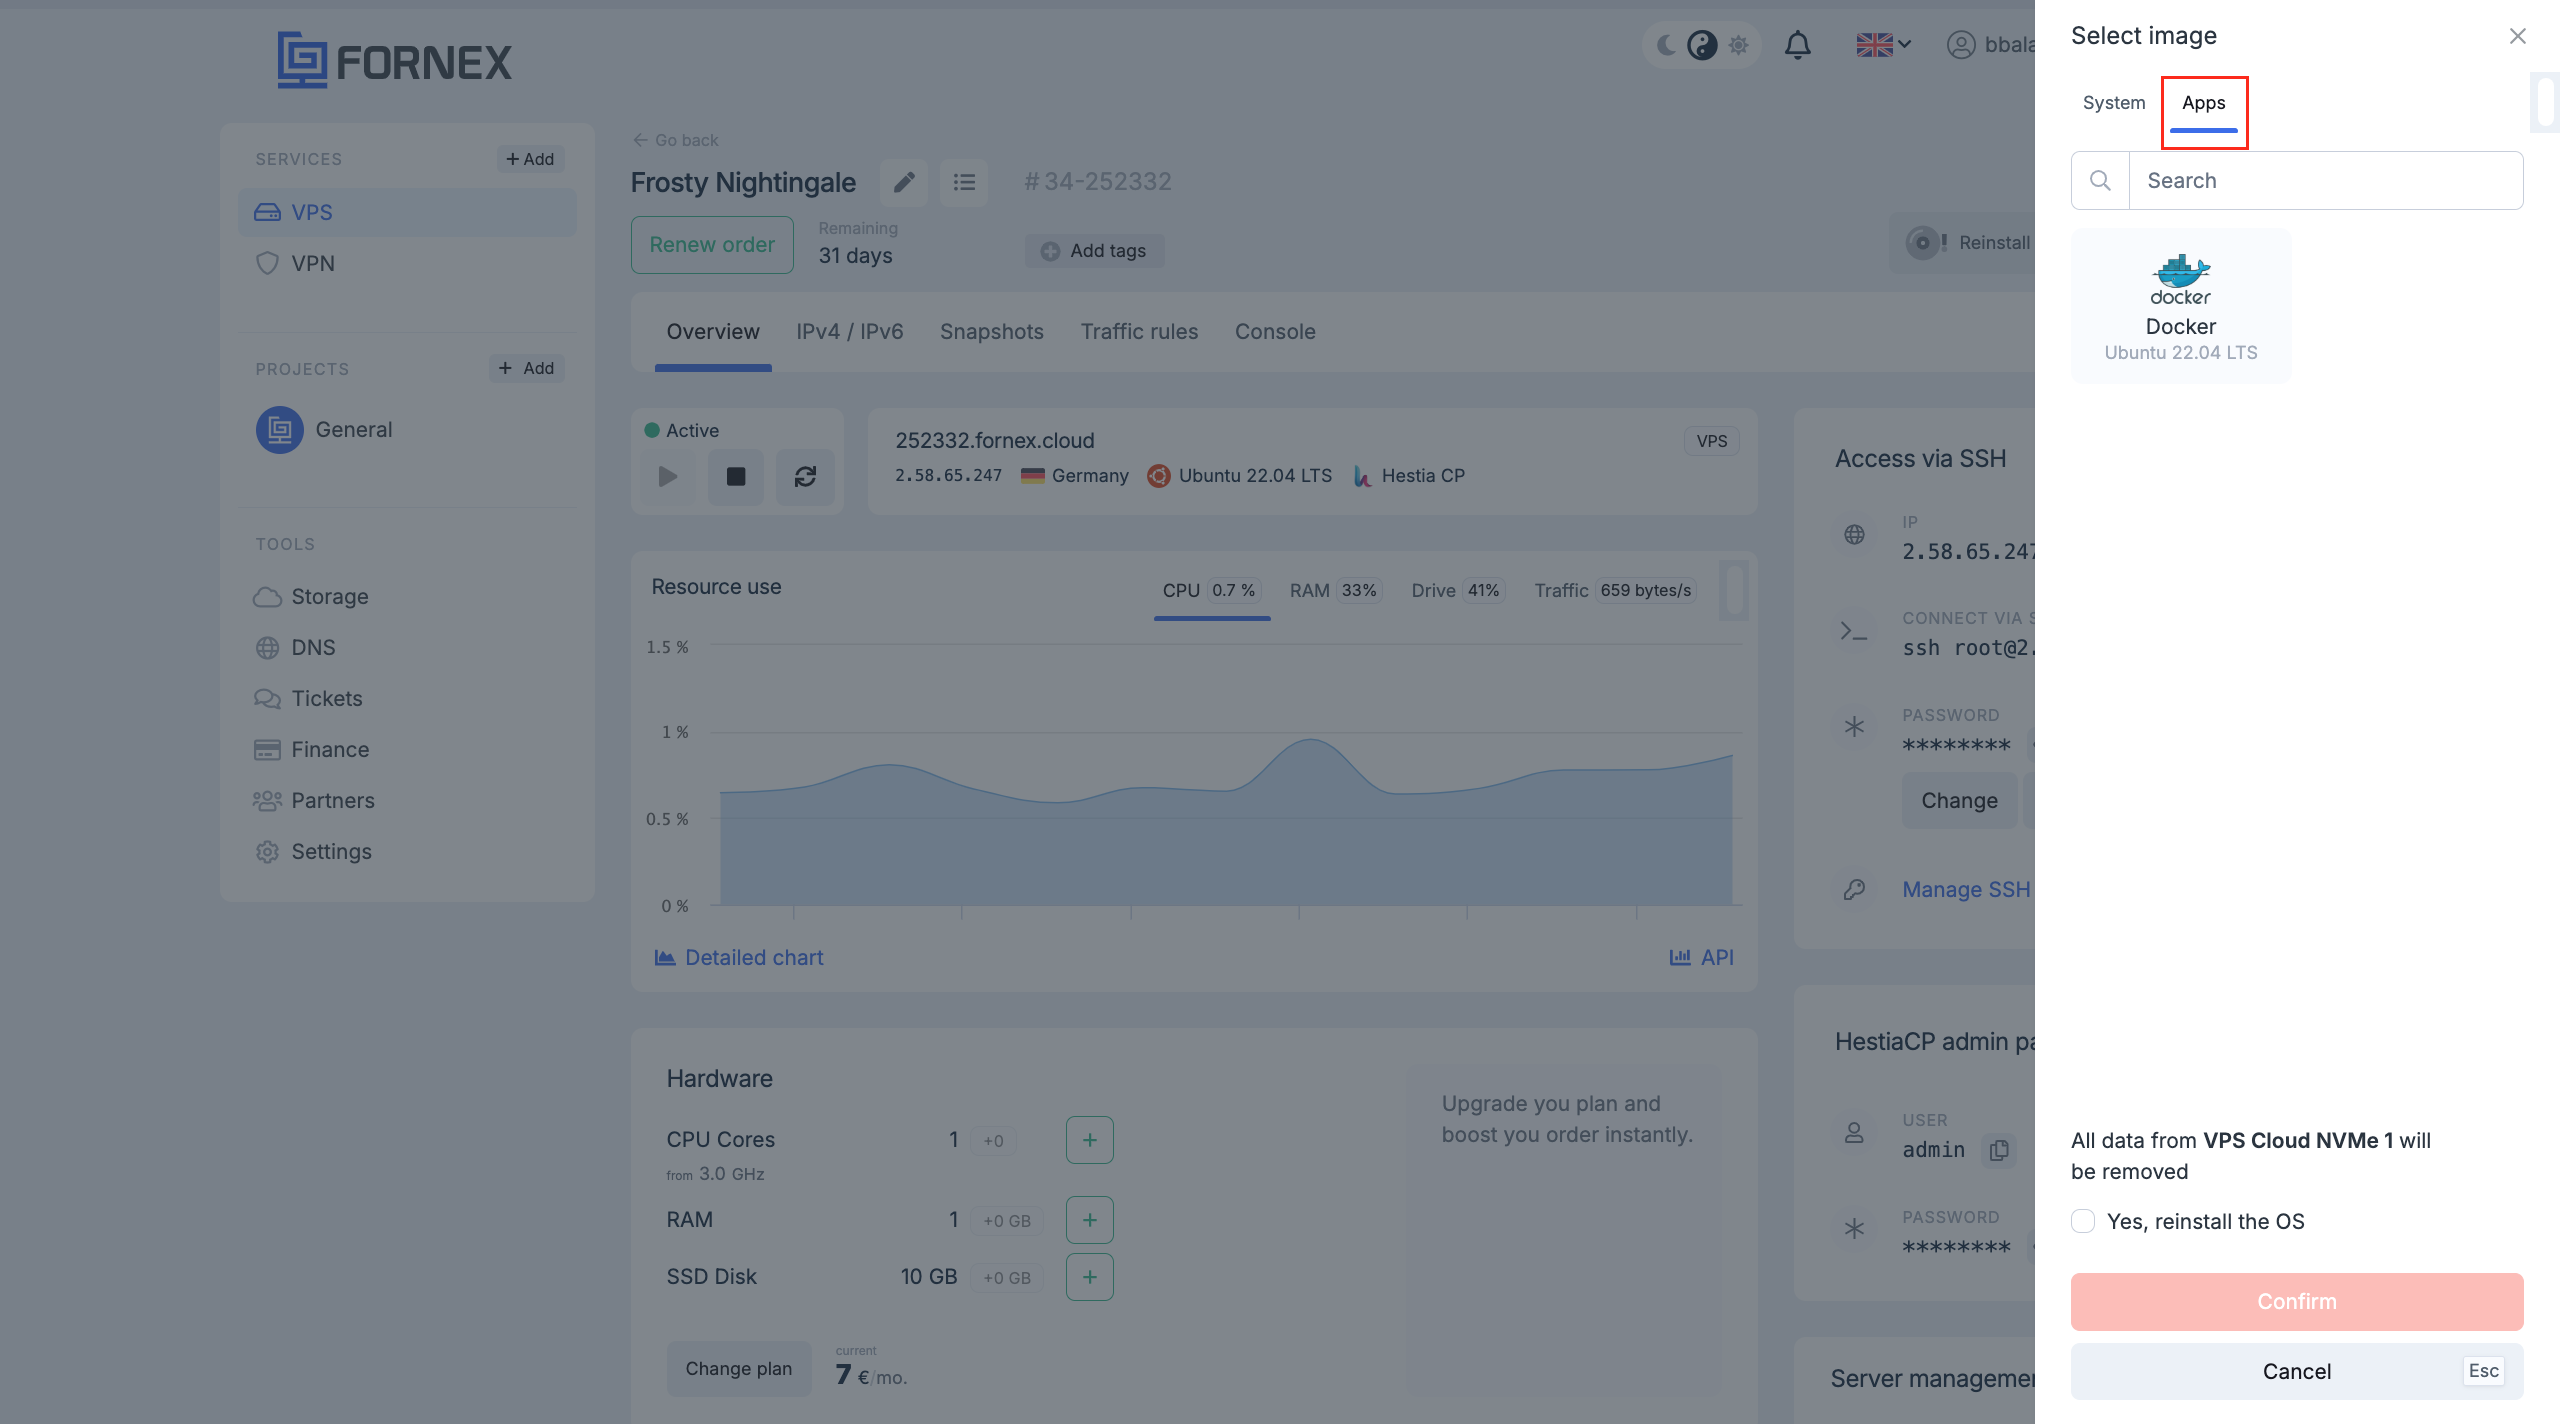
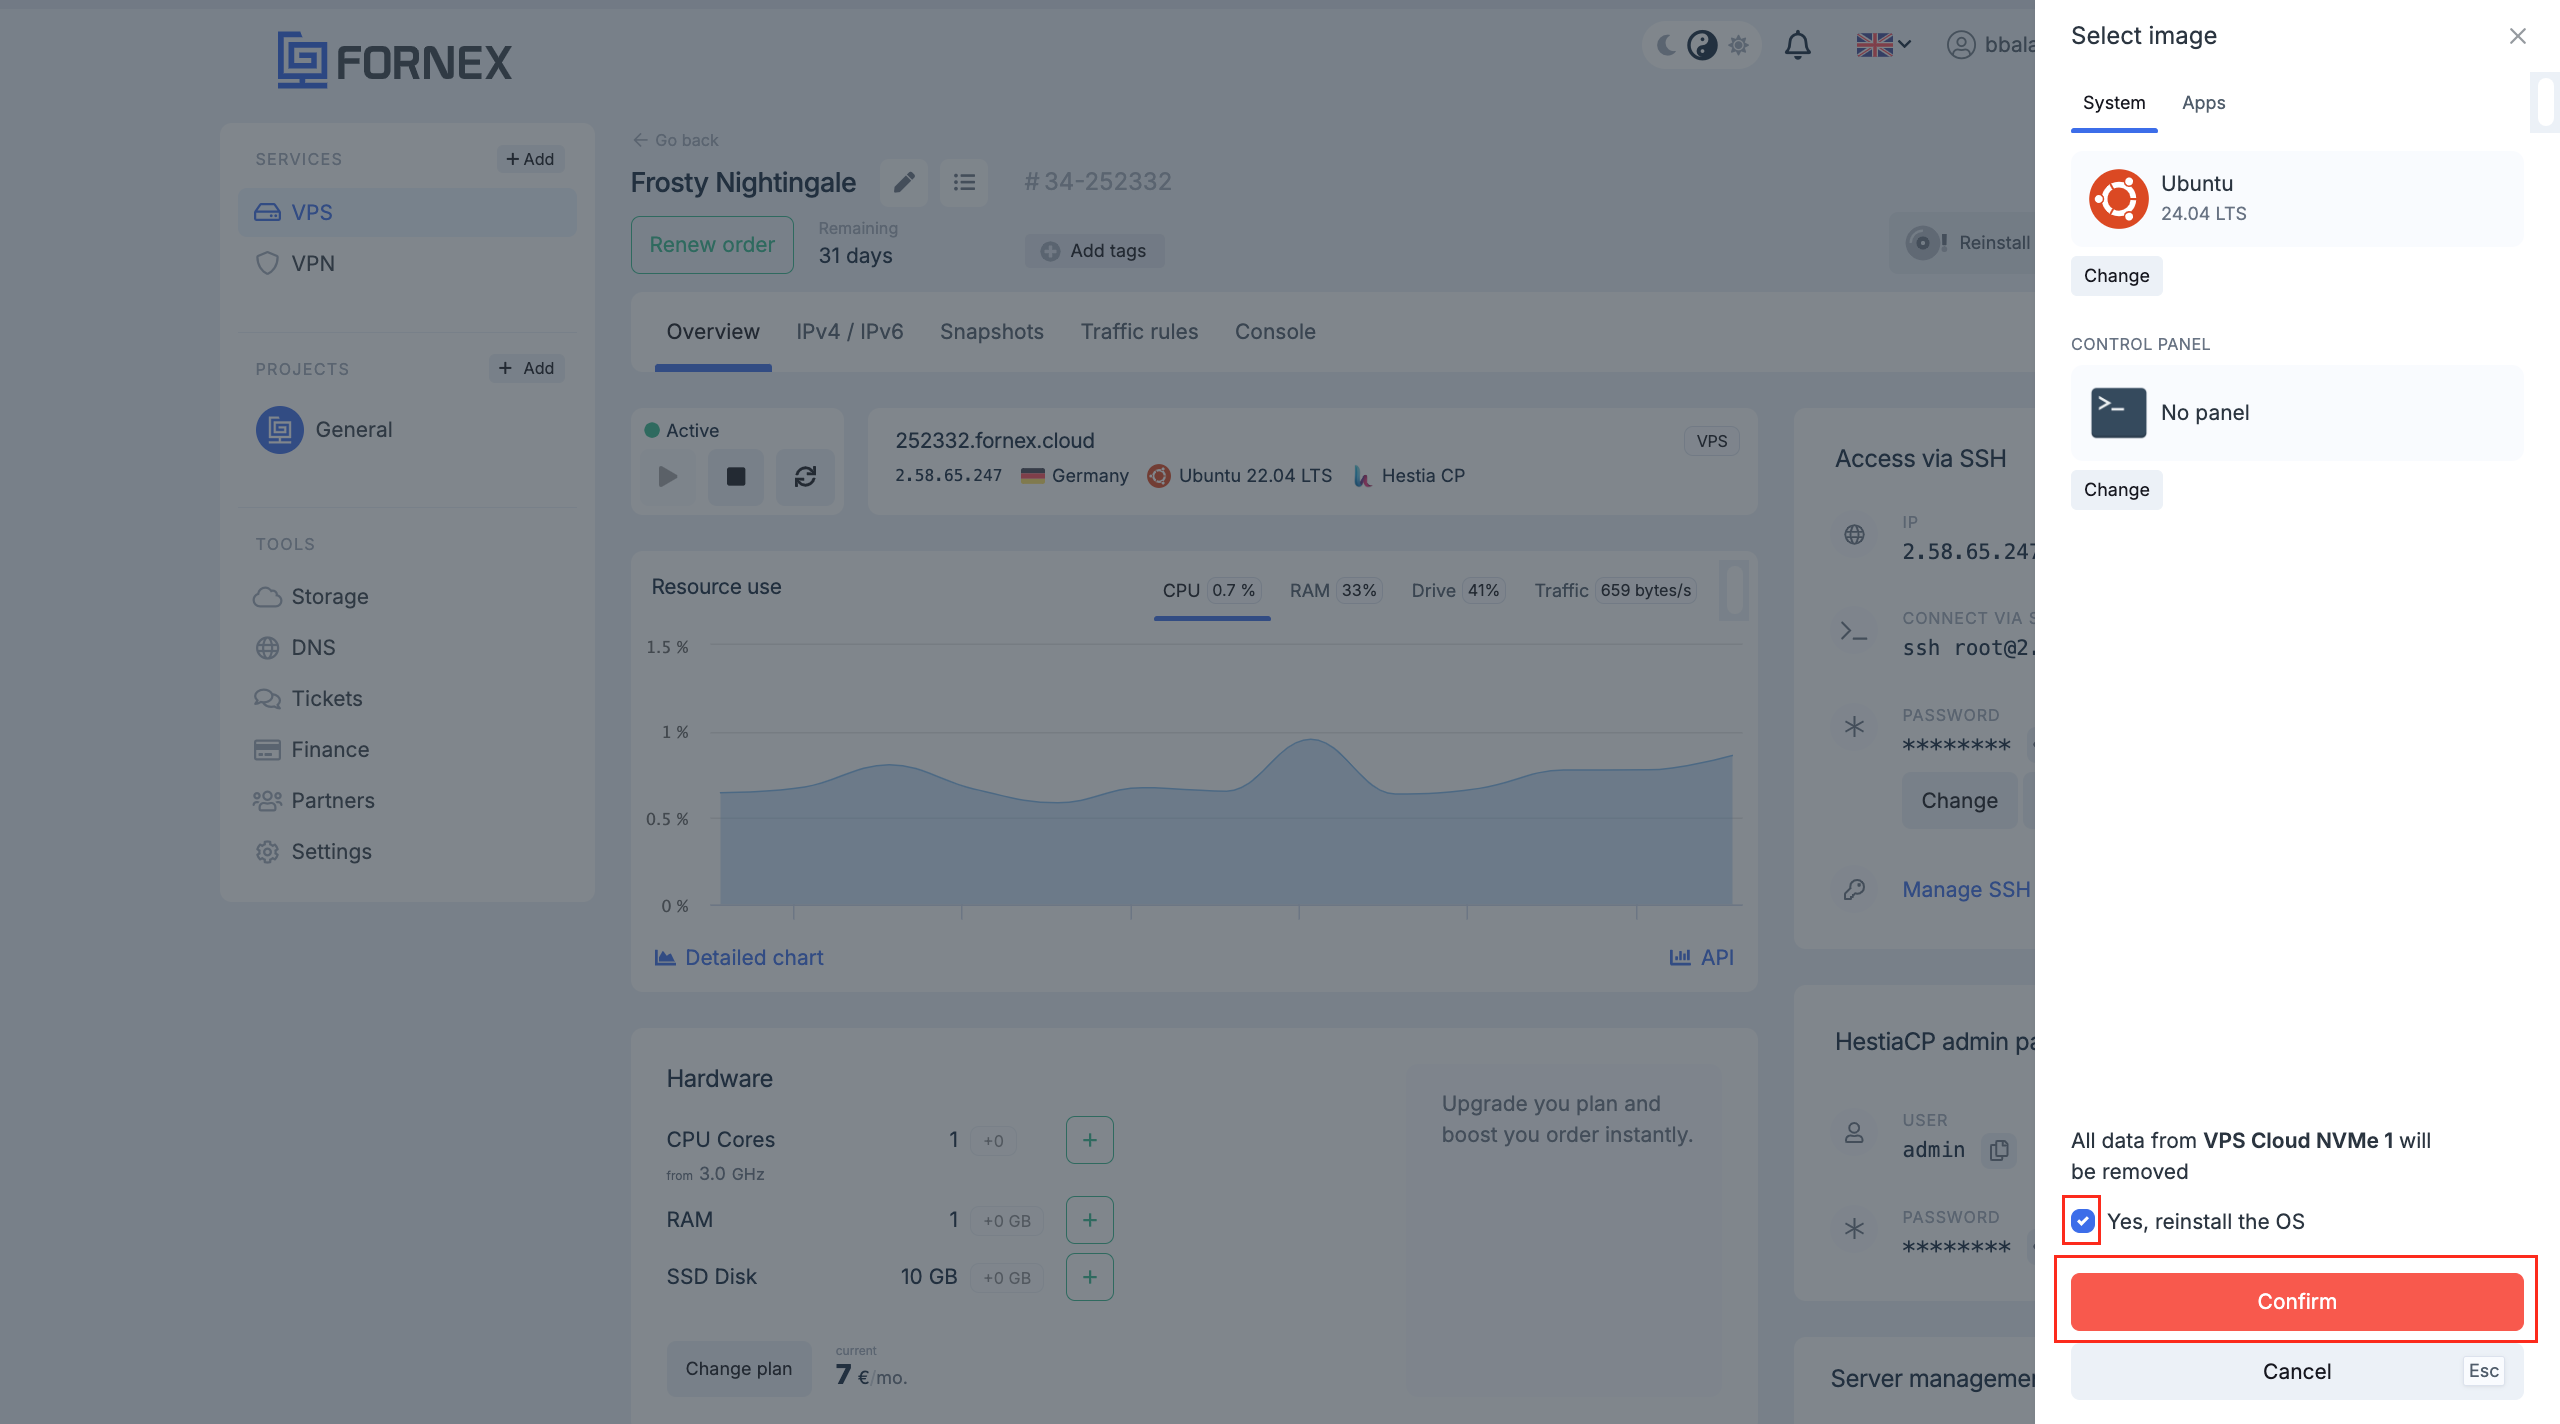
The «Reinstall the OS» button.
Be aware that during reinstallation all your current data will be deleted, so take care to make backups.

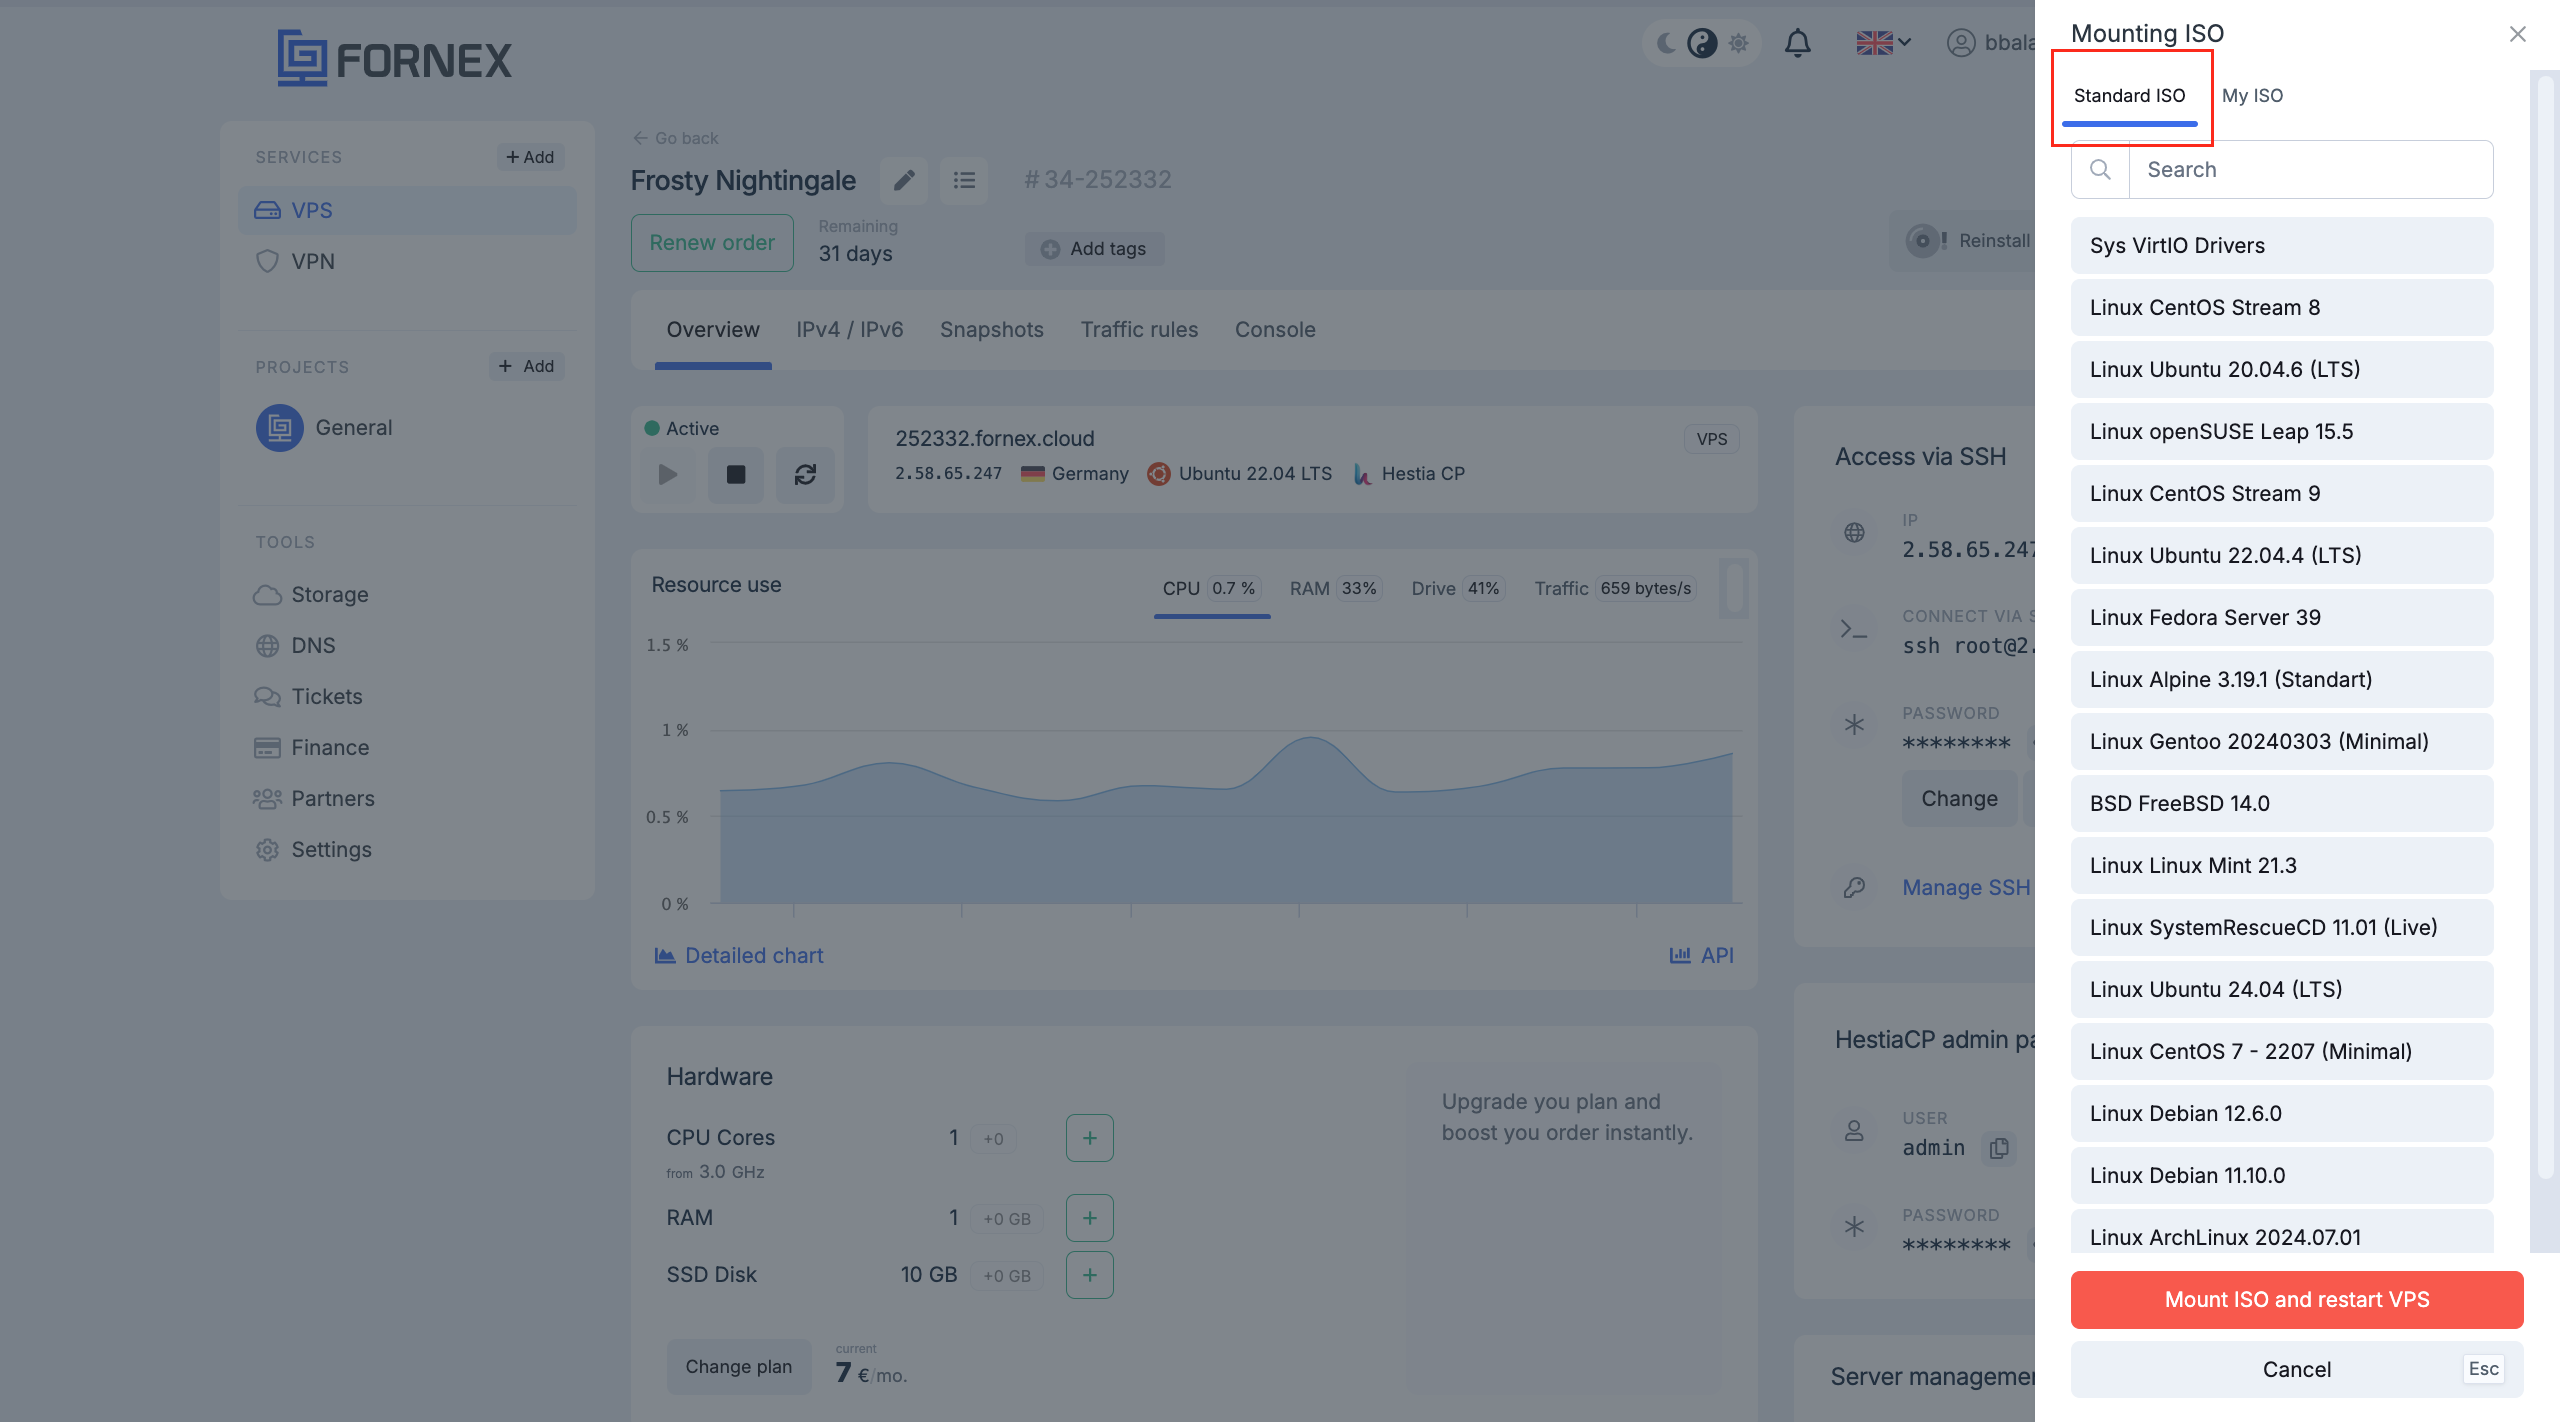
- ISO Mounting Button
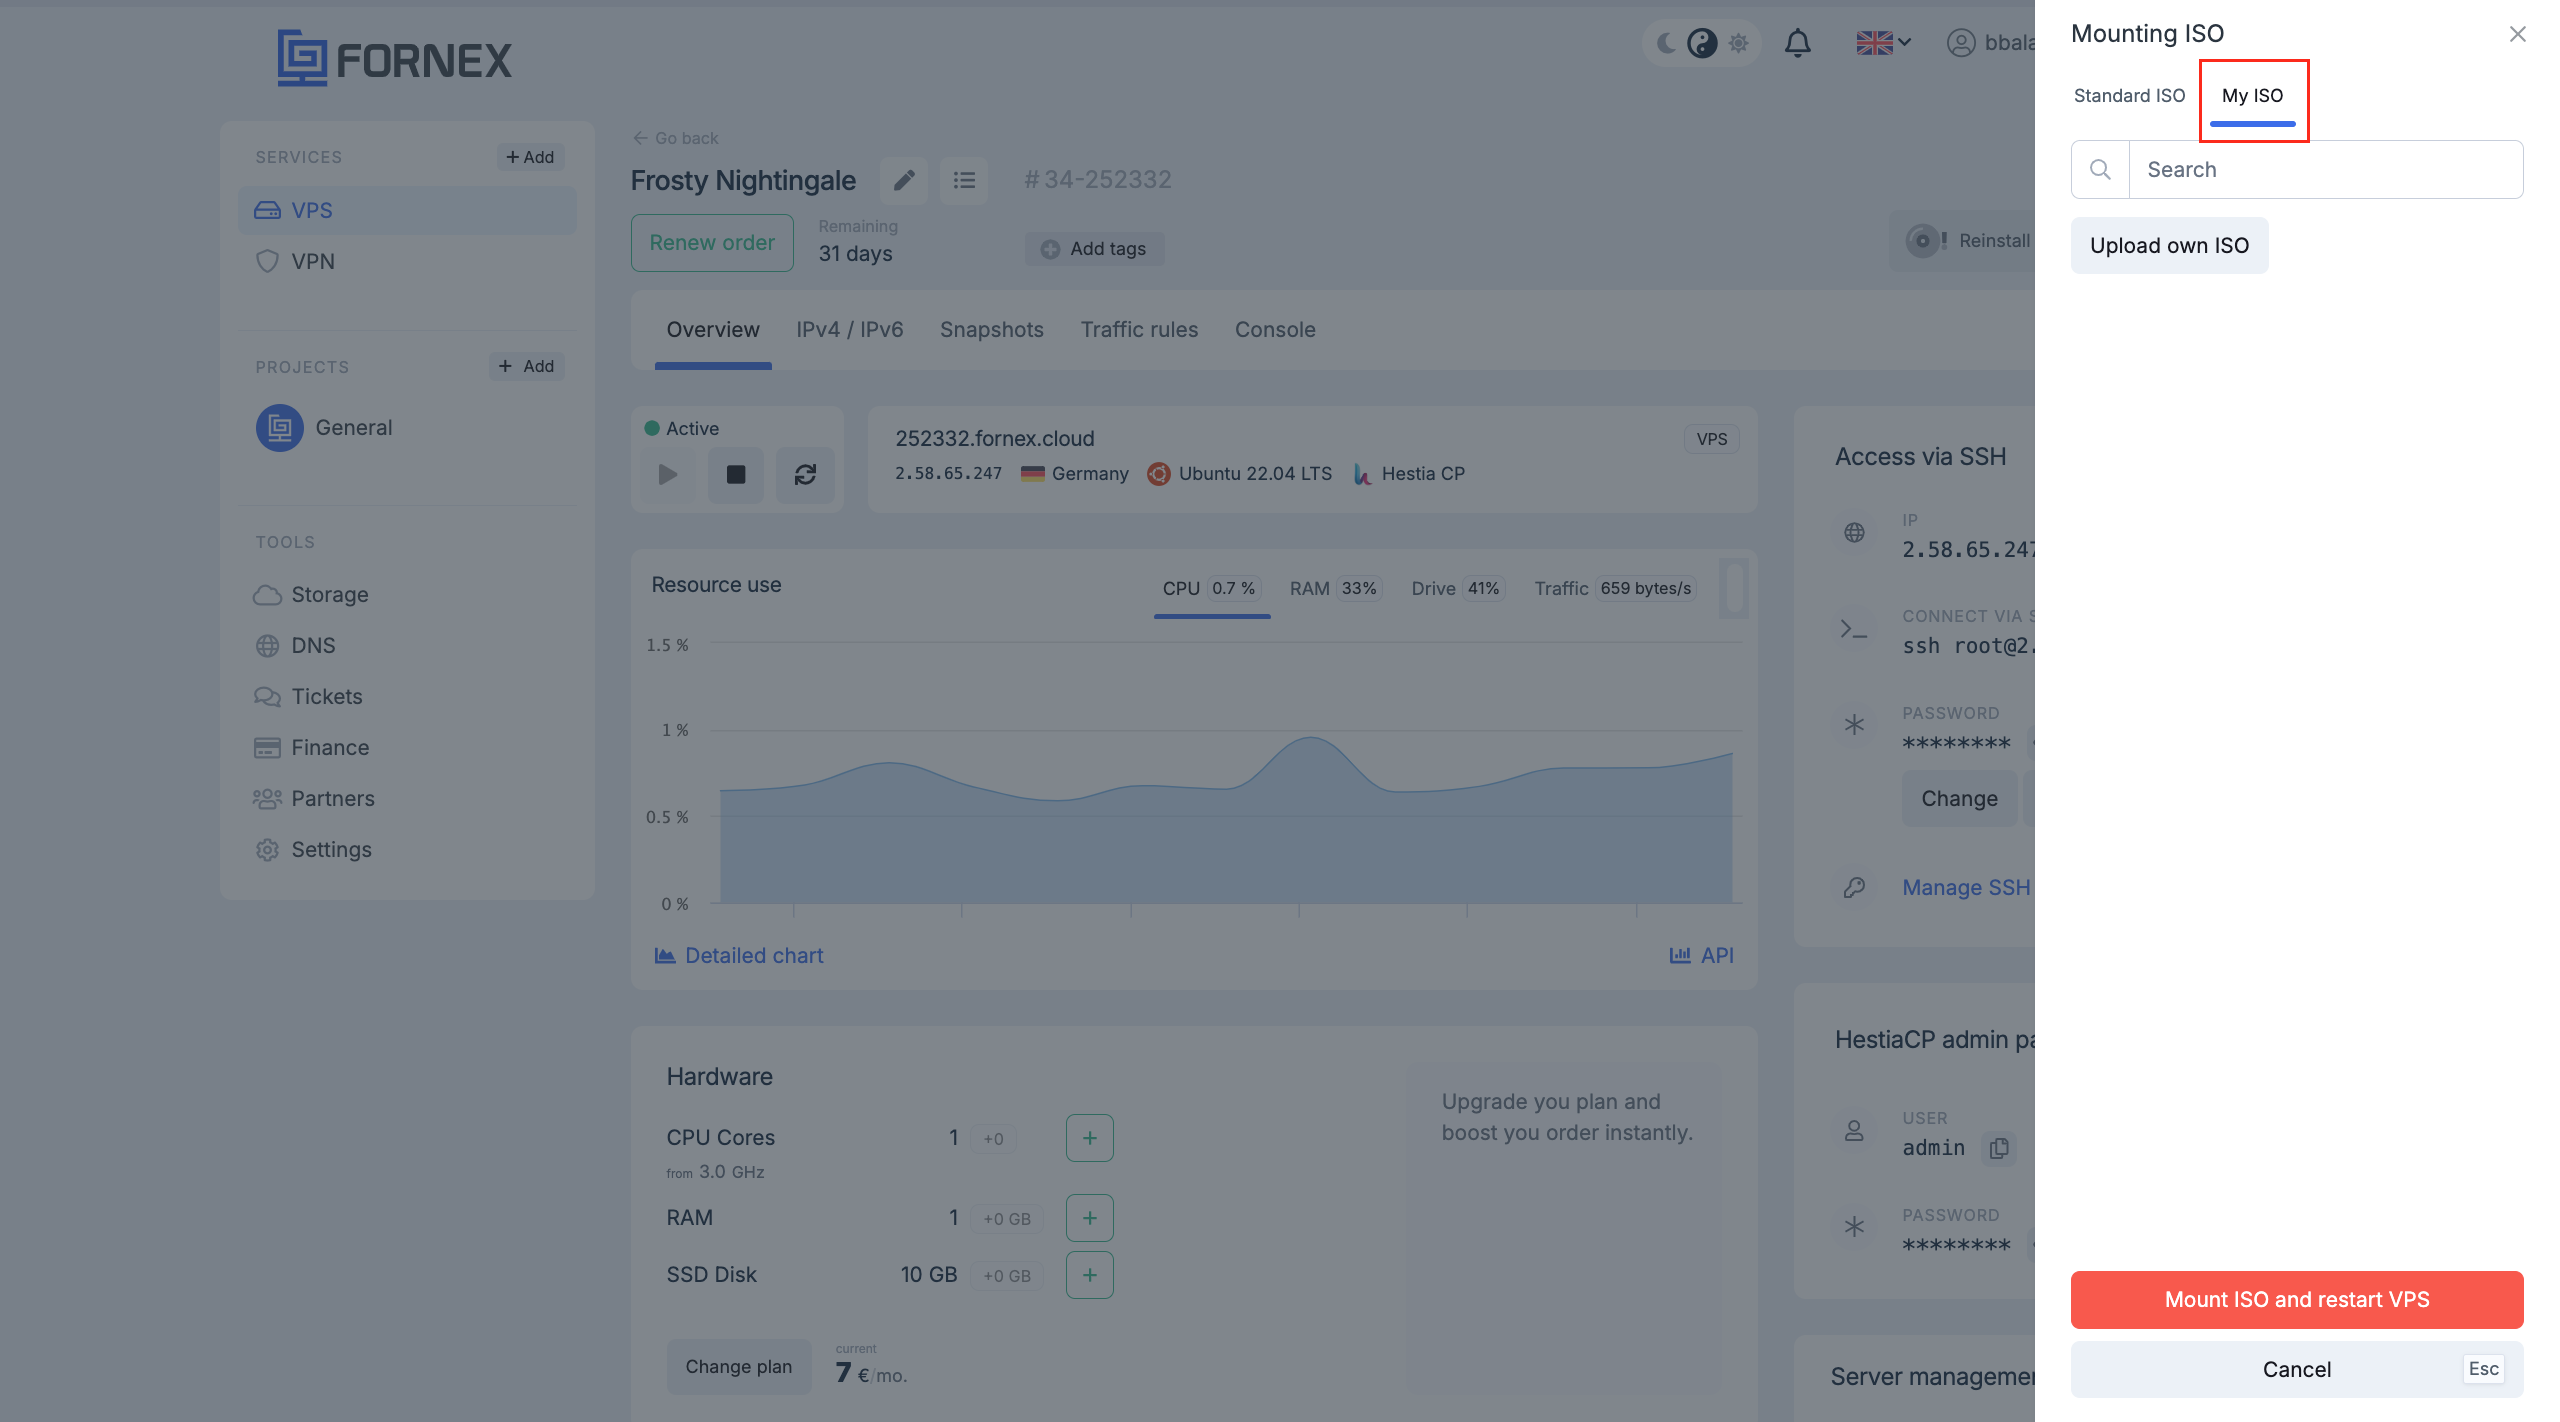
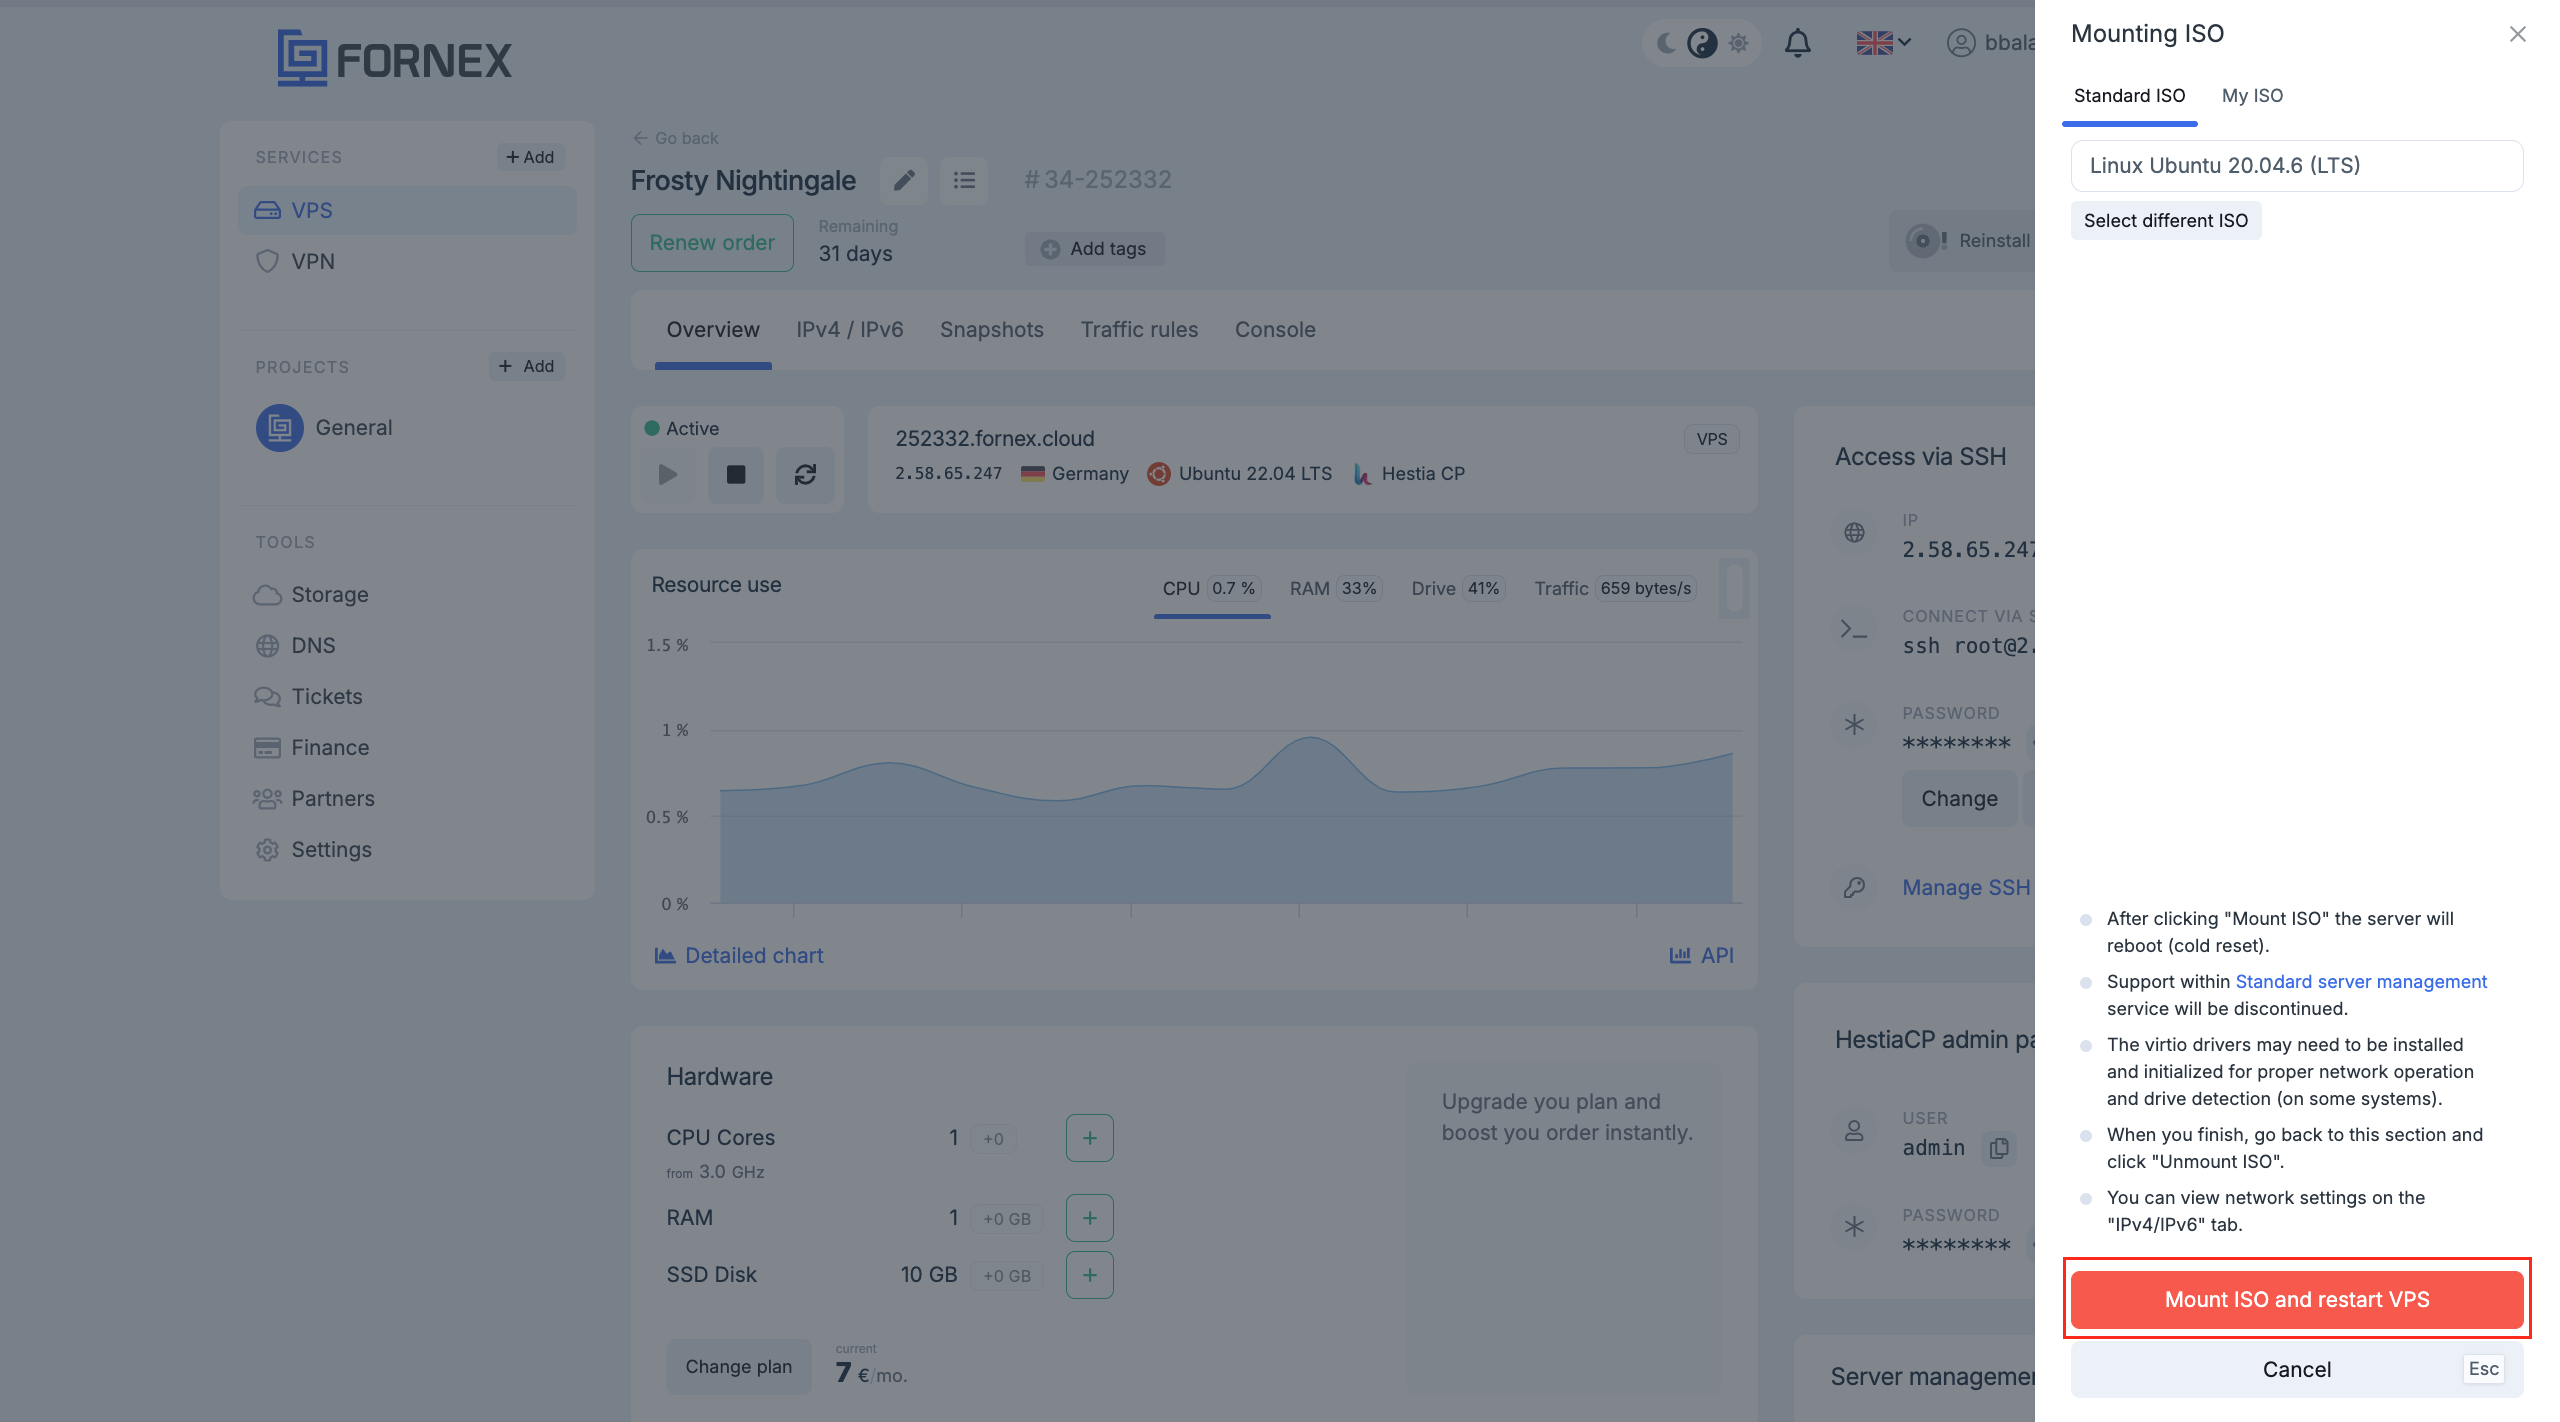
- The option to mount ISO images provided in the list or upload your own image by clicking the appropriate button. Detailed instructions on the virtual server image mounting process can be found here.

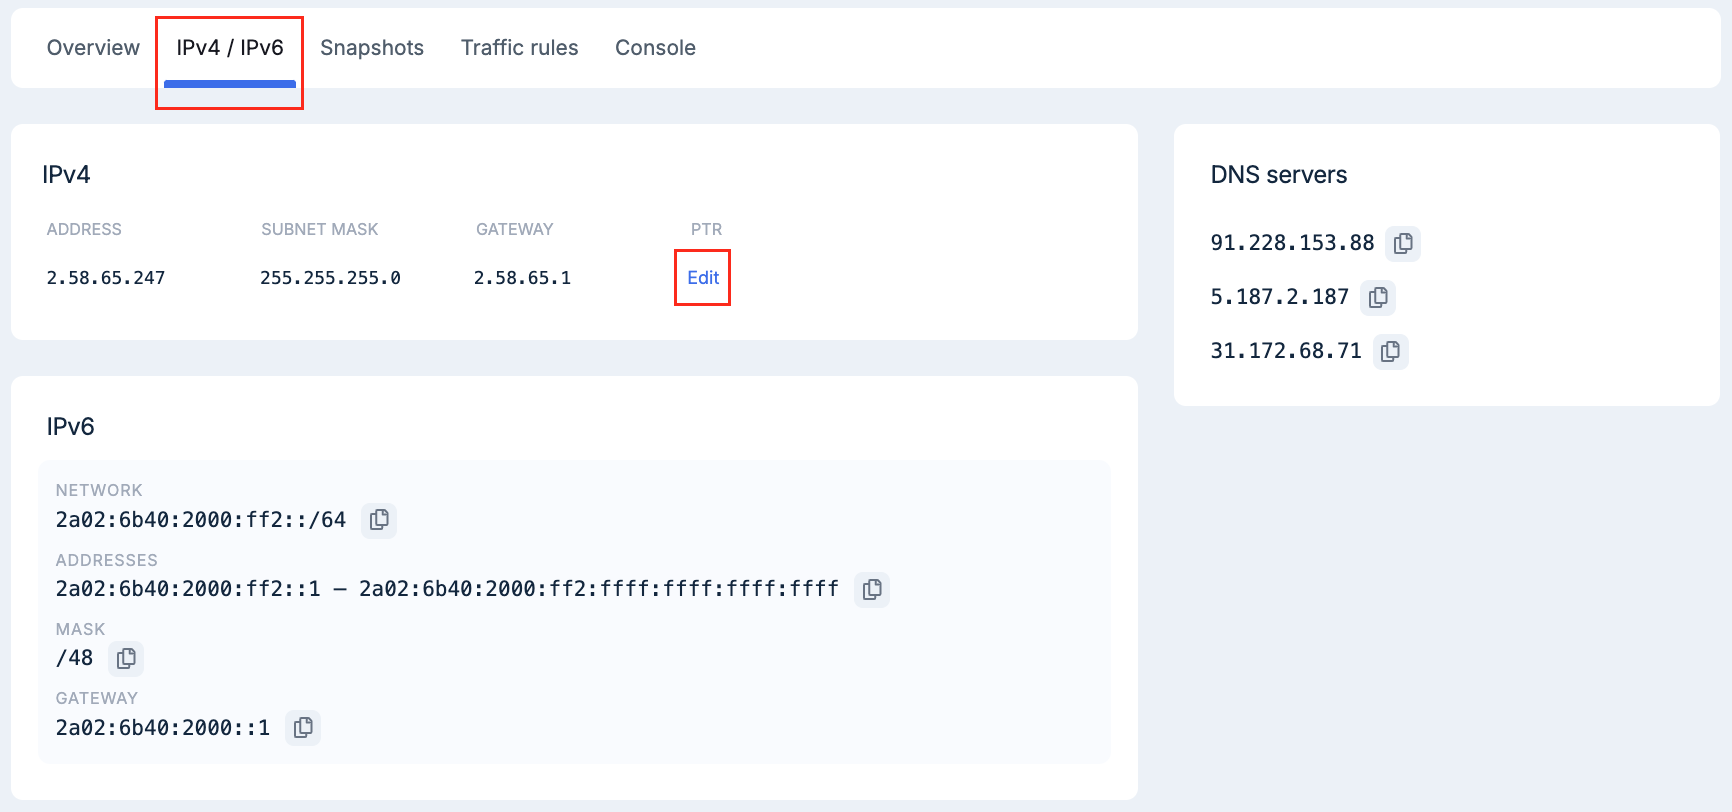
«IPv4/IPv6»
In this section, you can find detailed information about your server's IP addresses;
- Here you can also add a PTR record for the IP address. Learn more about it here;
- PTR (pointer) is an entry which binds IP address to your website domain.
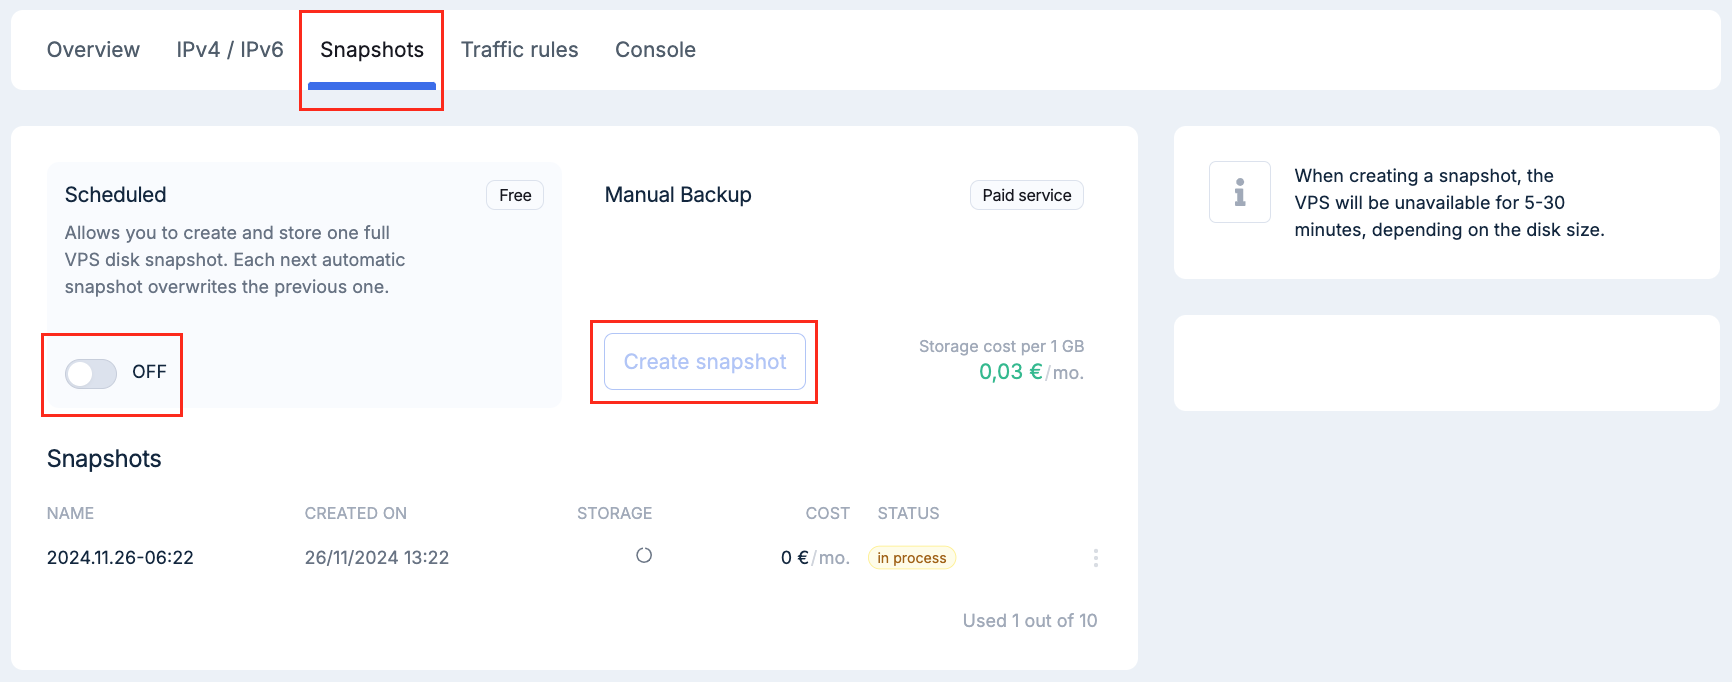
«Snapshots»
- You can read more about Snapshot function here
«Traffic rules»
- In this section, you can manage the filtering settings for incoming traffic to your server.
- Here, you can activate or configure rules to protect your server from unwanted traffic and ensure security.

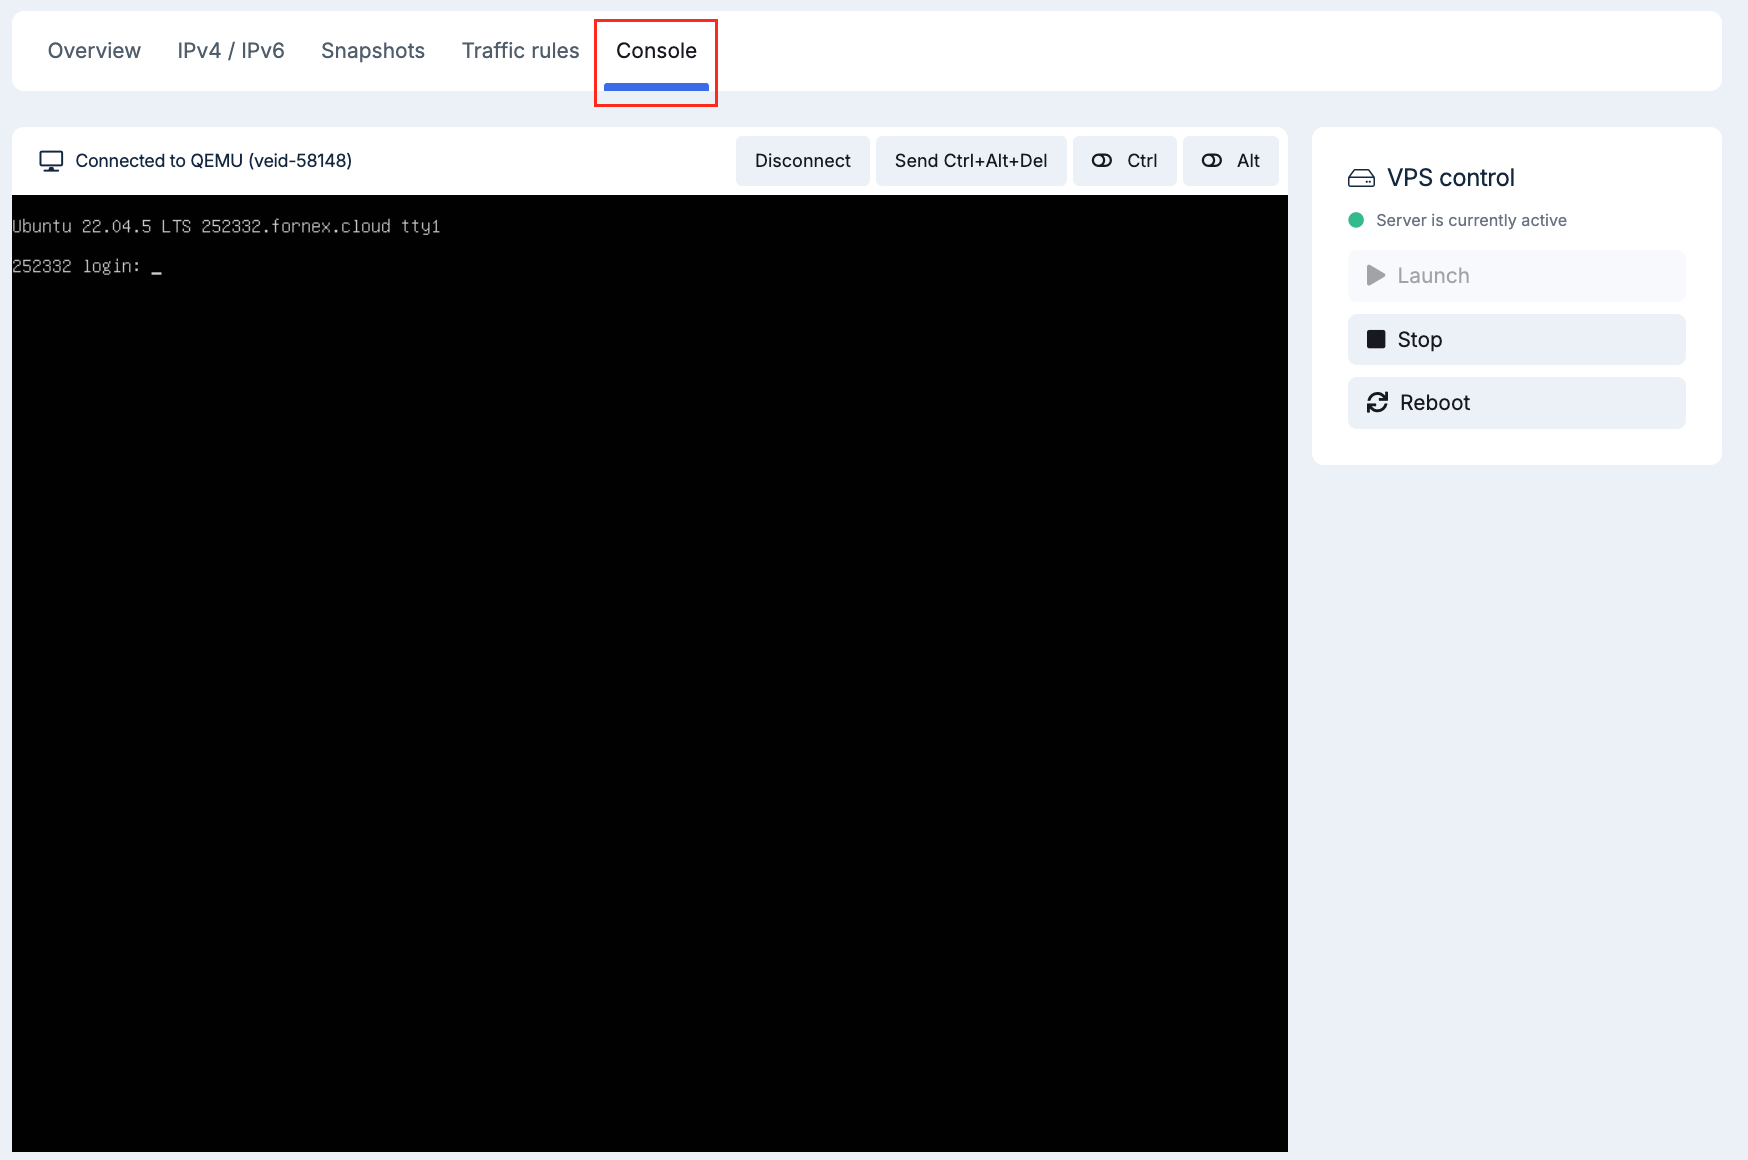
«Console»
This section allows you to connect to the server via console.
Cancel order
- When you cancel your order, click «Cancel order»
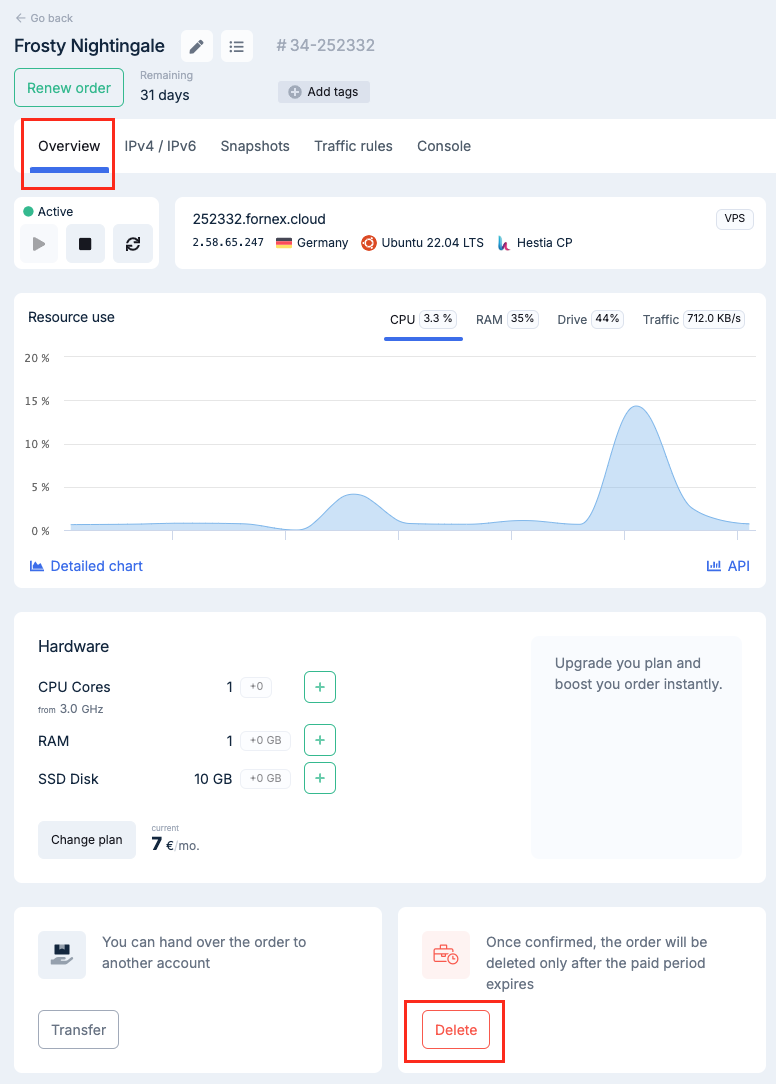
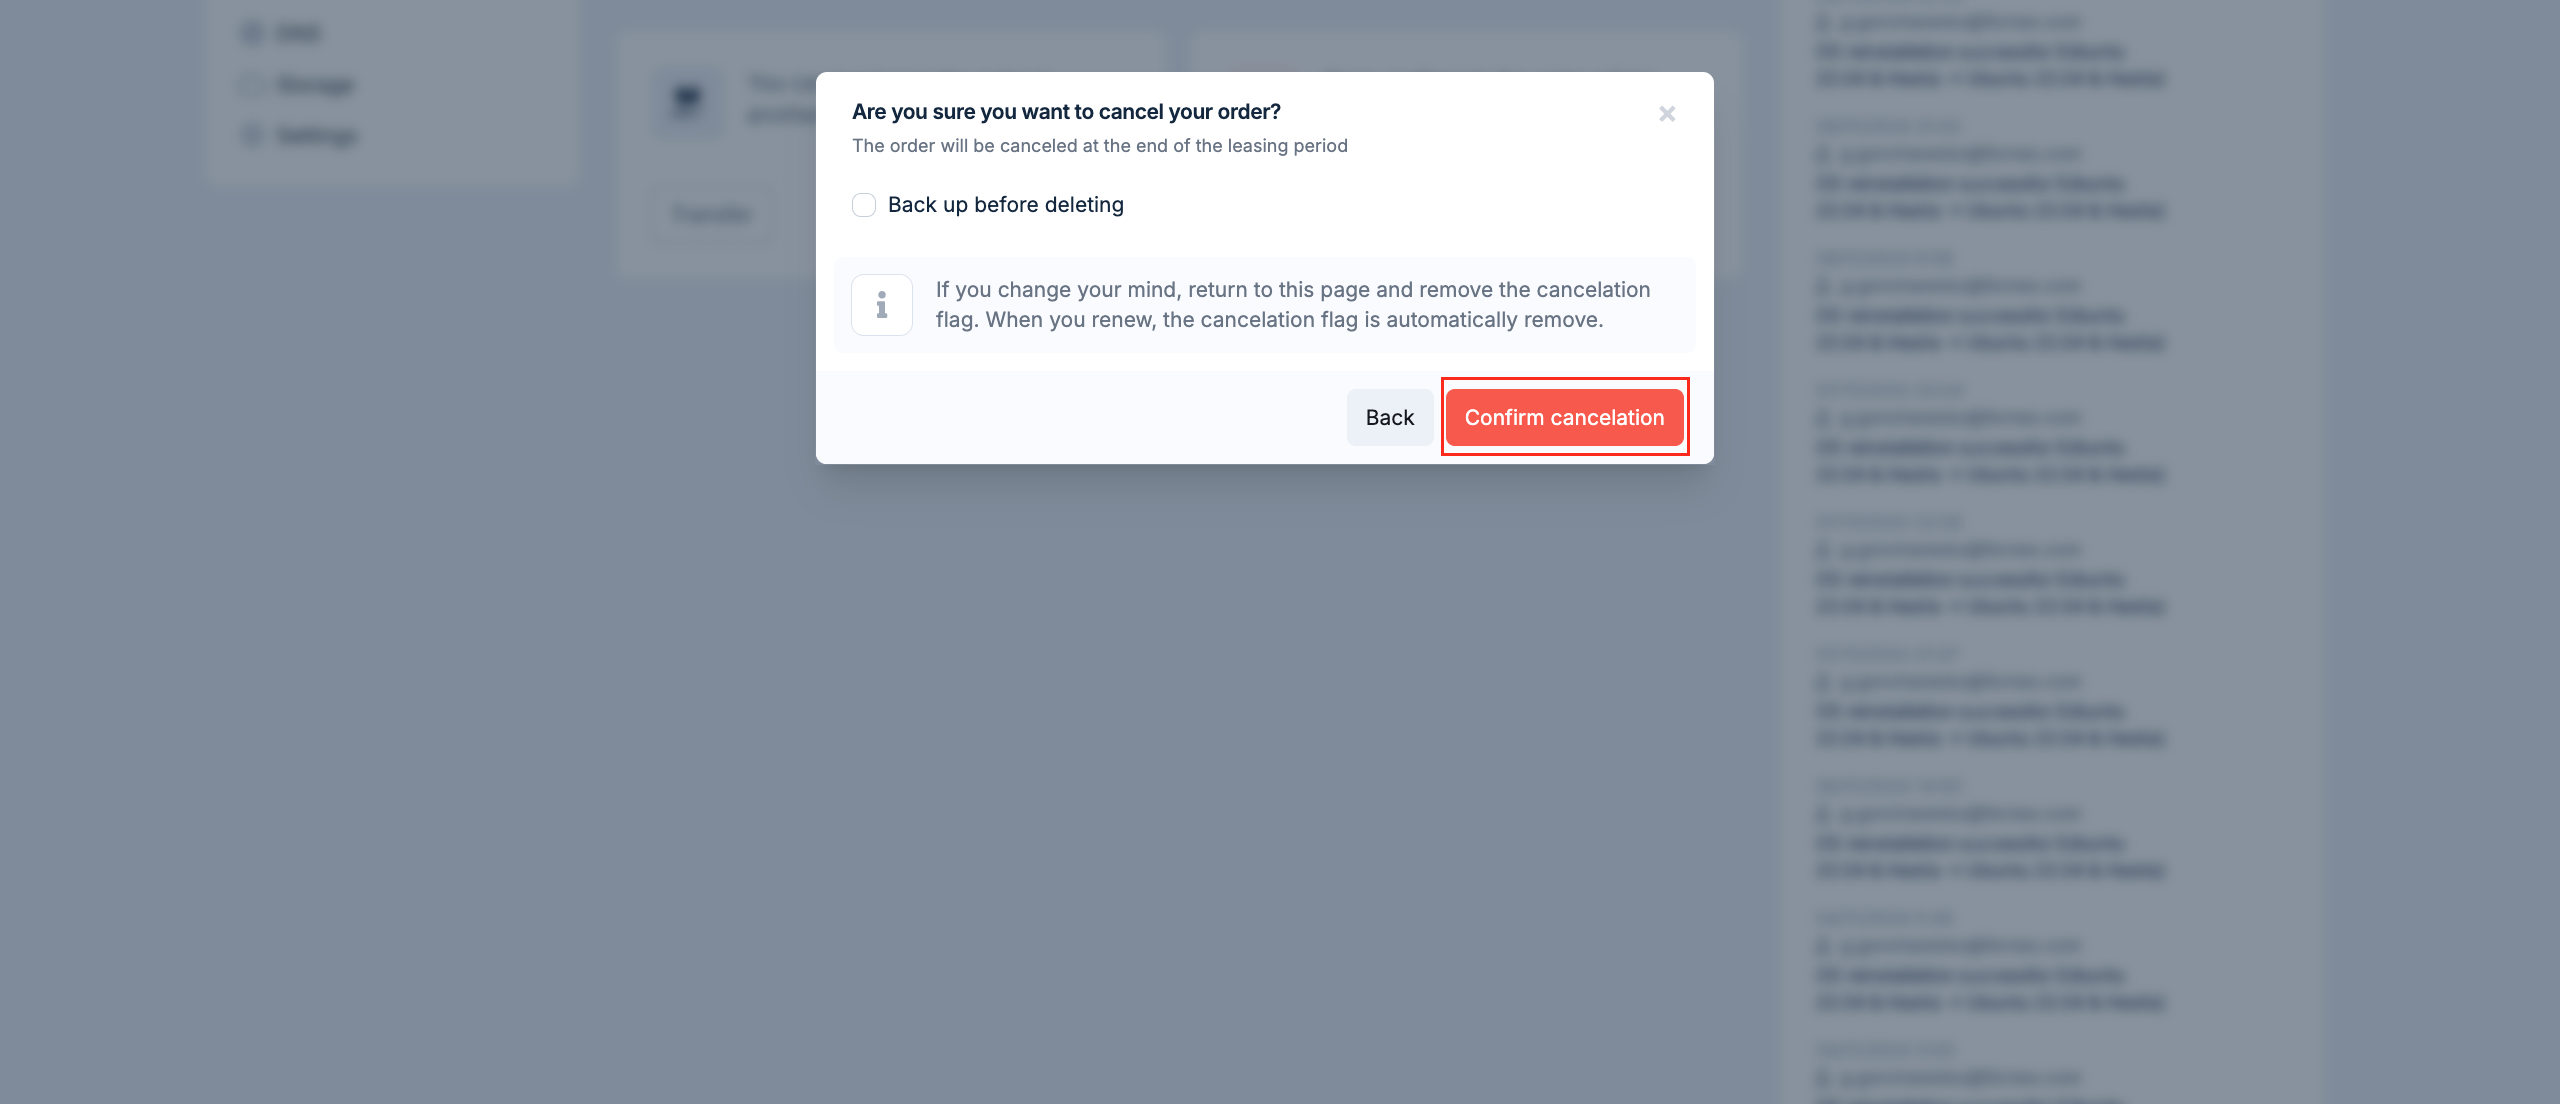
Also, you should understand that the «Cancel Order» button is not a physical cancellation of the service, but an option that disables Auto-Renewal if you have cash on your balance.
Checking Make a backup before you delete, gives you the option to keep your backup on a paid basis, after you cancel the order.
If you want to cancel your order completely and get your balance back for unused days, in this case you need to contact our support team via Ticket system.
If you have any difficulties or additional questions, you can always contact our support team via ticket system.
