File manager in cPanel
Description of the File Manager in the cPanel control panel.
File Manager is a convenient tool that allows you to easily upload your website files to the hosting server, change file permissions (chmod), edit, copy, delete, and move files.
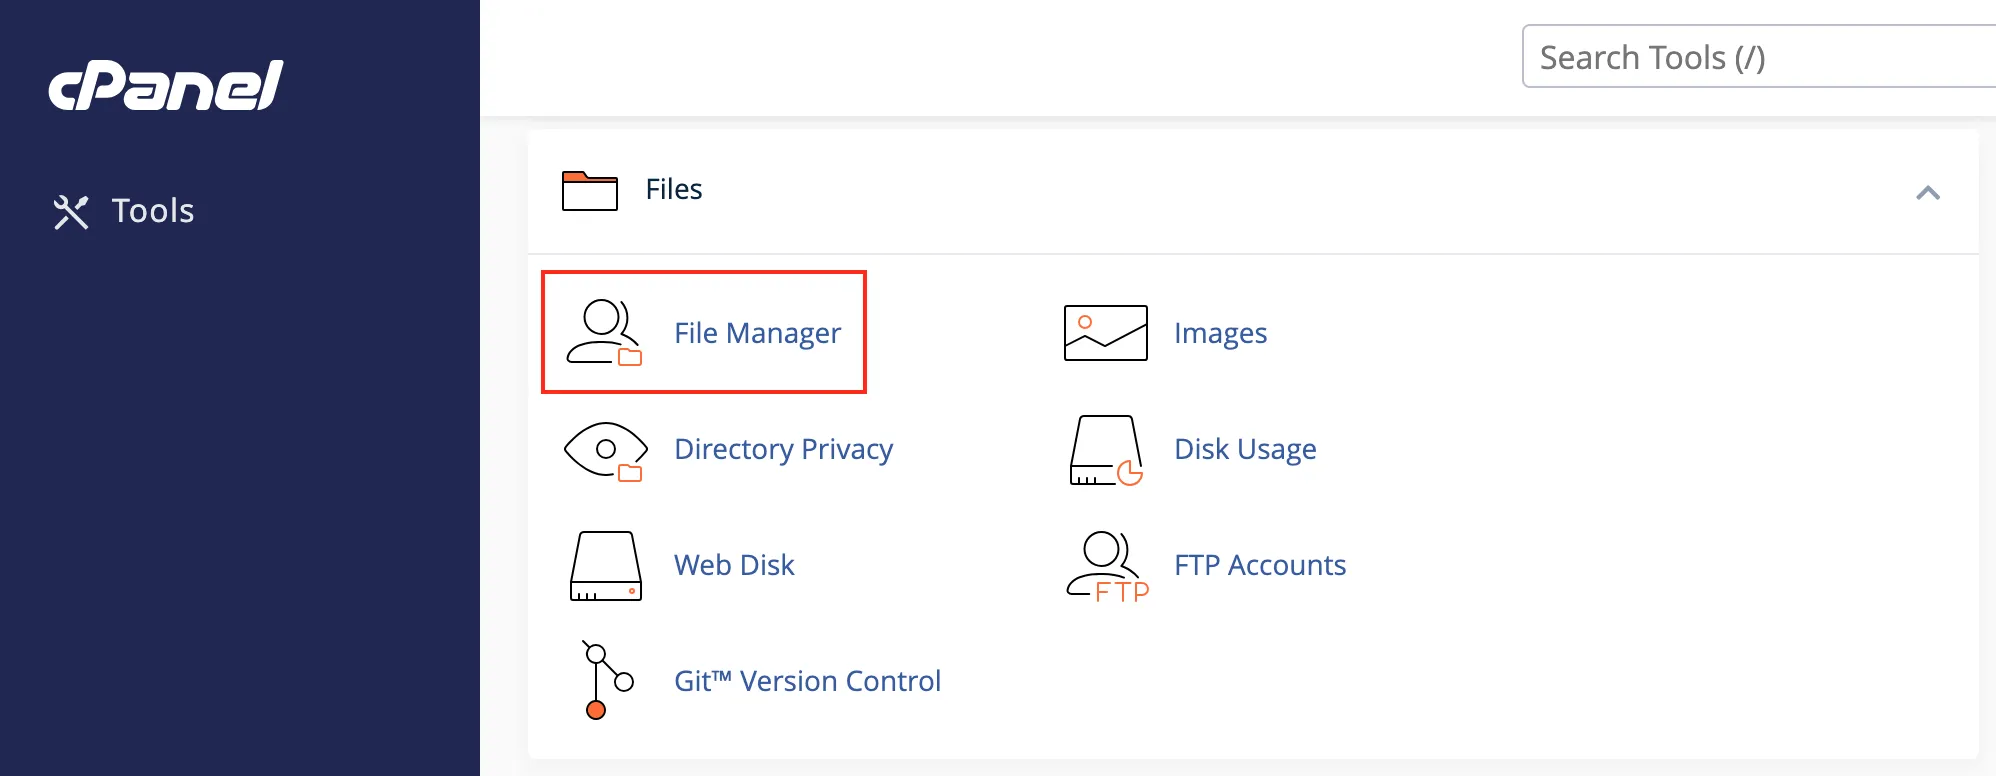
To open the File Manager, log in to your control panel and go to “Files → File Manager.”
In the “Settings” menu, select your desired option:
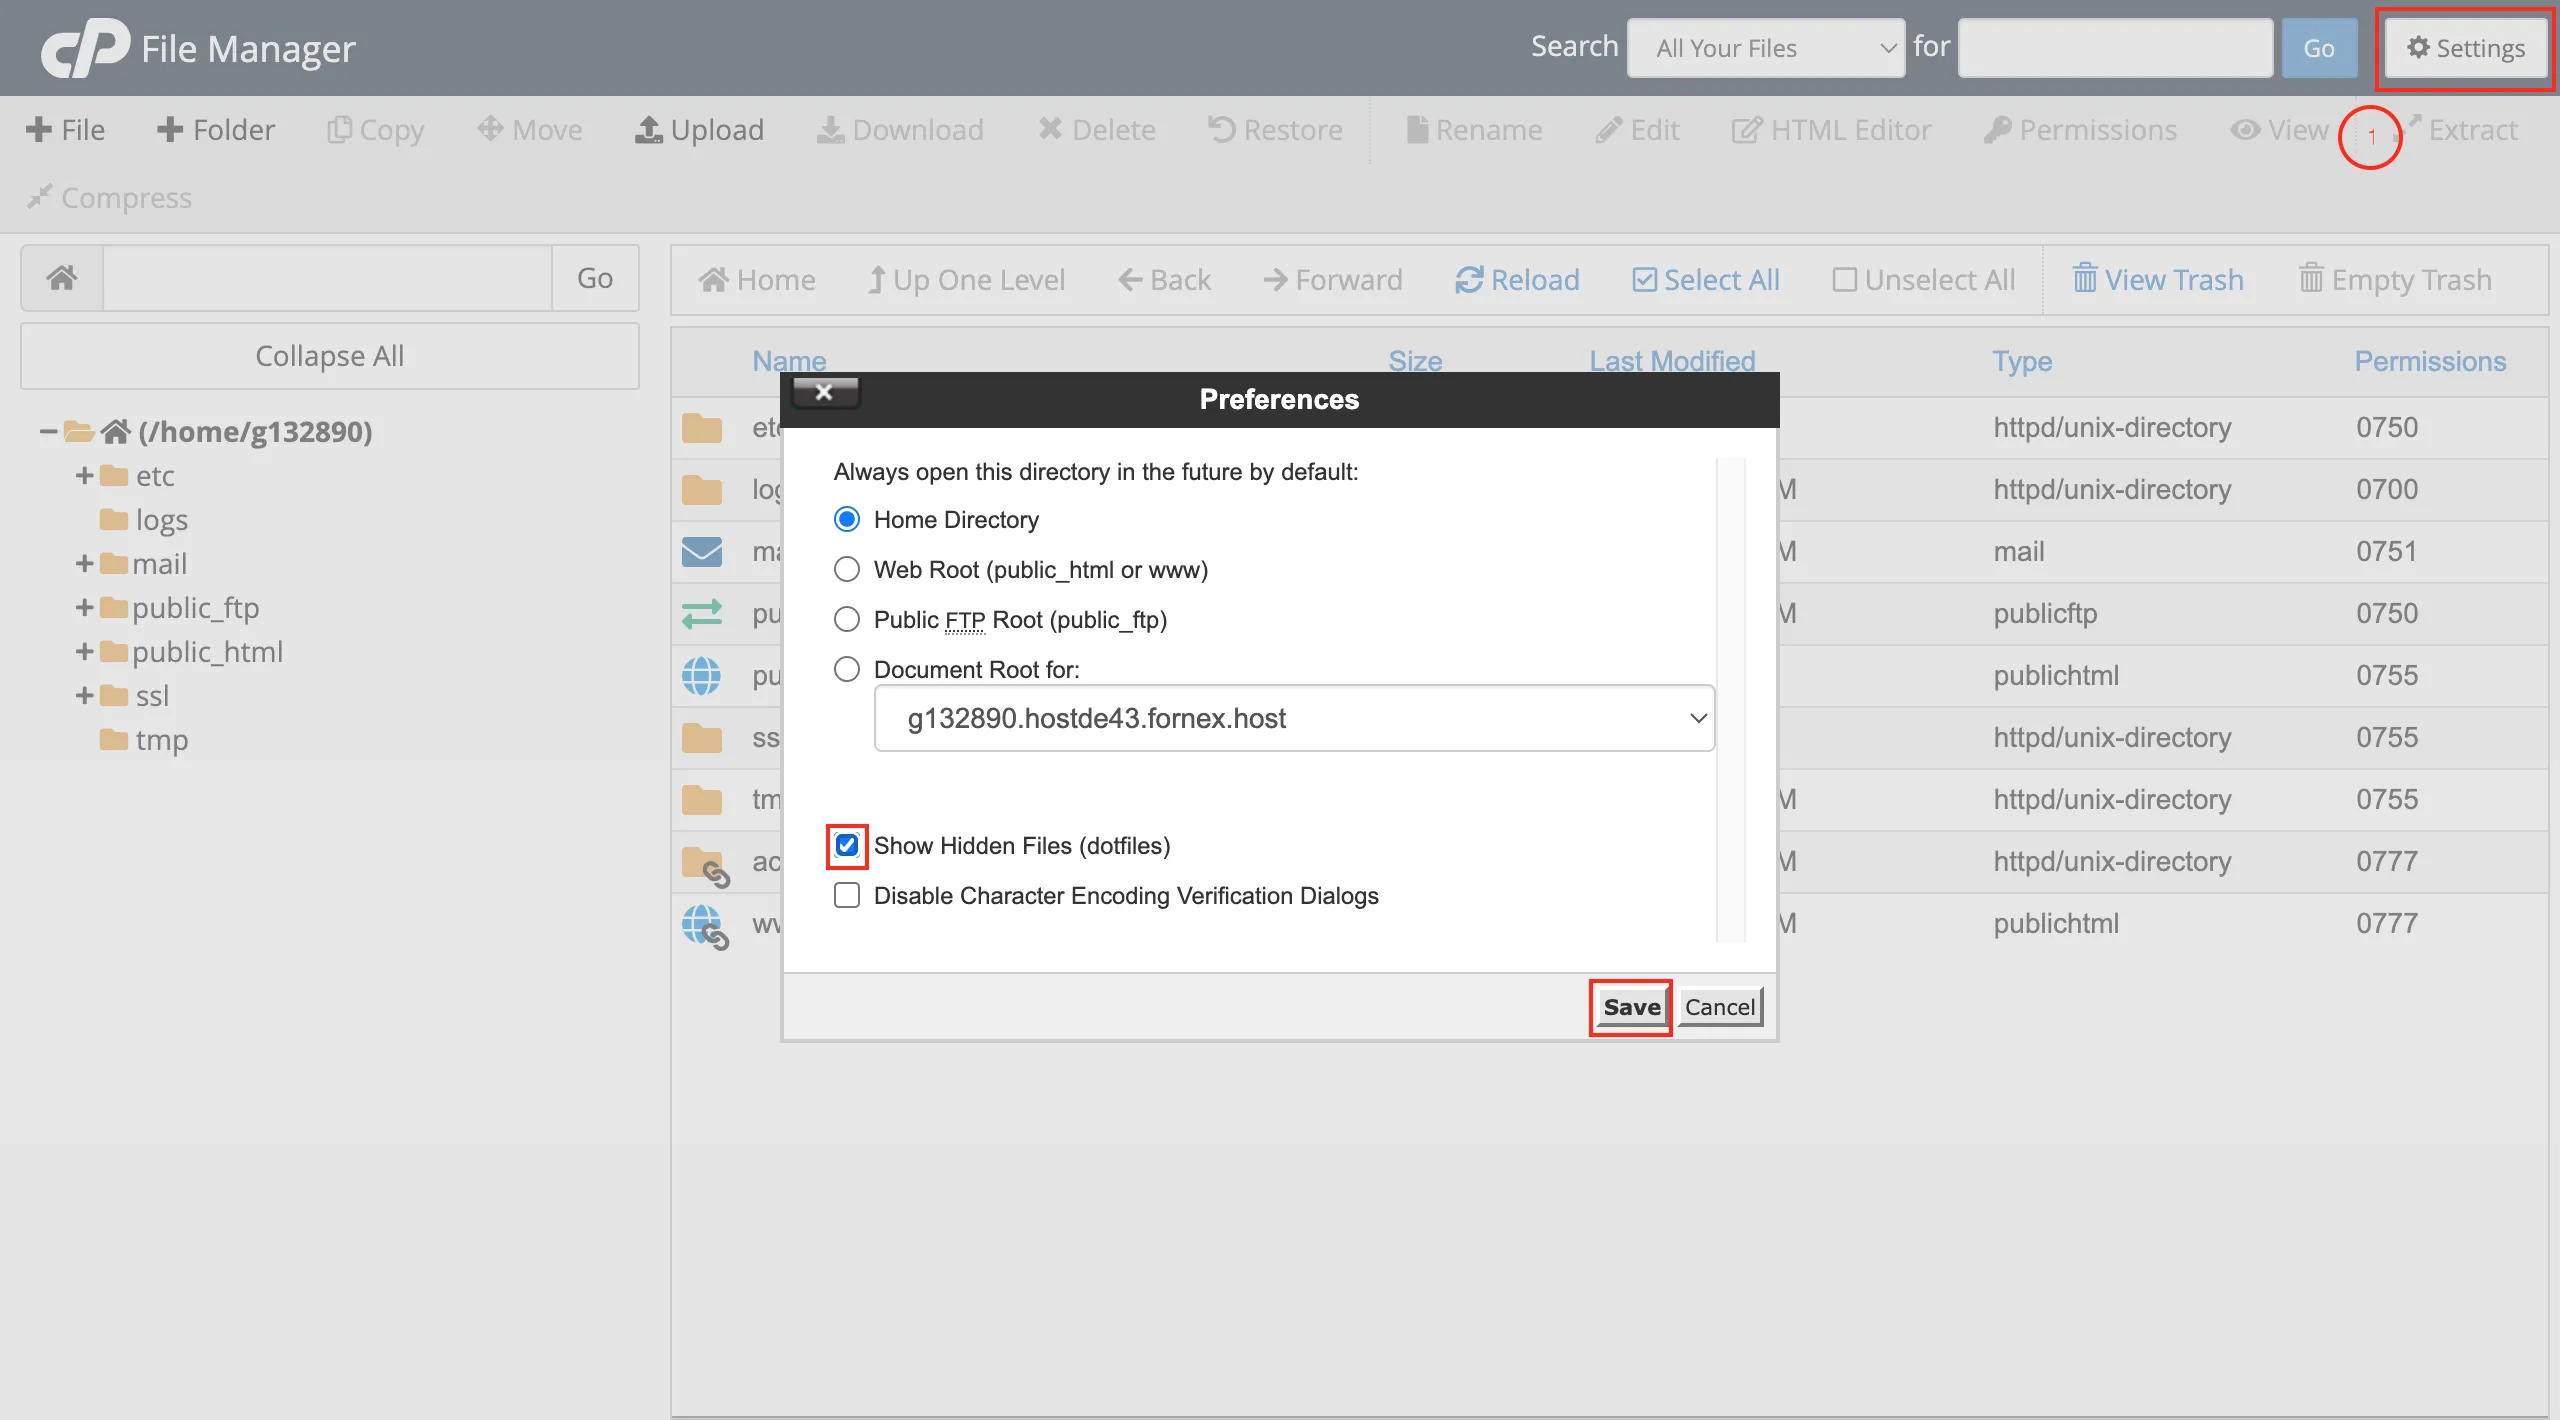
- “Home Directory” — opens the root directory of the File Manager.
- “Web Root (public_html or www)” — contains your website folders.
- “Public FTP Root (public_ftp)” — the directory for public FTP access.
- “Document Root for:” — takes you directly to the root folder of a specific website.
- Check “Show Hidden Files” to display files that start with a dot (for example,
.htaccess).
The File Manager interface consists of two panes and a top menu. The left pane shows the folder structure of your account, while the right pane displays the contents of the selected directory.
Let’s take a closer look at the top menu, where most file operations are performed.
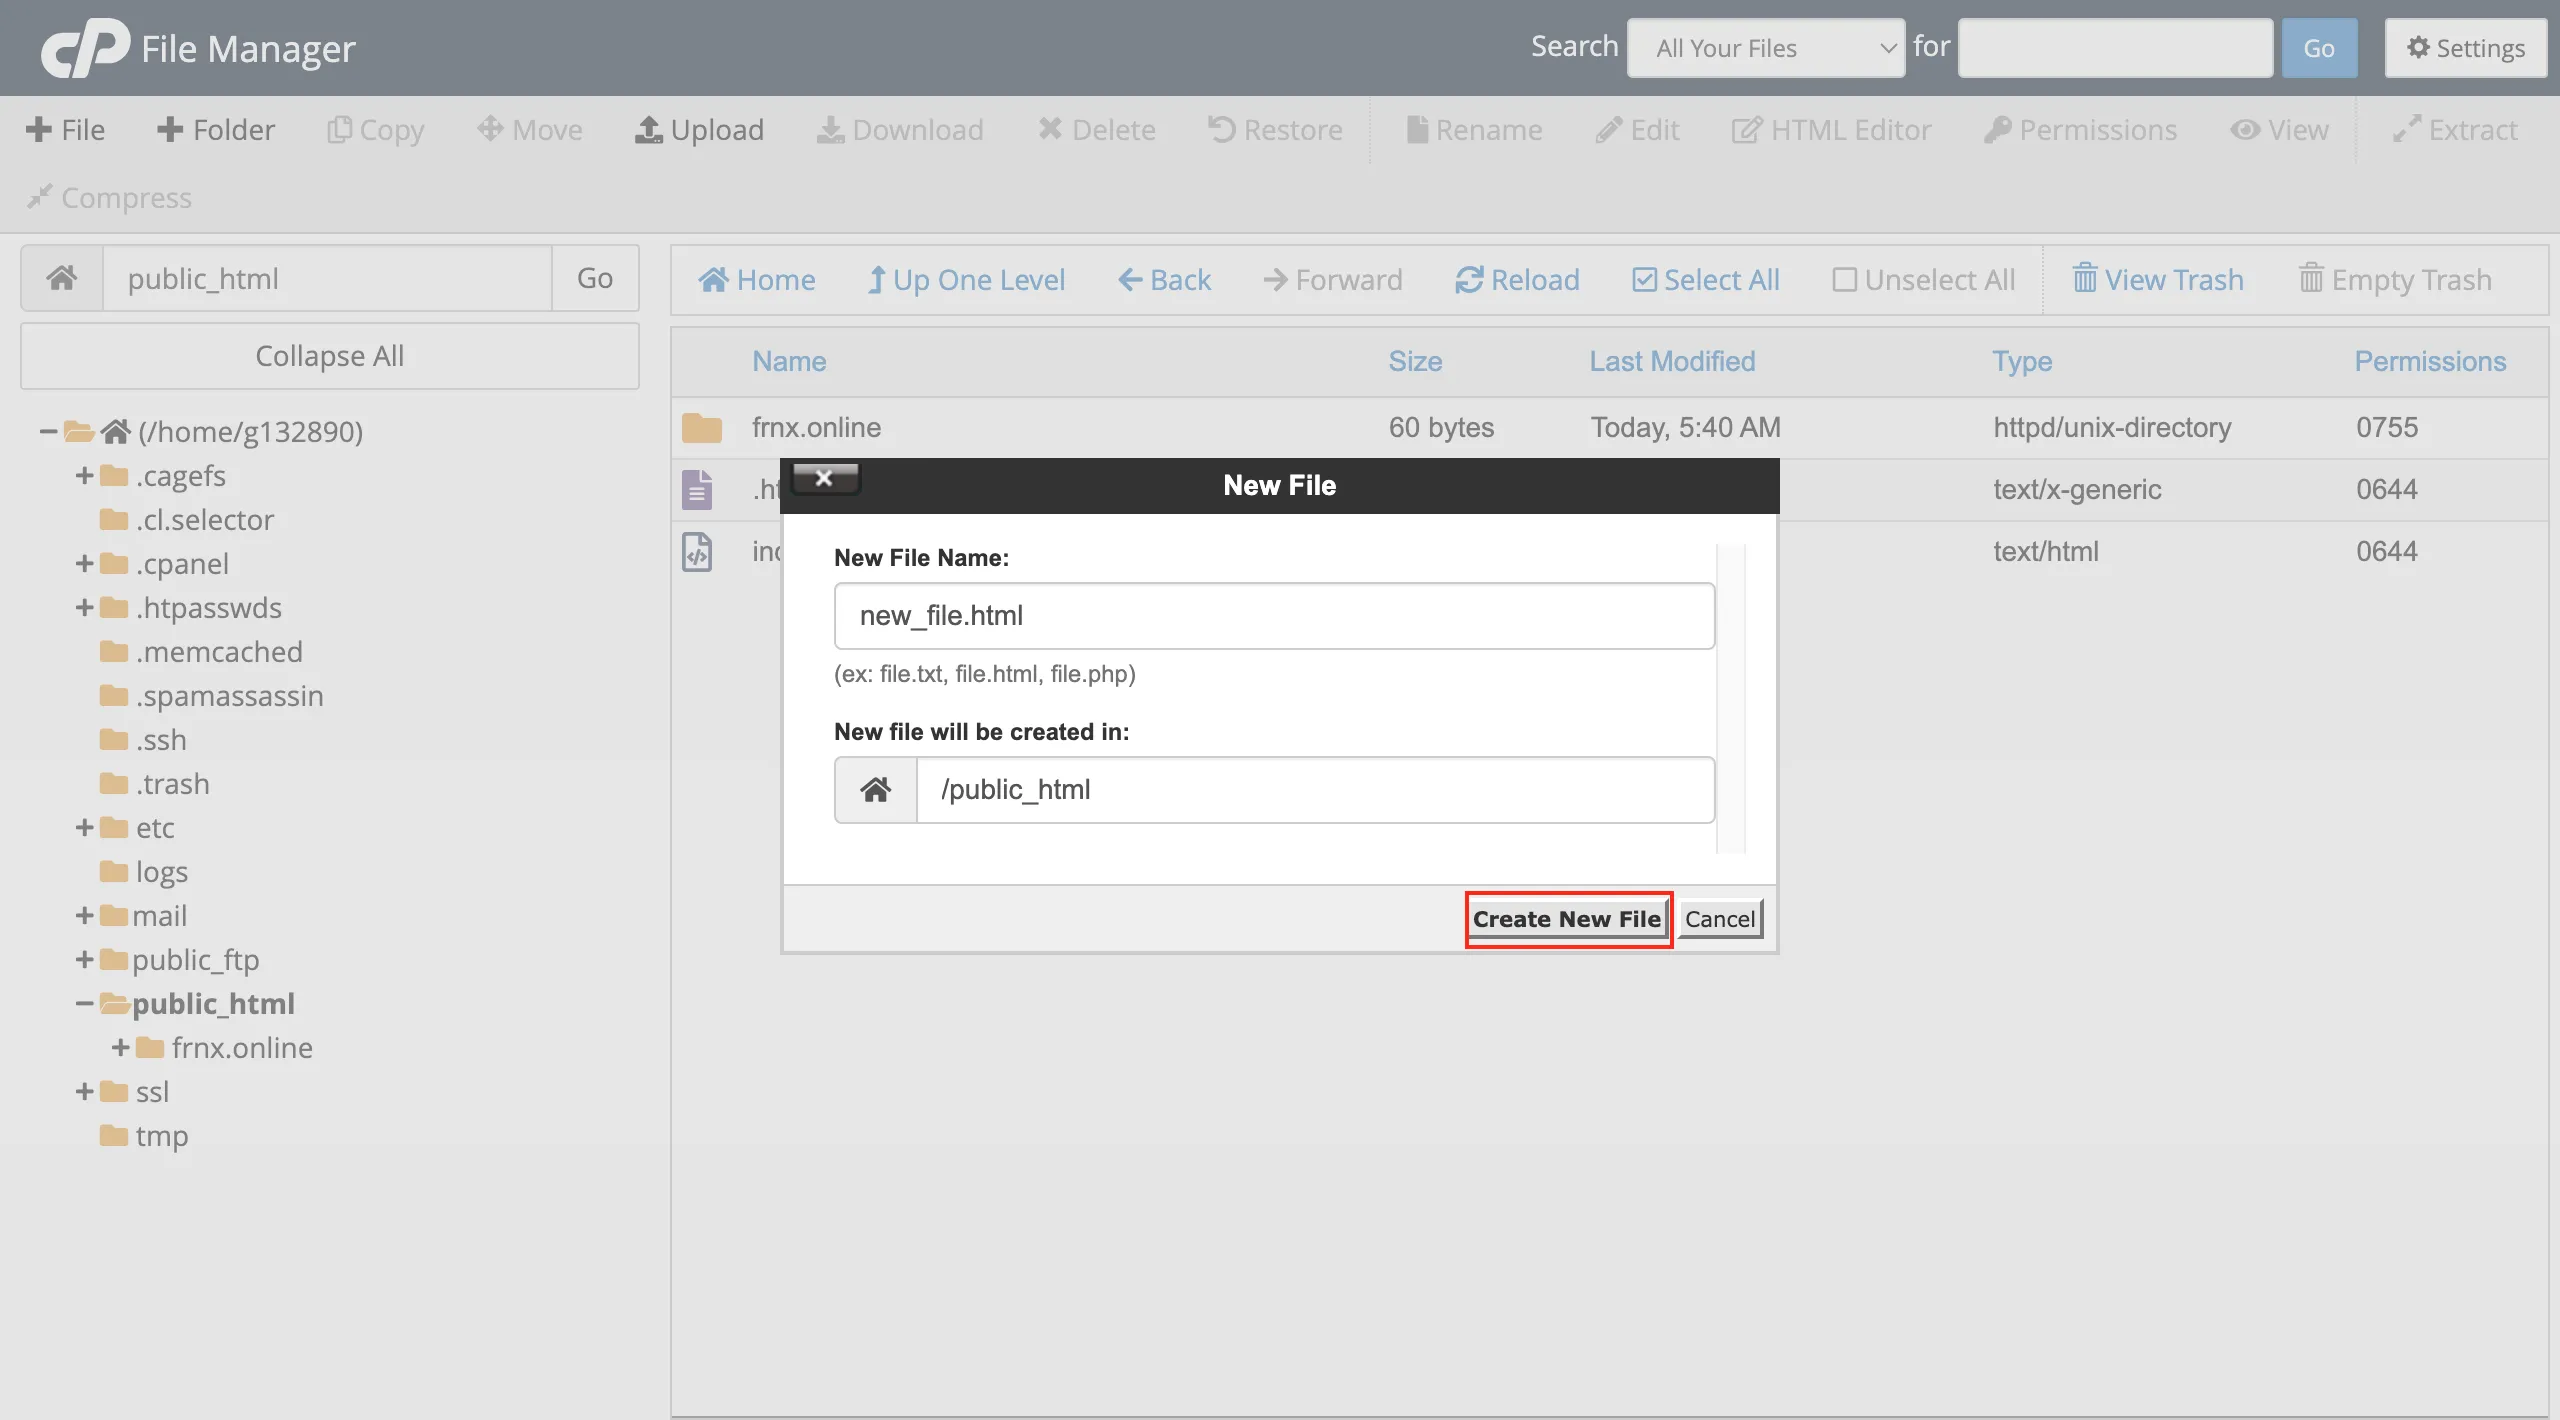
“File” — create a new file in the selected directory

In the “New File Name” field, enter the desired file name and extension. The file will be created in the current directory, or you can manually specify a different path.
“Folder” — create a new directory

Enter the folder name in the “New Folder Name” field, and if necessary, specify the path where it should be created.

“Copy” — copy a selected file or folder

Be sure to specify the destination path in the provided field.

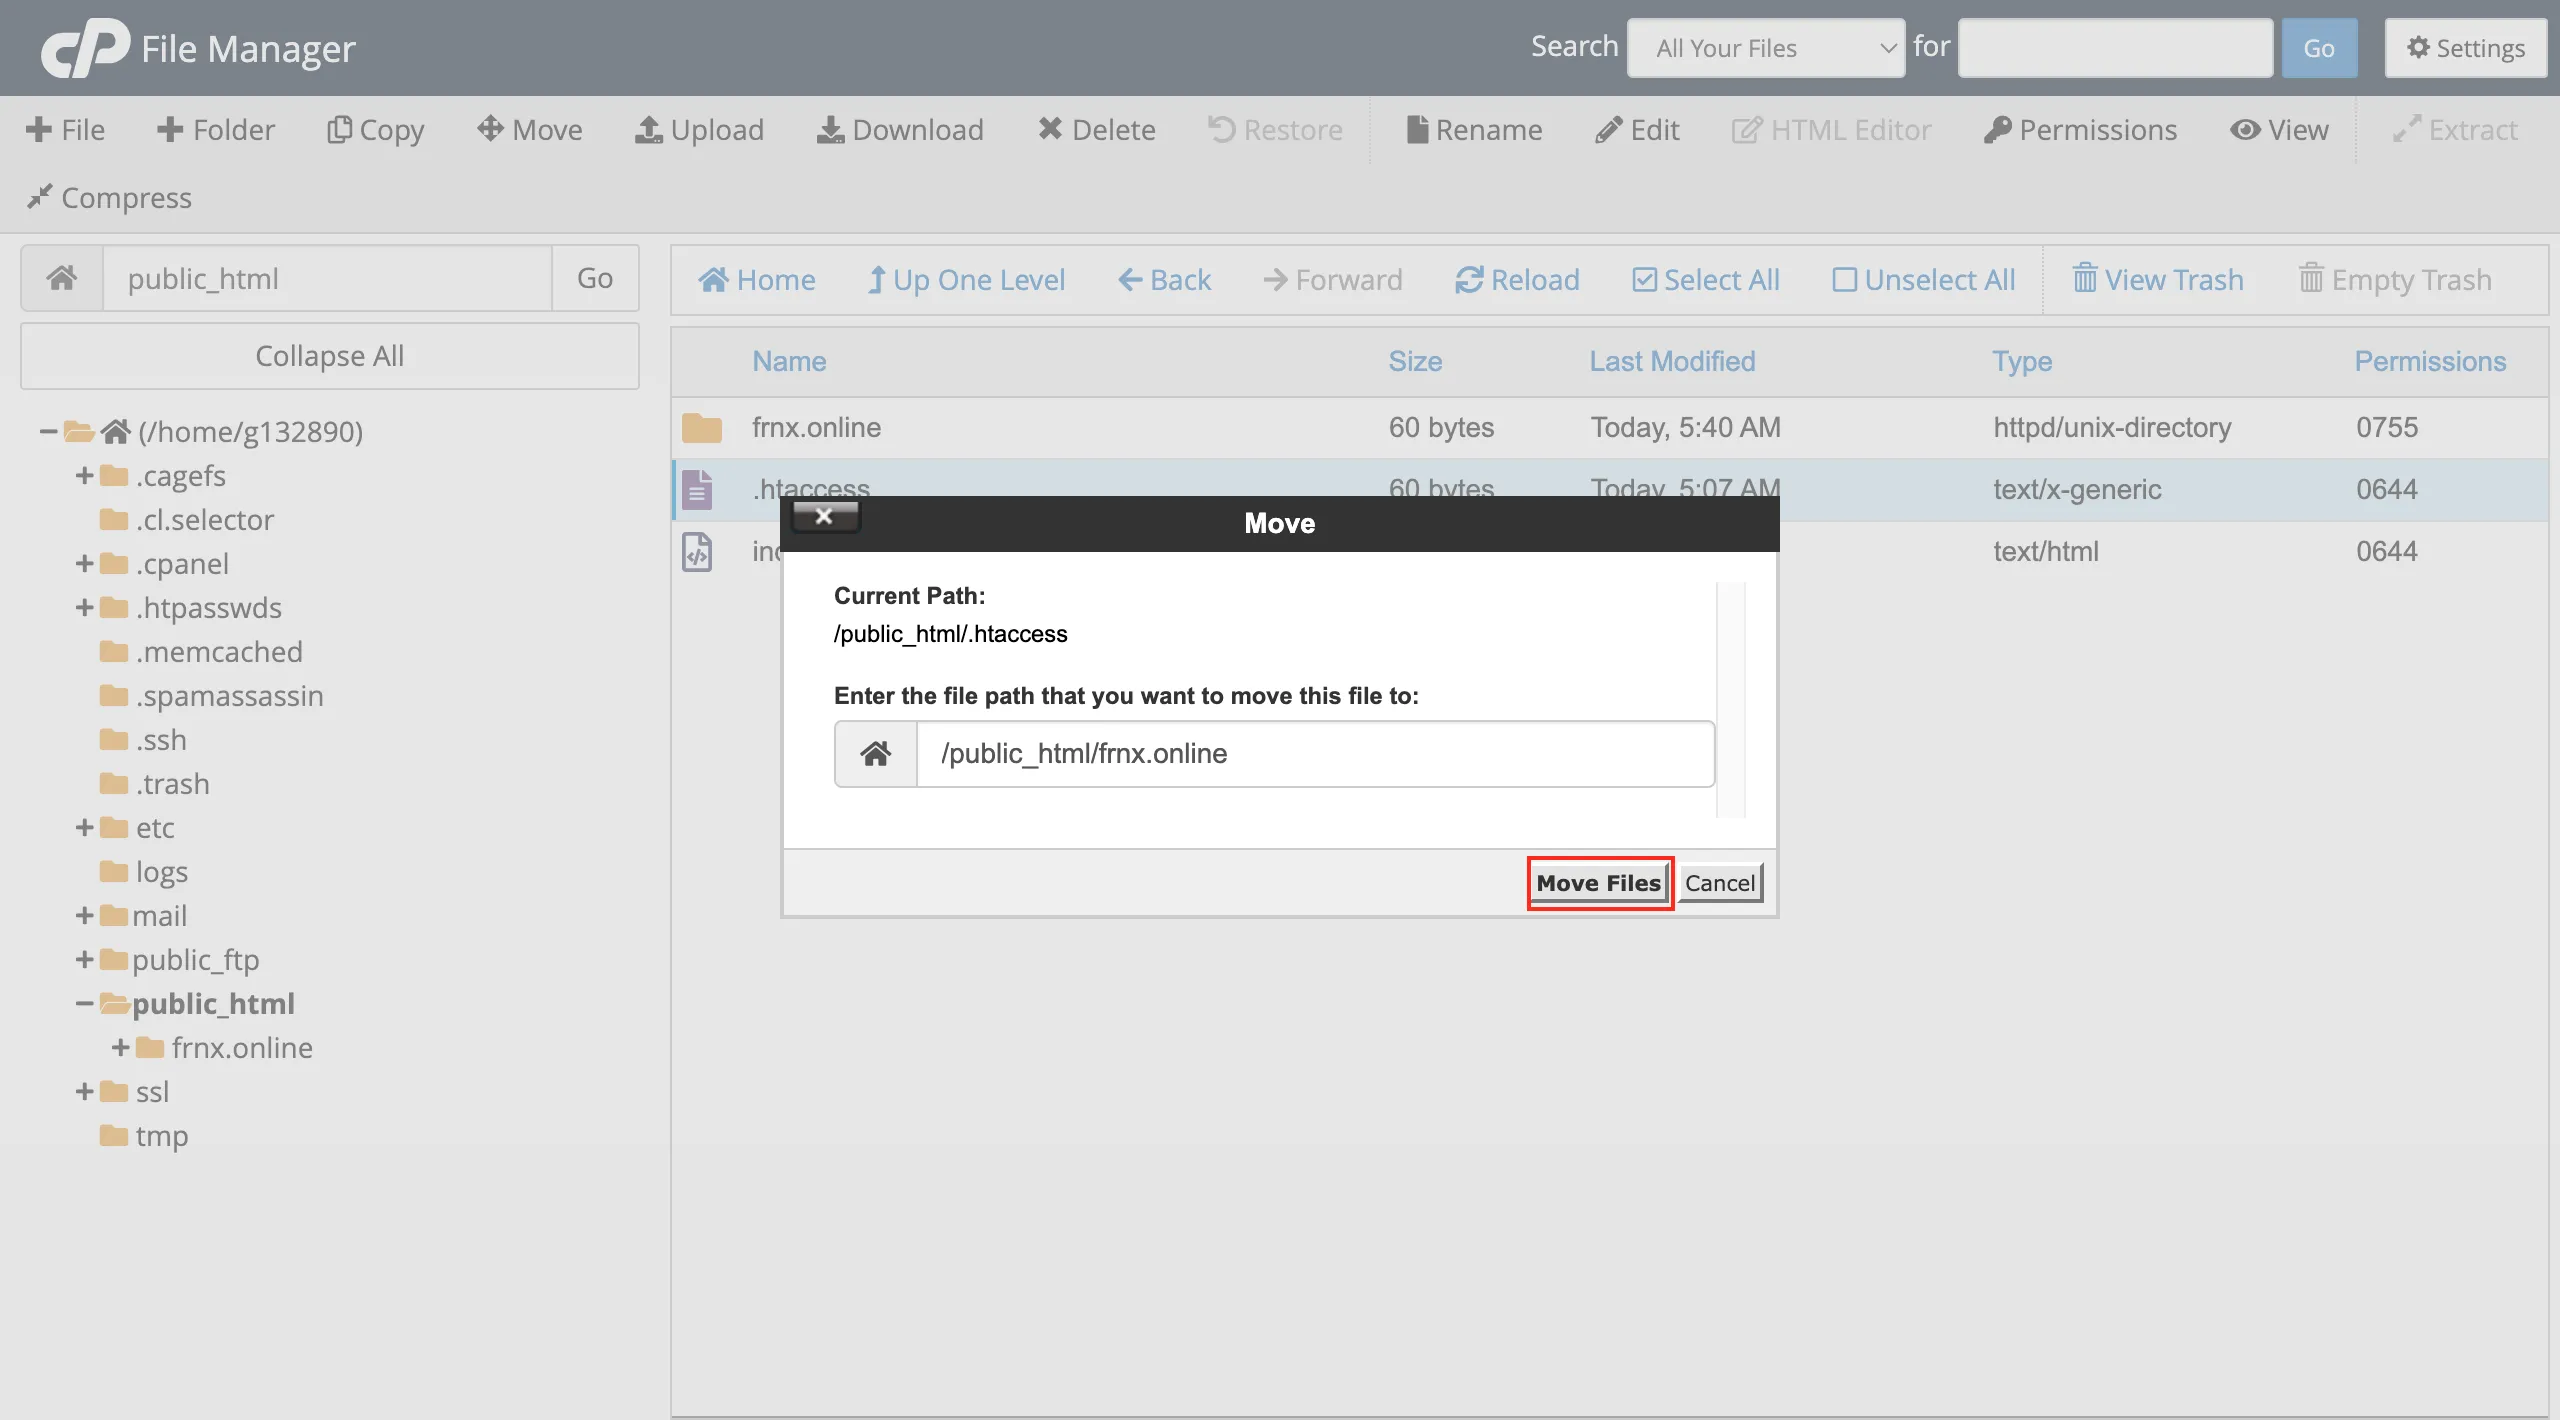
“Move” — move files between directories

This works similarly to copying, but after the operation, the file will only appear in the new location.
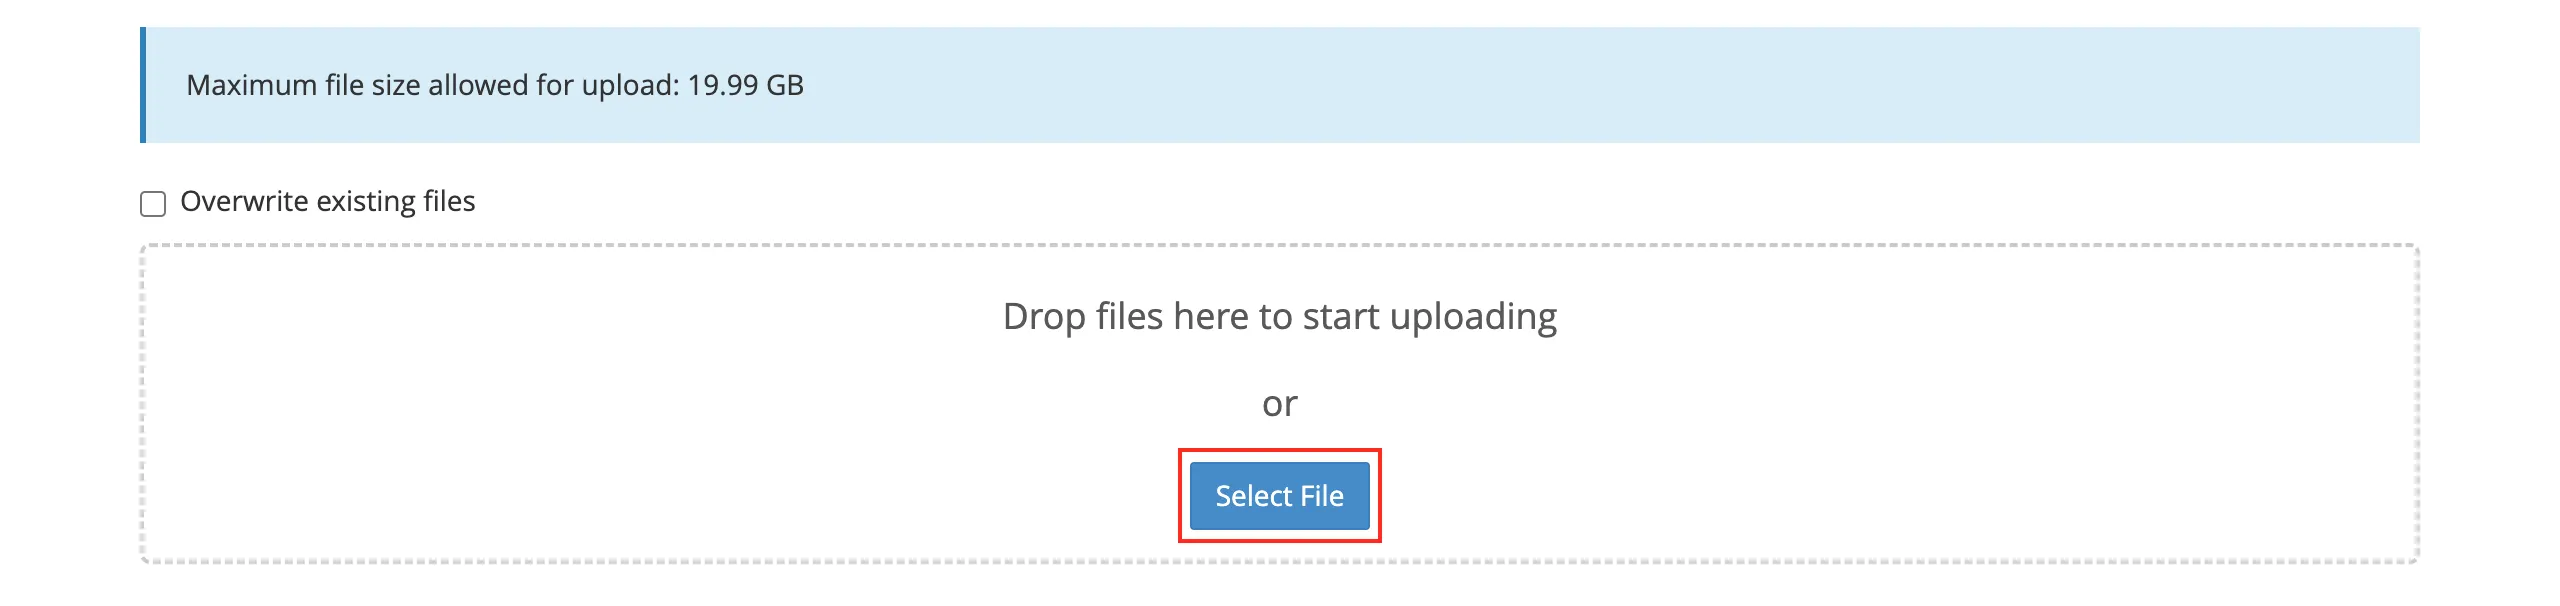
“Upload” — upload files from your local computer to the server

The interface displays available disk space. To upload a file, click “Select File.”
If you check “Overwrite existing files,” any matching files on the server will be replaced.
“Download” — download files from the server to your computer

You can only download individual files. To download a folder, first compress it into an archive.
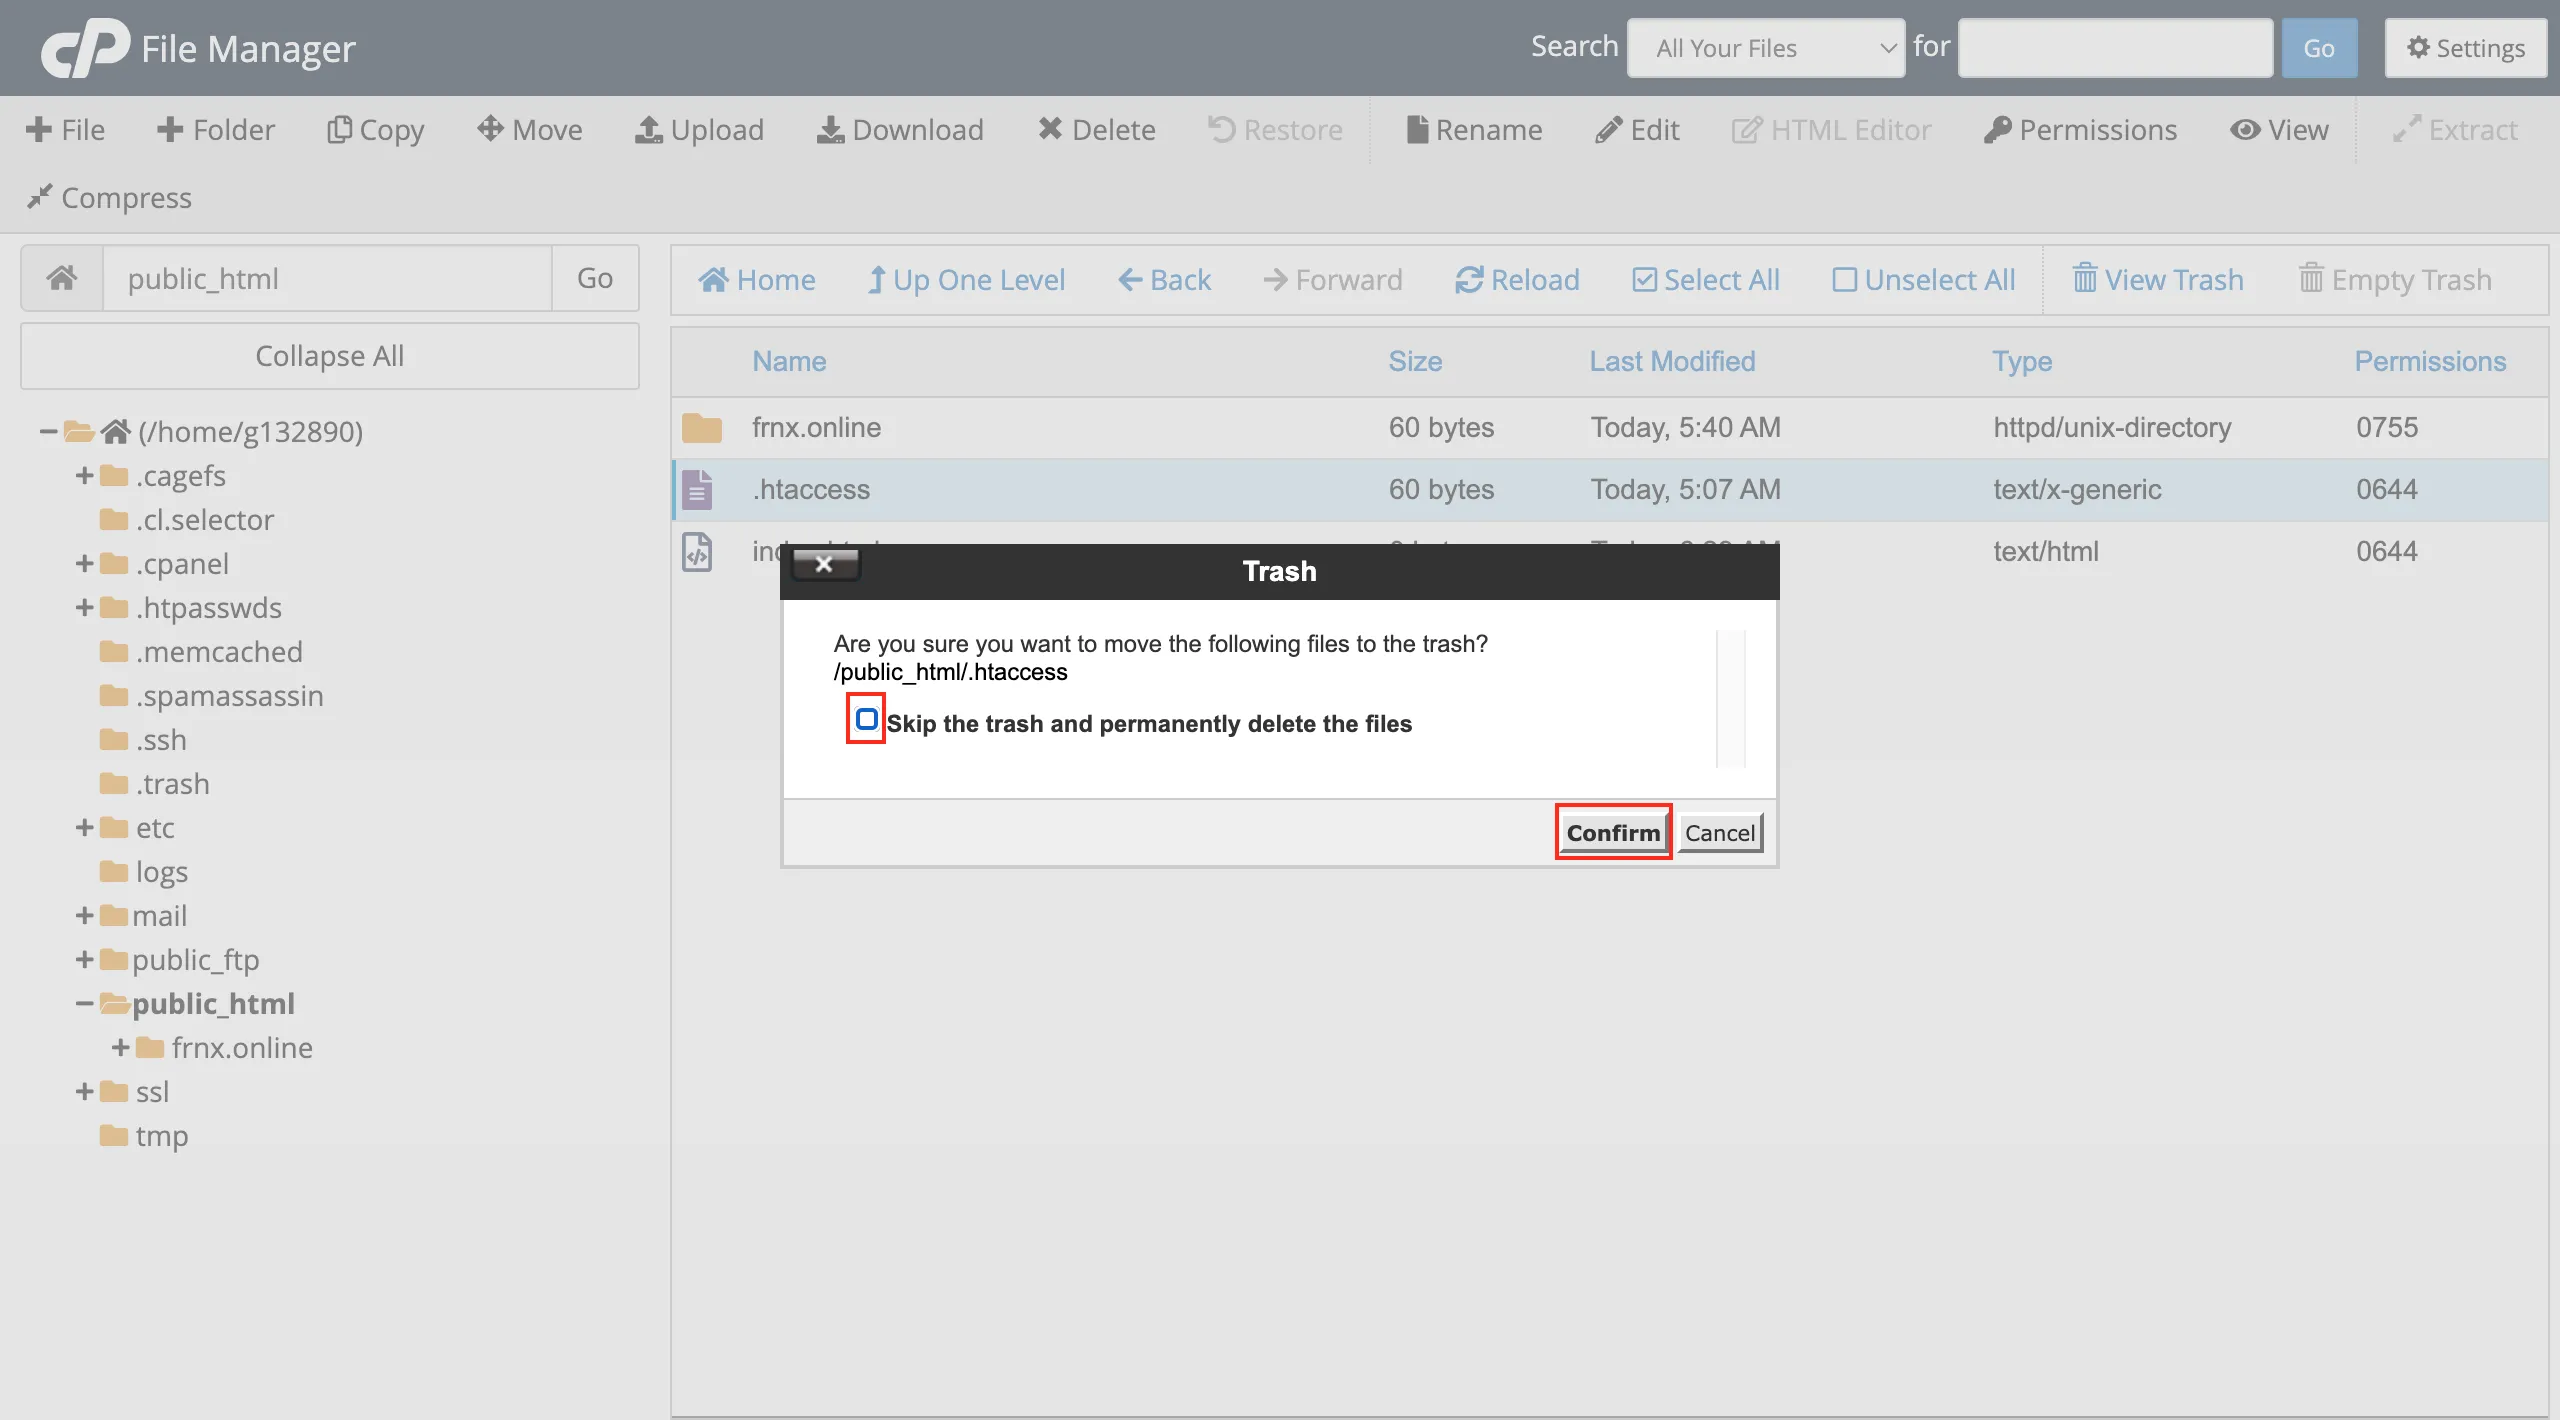
“Delete” — remove selected files or folders

Be careful: this action permanently deletes selected files or folders.
If you don’t select “Skip the trash and permanently delete files,” the deleted items will be moved to the Trash folder.
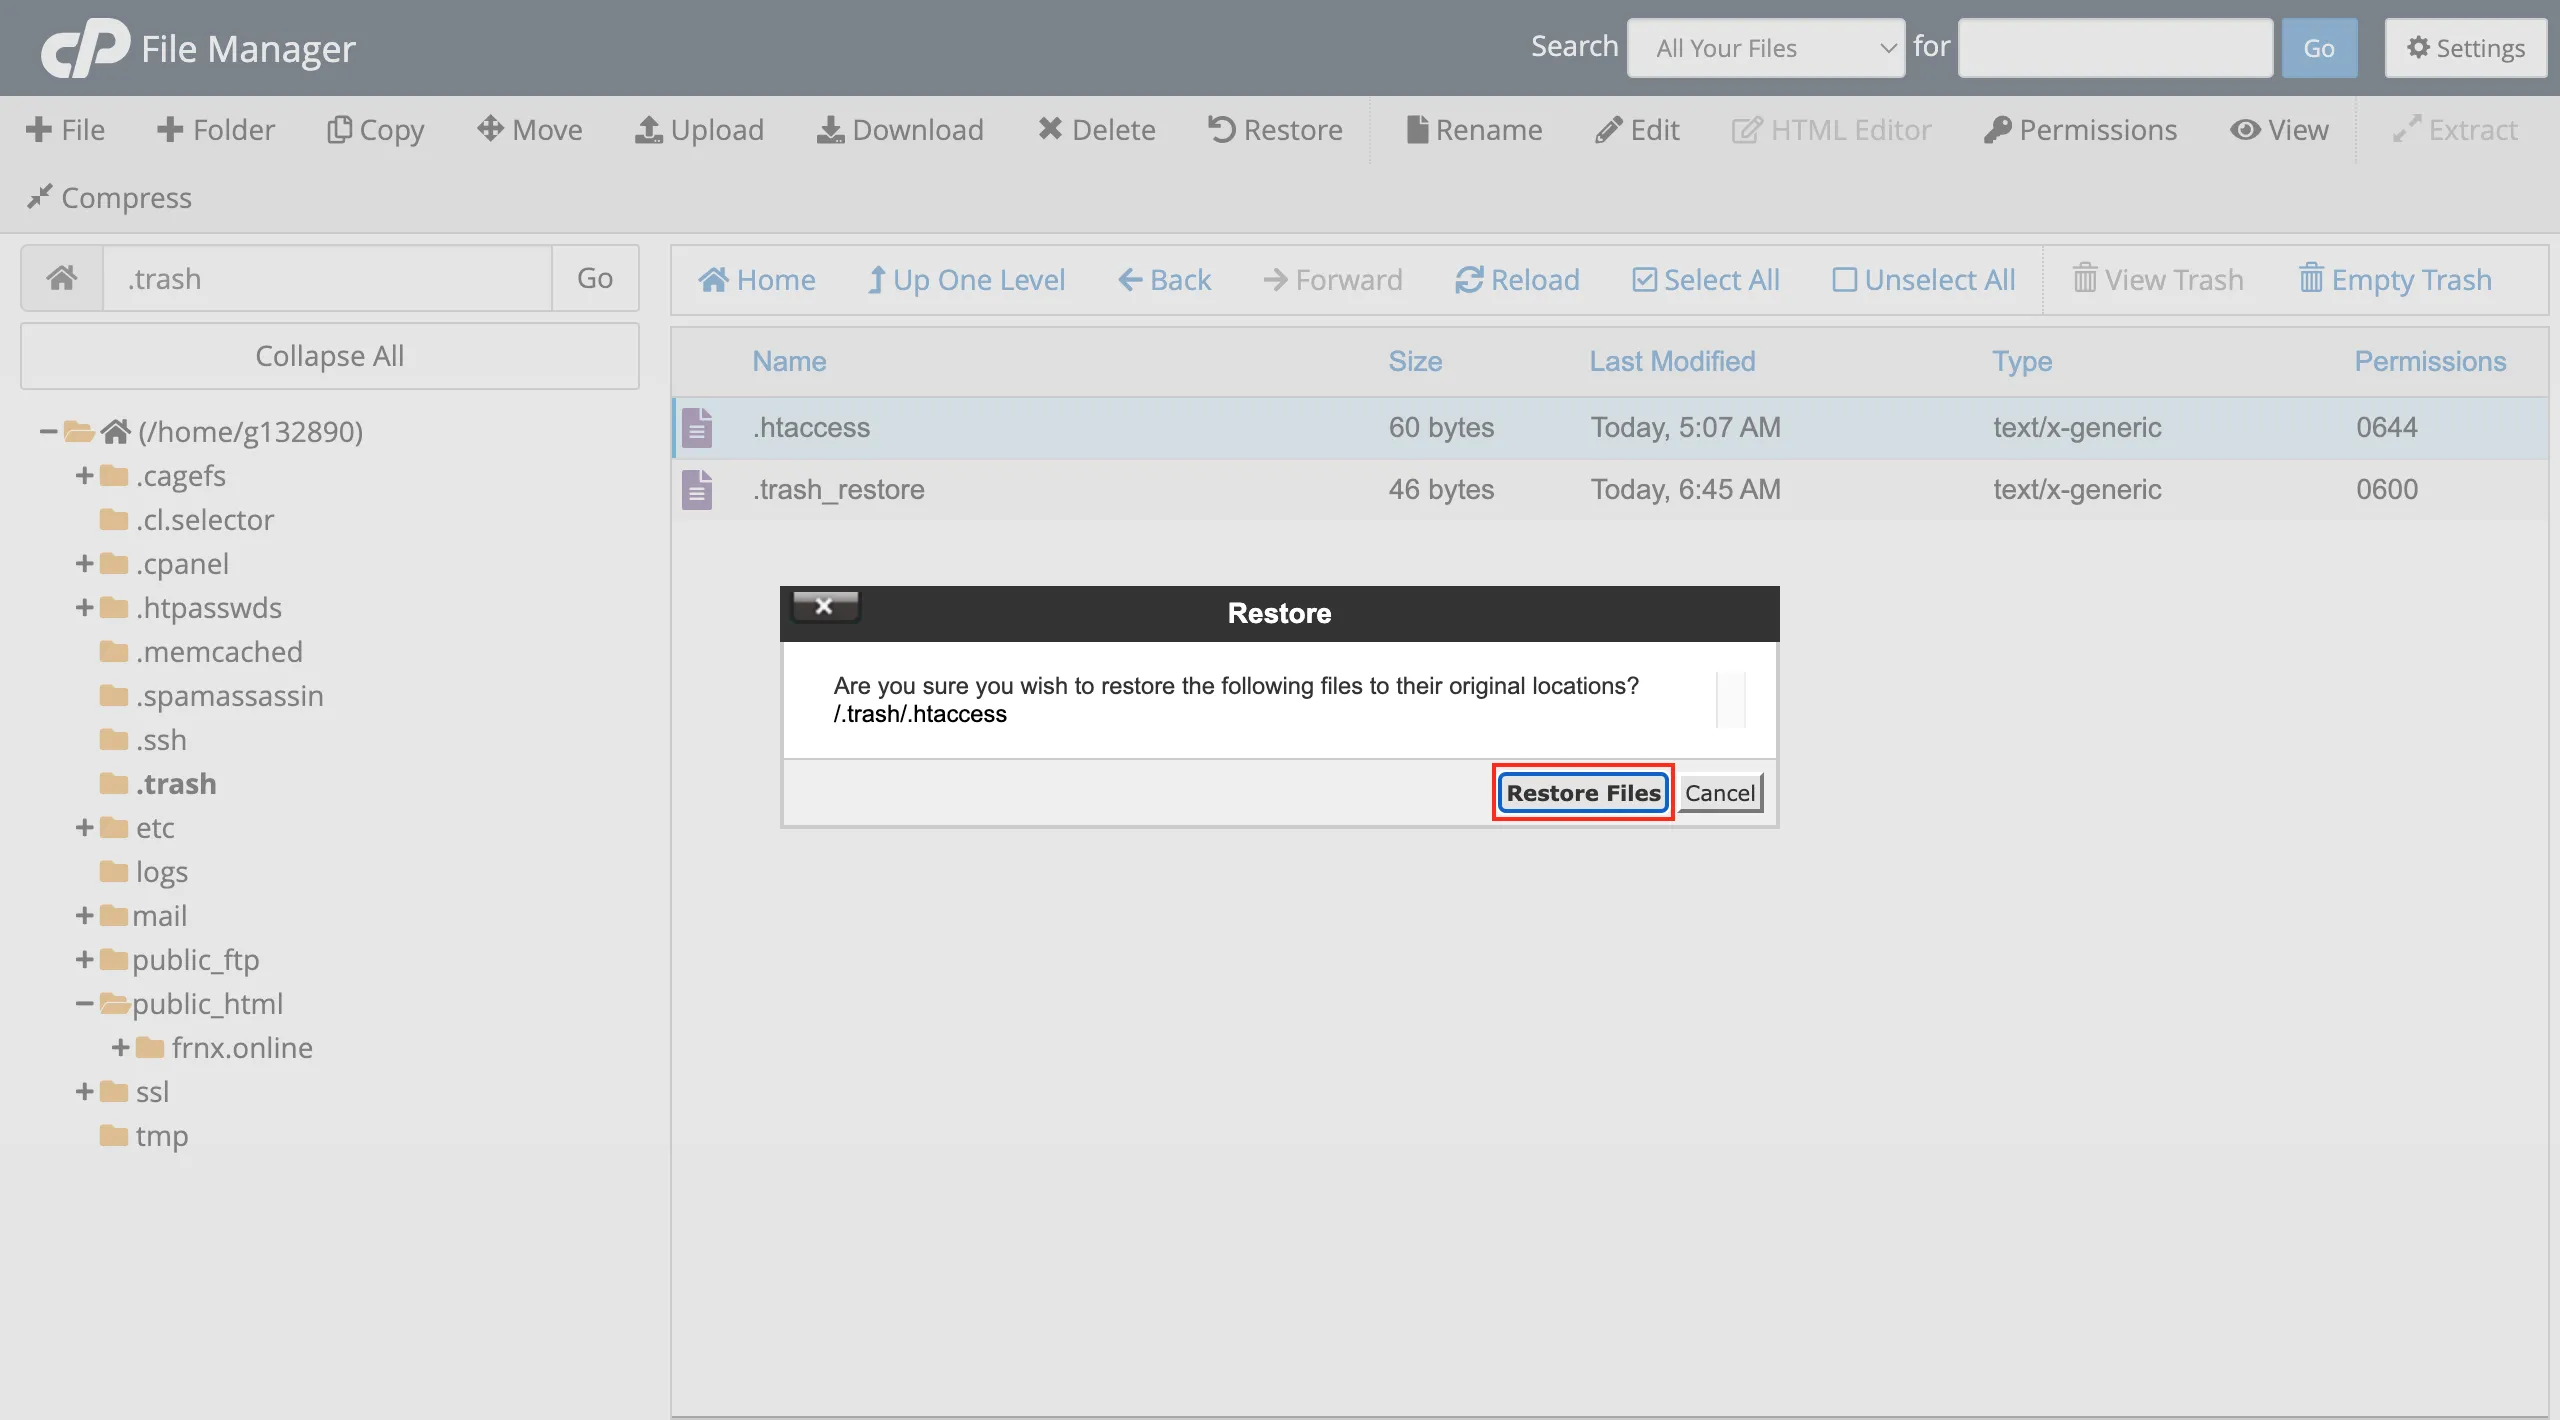
“Restore” — recover files from Trash

Select the desired item and click “Restore file(s)” to recover it.
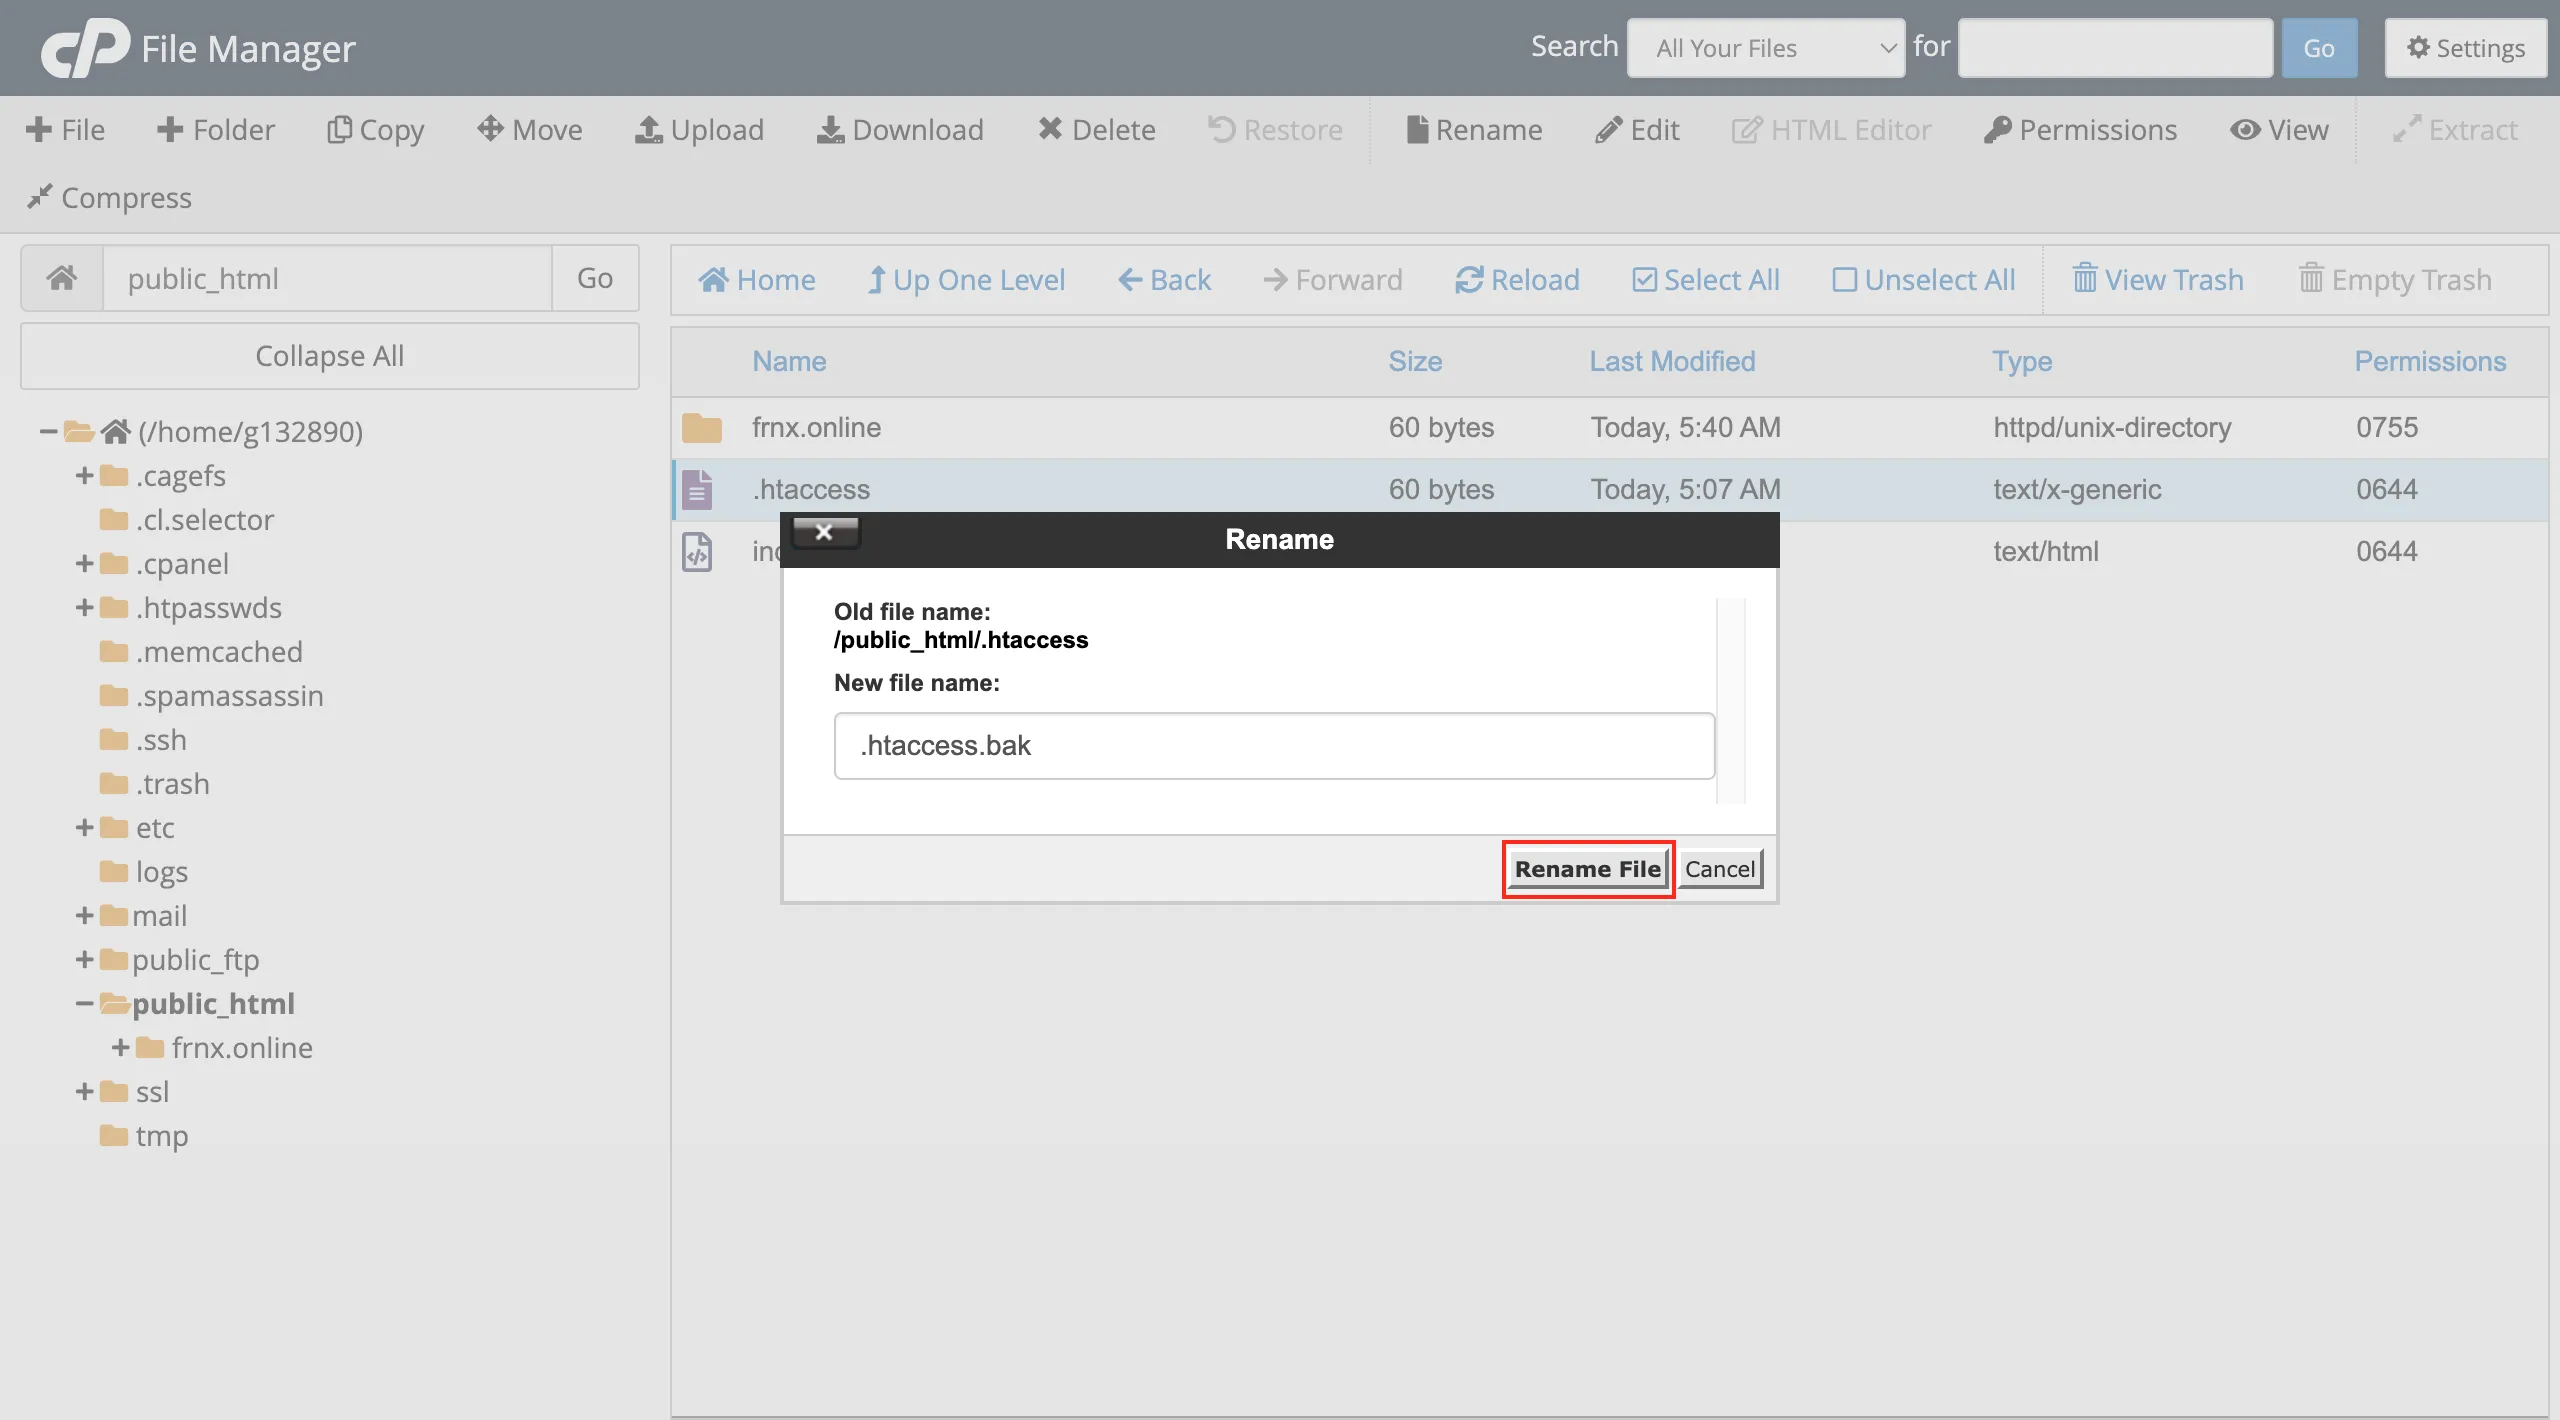
“Rename” — change file or folder names

“Edit” — edit files using the built-in text editor


If needed, you can change the file encoding. Typically, files use UTF-8, though WIN-1251 may also appear occasionally.

“HTML Editor” — visual HTML page editor
Allows you to edit your website’s code using a convenient visual HTML editor.

“Permissions” — modify read, write, and execute permissions for files and folders

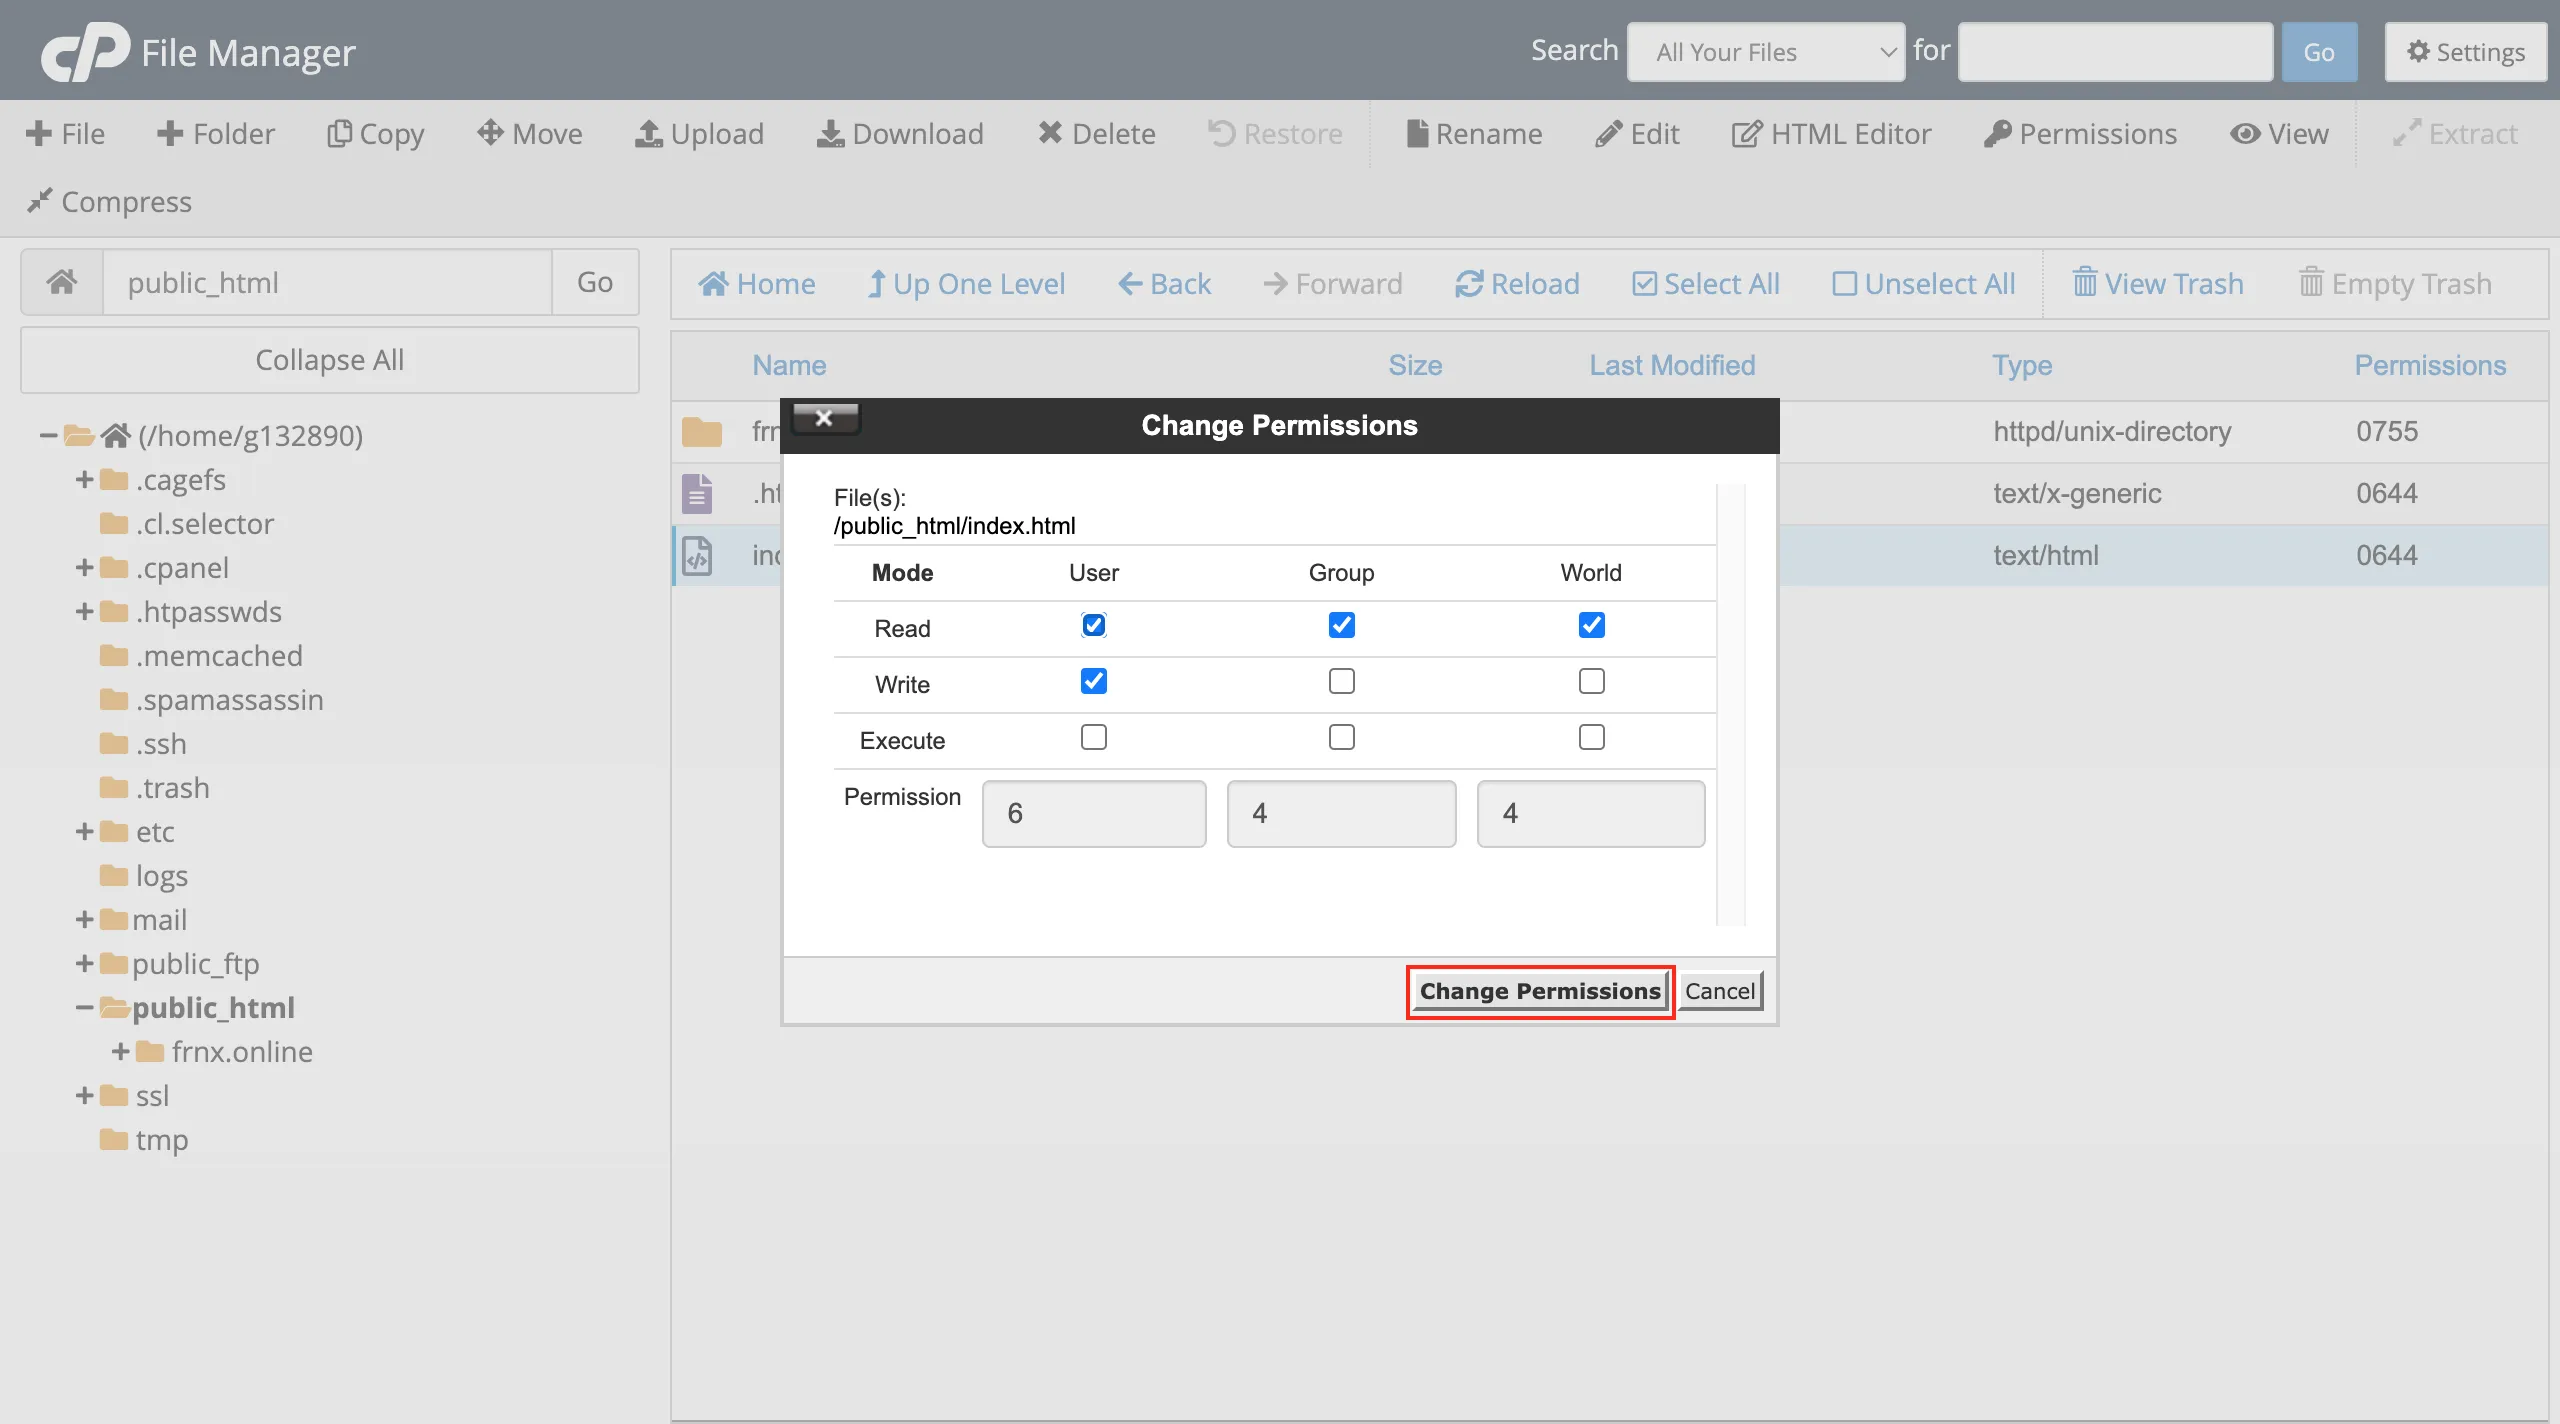
You can learn more about file and folder permissions in cPanel here.
“View” — preview file or folder contents
This option lets you preview any recent changes made to your files or directories.


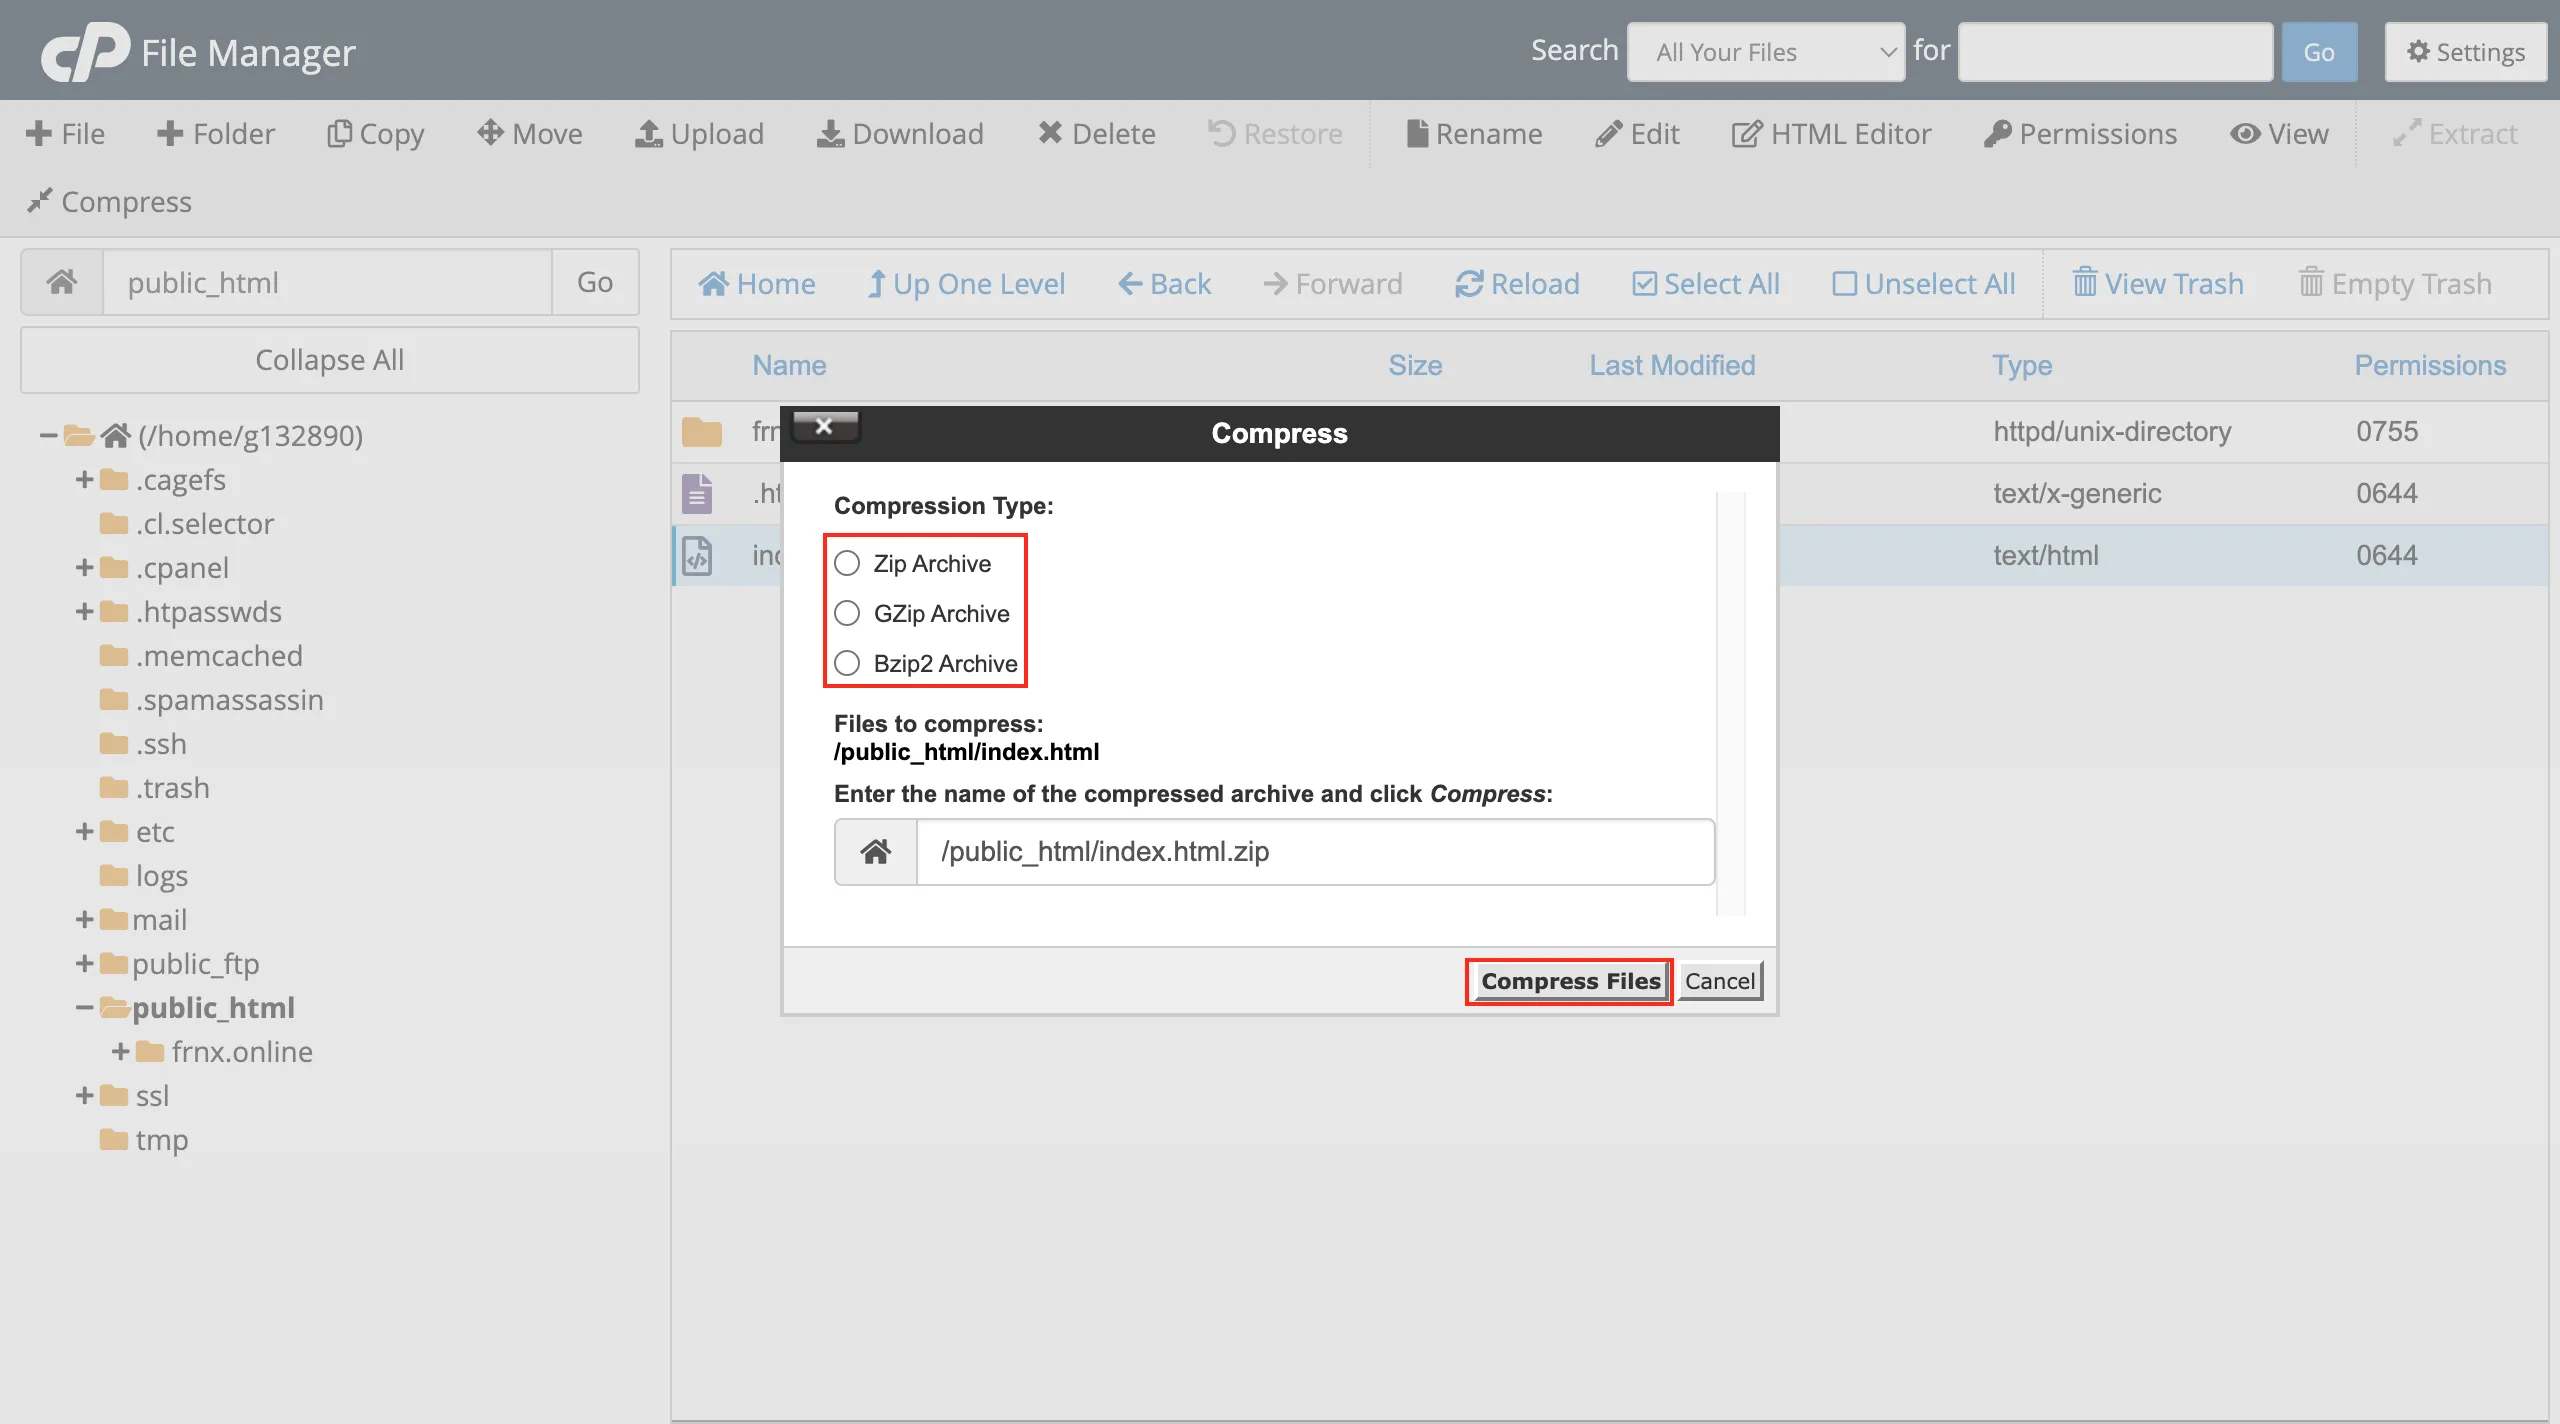
“Compress” — archive selected files or folders

Choose the desired archive format (recommended: ZIP or GZIP) and specify the archive name.
“Extract” — unpack files from an archive

Help
If you have any questions or need assistance, please contact us through the ticket system — we're always here to help!