Adding an additional IP on a Windows server
Guidelines for adding an additional IP to the WIndows OS server, which is needed, for example, to assign a unique IP to each site
First, you need to add an additional IP in Billing. You will need to reboot the VPS to apply the changes.
Next, log in to the server via RDP as Administrator.
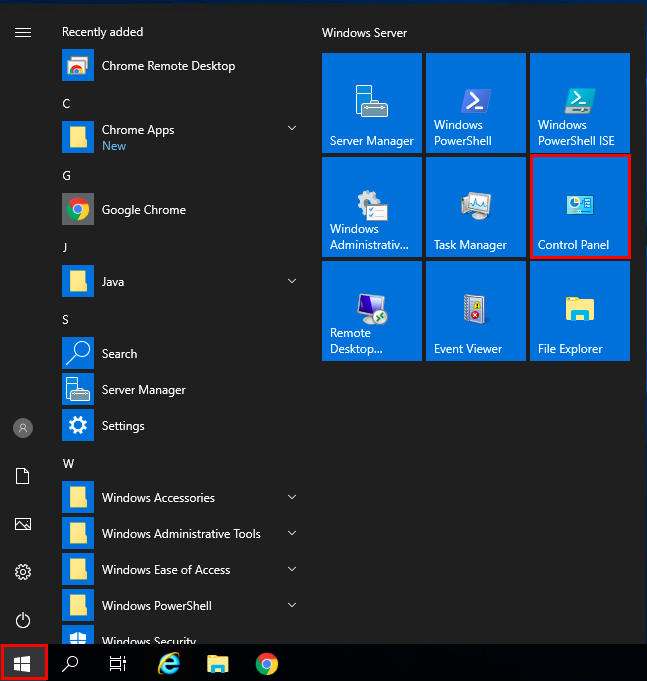
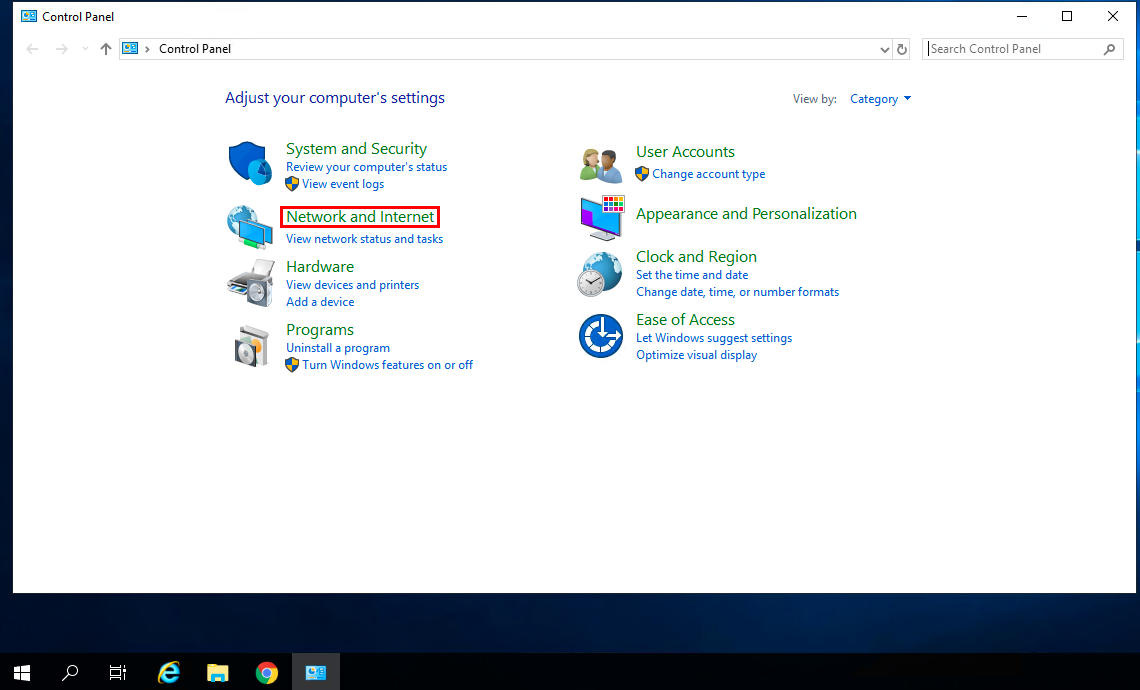
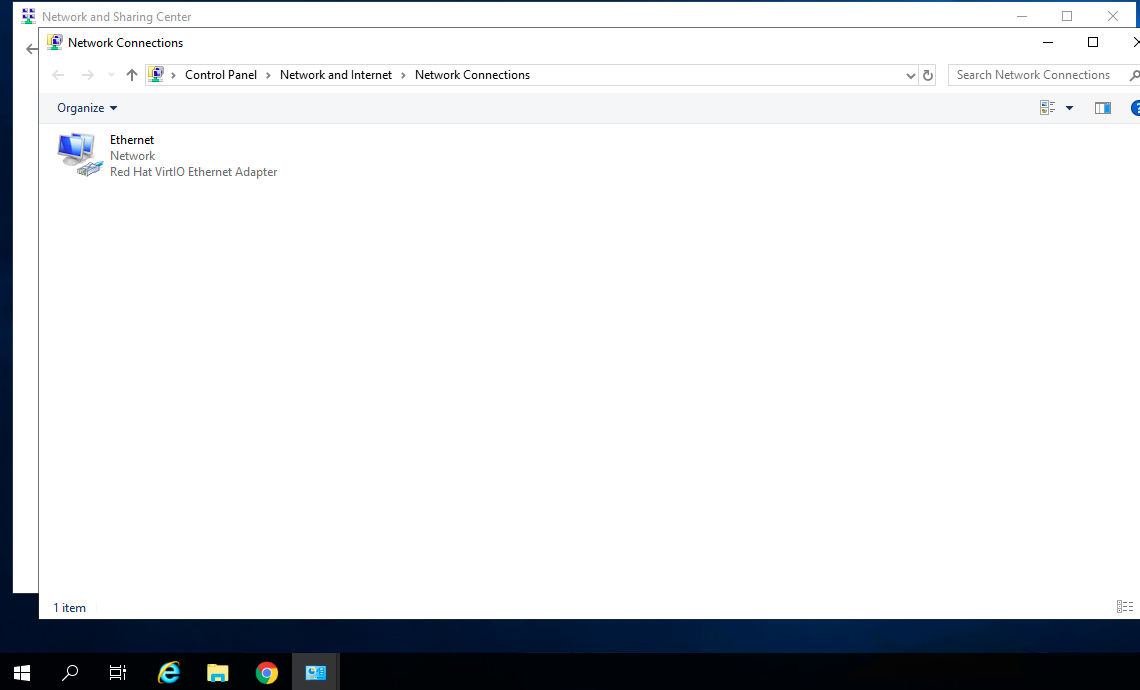
To configure, open Control Panel → Network and Internet.
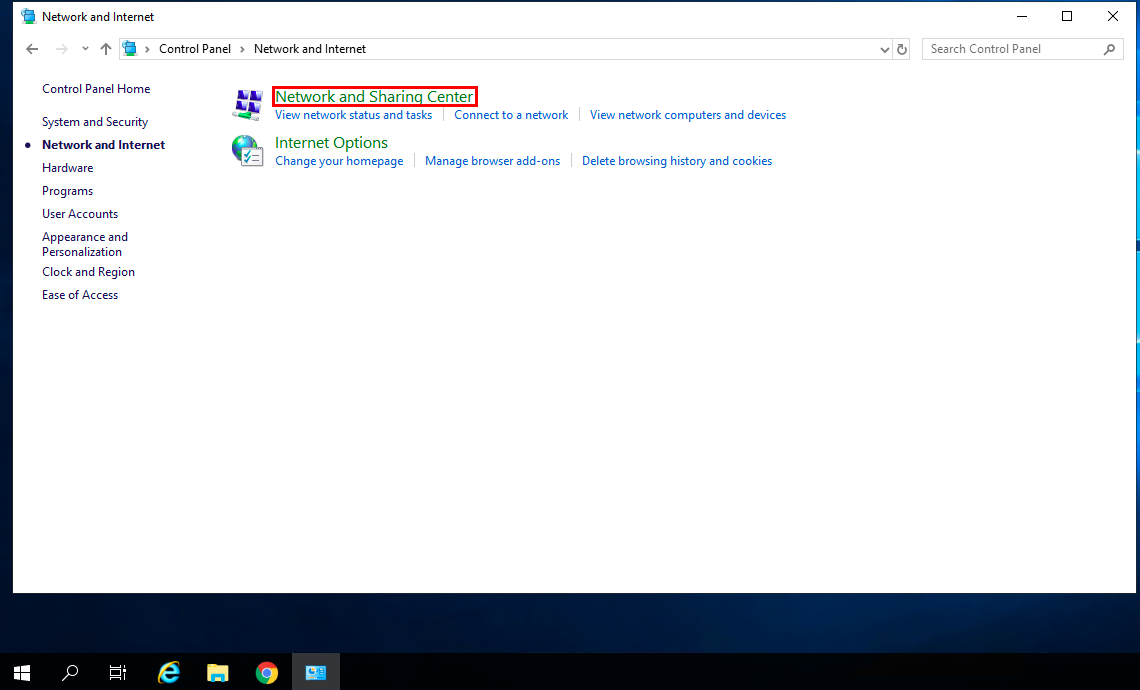
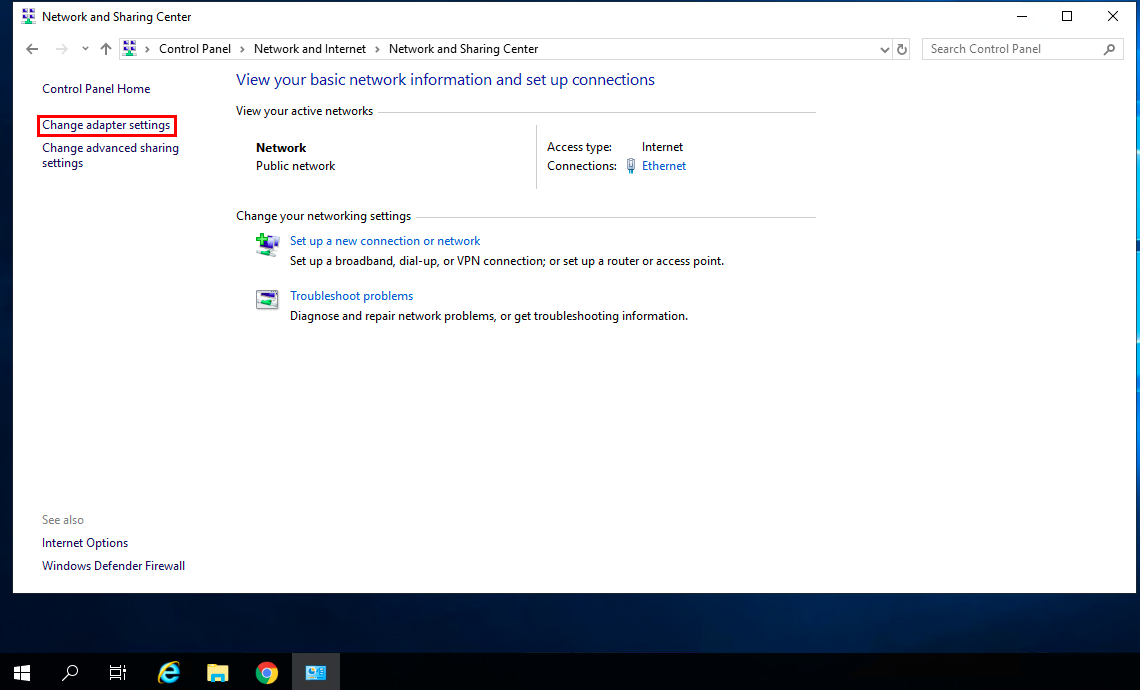
Next, go to Network and Sharing Center → Change adapter settings.
Right-click on the existing connection and select Properties .
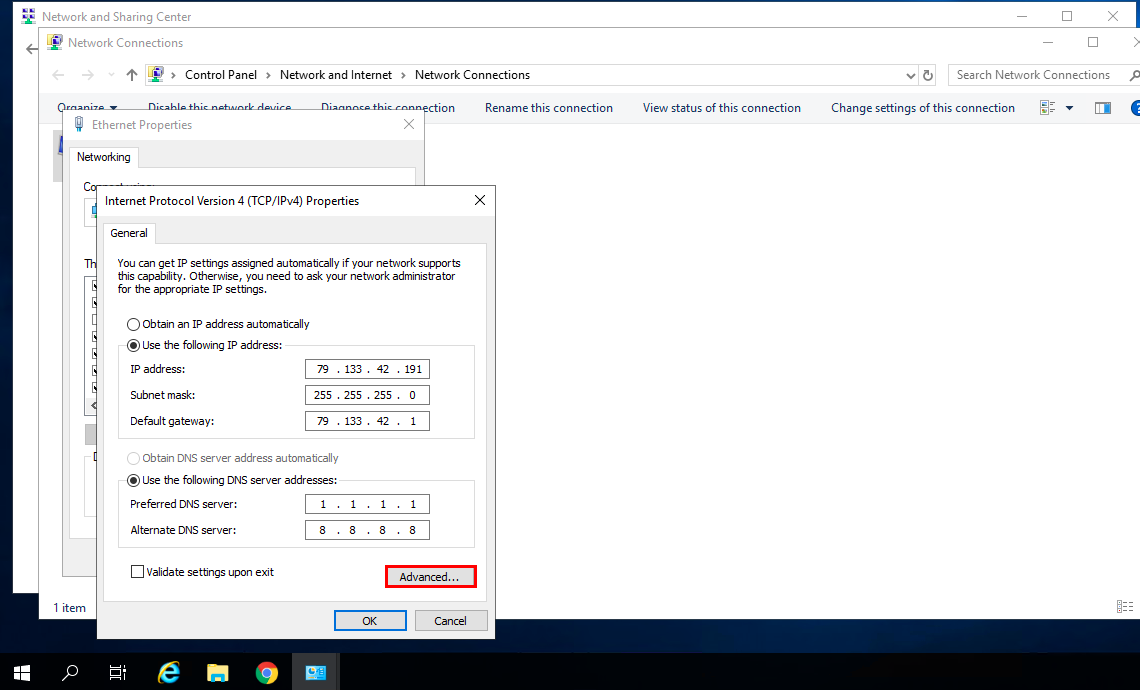
Then select Internet Protocol Version 4 (TCP/IPv4) and click Properties.

In the window that comes up, click More.
In the settings window that appears, click Add.

Enter the address you purchased and the subnet mask that is listed next to the IP.

The IP address has been added to your server.