How to Expand Disk Space on Windows Server After Changing Your Plan
Step-by-step instructions on how to add new disk space to your operating system.
After you've changed your Windows Server plan, the additional disk space is already available at the hypervisor level. However, your operating system doesn't see it yet. In this article, we'll show you how to quickly extend your volume and start using the new space.
Connecting to Your Server
First, connect to your server via RDP protocol.
Opening Disk Management
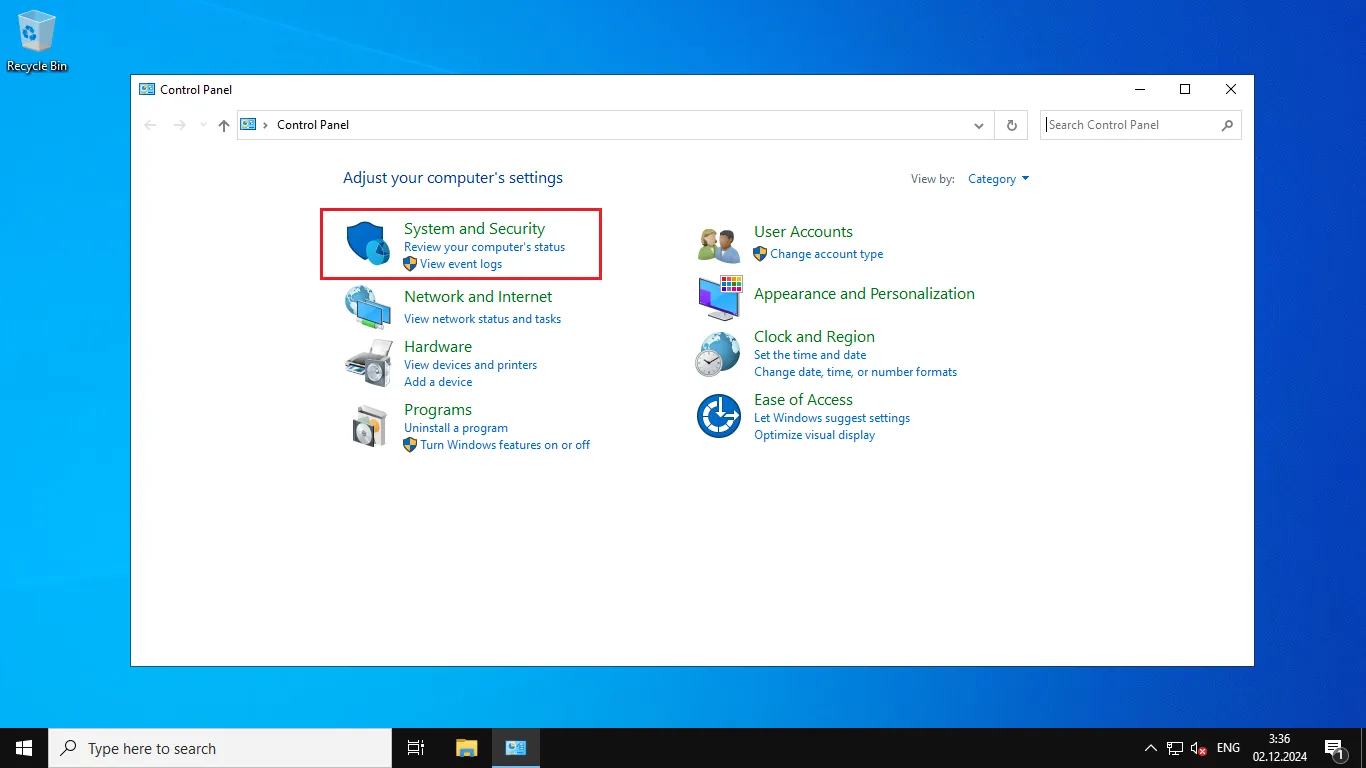
Once the system loads, open the Control Panel. Press Win + R, type control, and press Enter.

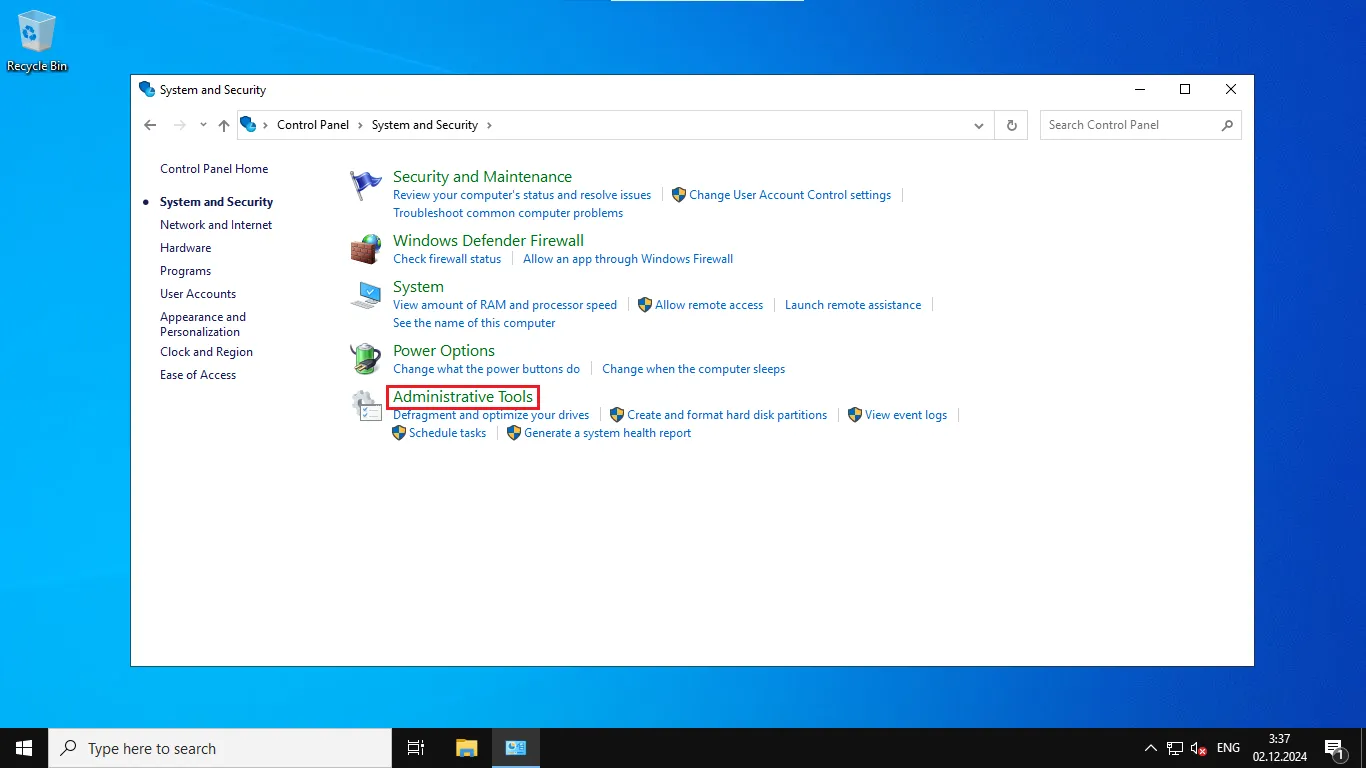
Navigate to System and Security → Administrative Tools.
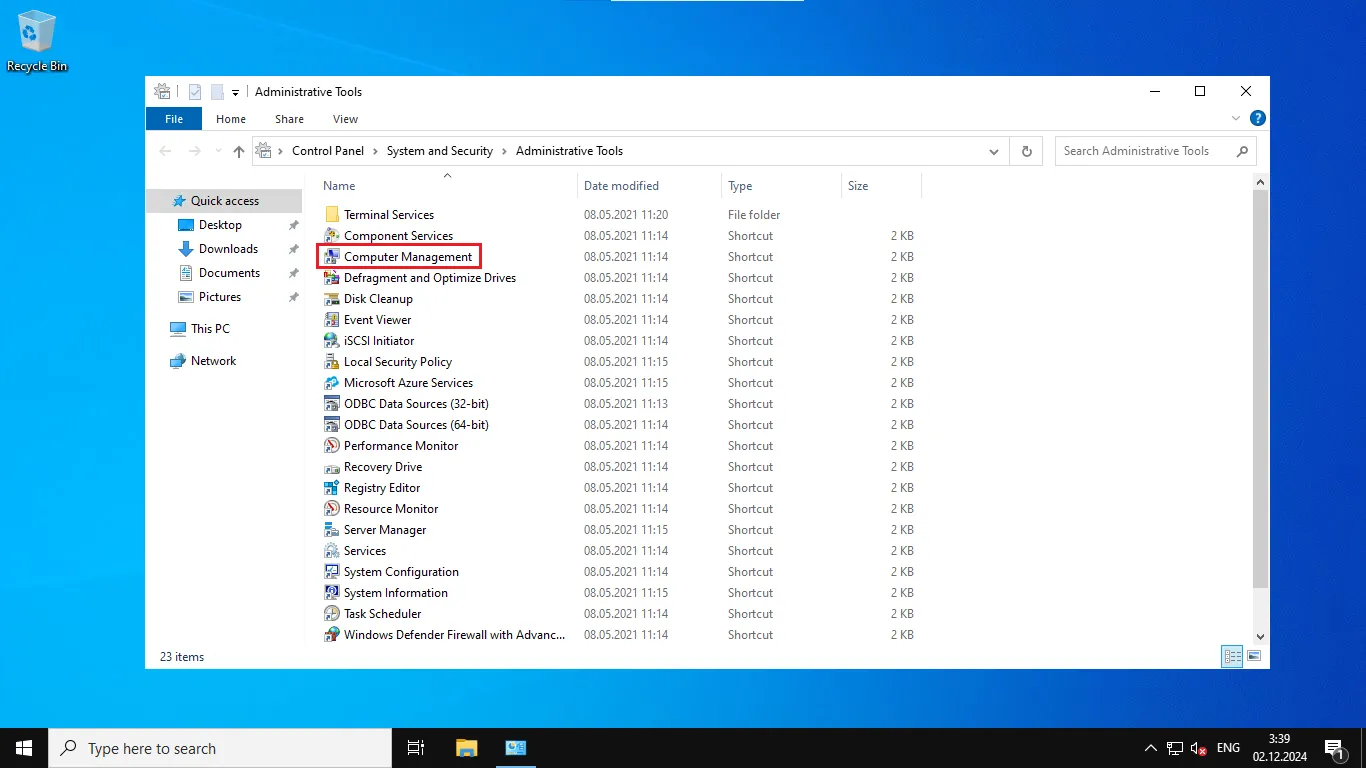
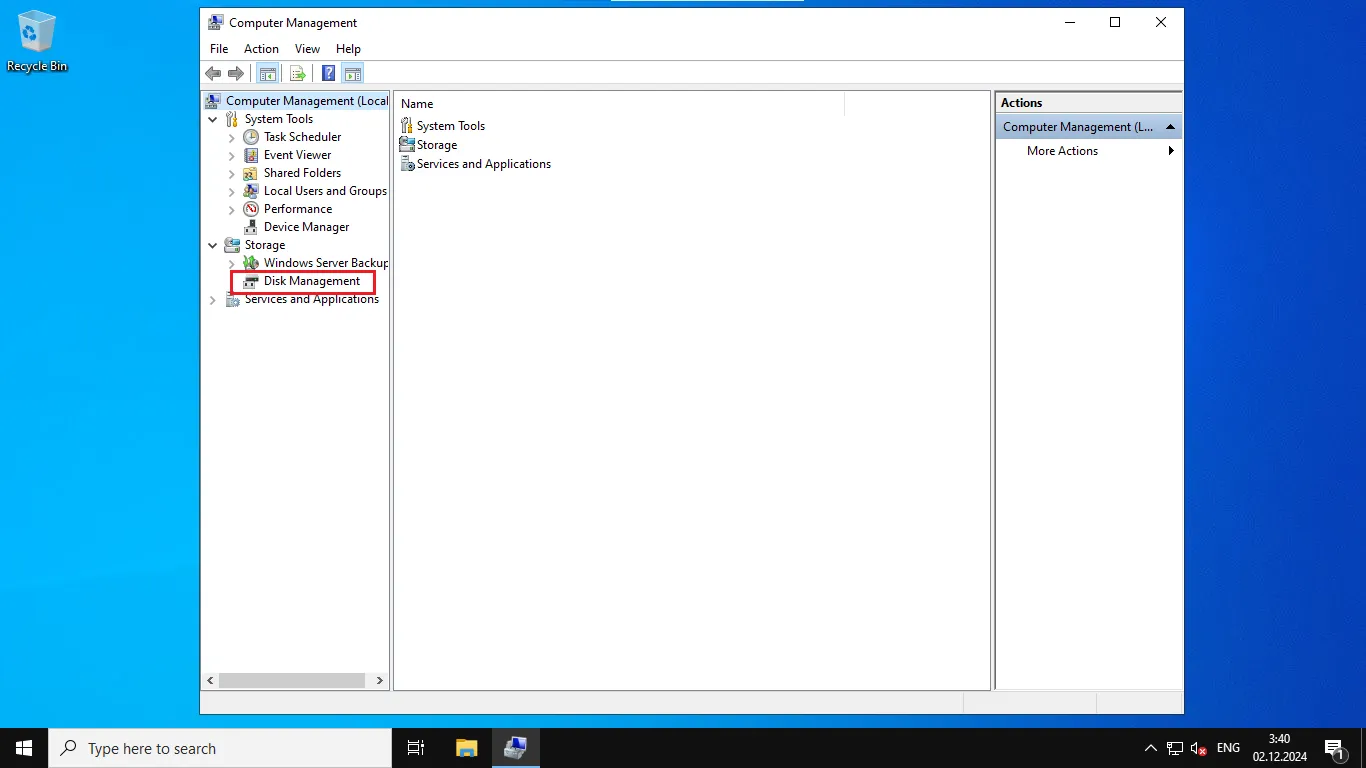
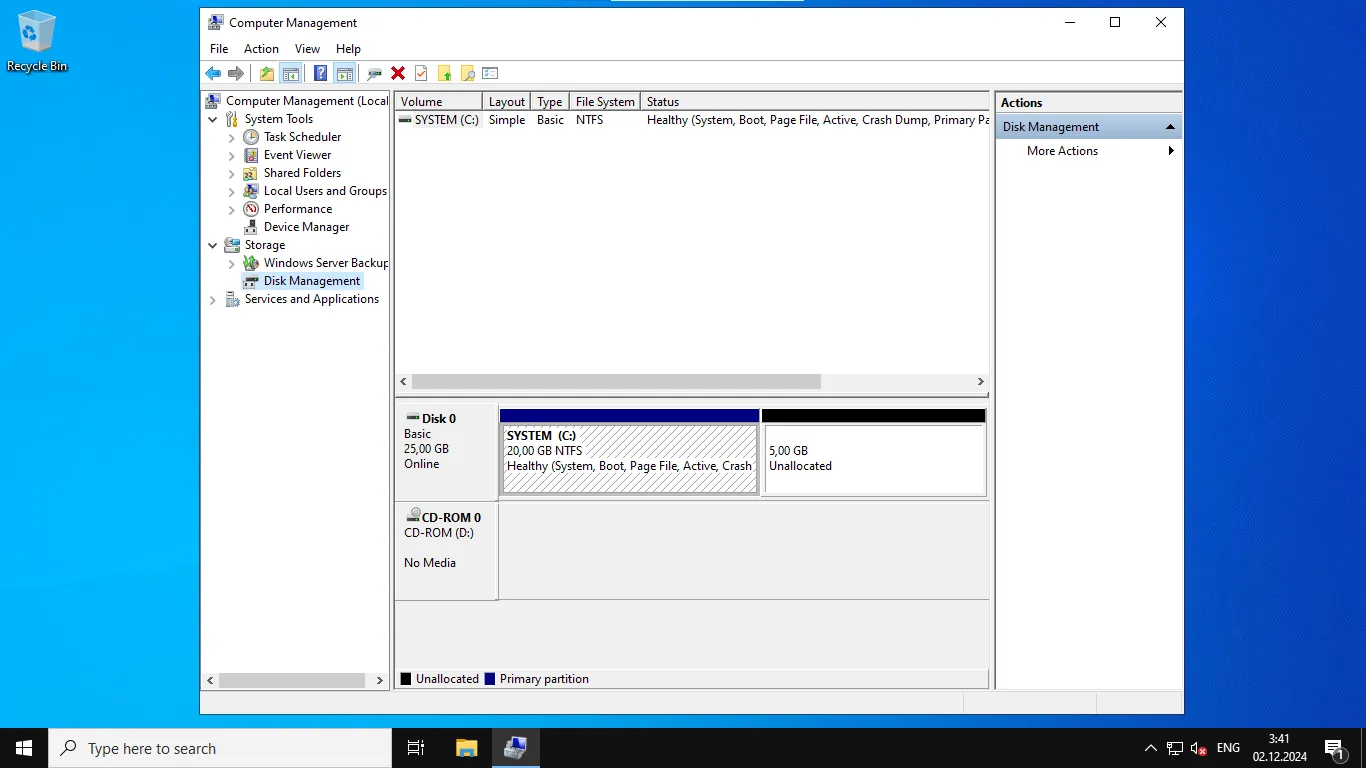
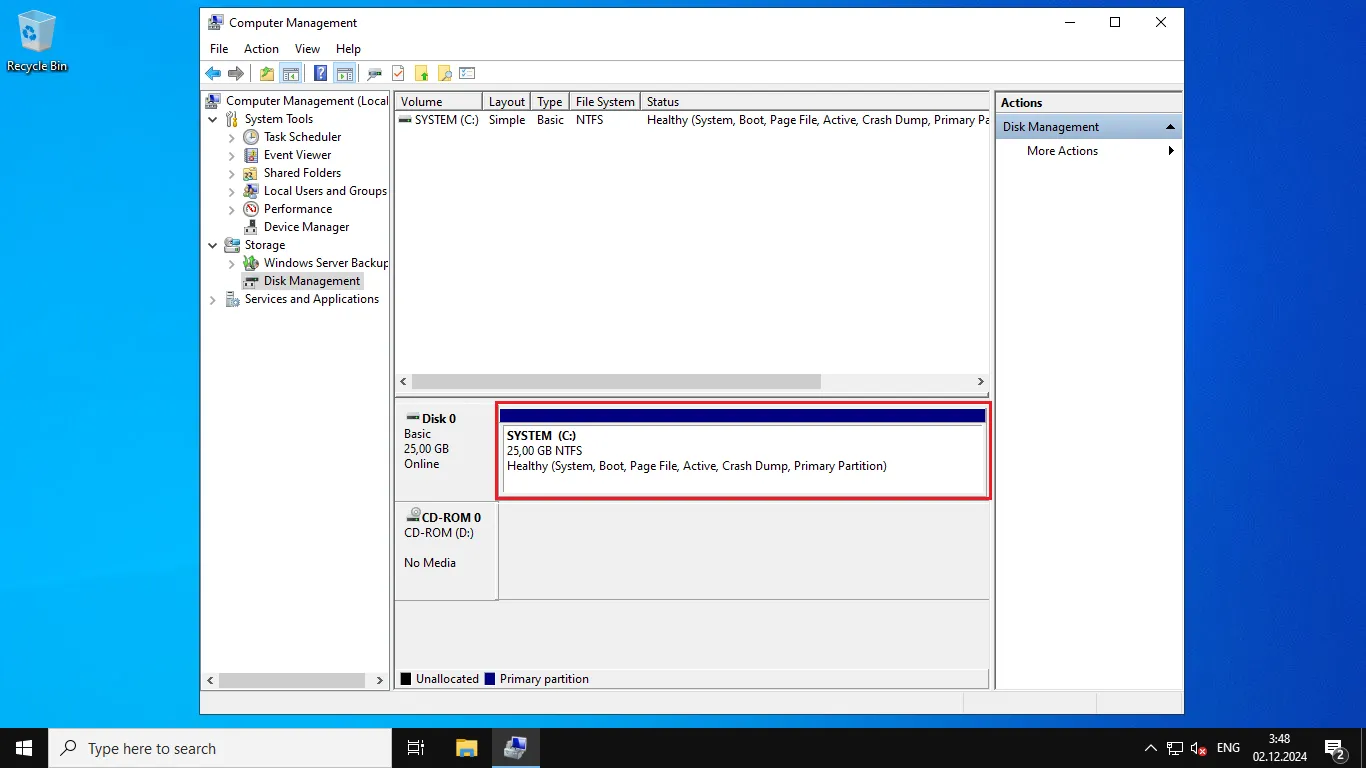
Open the Computer Management console, then select Disk Management.
Extending the Volume
In the disk list, locate the disk showing unallocated space.
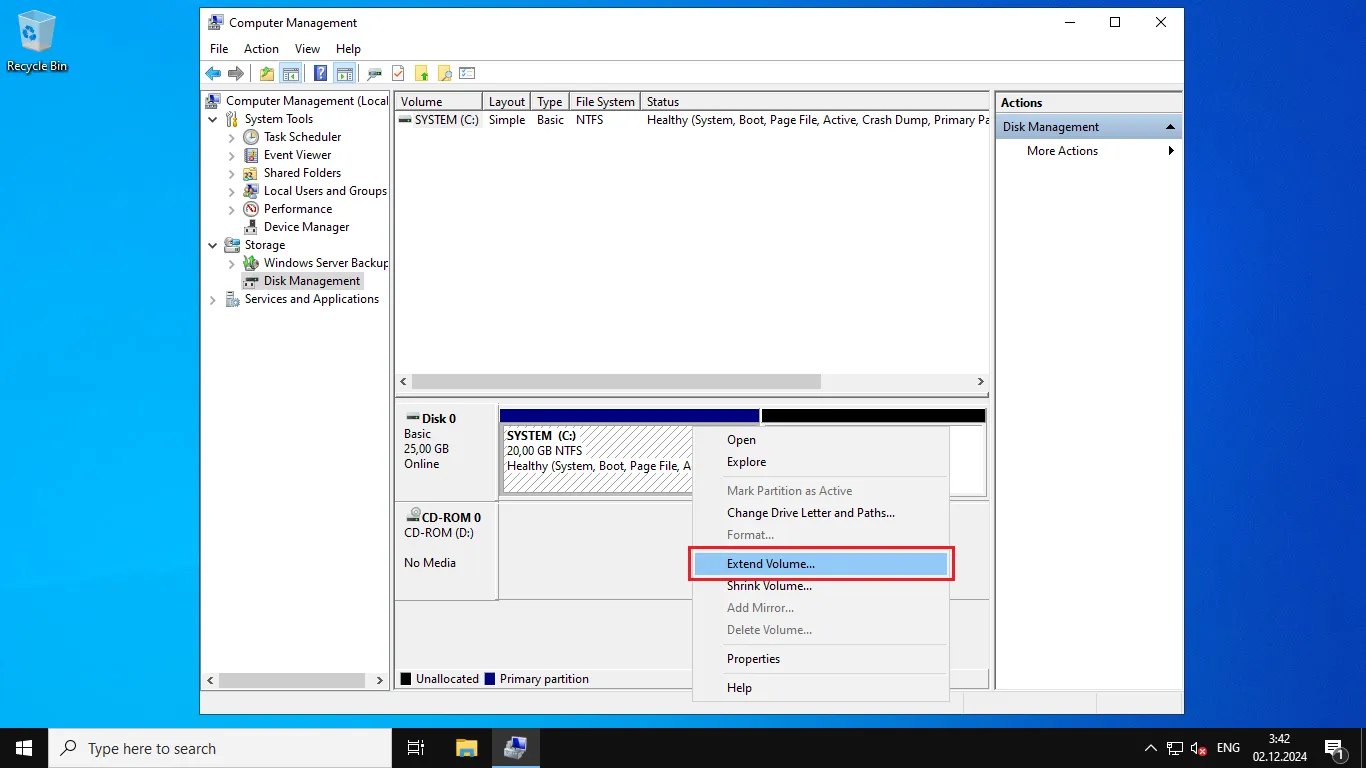
Right-click the partition you want to expand and select Extend Volume....
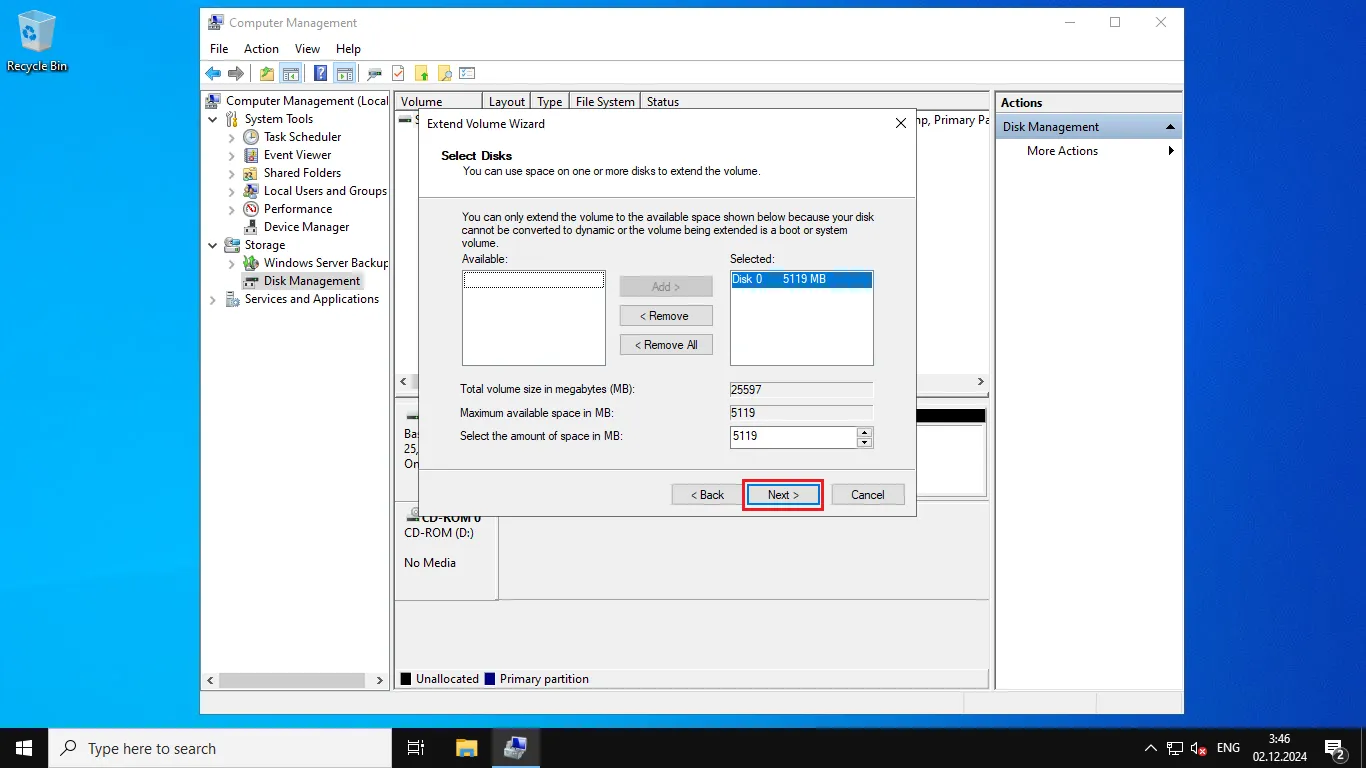
The Extend Volume Wizard will open. Click Next.

Specify the size of the unallocated space you want to add to the disk, then click Next.
To complete the operation, click Finish.
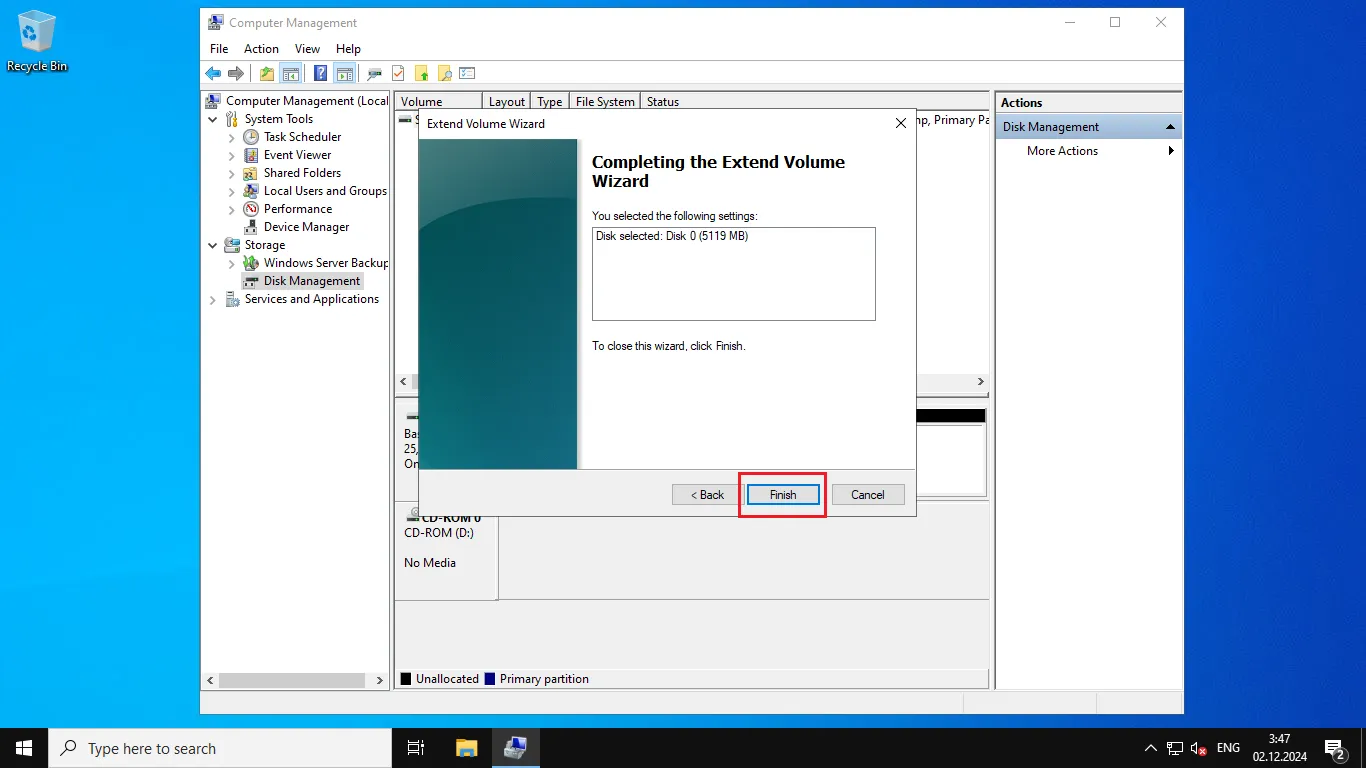
Done! Your disk has been successfully expanded, and the new space is now available for use.
Help
If you have any questions or need assistance, please contact us through the ticket system — we're always here to help!