Getting Started with Virtual Hosting and cPanel
This article will help you with the initial setup of your sites on our shared hosting service using cPanel.
This article covers the basic steps of working with virtual hosting: logging into the control panel, adding a website, creating a database, and setting up FTP users. The material will help you quickly get familiar with the core features of cPanel and prepare an environment for hosting your site.
Login details for the control panel
Your login credentials and a quick access button to cPanel are available in your personal account.
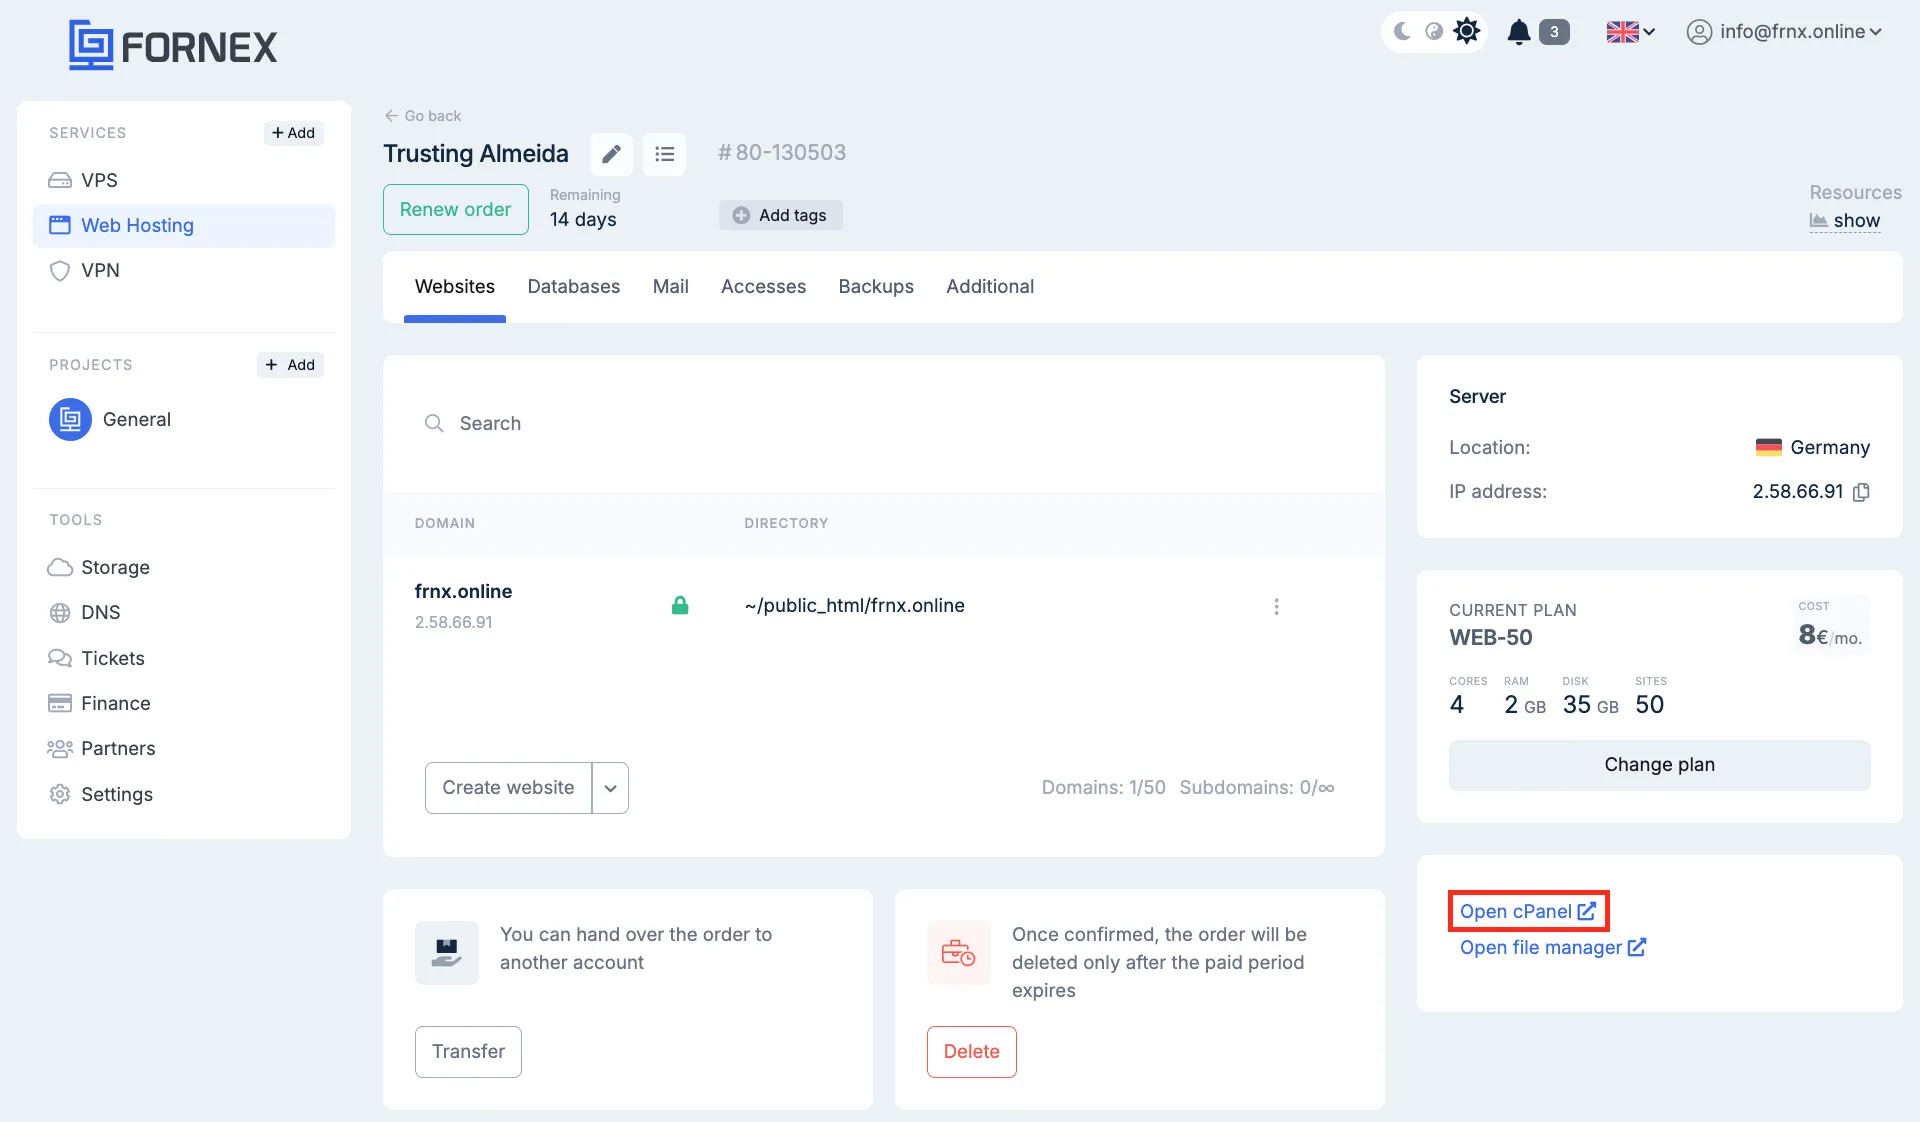
Each new account is automatically assigned a technical domain free of charge. It is intended for testing purposes and does not count towards the total number of sites allowed on your account. To check how your website works, place your files in the public_html directory.
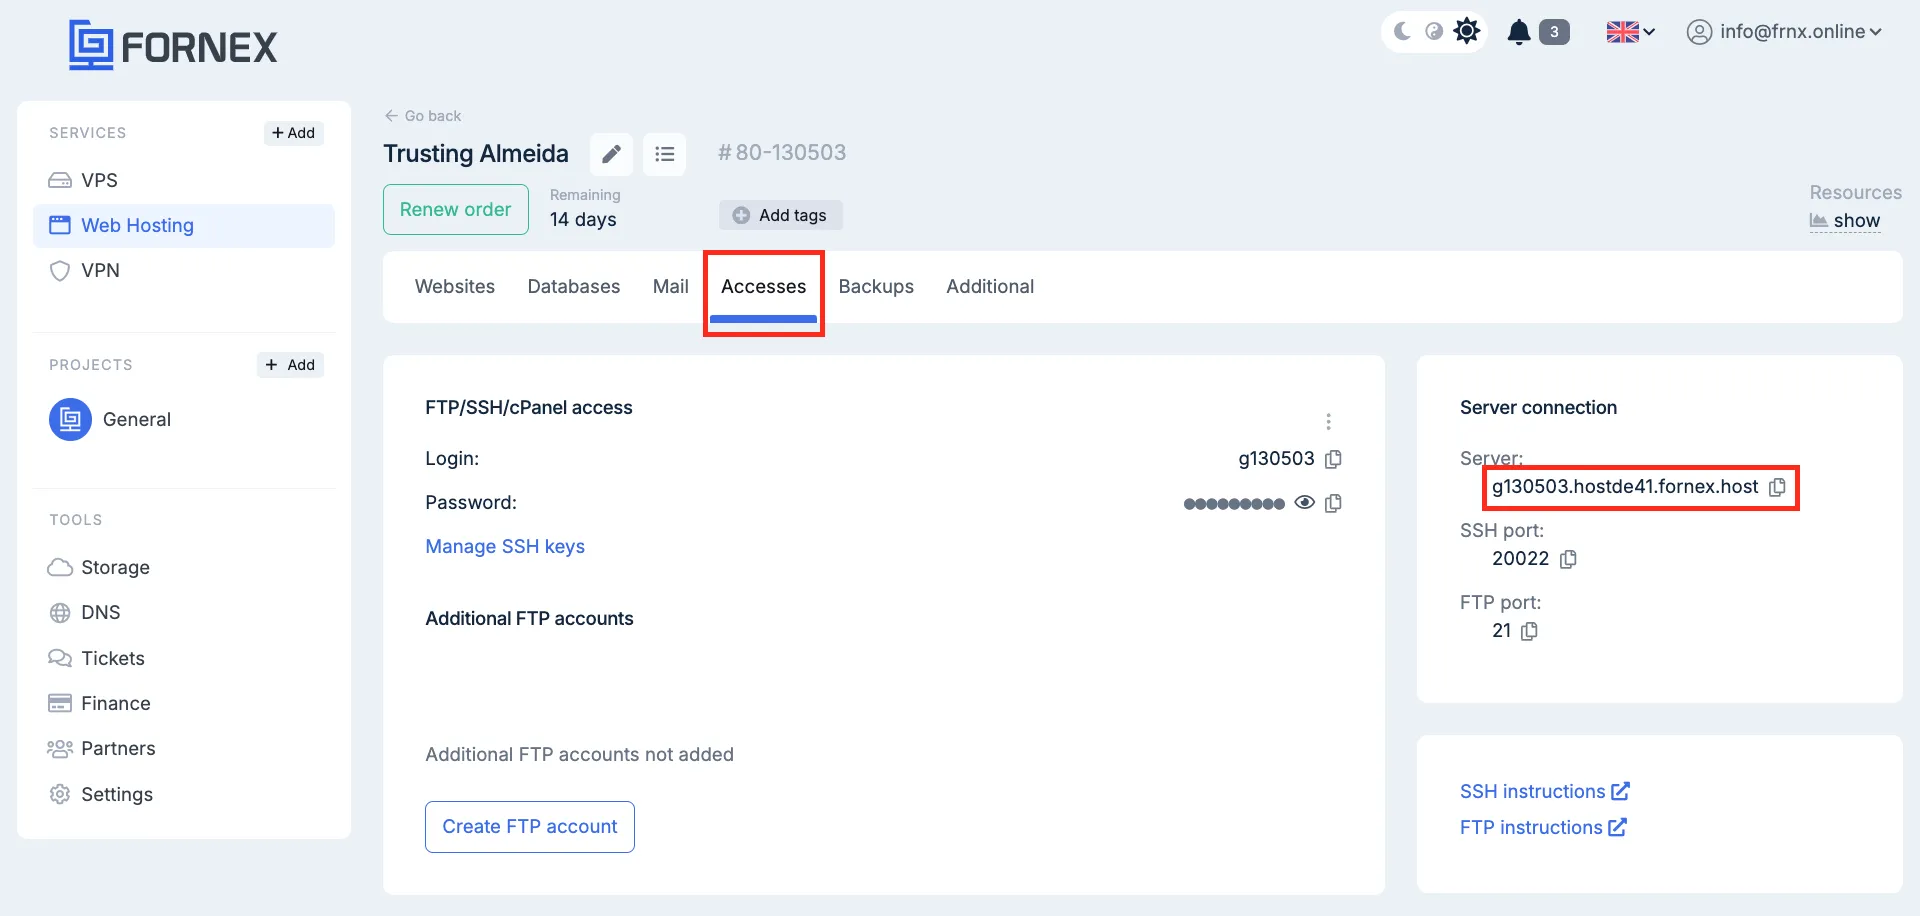
You can find the exact name of the technical domain in your personal account under “Access → Server connection”.
Adding your first website
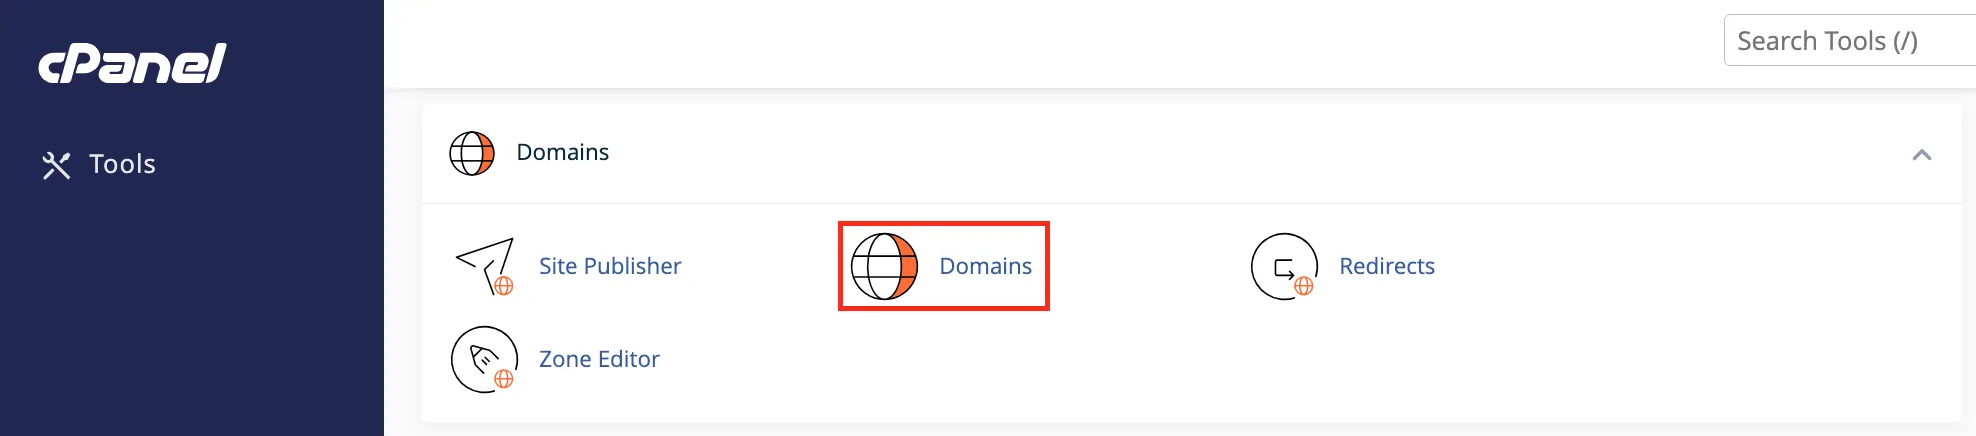
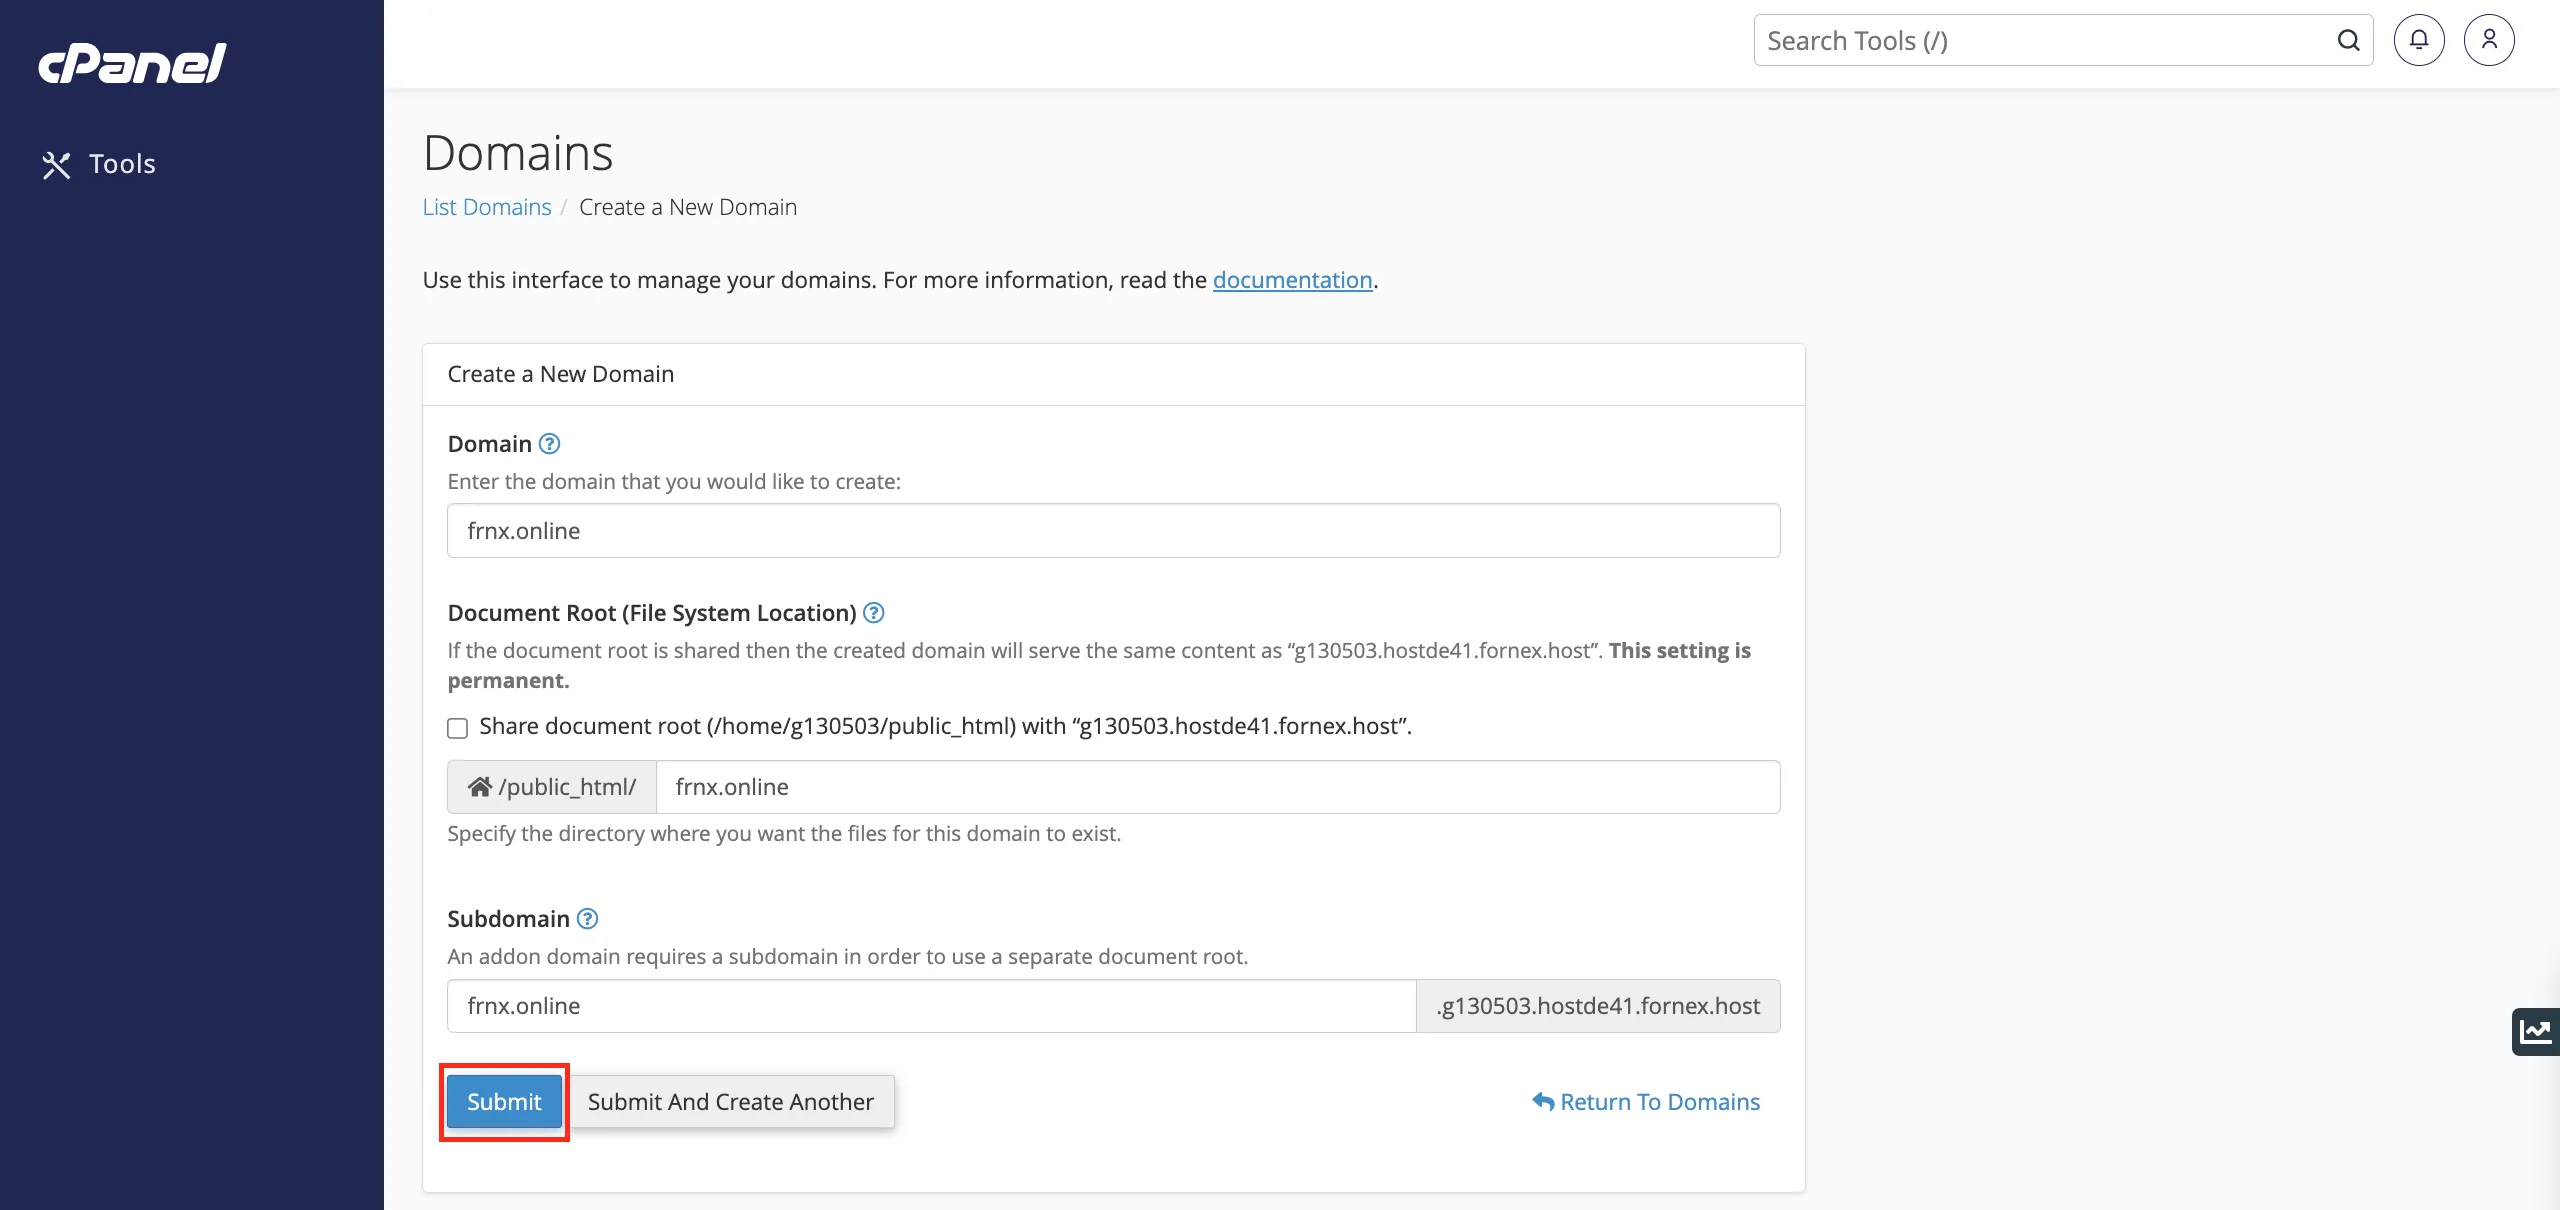
To add your site to hosting, open the “Domains” section in cPanel:
Click “Create a new domain”:
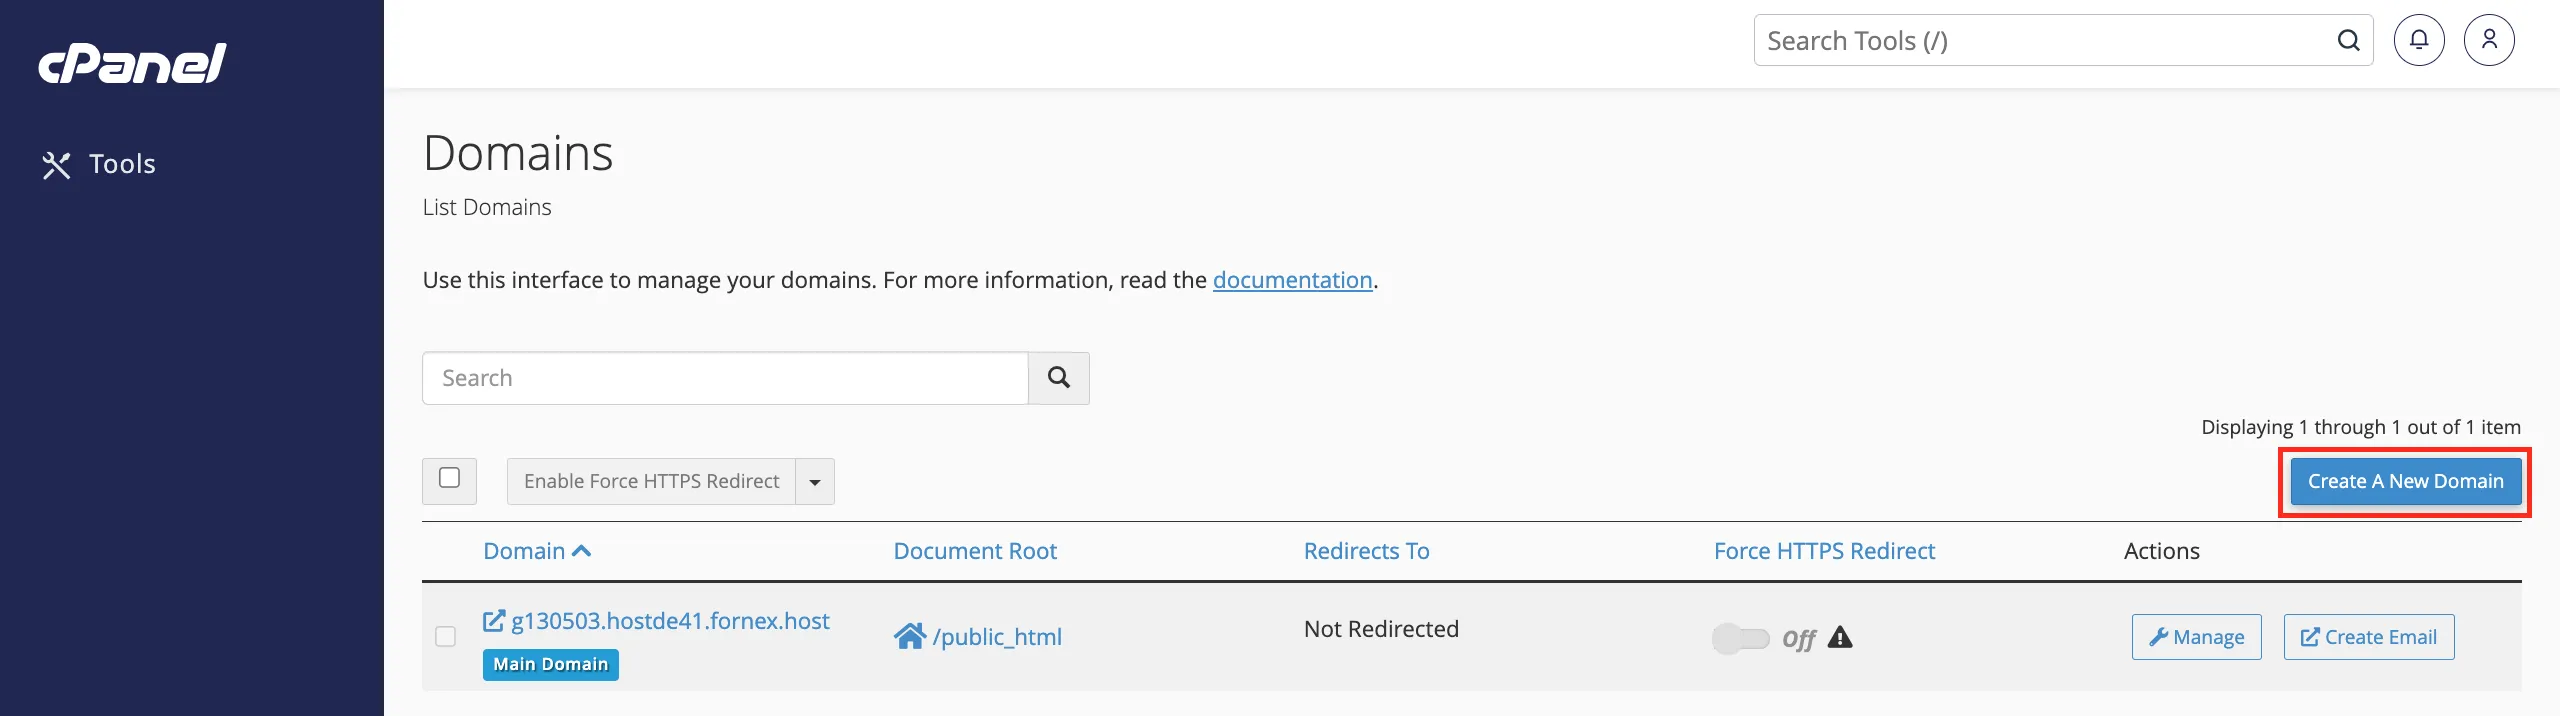
Enter your domain name and click “Submit”:
Warning
After adding a website in cPanel, you must also register it in our DNS panel.
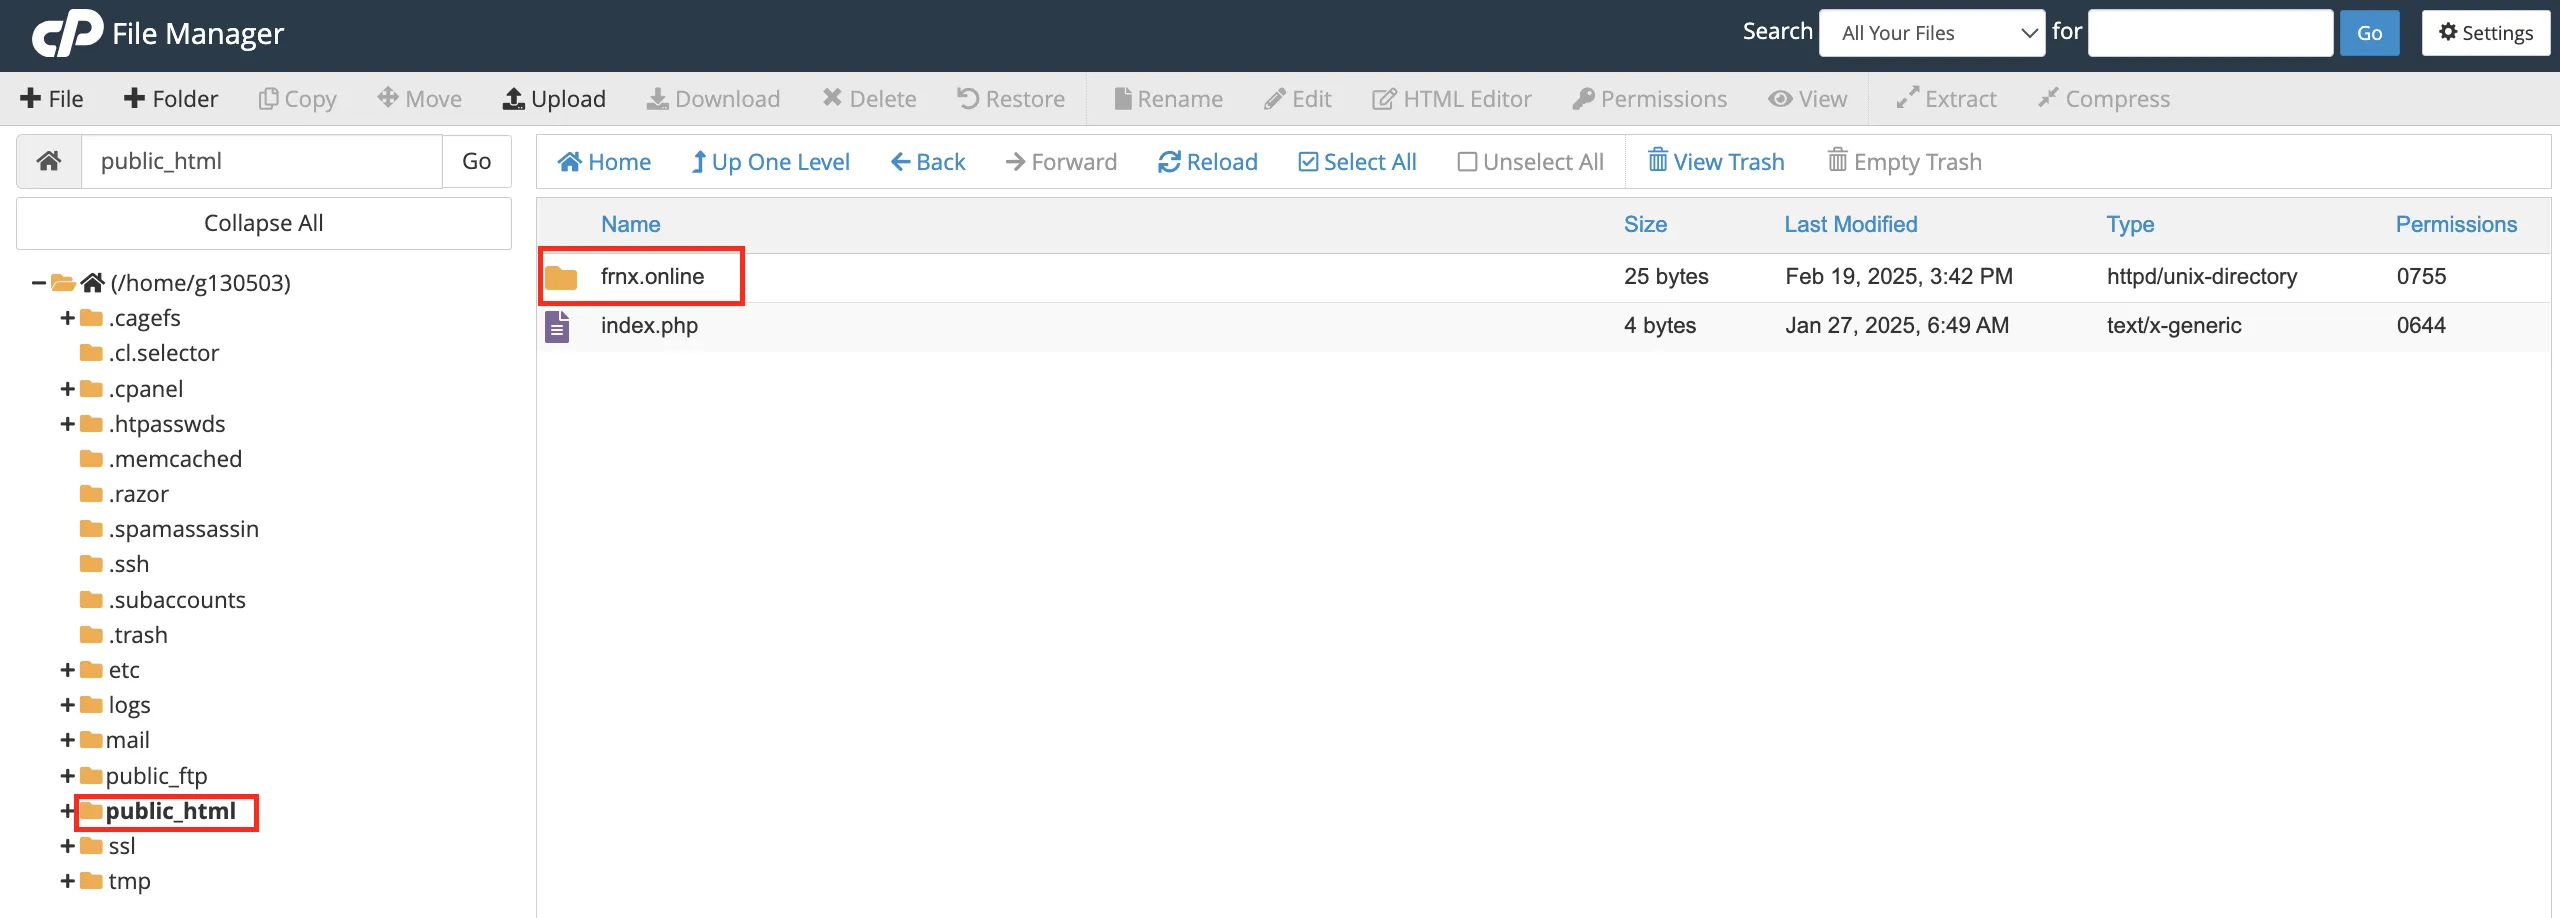
Your site folders are located in the root of the public_html directory. You can view them through File Manager or by connecting via FTP:
Note
A detailed guide on how to connect to virtual hosting via FTP can be found here.
Creating a MySQL database
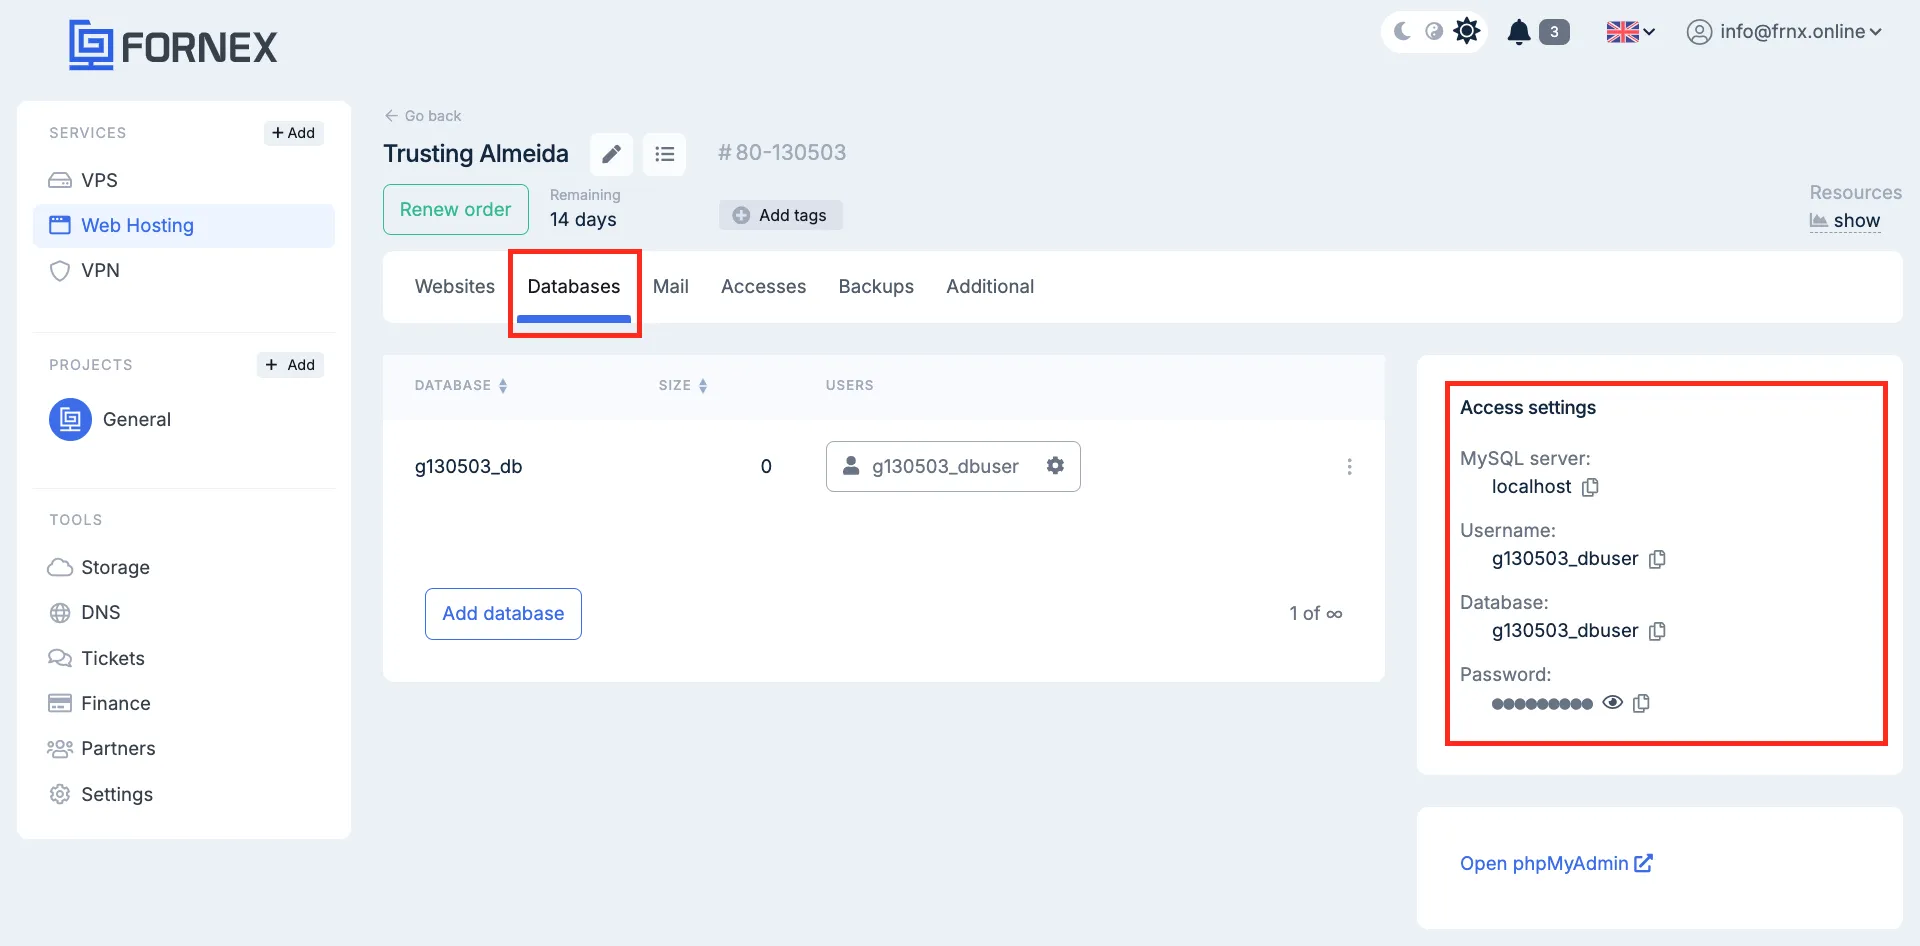
The first MySQL database is created automatically when hosting is activated. You can find the details in the billing section under “Databases → Access”:
Note
The server name is localhost.
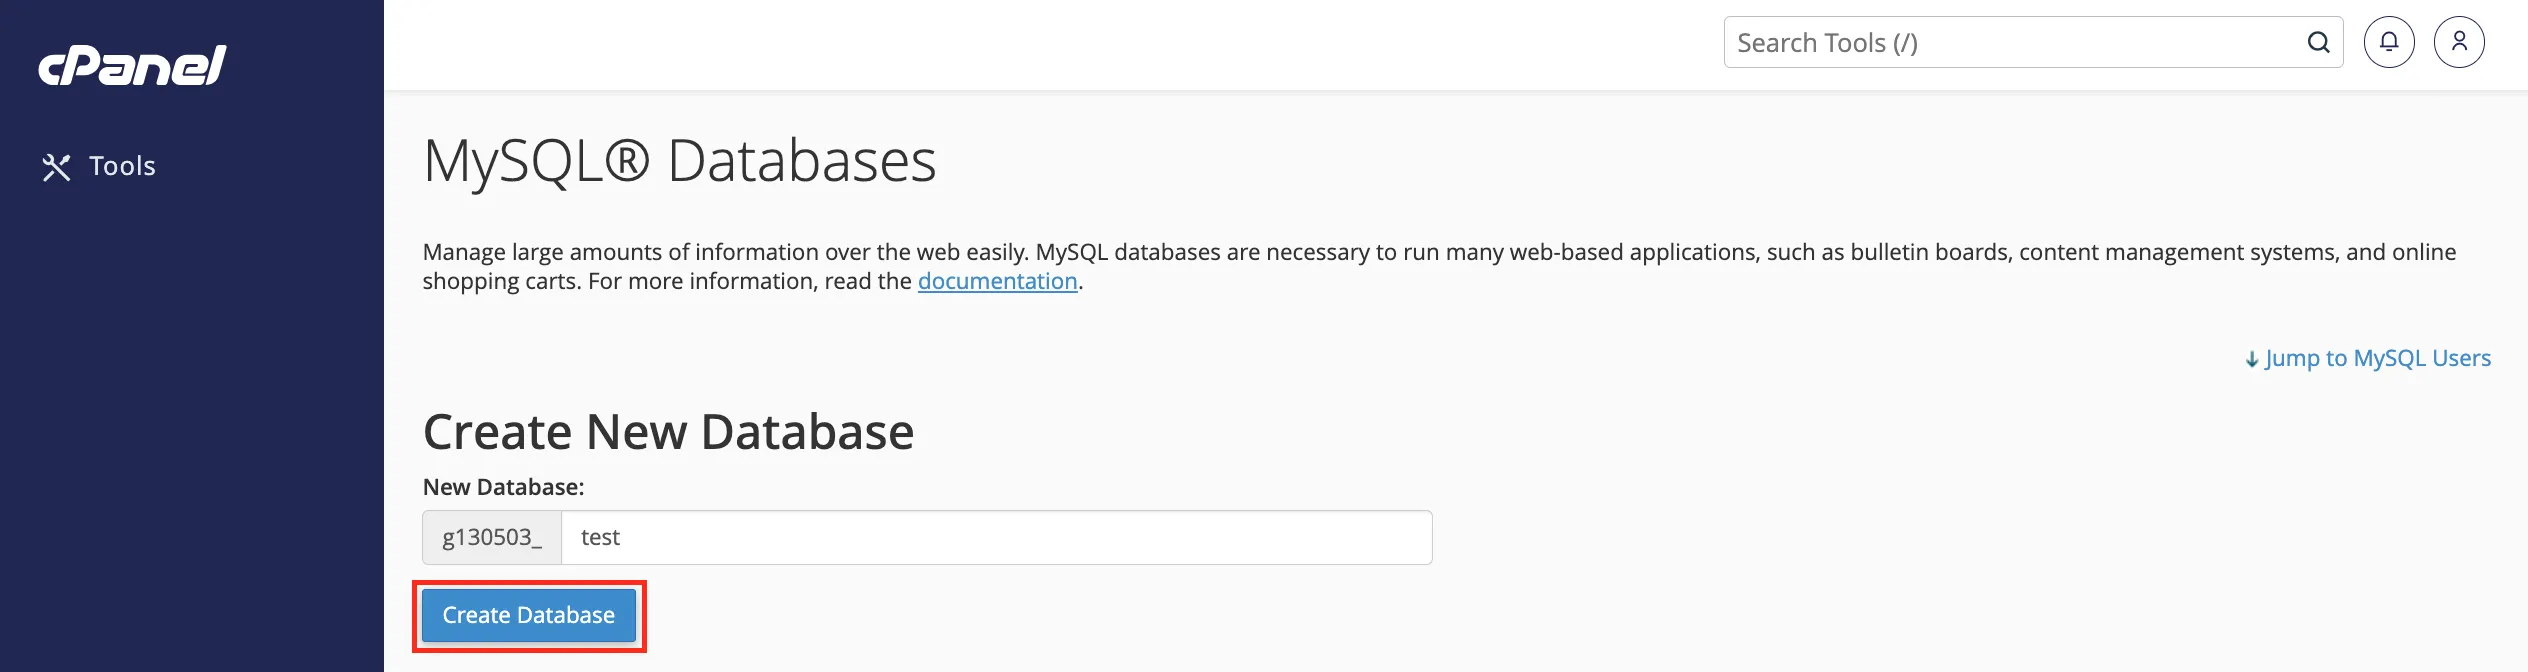
Additional databases can be created in cPanel under “MySQL Databases”:

Enter a name for the database and click “Create Database”:
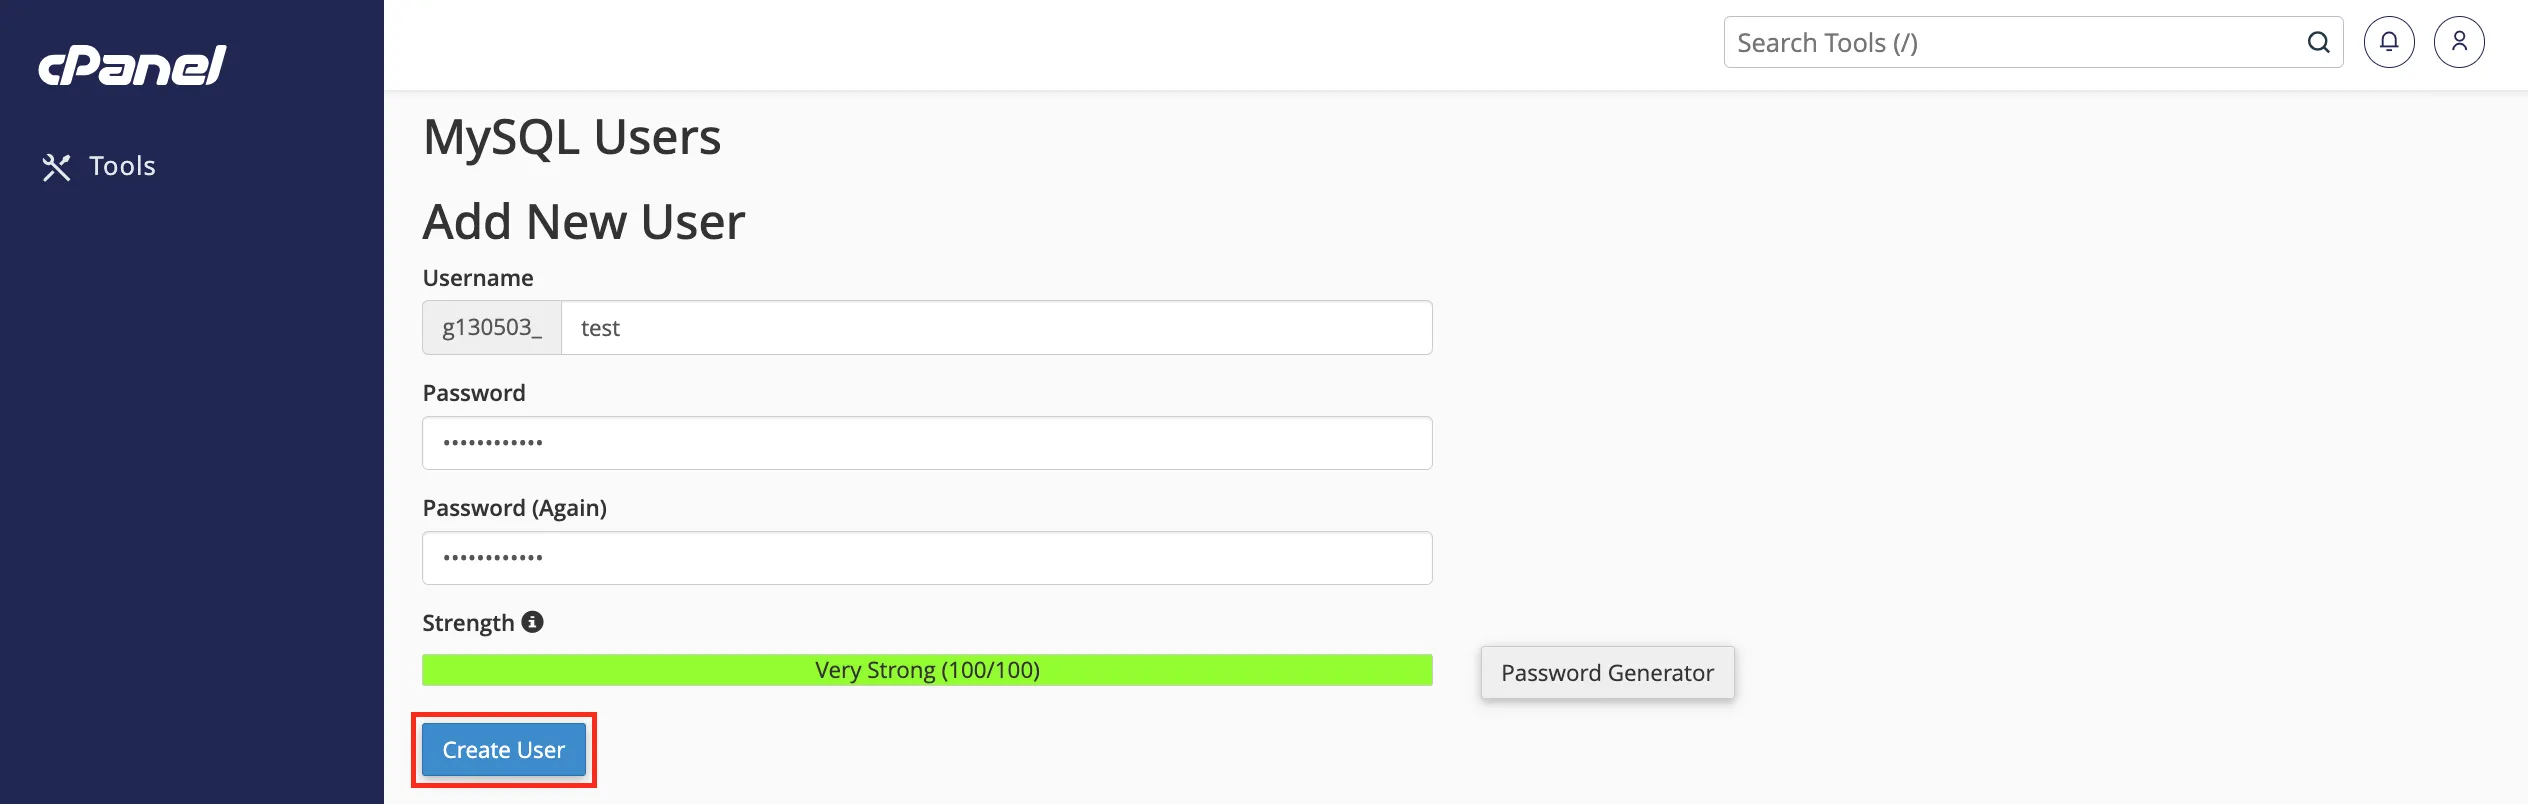
After that, create a user with access to the database:
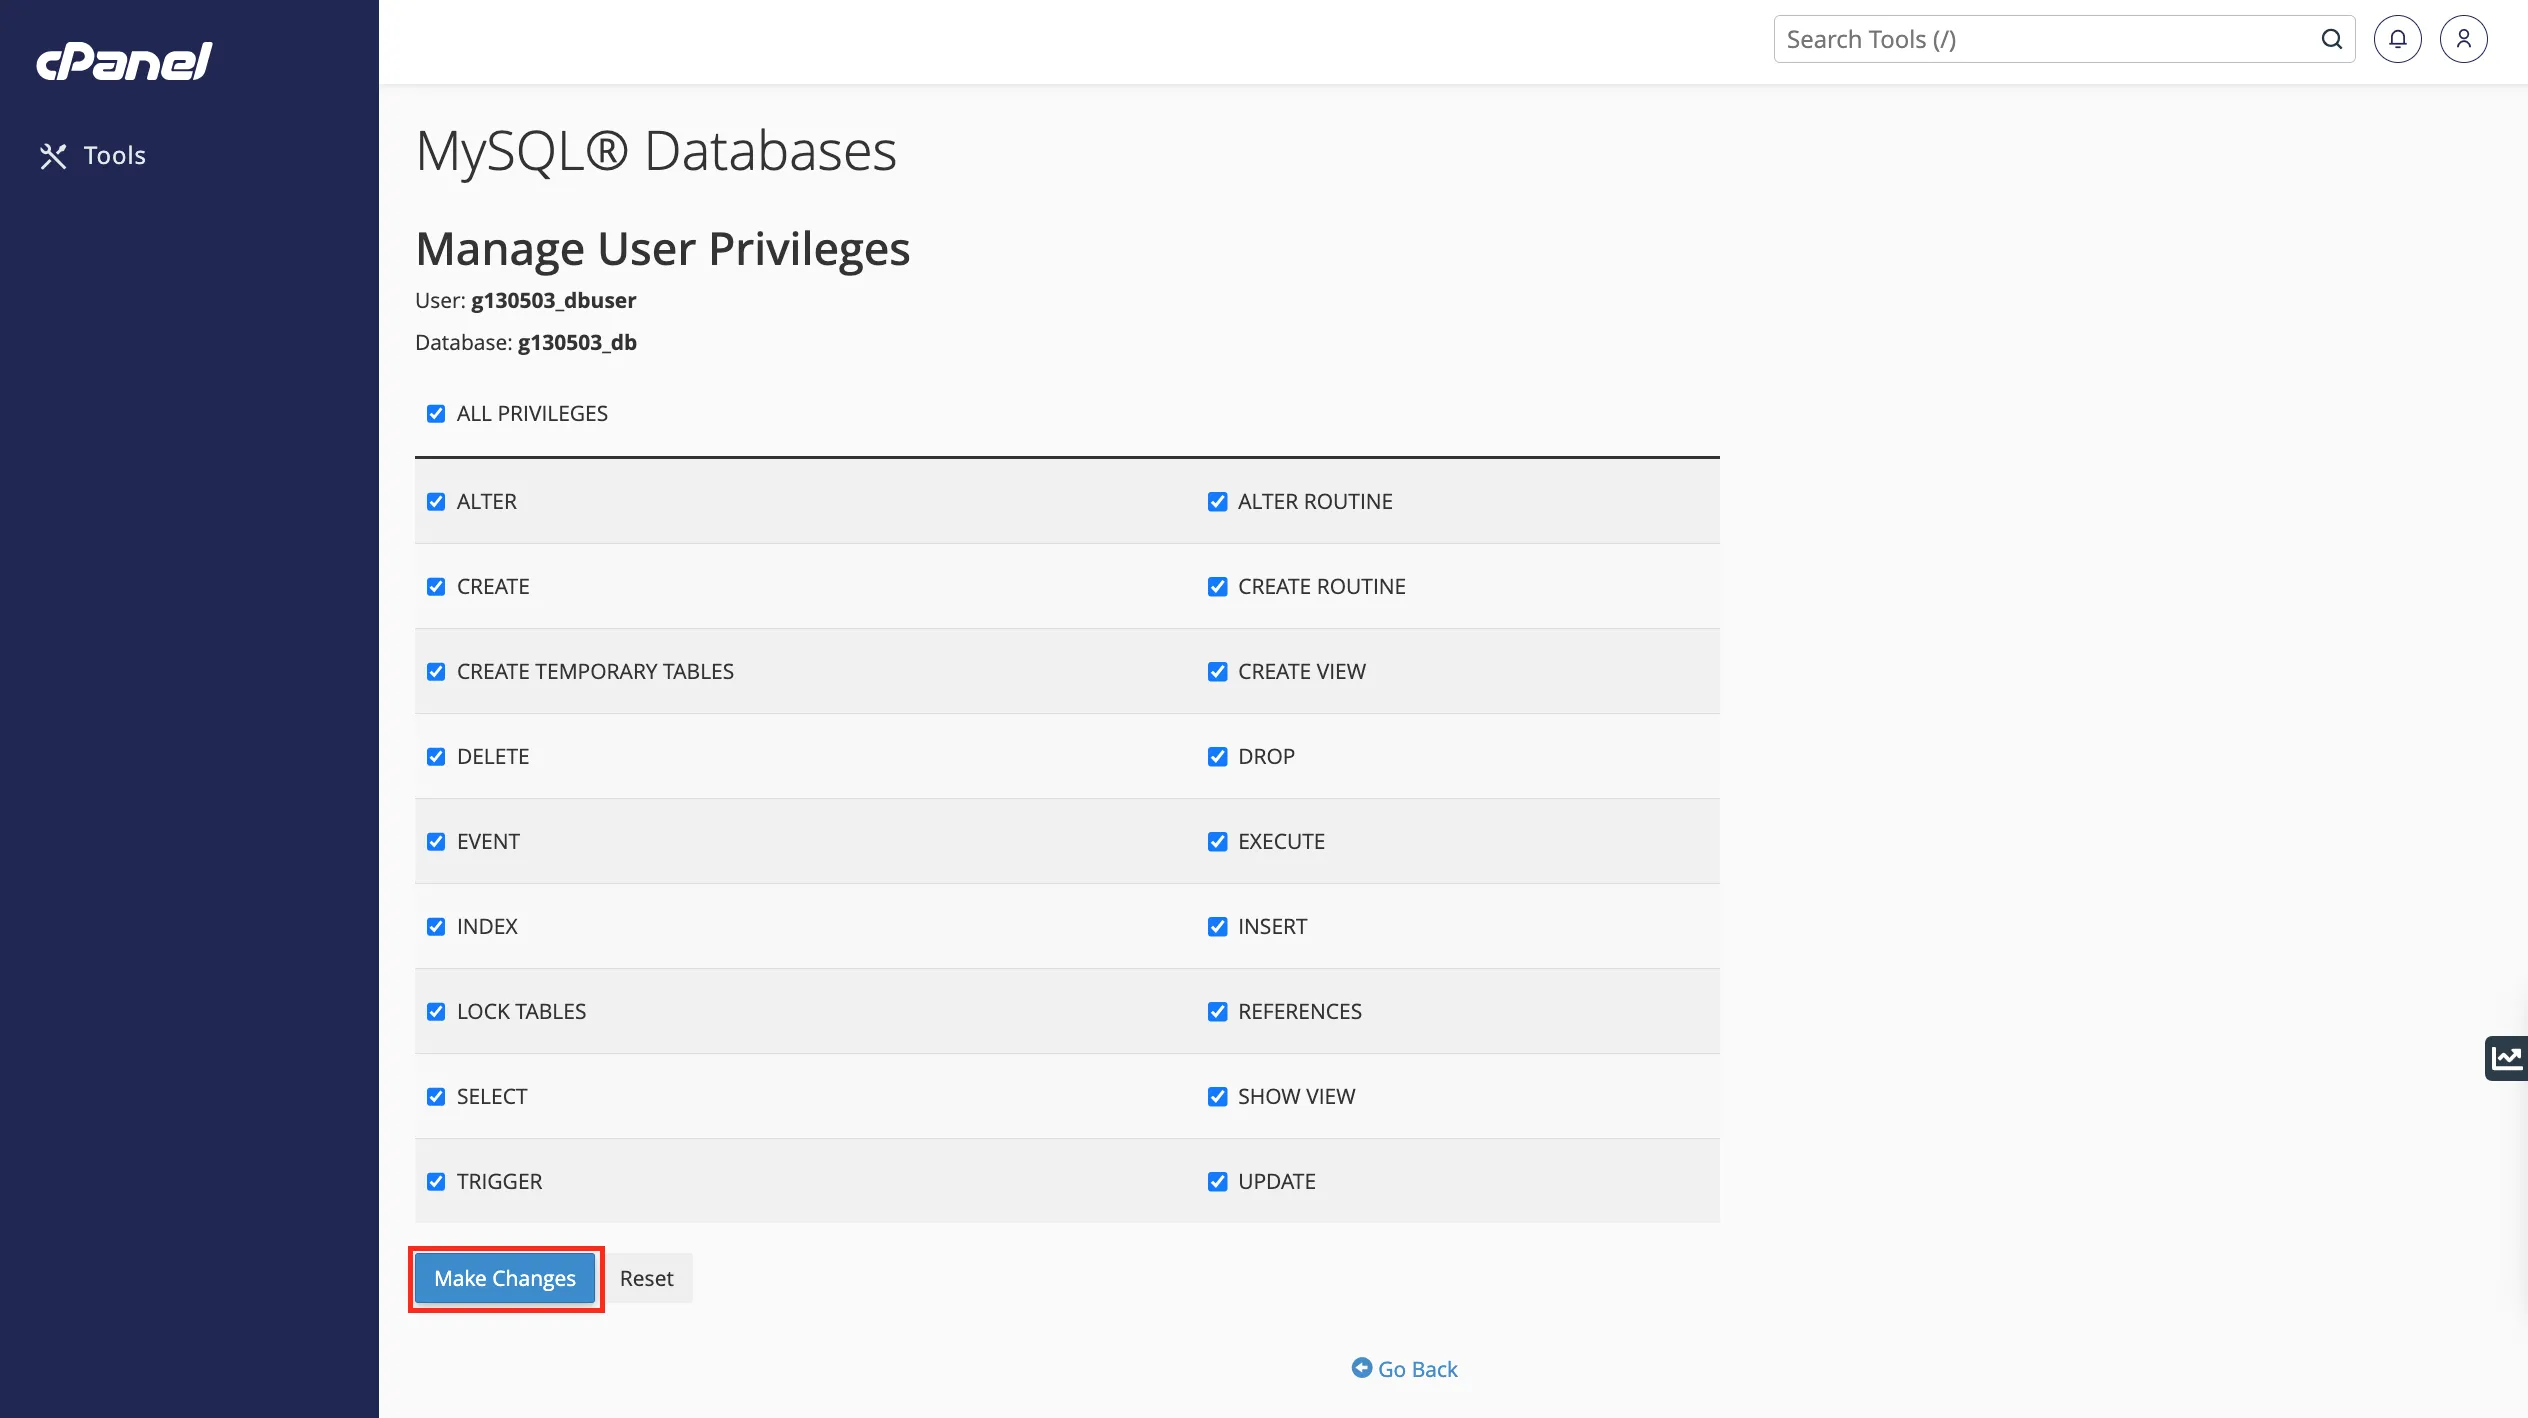
Then assign privileges to the user for the new database:

Creating an FTP user
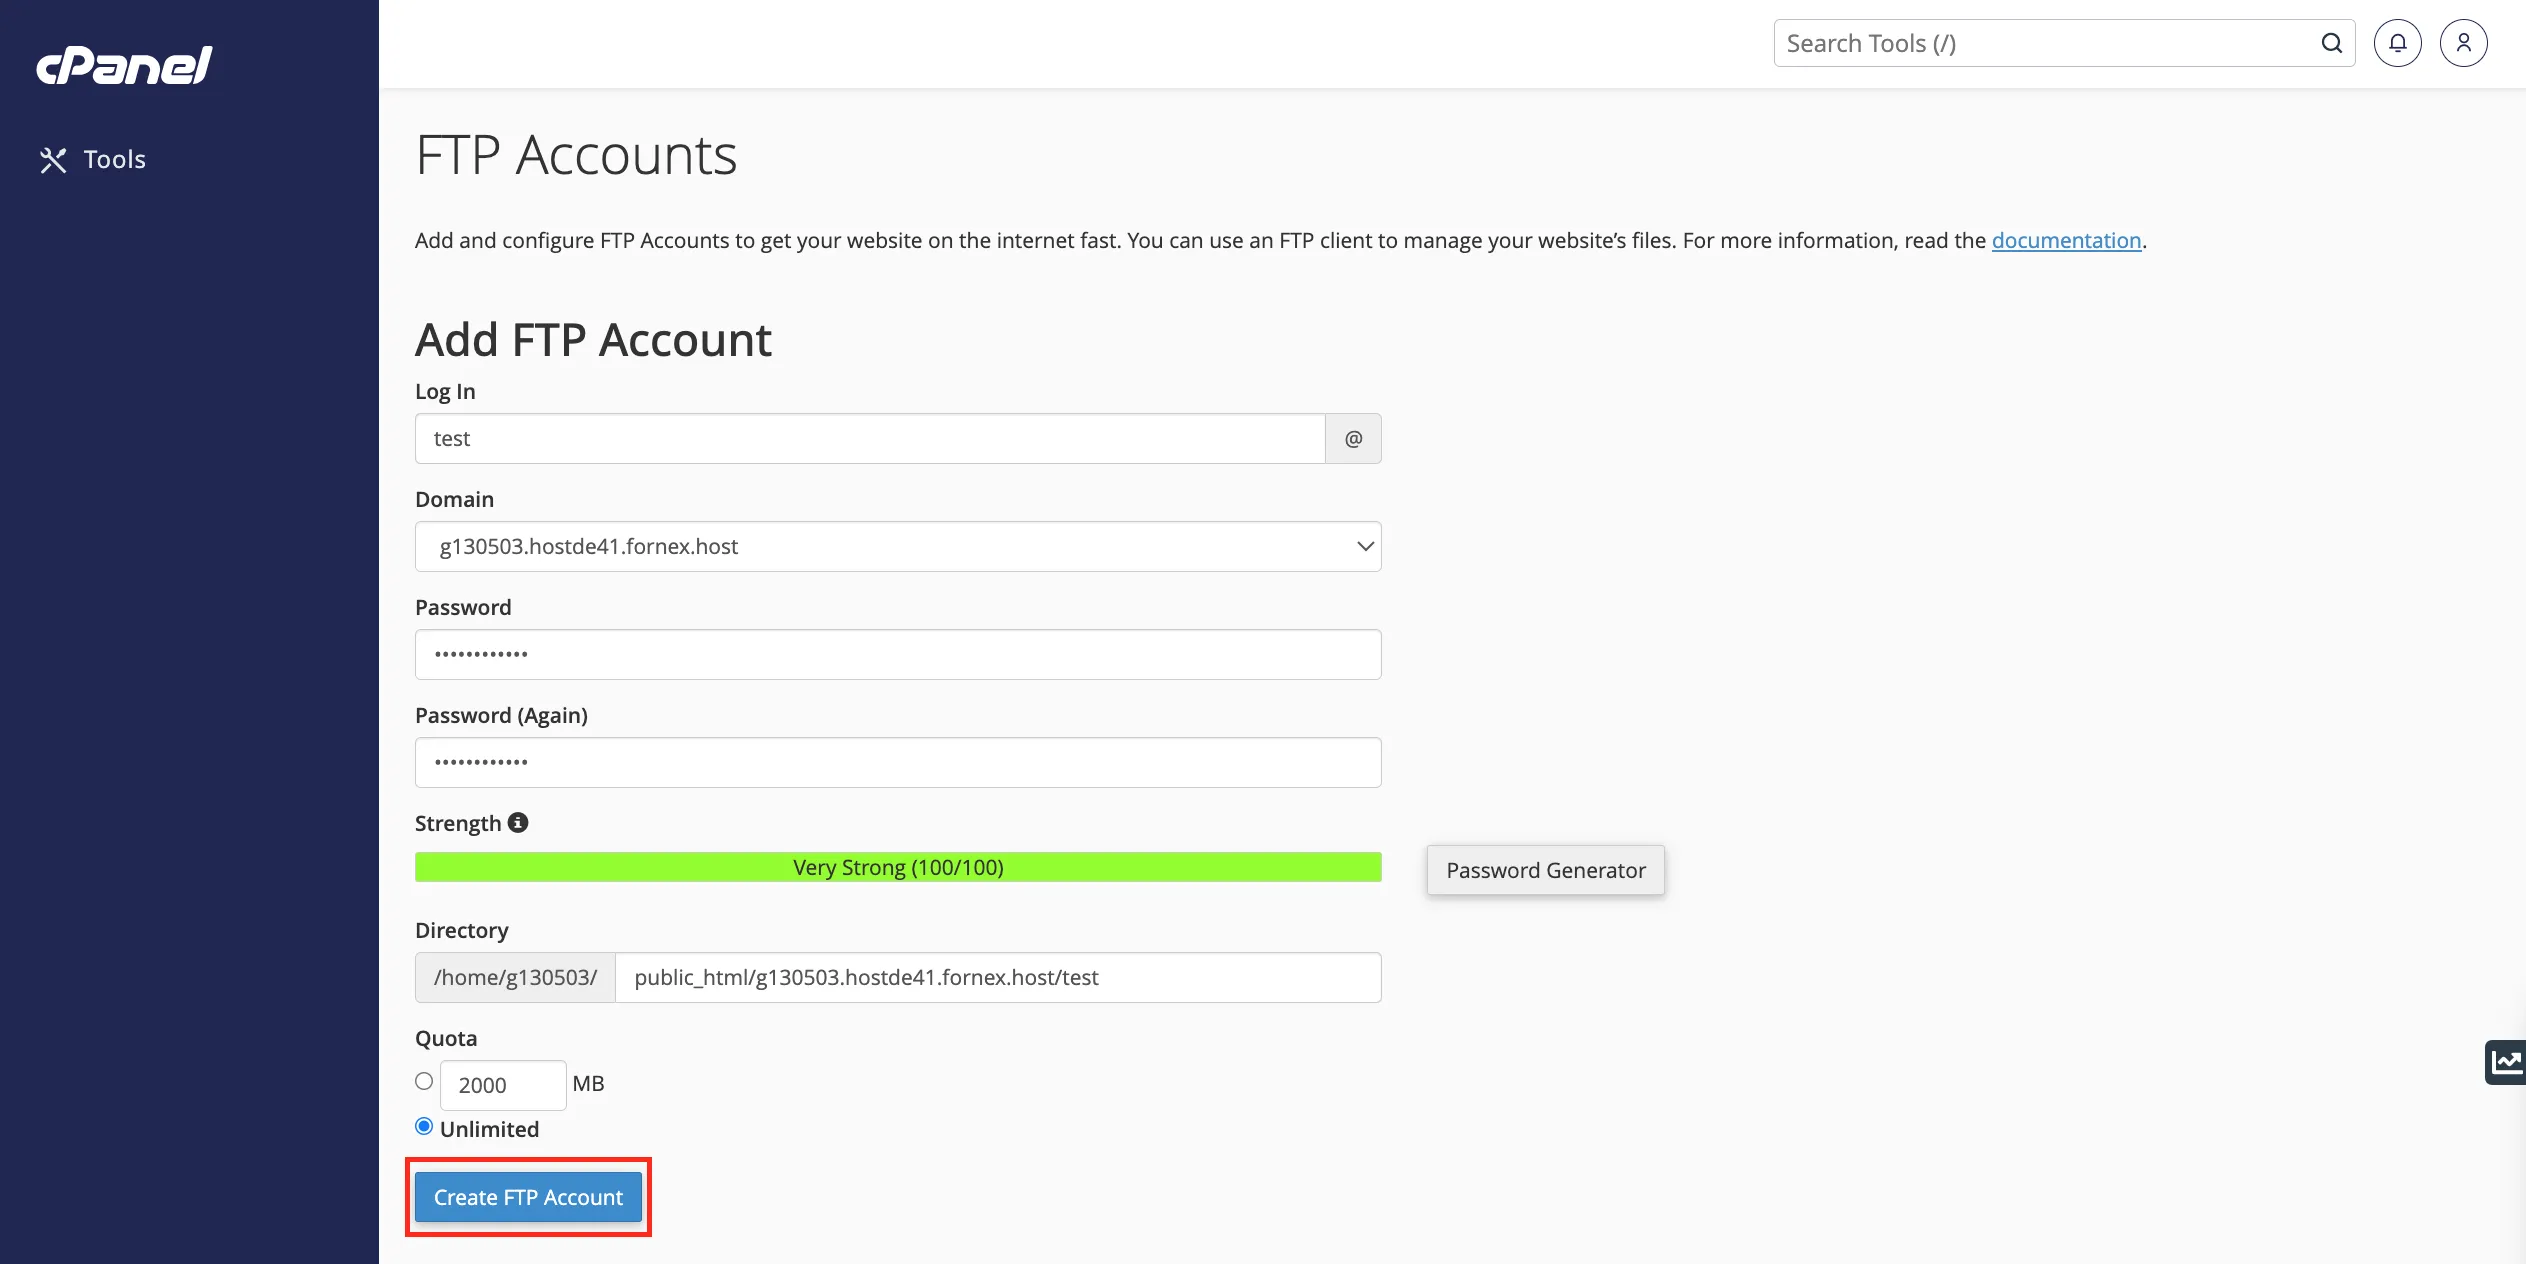
For each site, cPanel automatically creates an FTP account. If you need additional accounts, go to “FTP Accounts”:

Fill in the required details and click “Create FTP Account”:
Note
All of the above actions can also be performed directly through billing, without logging into cPanel. More details are available in this guide.
Help
If you have any questions or need assistance, please contact us through the ticket system — we're always here to help!