How to Deploy a Mail Server Using BeAdmin
A detailed guide on setting up your mail server using BeAdmin
With the BeAdmin panel, you can quickly set up your own mail server, create as many mailboxes as you need on your domains, manage your mail via Roundcube, or connect your accounts to popular mail clients like Gmail, Apple Mail, and others.
Important
To make your mail server work properly, you need a domain name. This allows you to send and receive emails over the internet. You can buy a domain from any registrar, and if needed, you can add multiple domains to your server.
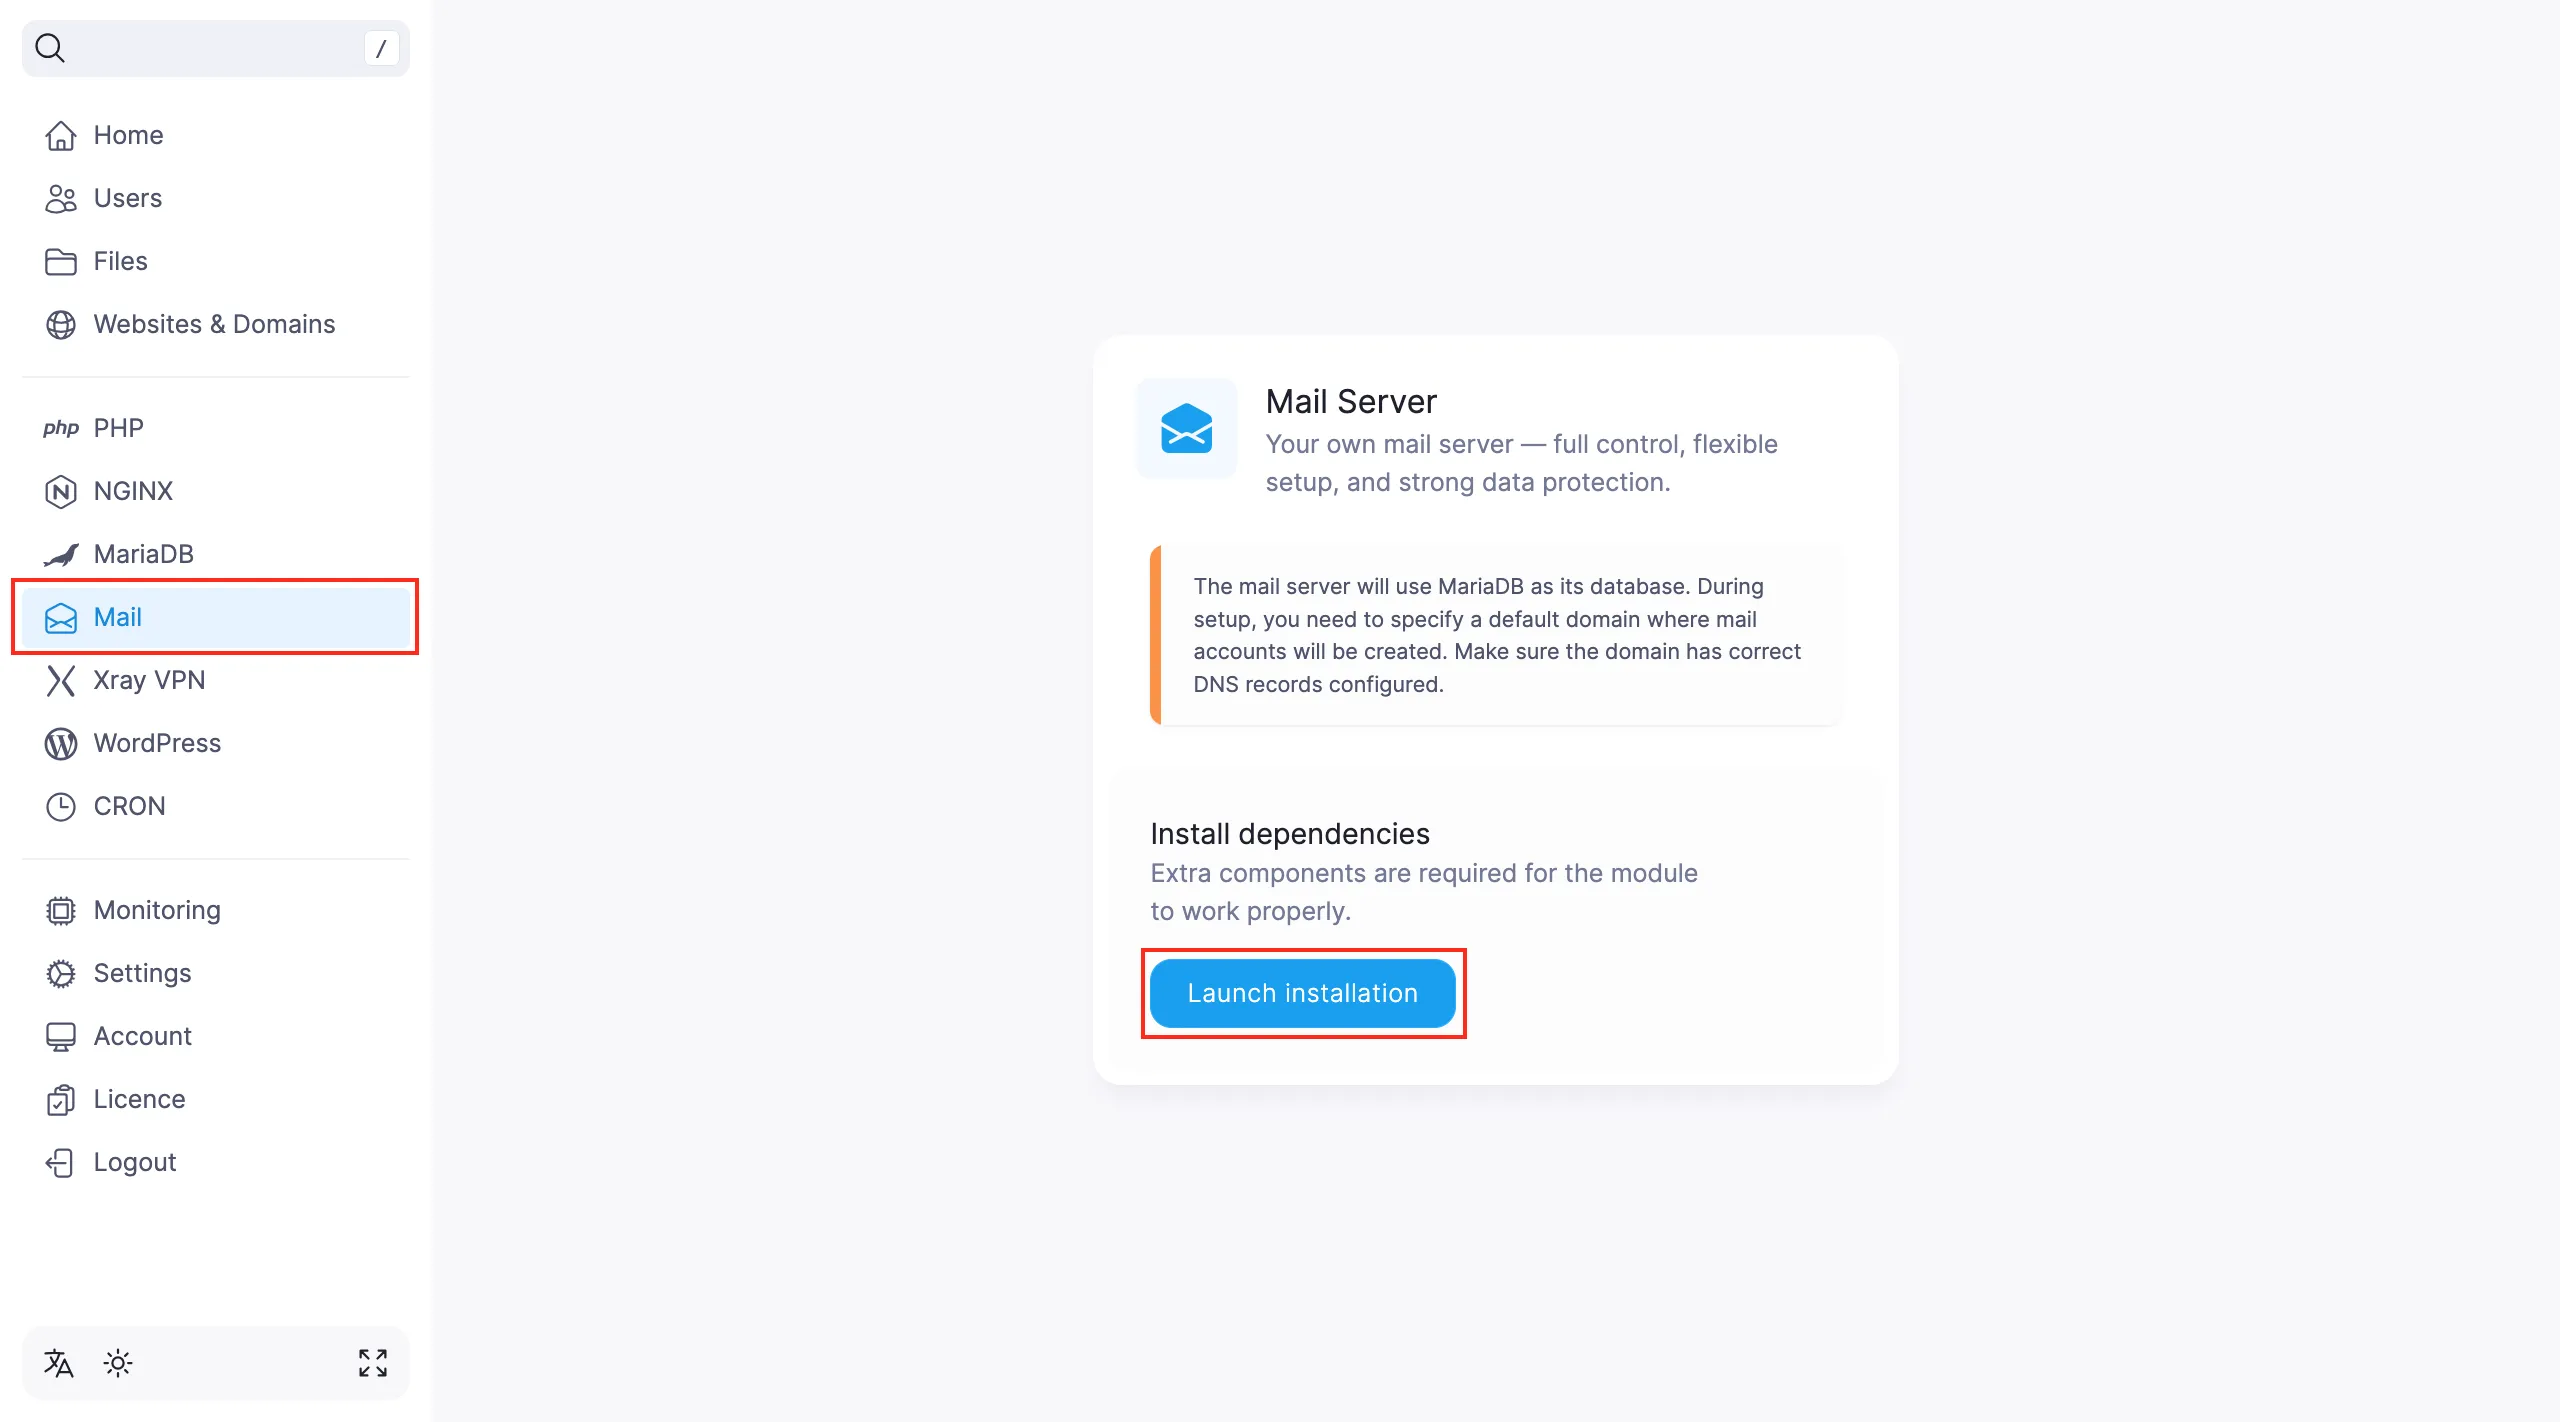
If you’re starting with a clean server that already has BeAdmin installed, you’ll need to install some extra components to get the mail server running.
Go to the Mail section and click Start Installation.
Once the dependencies are installed, start the mail module installation by clicking Install.
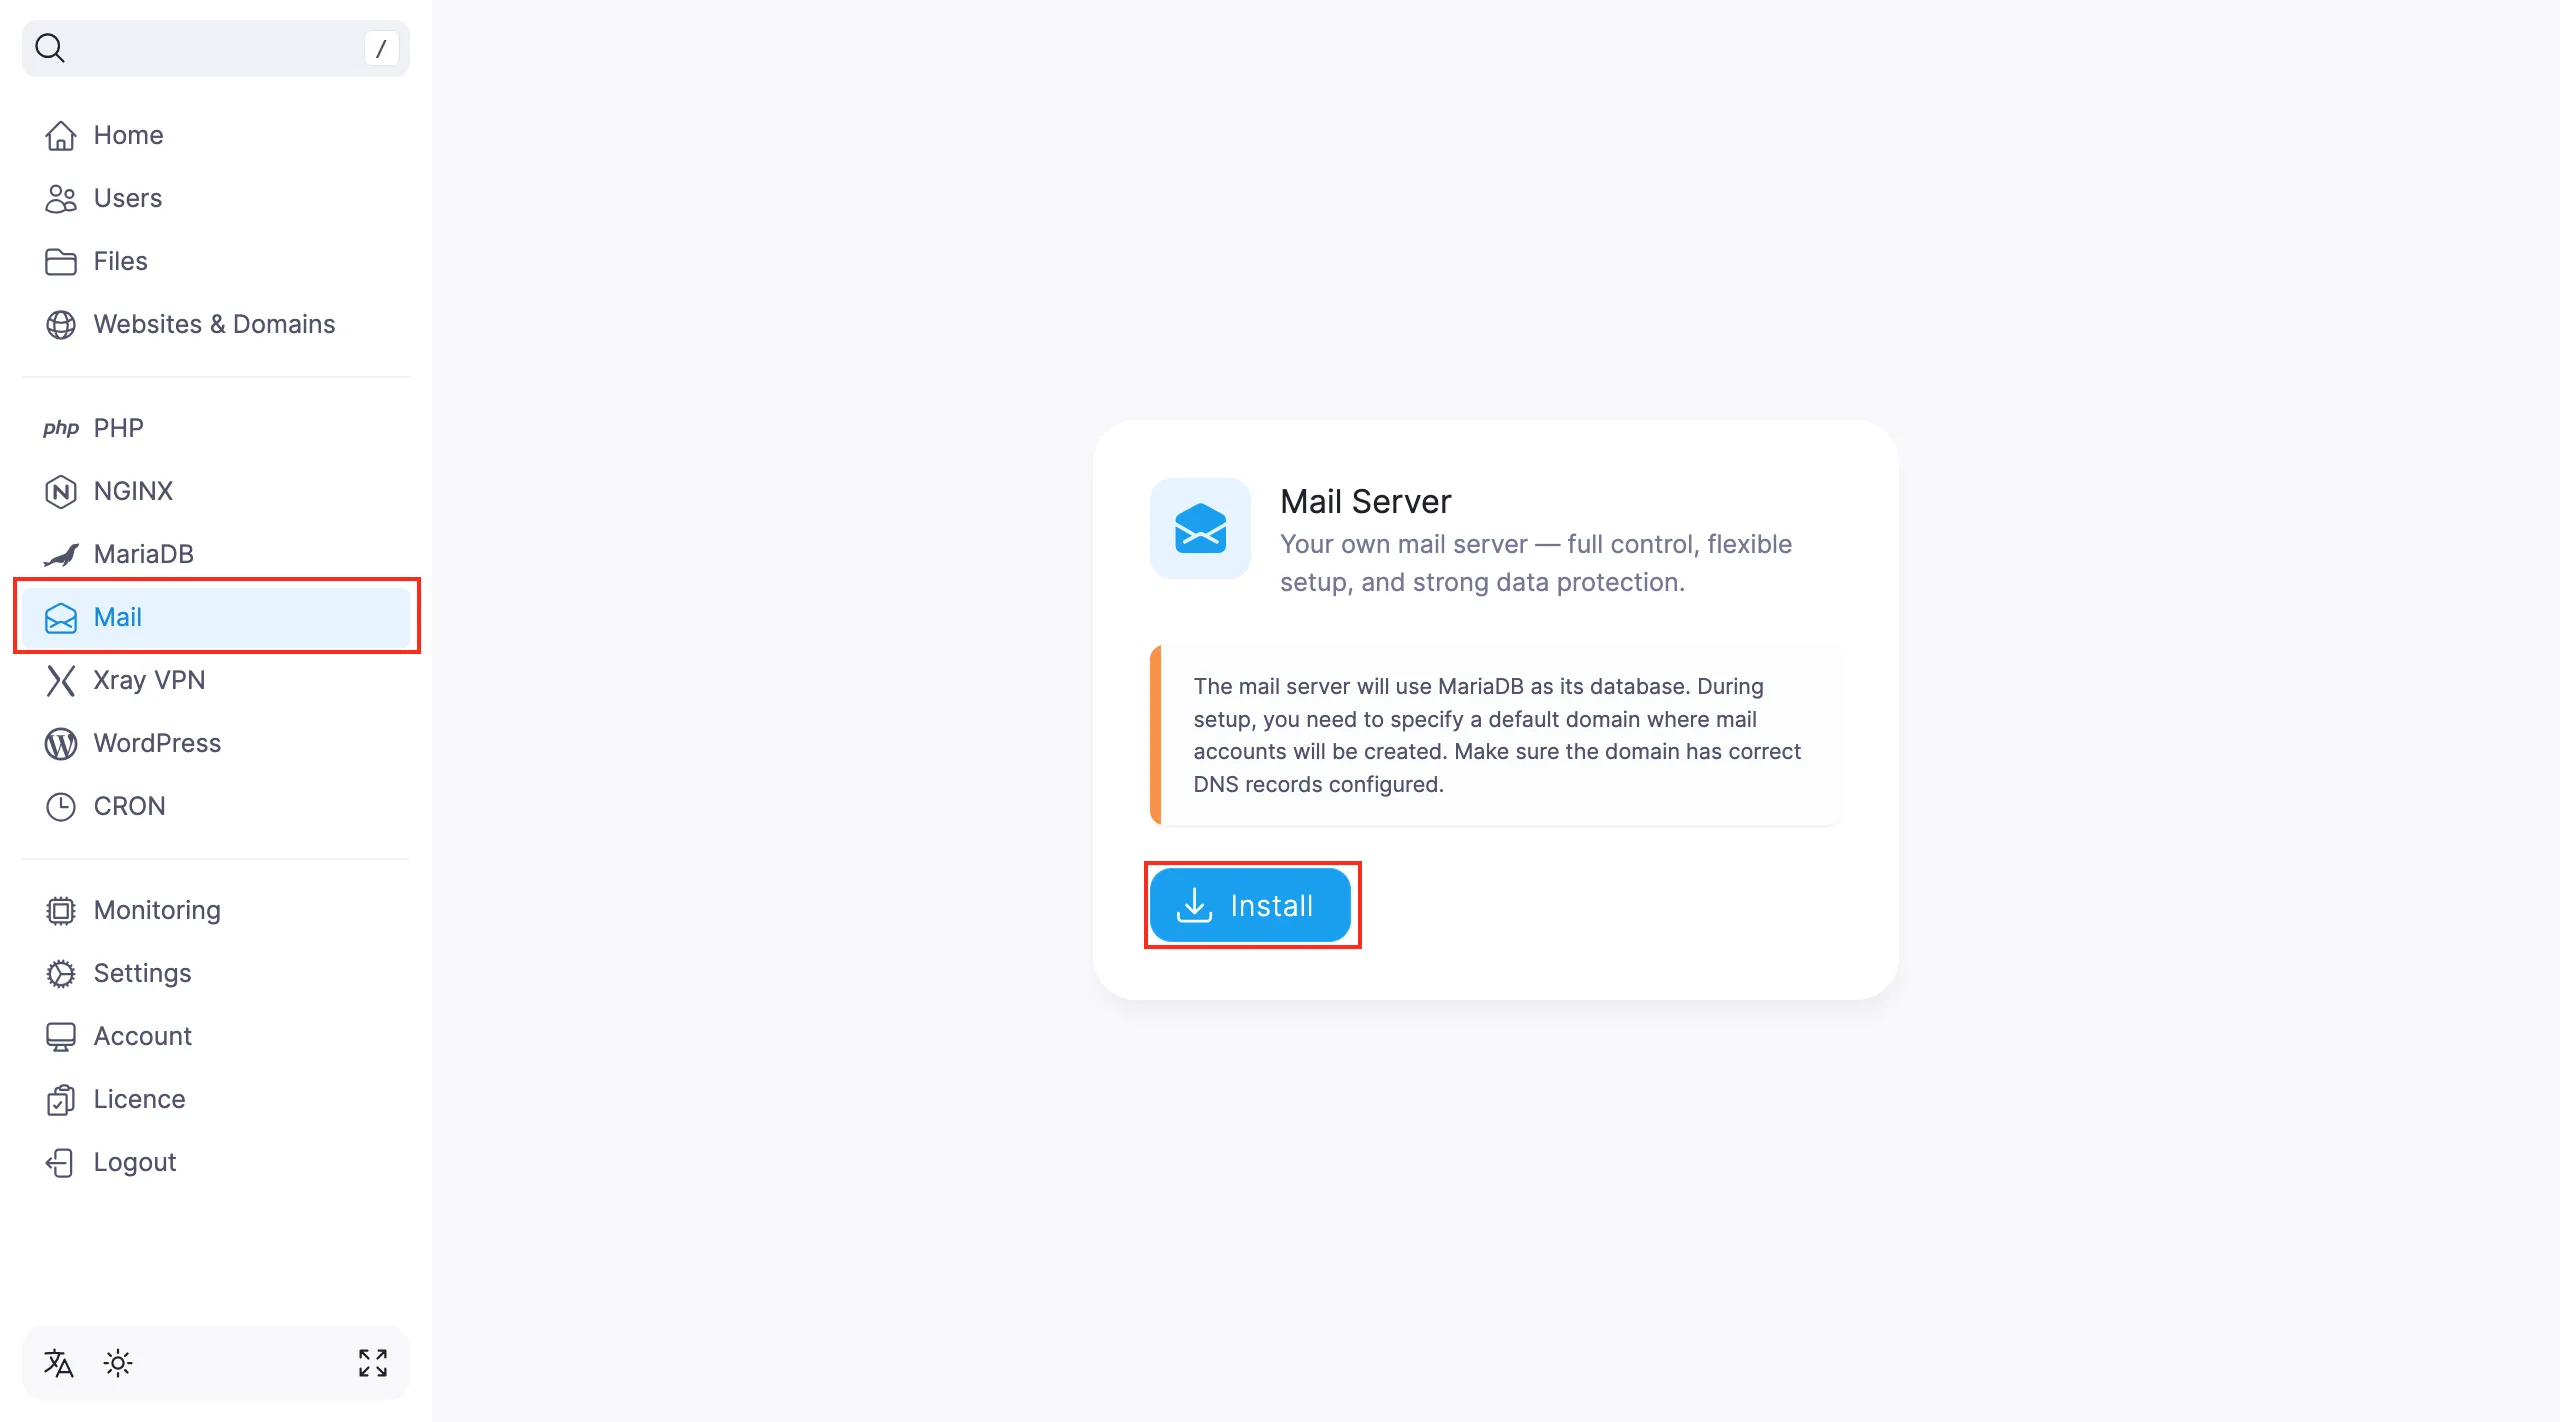
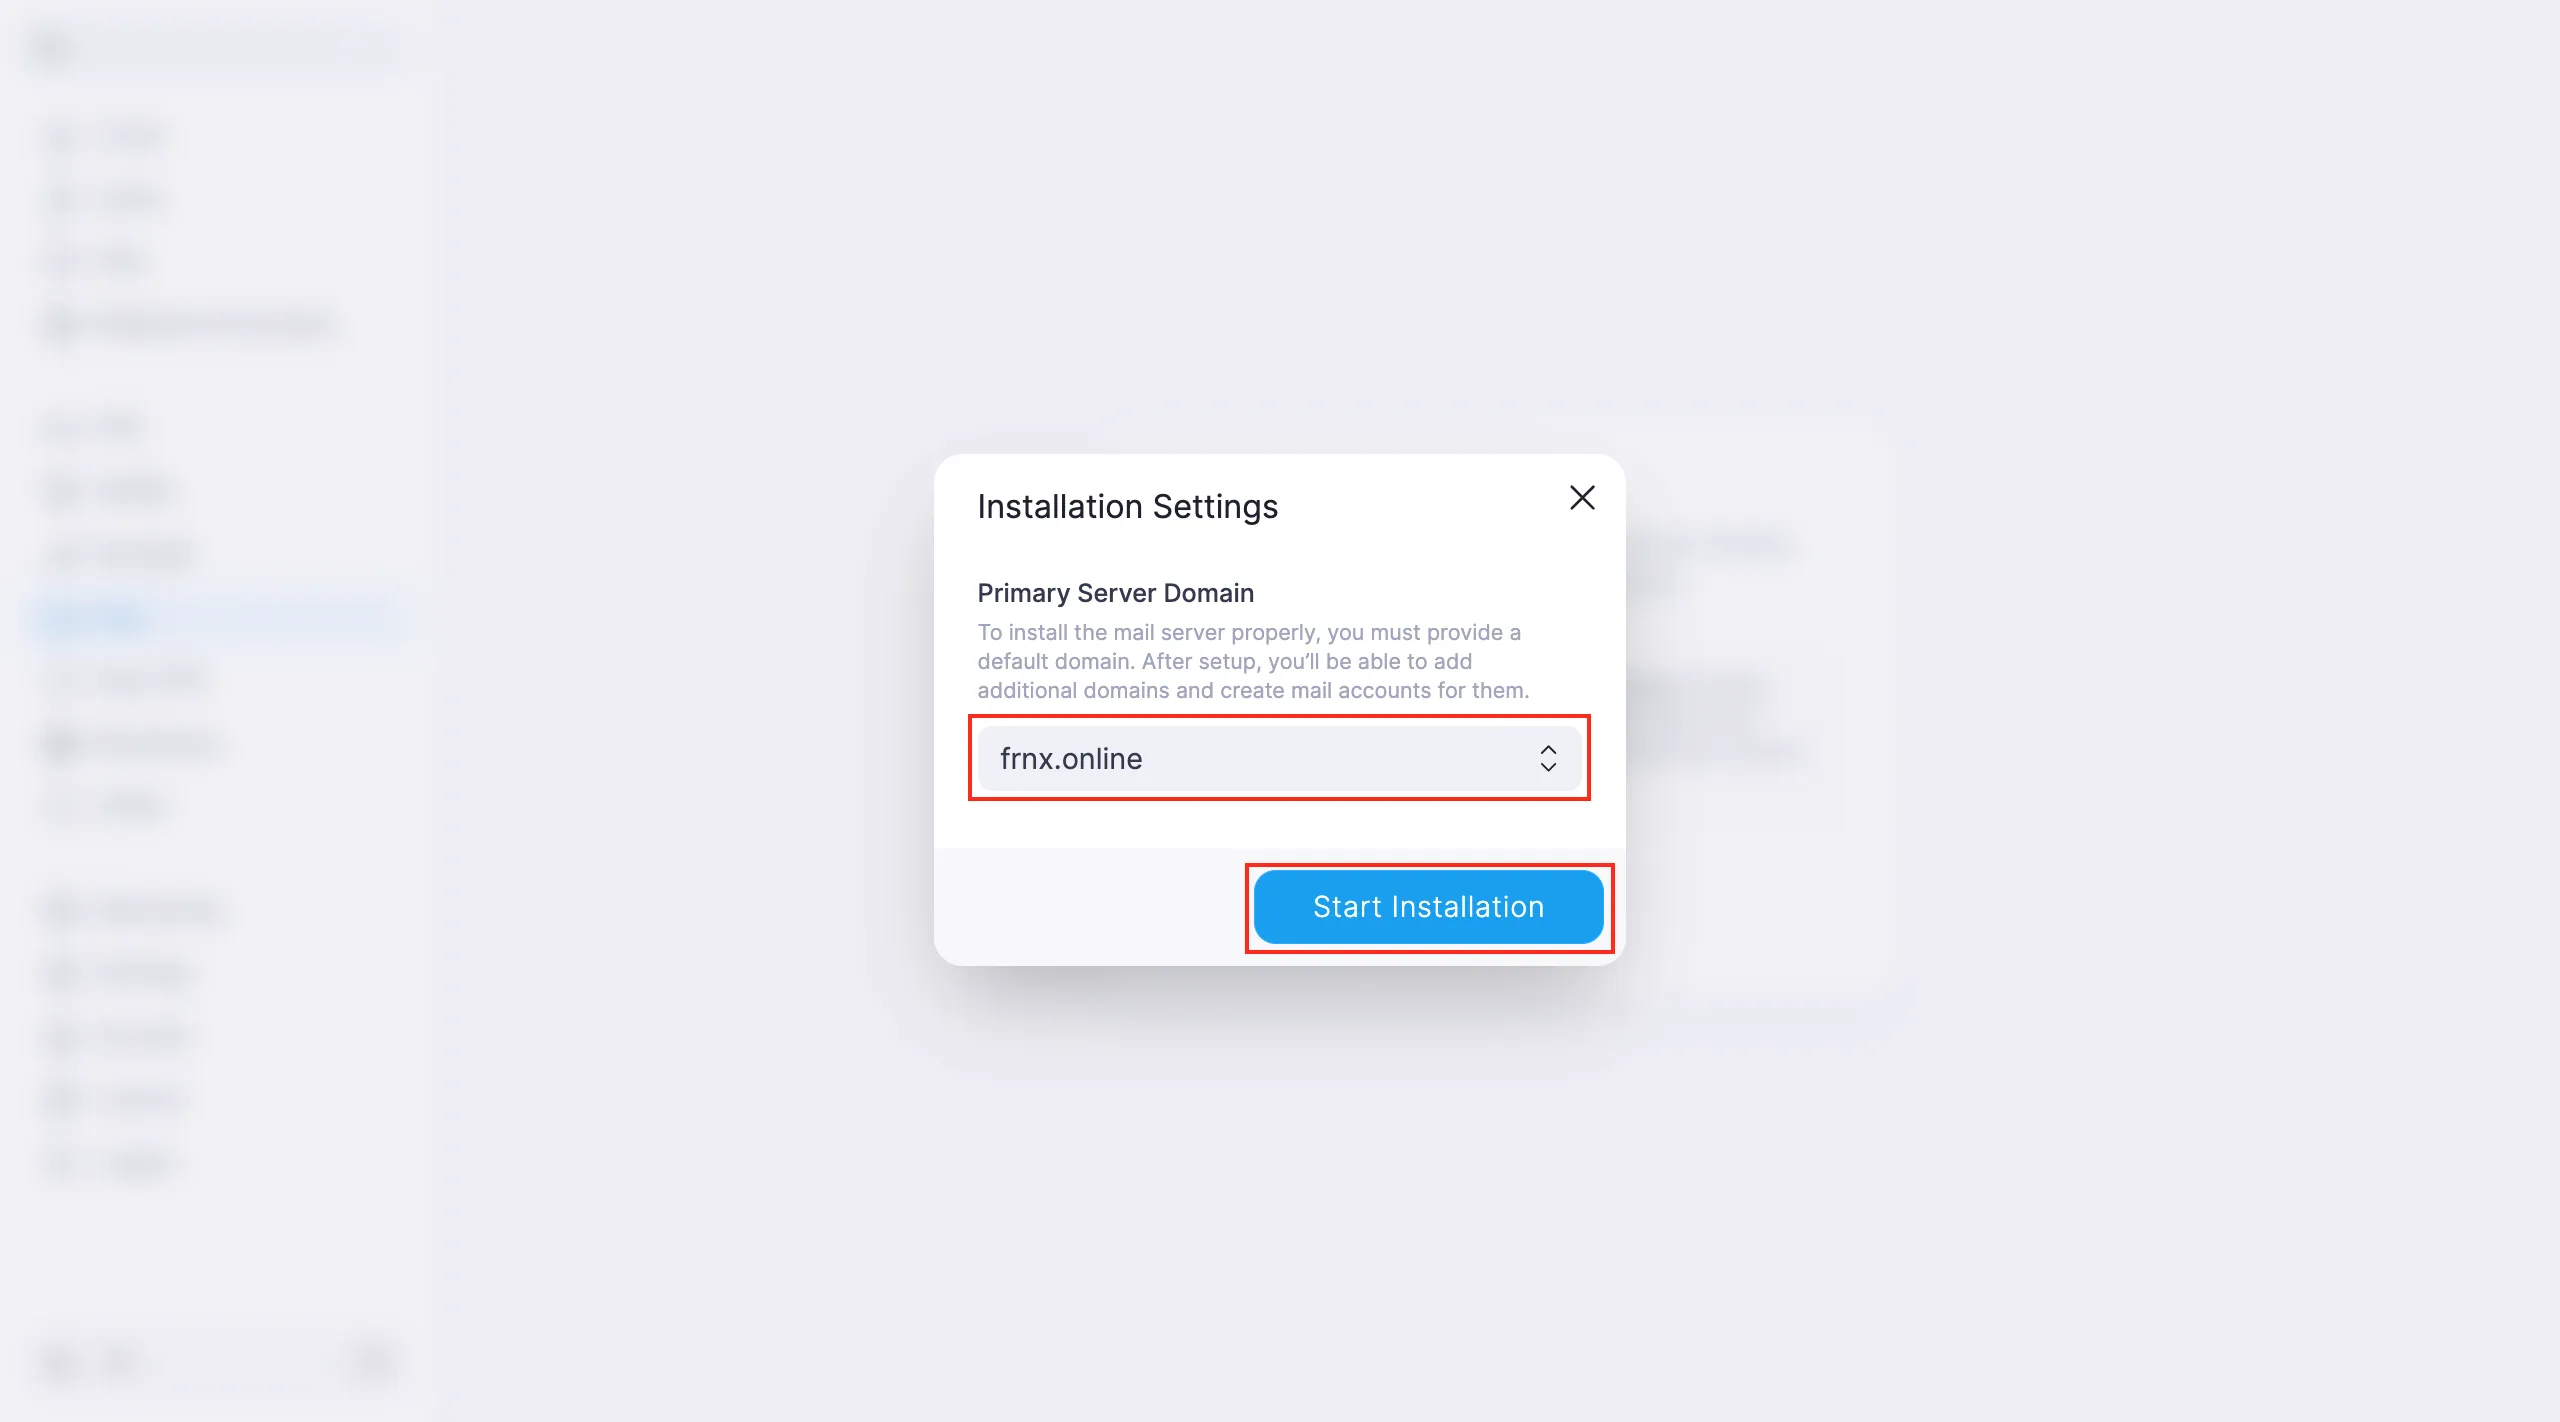
In the popup window, enter your primary server domain.
Note
At this stage, you need to specify a default domain. If you don’t have one yet, just enter any domain — you’ll be able to change it later and add more domains.
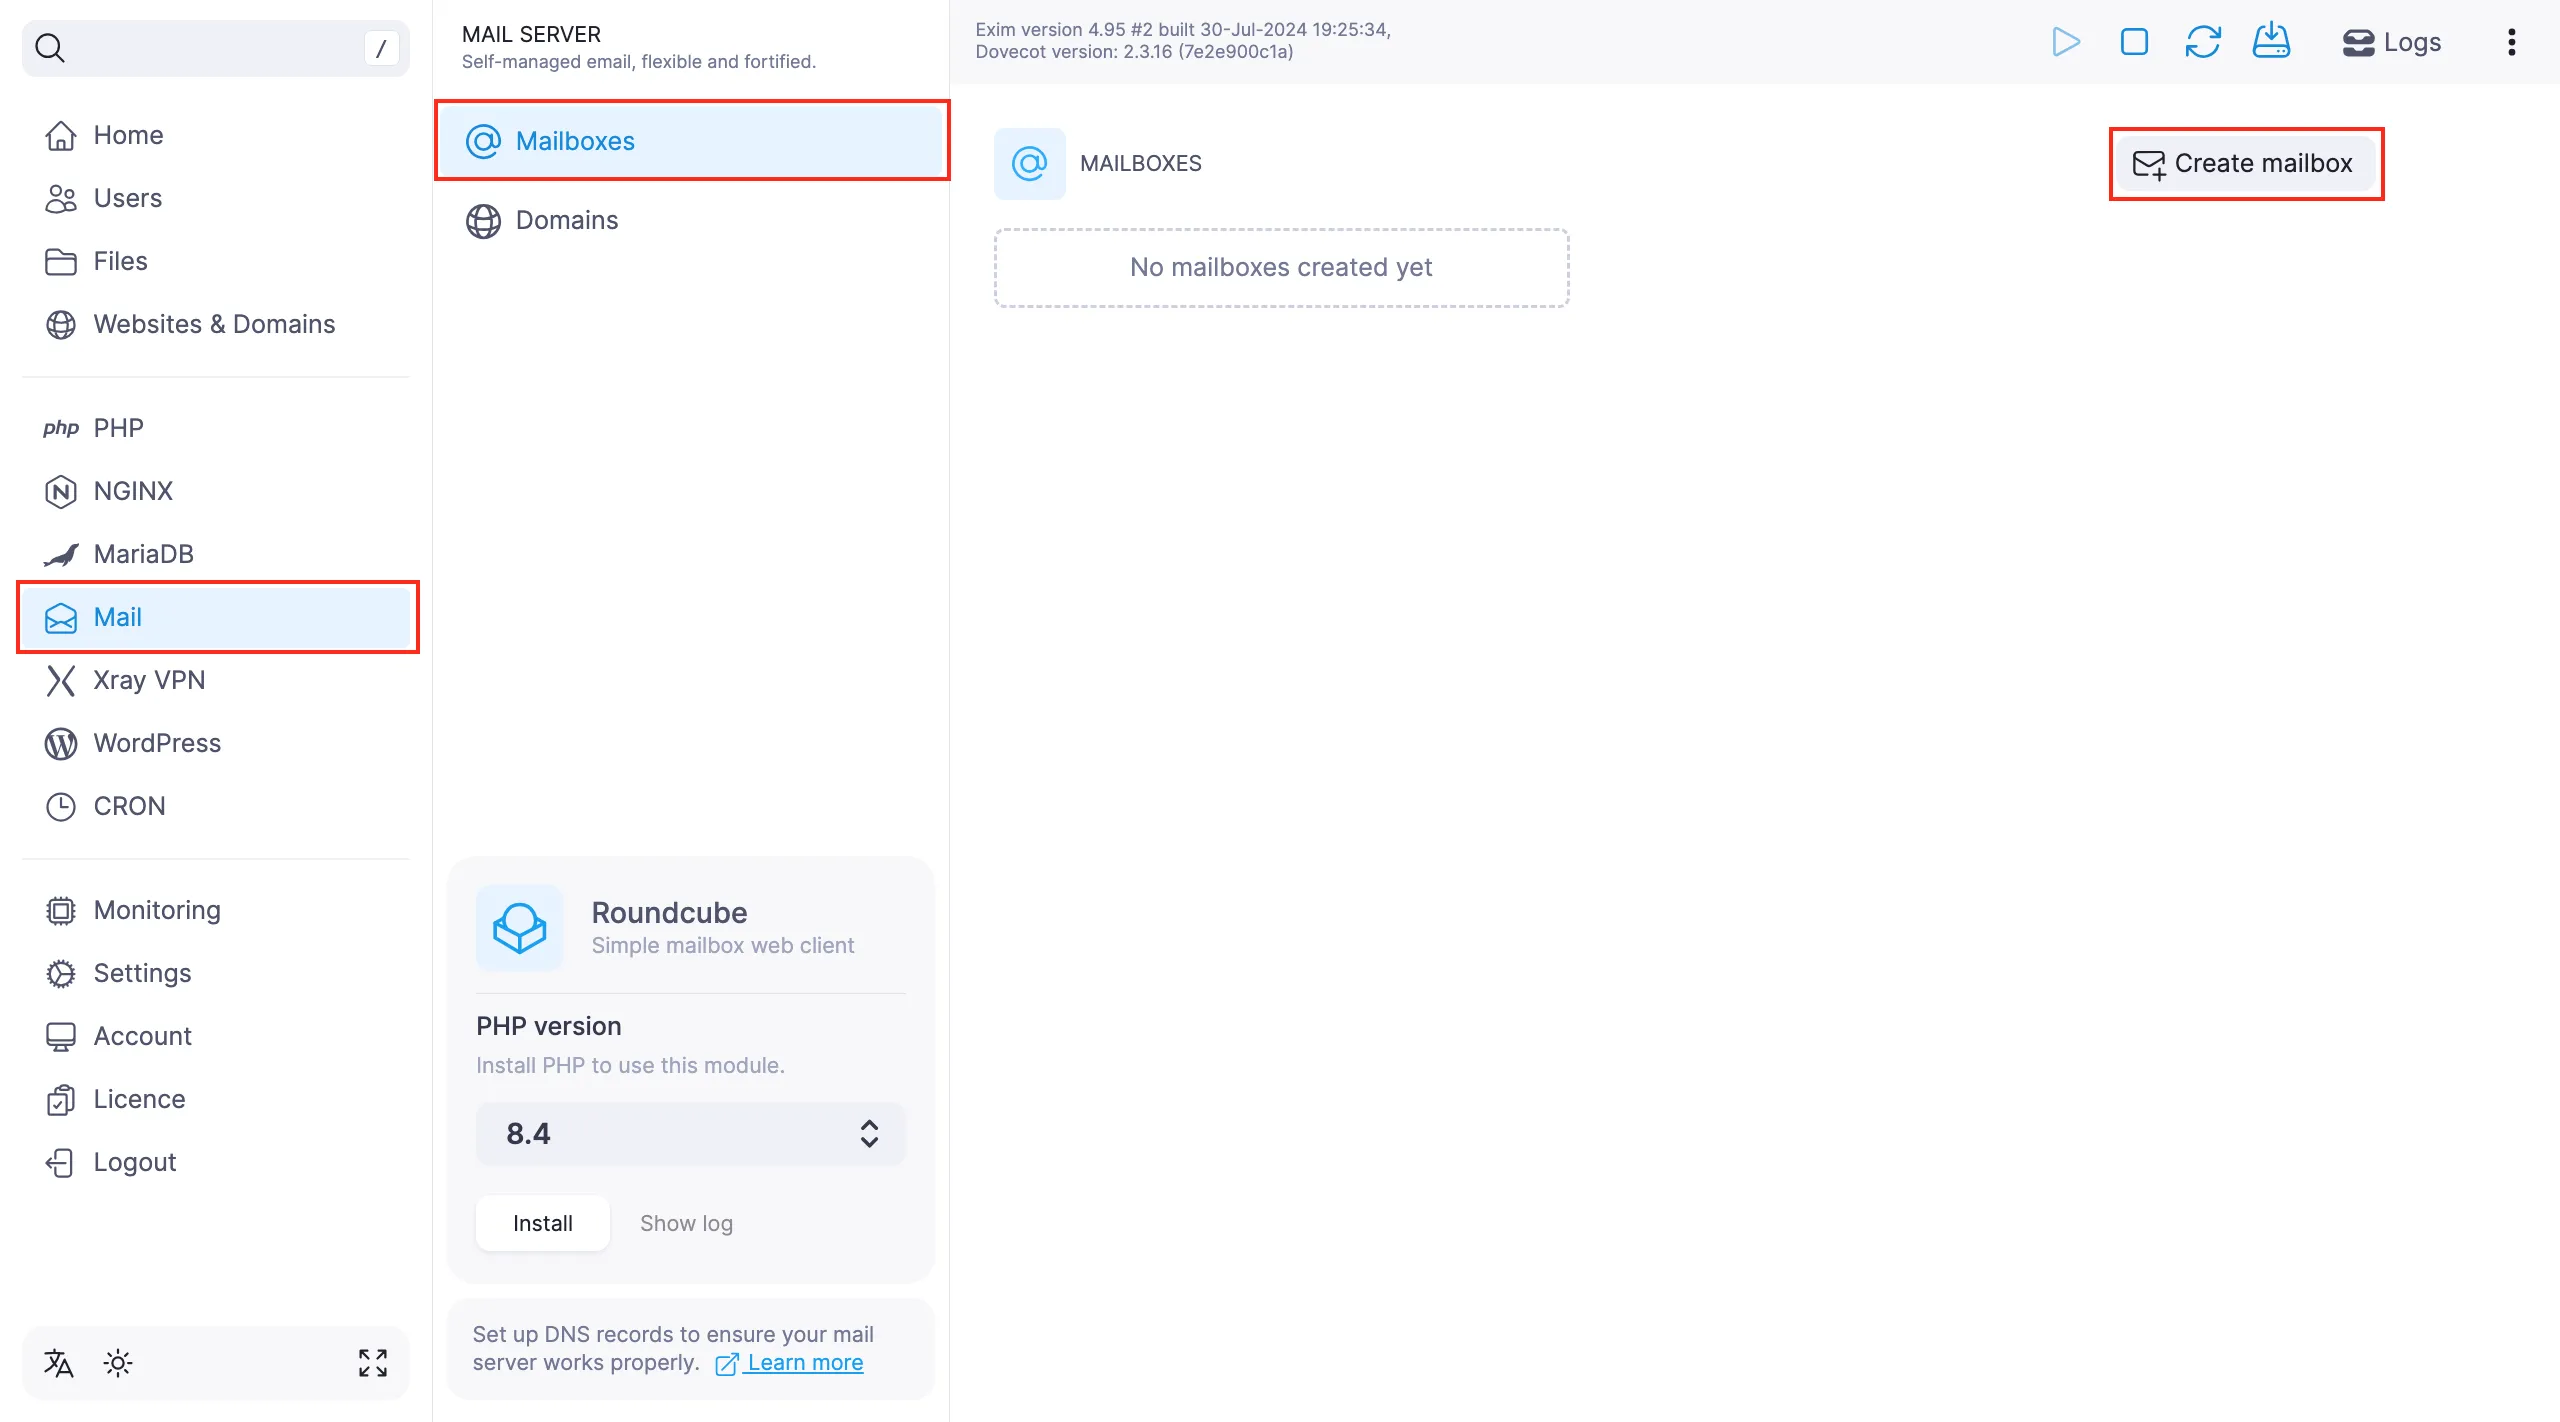
When the installation finishes, the mail accounts management page will open.
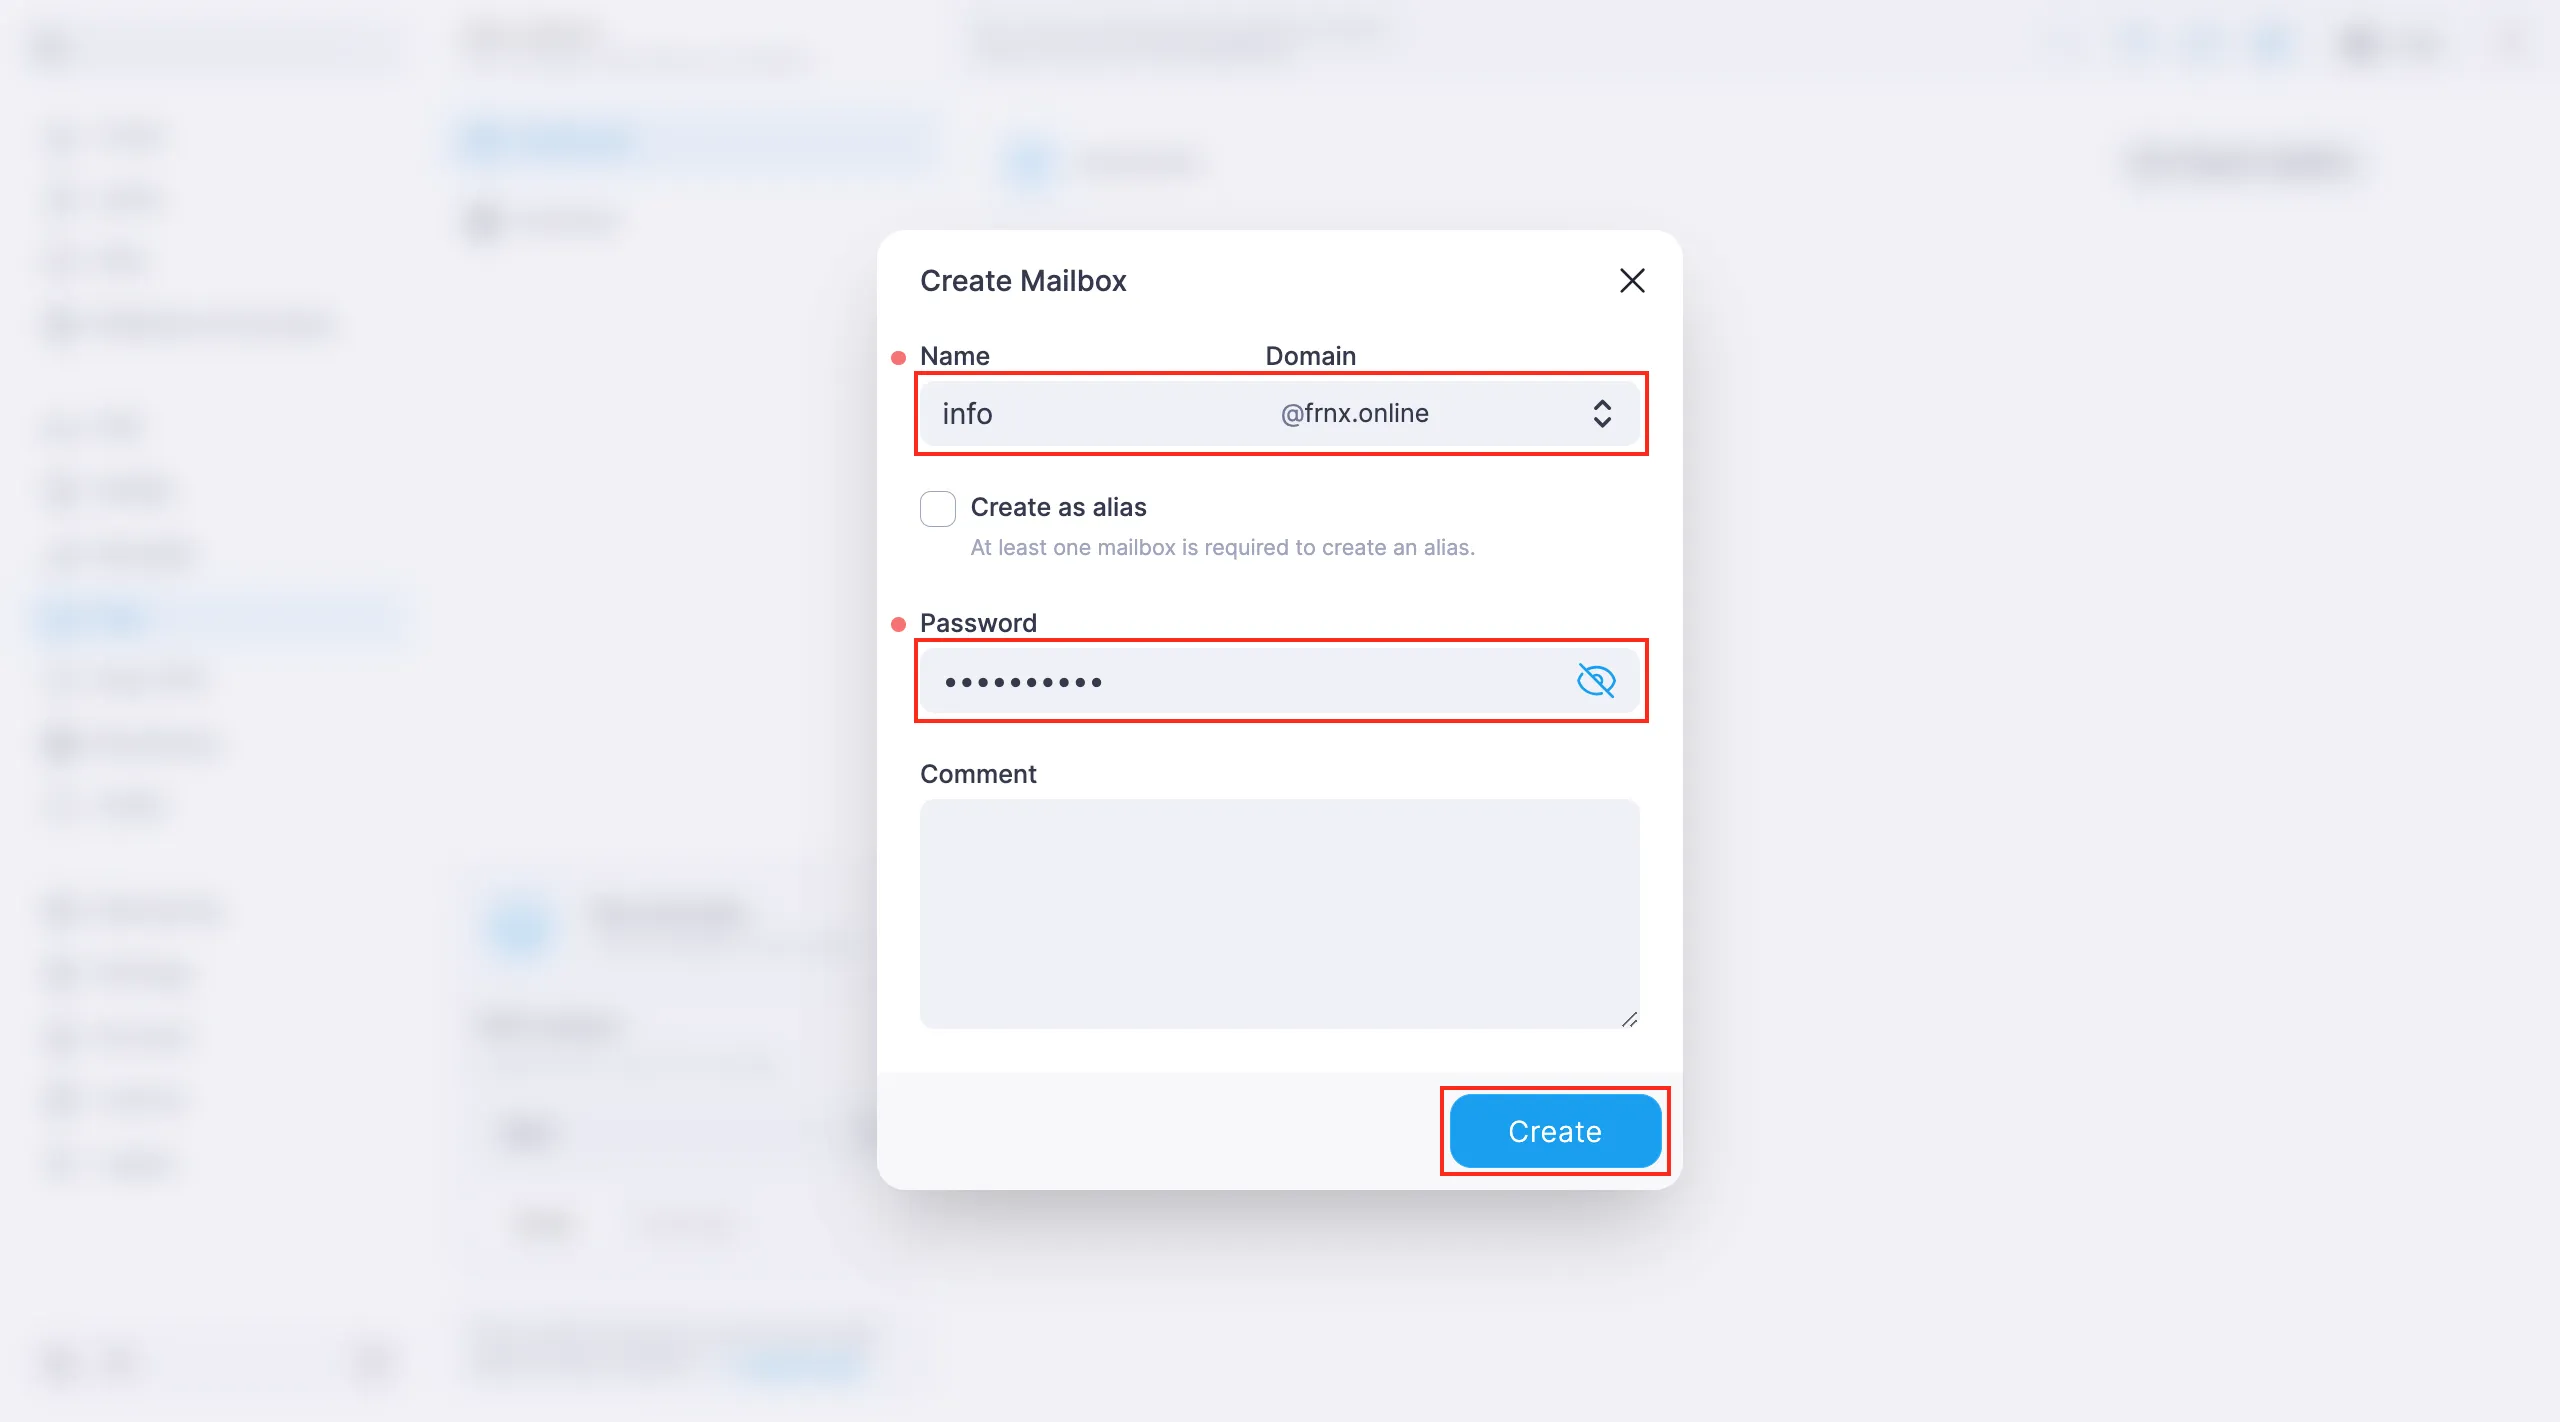
To start using mail, you need to create a mailbox. Go to Mail → Accounts and click Create Account.
Fill out the fields in the window that opens:
- Account Name — the part before
@. For example, enteringinfoand selecting the domainfrnx.onlinewill create the mailboxinfo@frnx.online. - Domain — the part after
@. If you have multiple domains, pick the one you want. - Create as Alias — turns the mailbox into an alias that forwards emails to another account. This option is available only if there’s at least one mailbox already in the system.
Important
An alias isn’t a full mailbox — it’s just a forwarding setup. It looks like a normal email address, but all incoming messages are forwarded to the mailbox you specify.
- Password — used to log in to the mailbox. The panel won’t let you use a weak password. Aliases don’t need a password.
- Comment — optional field for notes.
Once you’ve filled everything in, click Create.
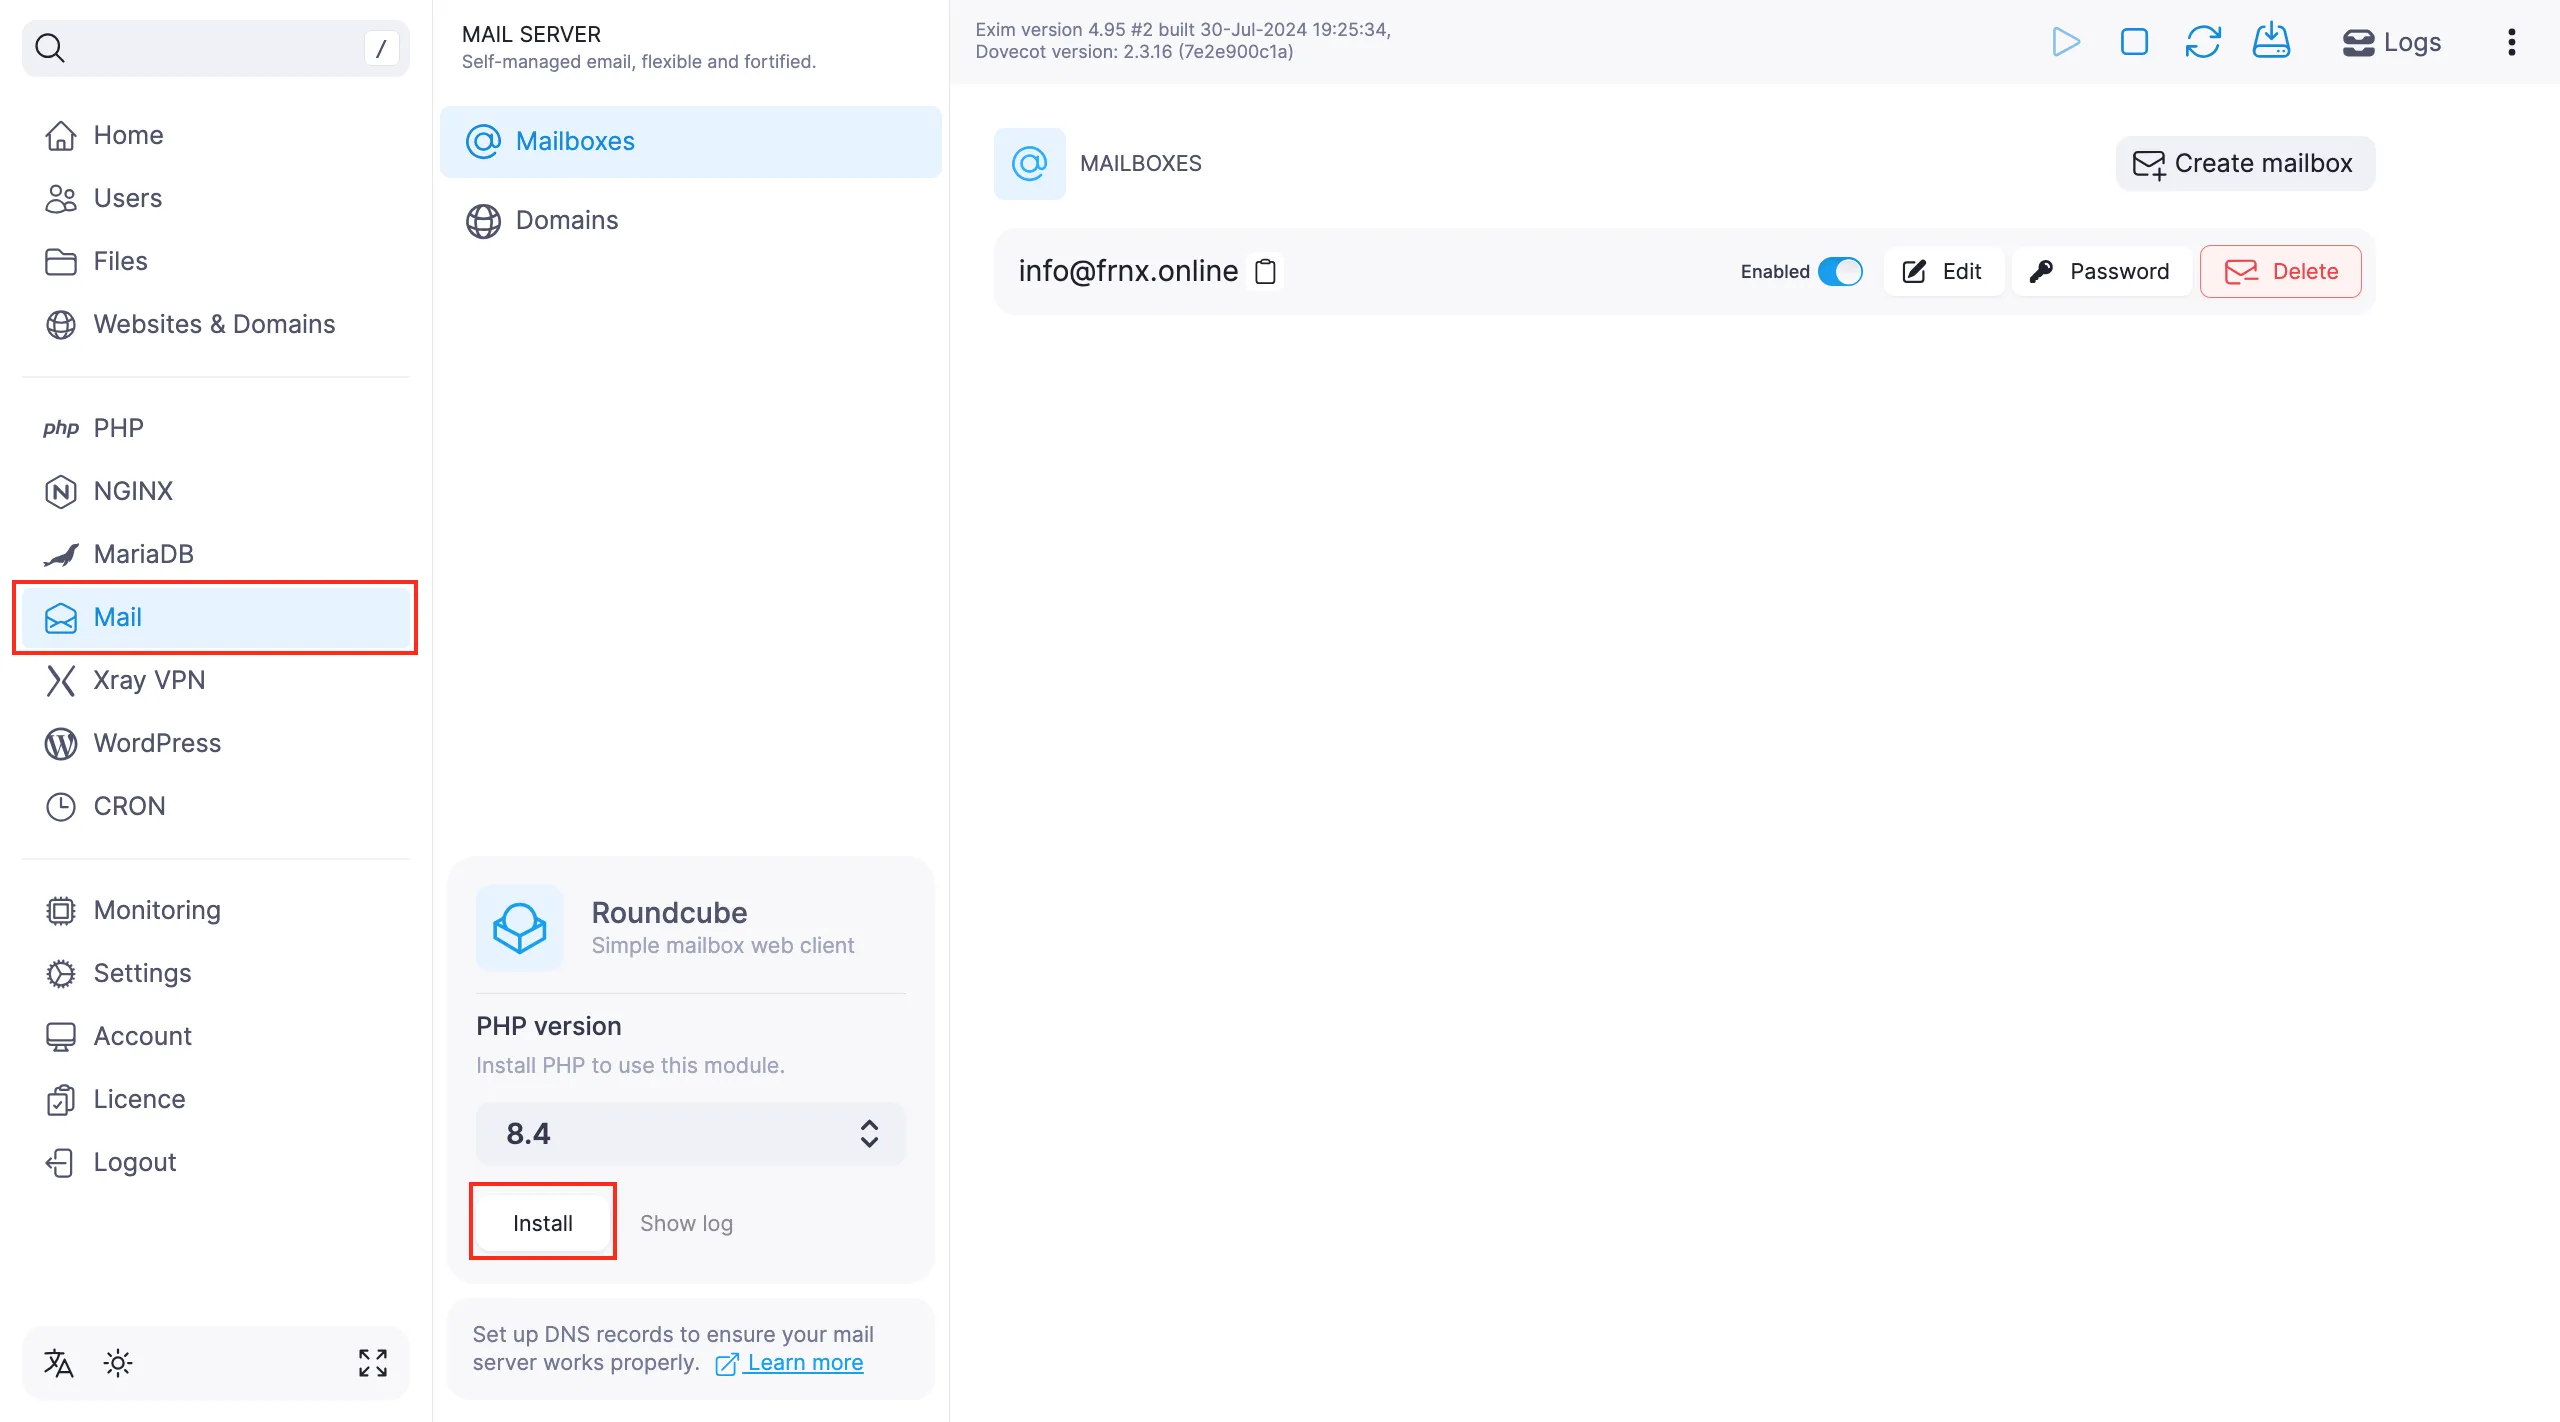
In BeAdmin, you can also set up the Roundcube web client to access your mail through a browser.
To install it, go to Mail and click Install Roundcube.
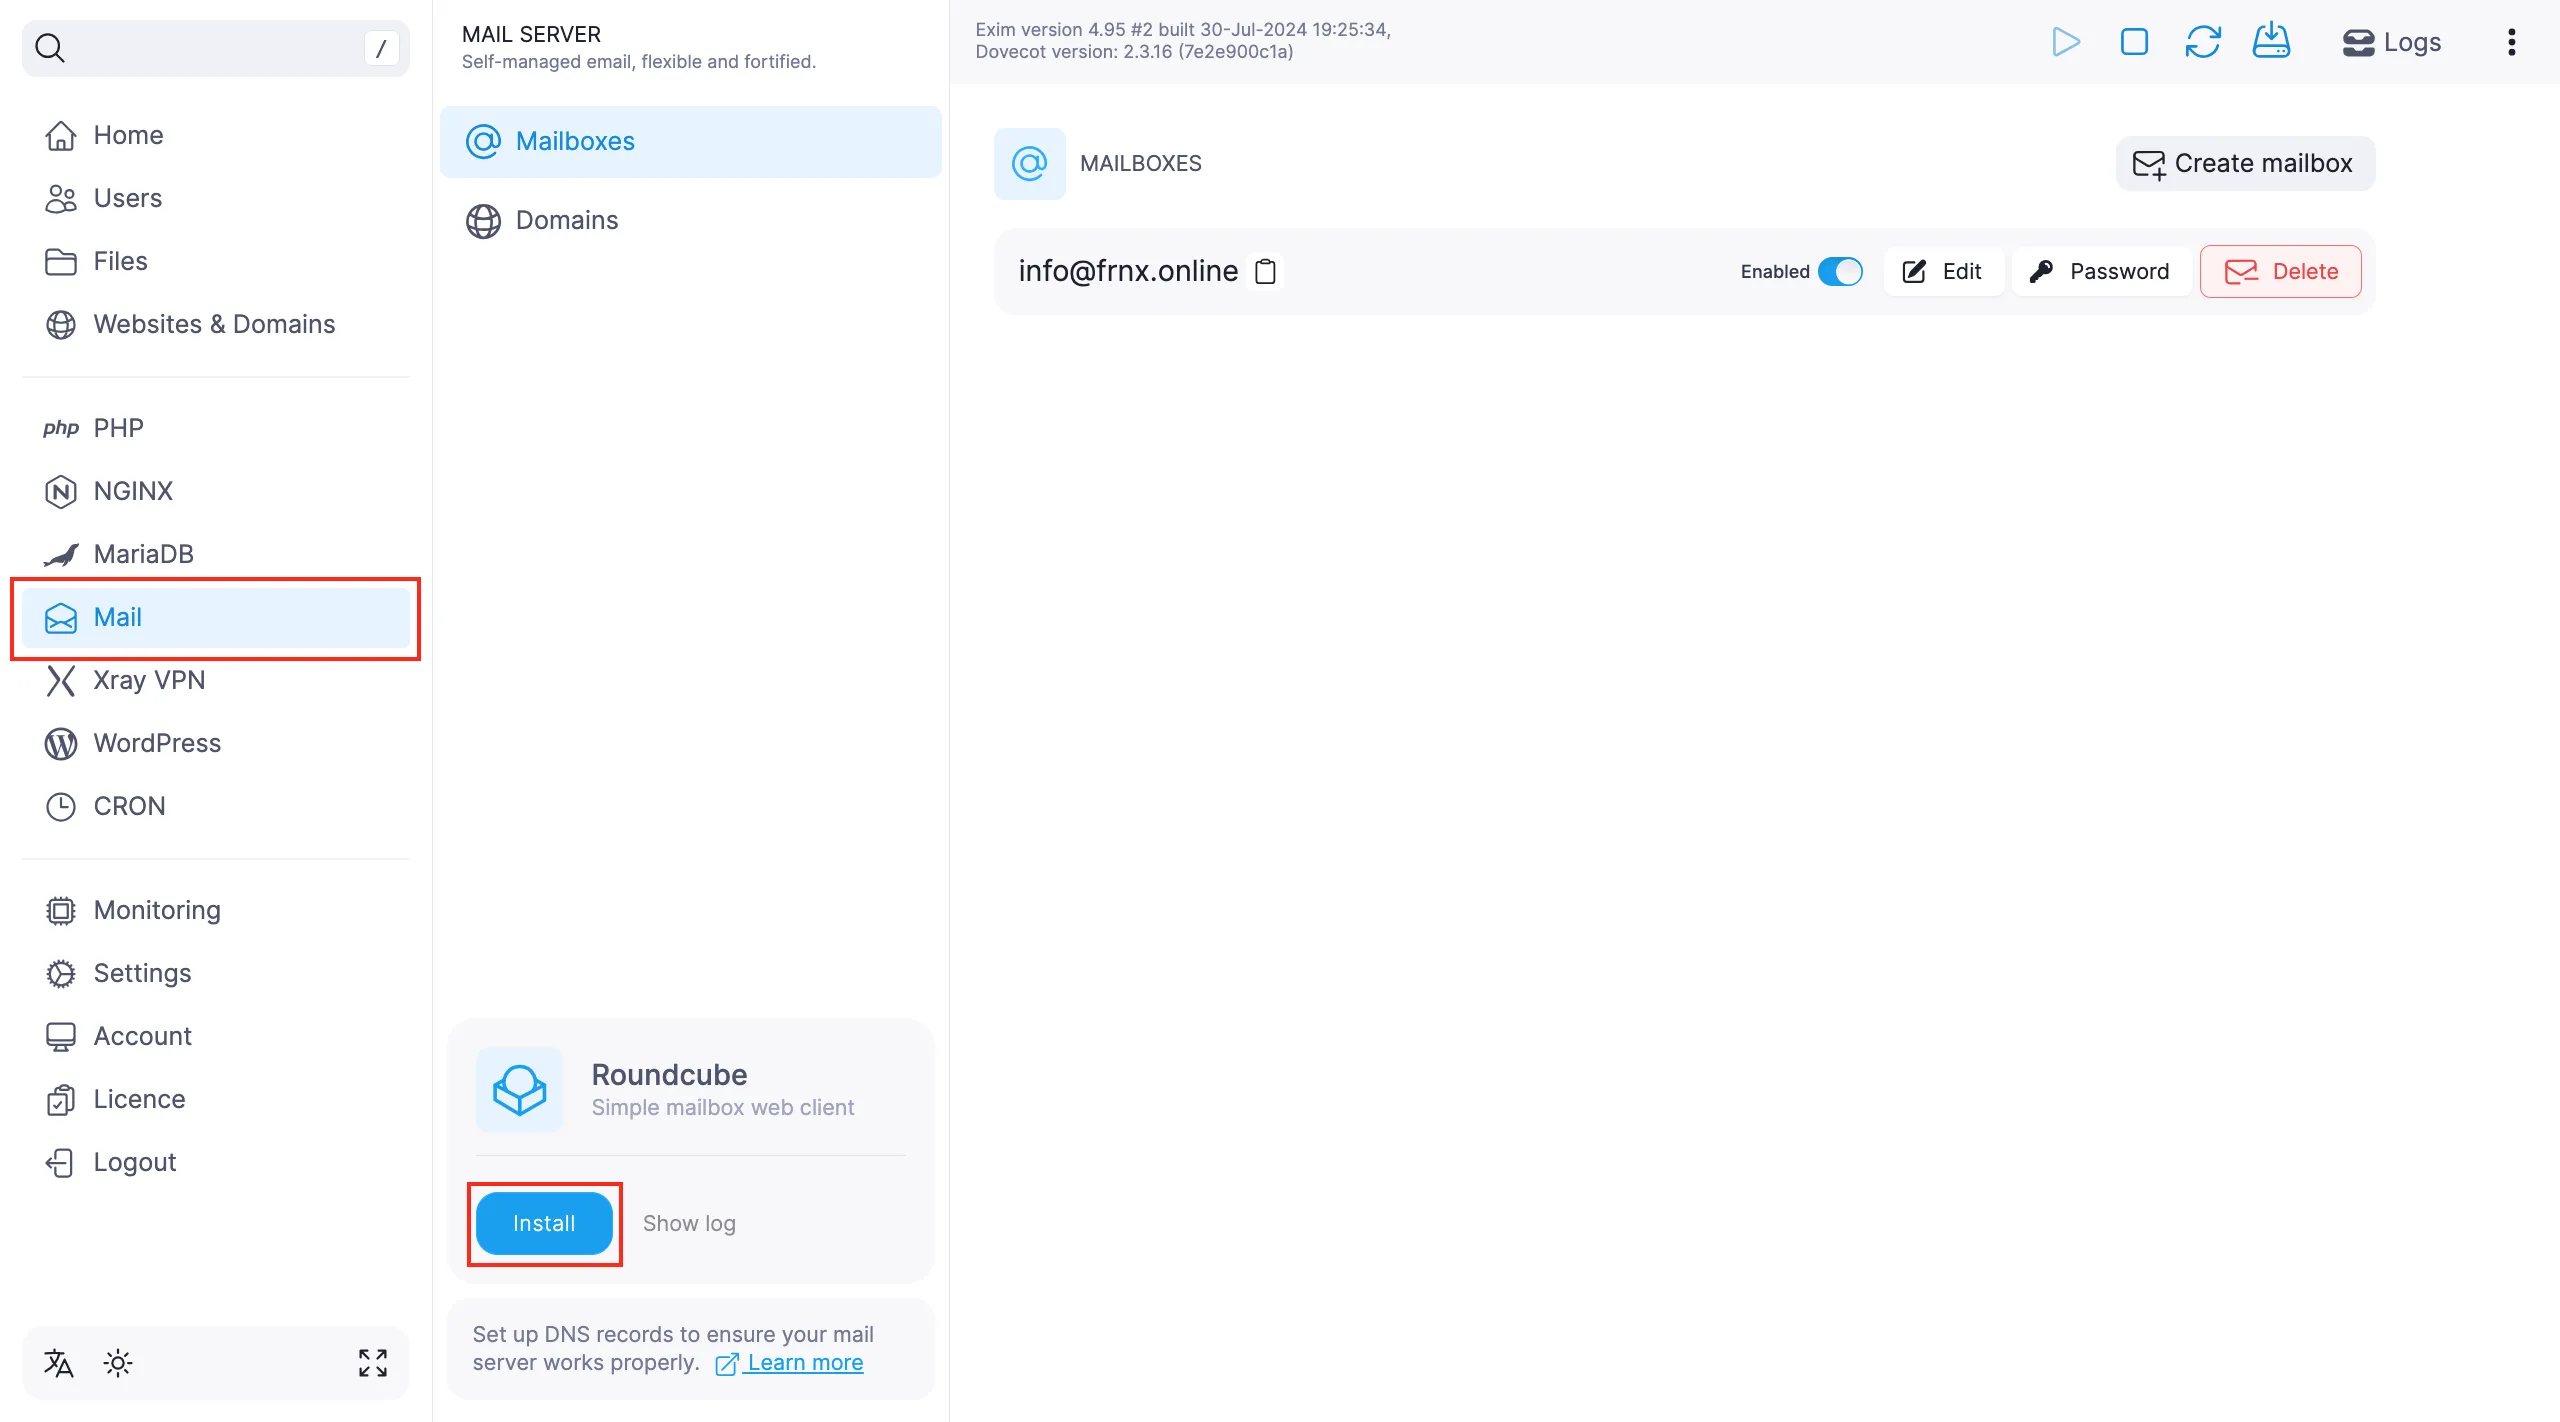
Note
Roundcube requires PHP 8.0 or higher. If PHP isn’t installed, the system will prompt you to install it first.
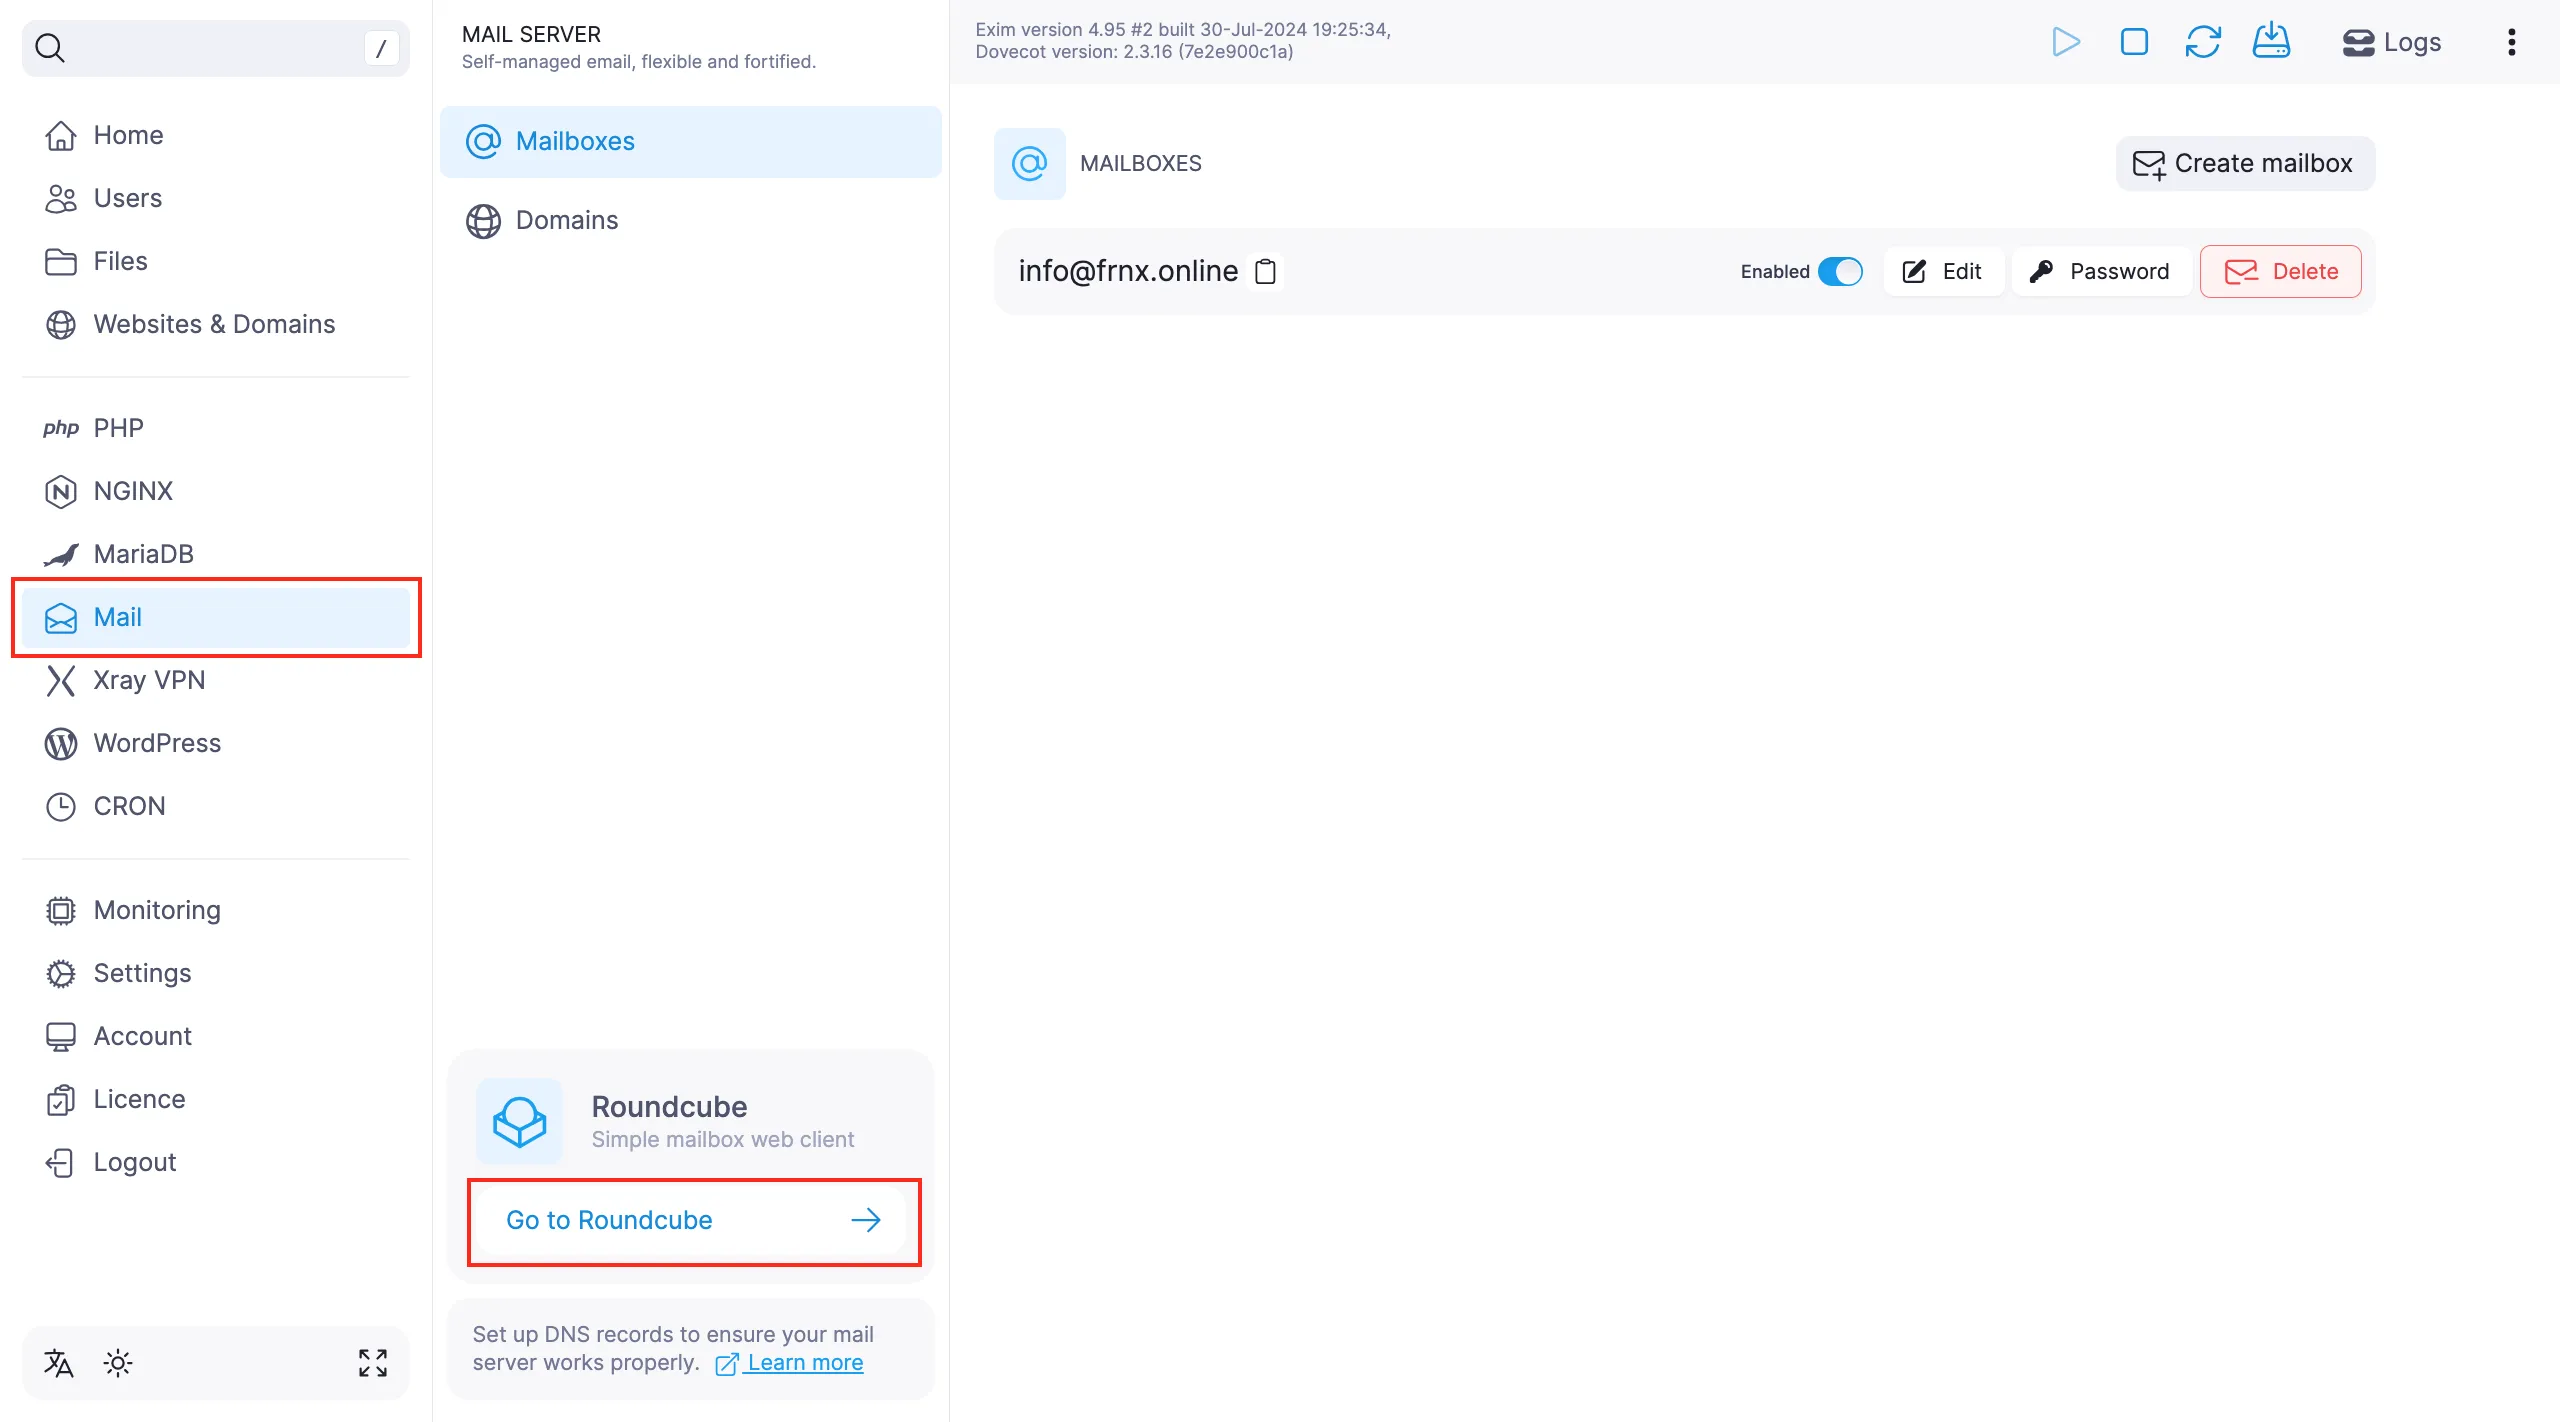
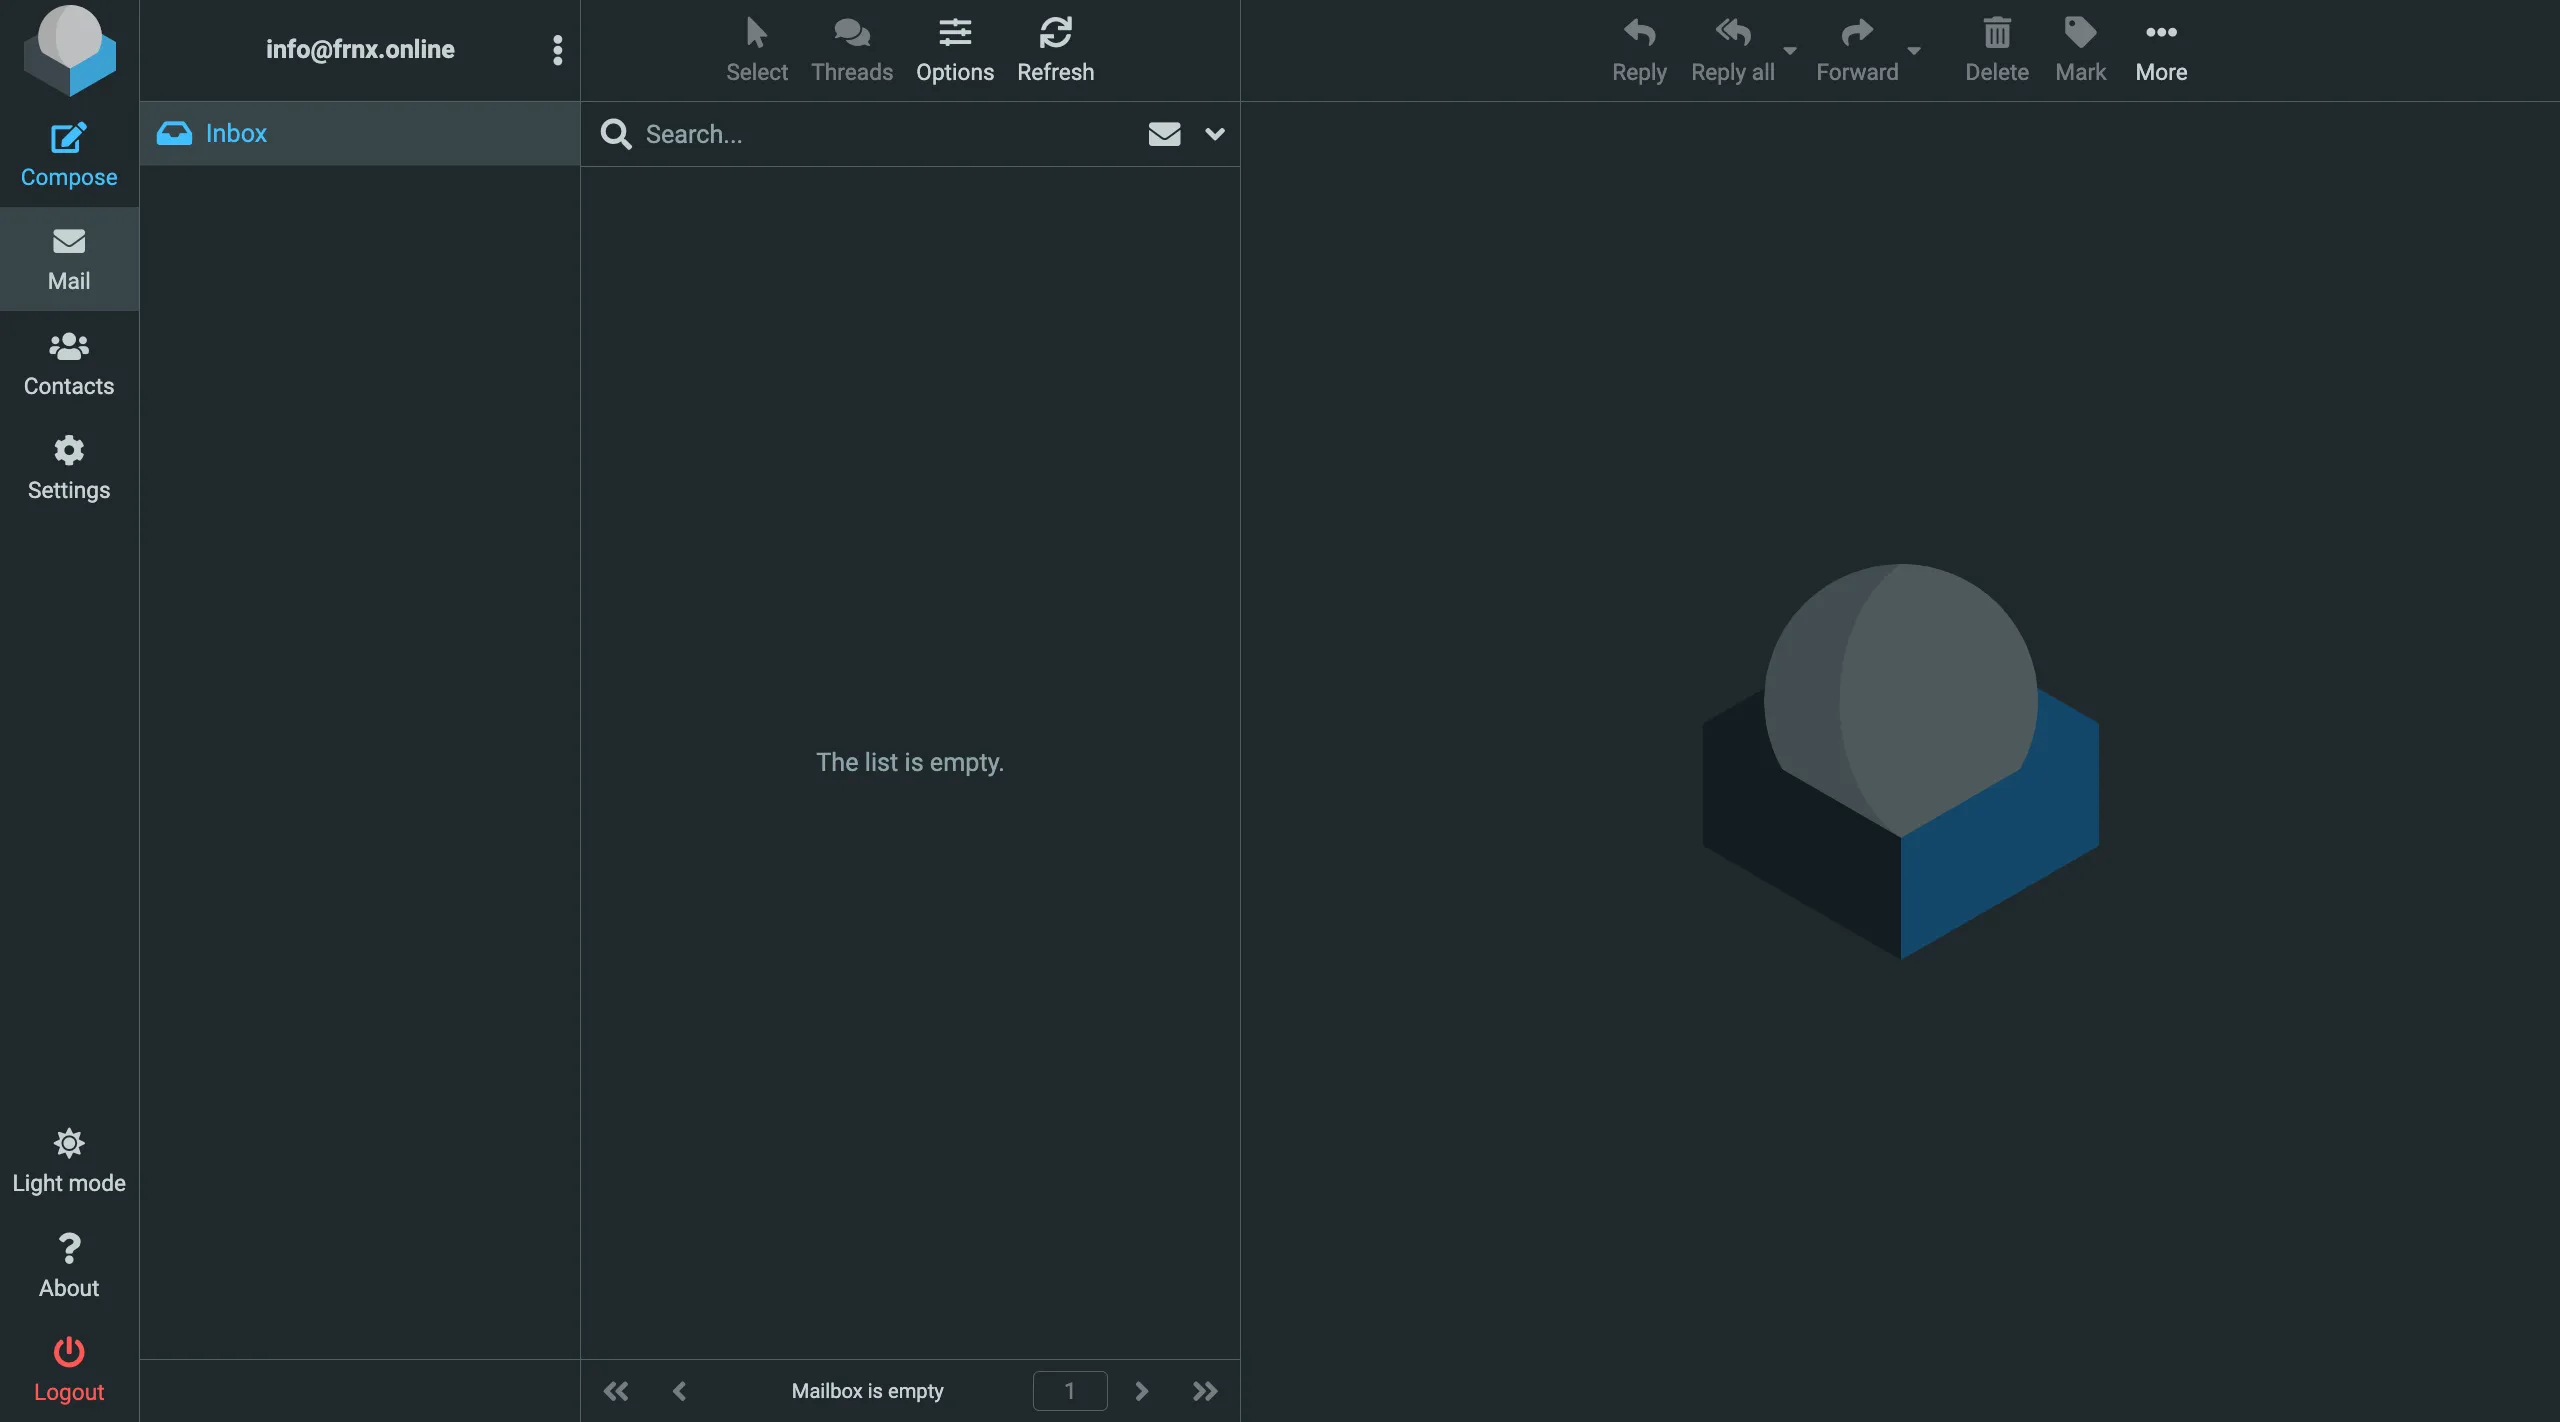
After installation, you’ll be able to access your mailbox right from your browser.
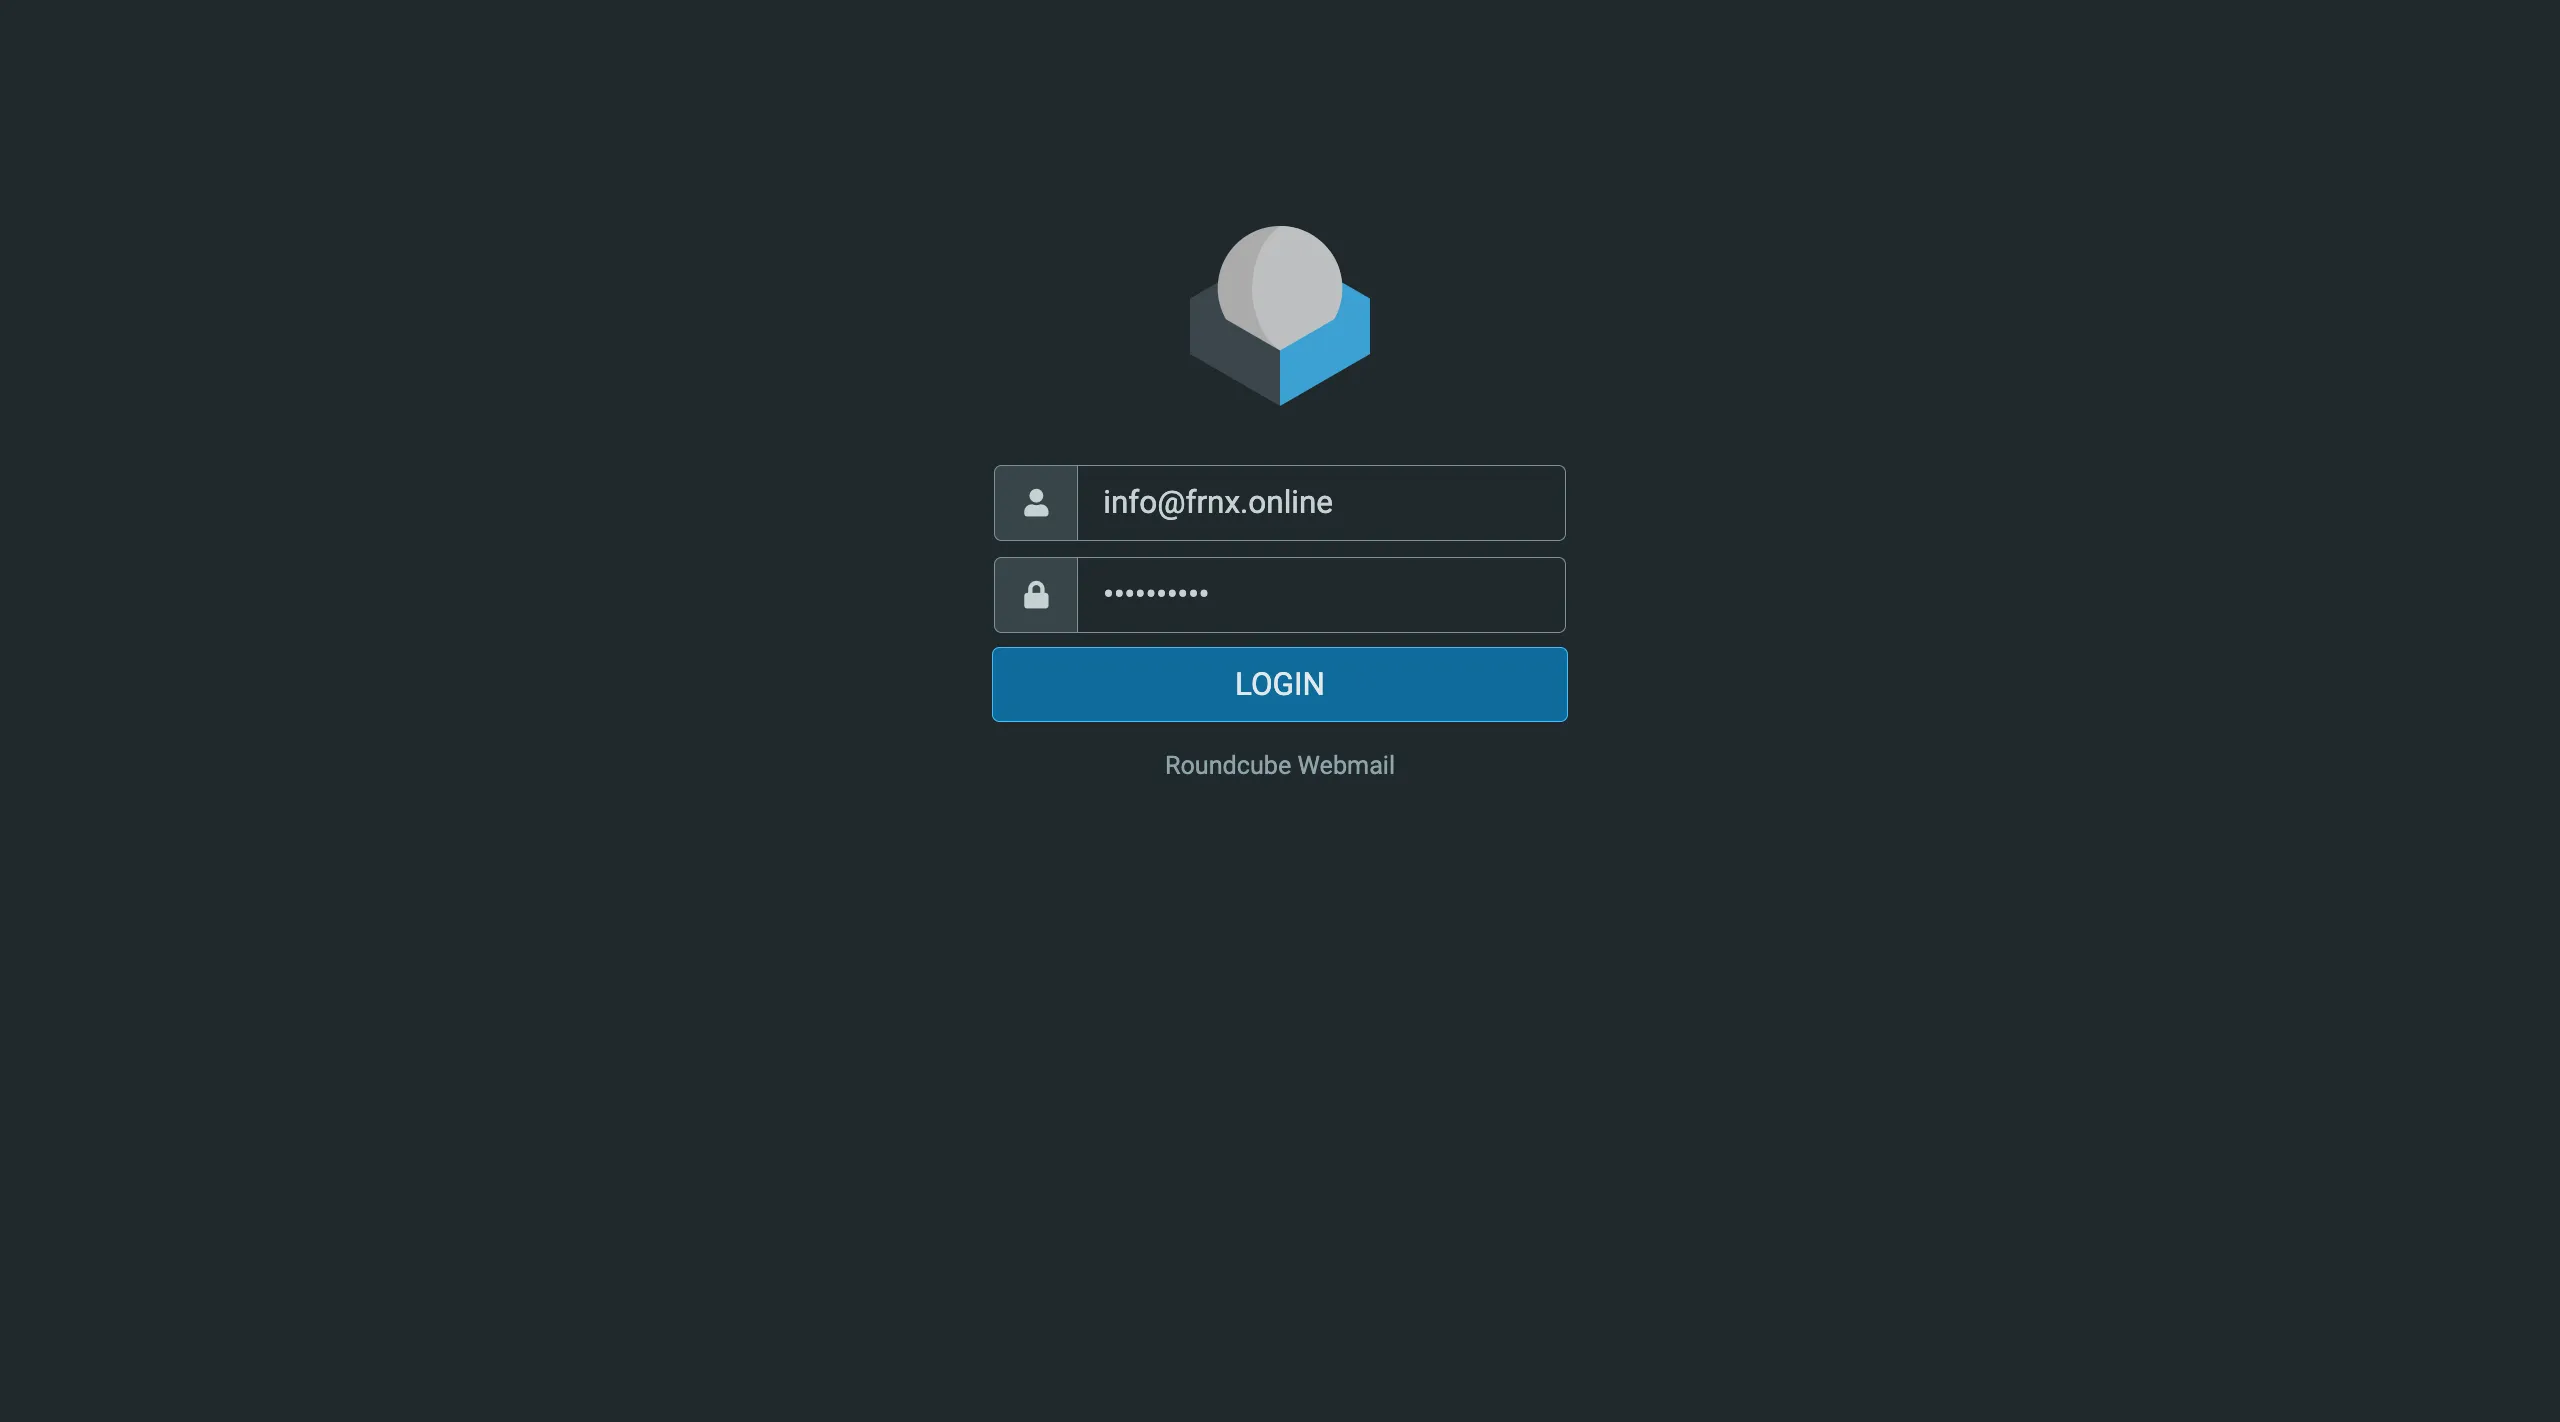
To open the web client, go to Mail and click Go to Roundcube.
Enter the login and password of the mailbox you created in step 2, then click Log In.
Important
Only regular mailboxes can log in here. Aliases are just for forwarding emails and can’t be used to log in.
That’s it — your mail server is ready to go.
Help
If you run into any issues or need help, submit a request via the ticket system, and we’ll be happy to assist.