Getting Started with VPS and the Updated ISPmanager5 Design
This guide will help you do the initial setup in the panel for your sites
ISPmanager is a dedicated and virtual server control panel that allows you to manage various software via a web interface. It can be both the creation of an unlimited number of users, web servers (Apache or nginx), as well as DBMS (MySQL, PostgreSQL), mail servers (Sendmail, Exim), etc.
List of basic features of ISPmanager:
- Creation and management of users/user templates. Including setting limitations for users/user templates.
- Creating and managing web domains. Ability to choose the mode of php, install SSL certificate, quick installation of popular cms on domains, setup redirects and ssl redirects.
- Manage your mail system. Create mail domains and mailboxes. Installing forwarding and mail aliases. Mail filters. DKIM support. Anti-Spam systems.
- Database management. Creation of databases and database users. Setting access rights for users of the databases.
- Management of ftp users. Creating, enabling and disabling ftp users. Ability to set the user's home directory.
- Editing files from the control panel. Setting access rights for files and directories.
- Firewall management.
- Backup system.
- Statistics on consumed resources.
- Differentiation of access rights for users.
After entering the control panel, do the initial configuration in a few steps
Use "root " as your username, your password is your server password
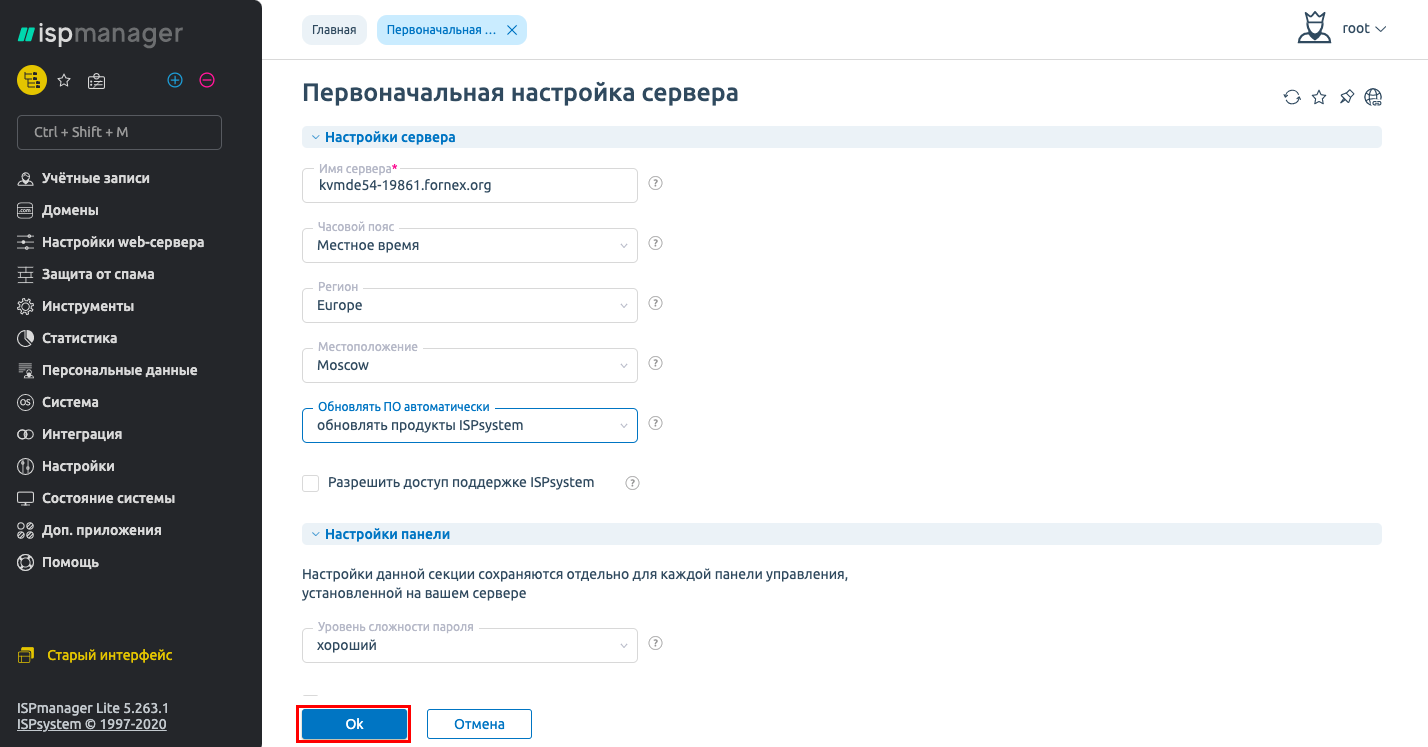
After opening the ISPmanager control panel. Perform initial server setup and press OK
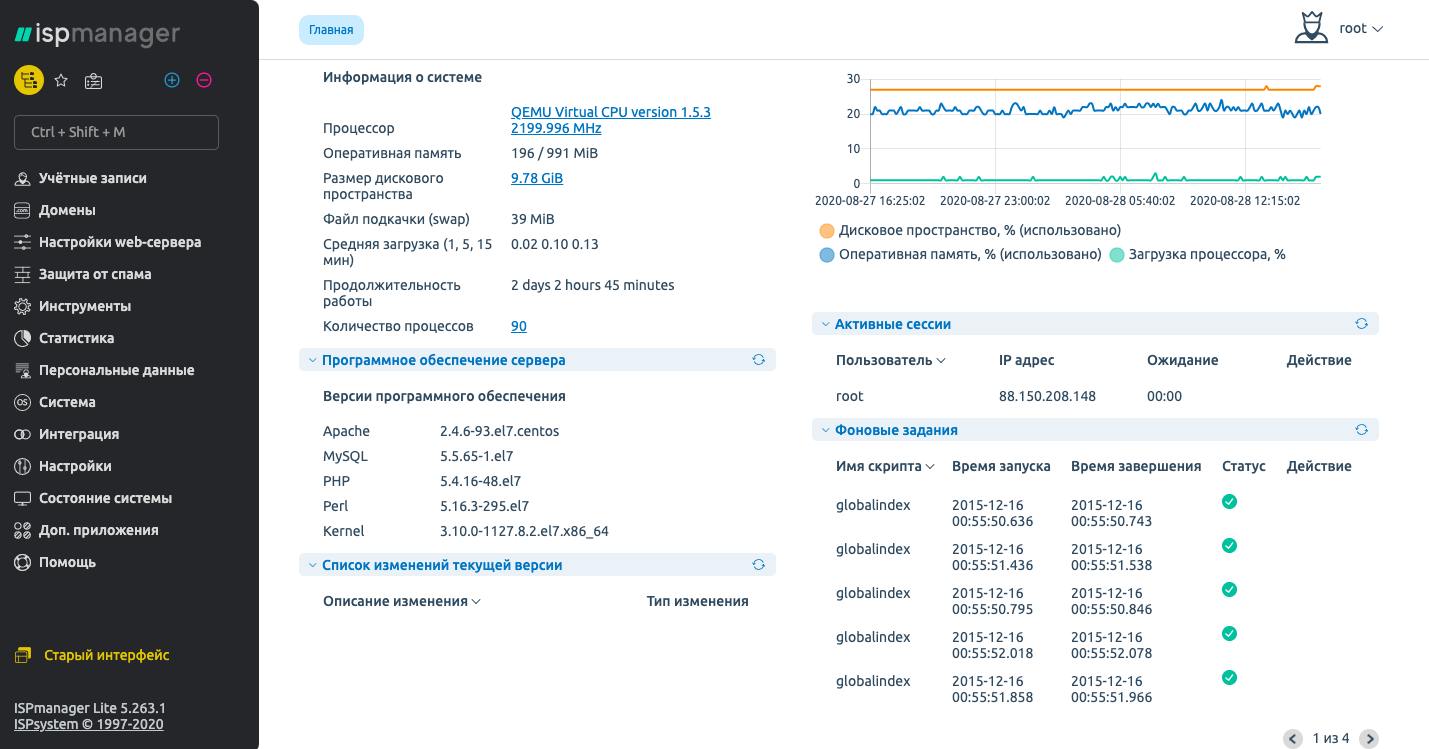
After the setup is done, you'll see a summary of the system's information
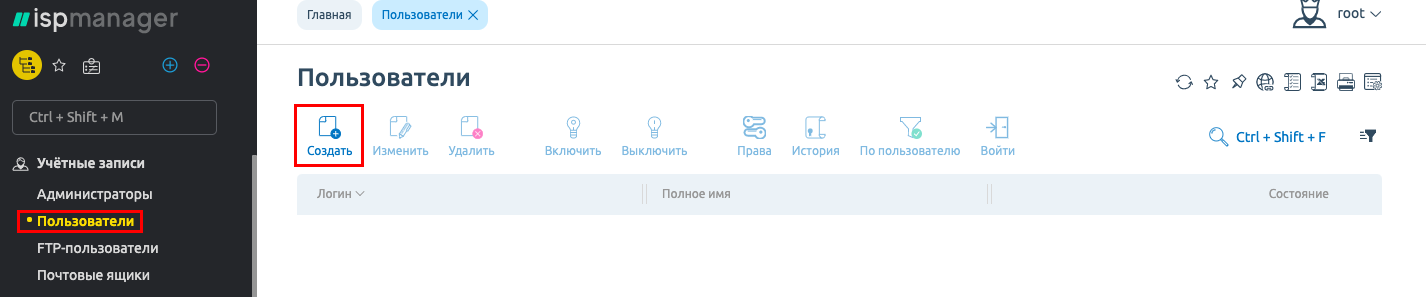
Let's create a new user under which to host the site and select the features that will be available to him:
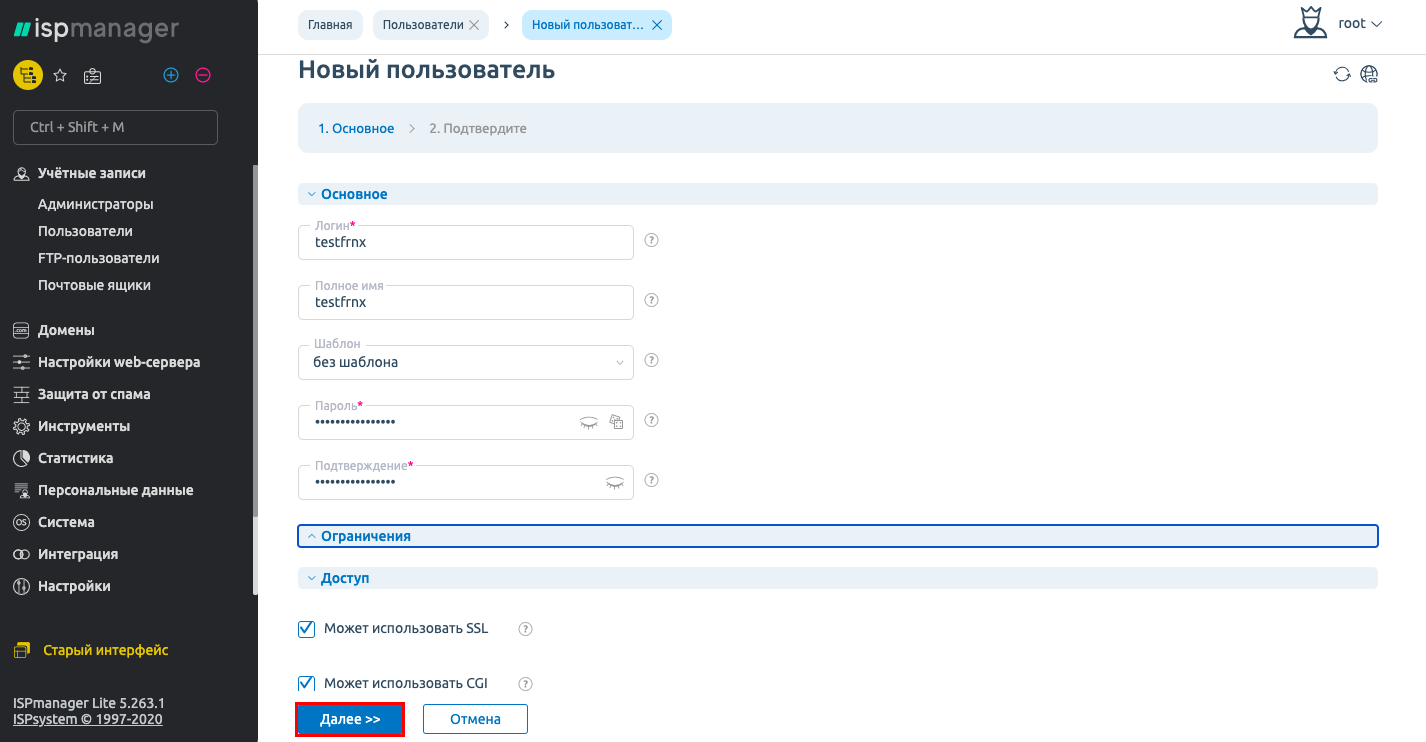
When you create a new user, you can:
- Create an FTP user;
- Create a WWW domain;
- Create email domain.
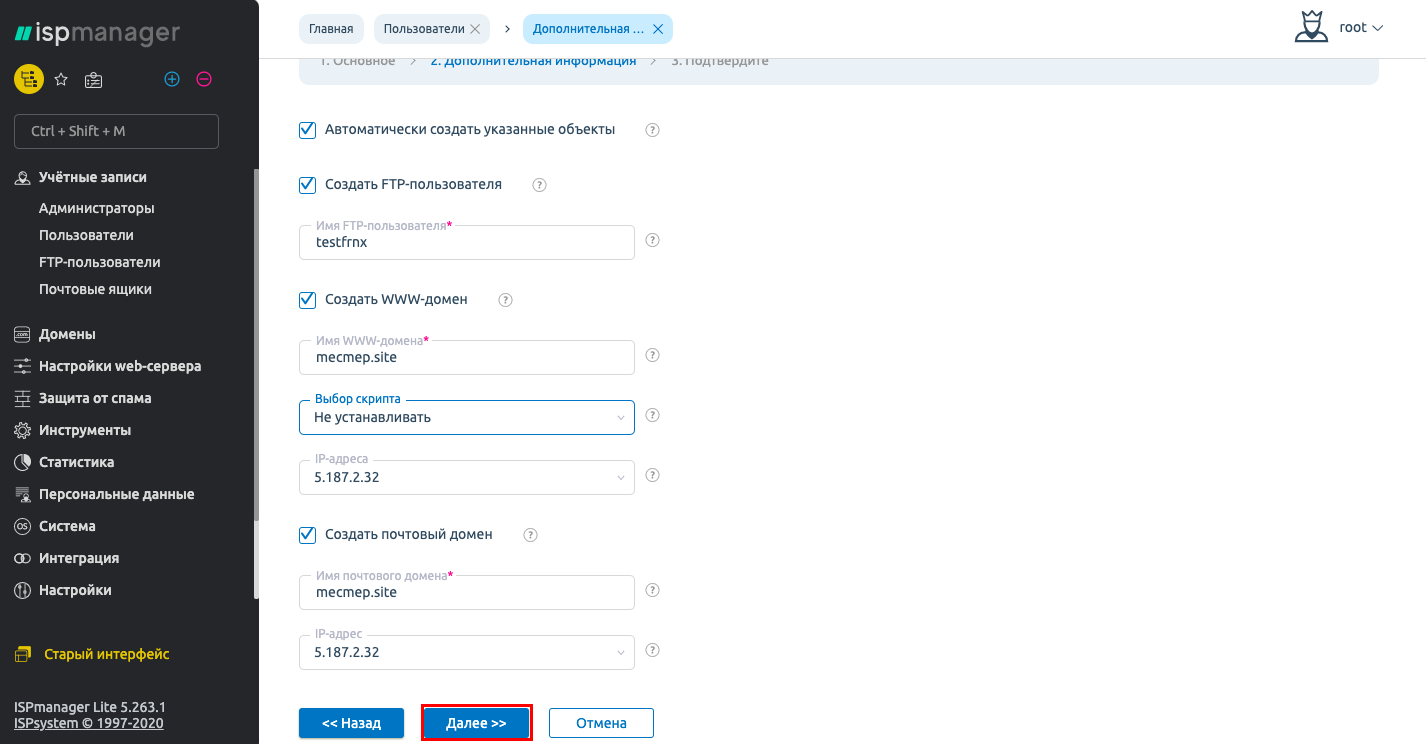
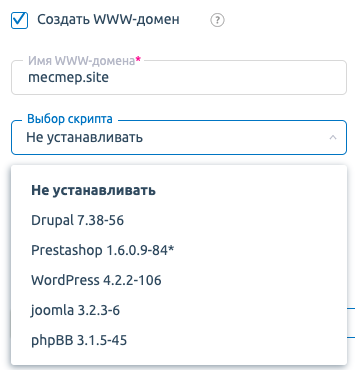
You can also install one of the popular CMS
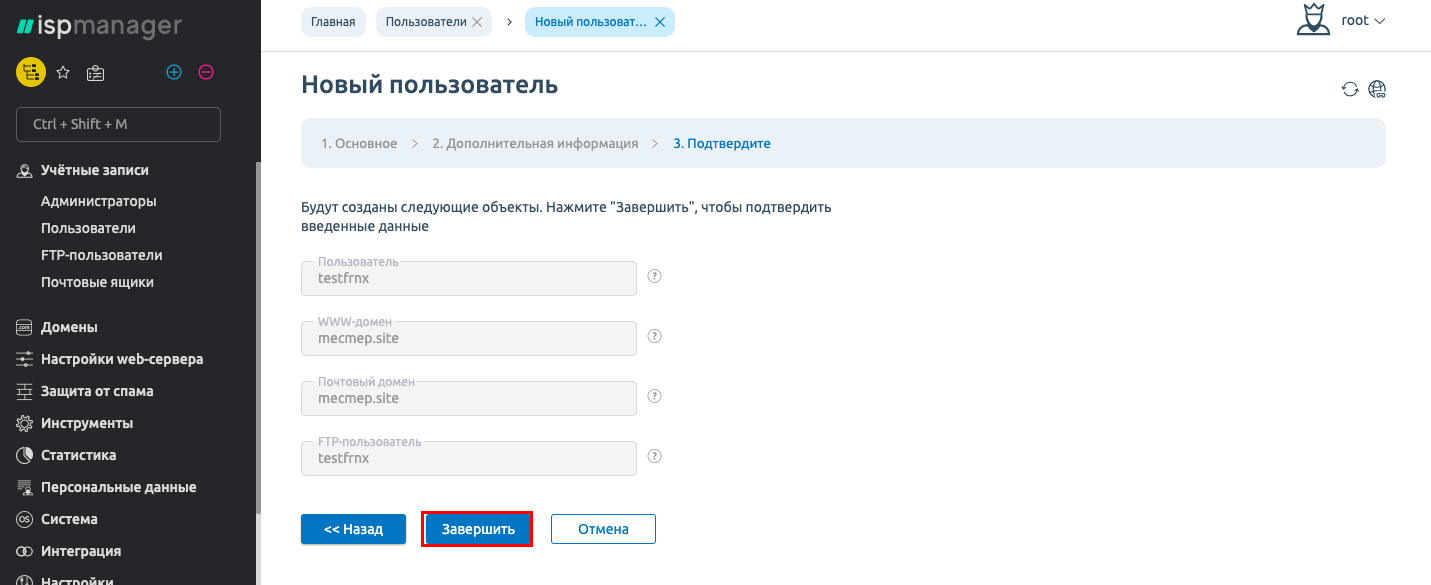
After that, click the Finish button
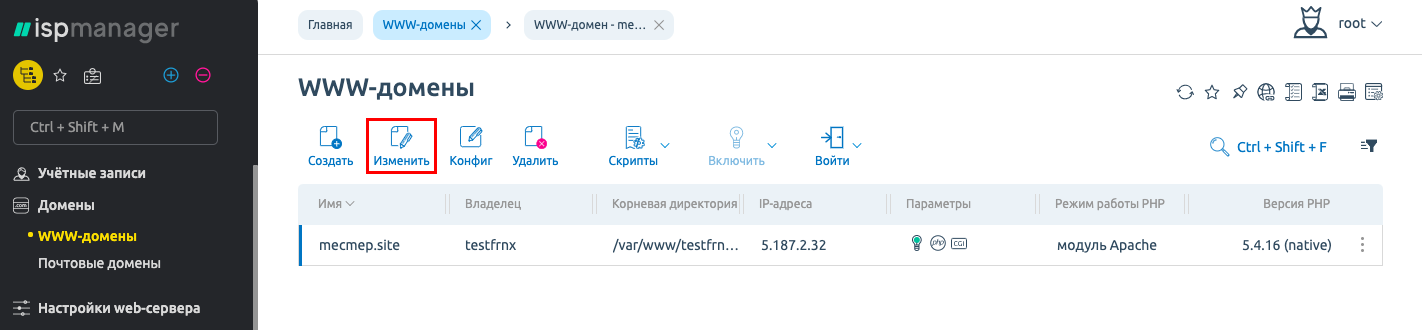
Now you can set up the domain of your site. Go to the WWW domains tab and choose Change:
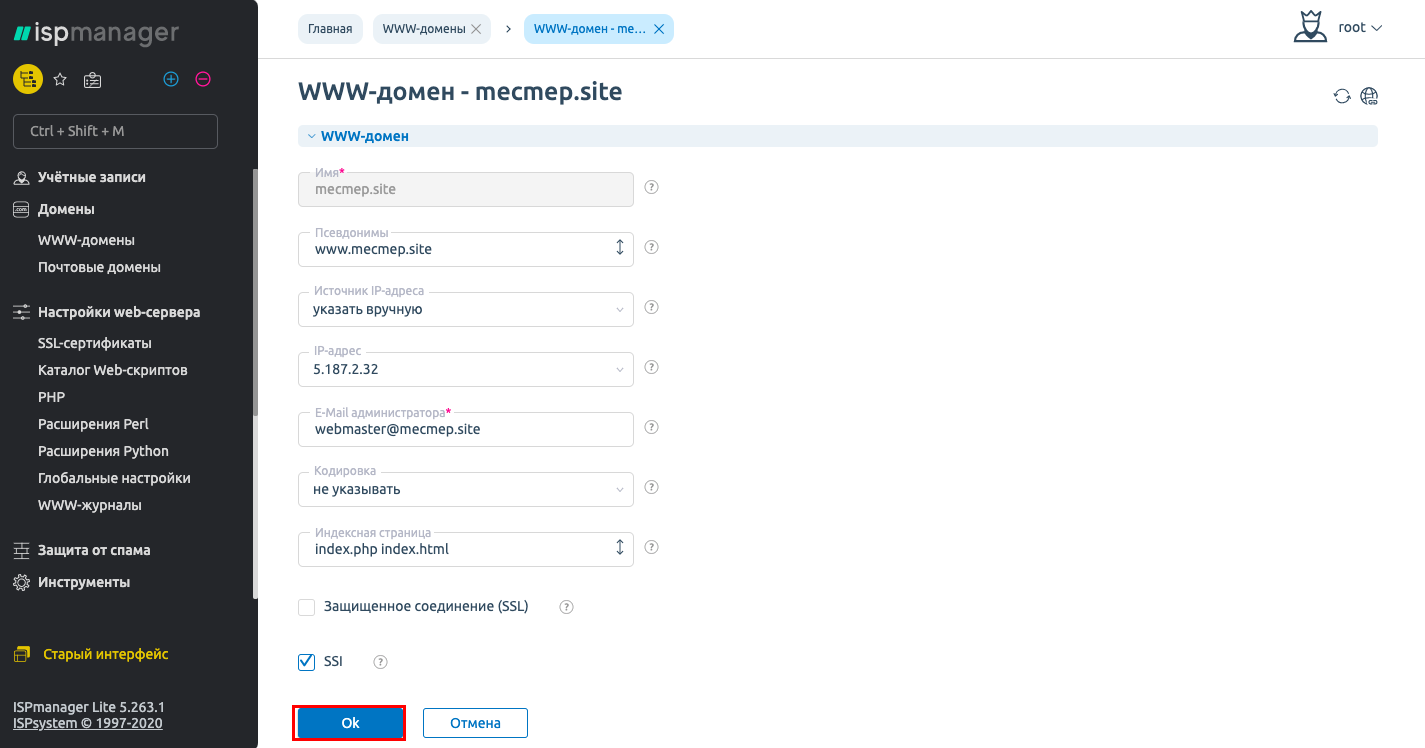
Specify all necessary parameters and click Ok to change the domain.
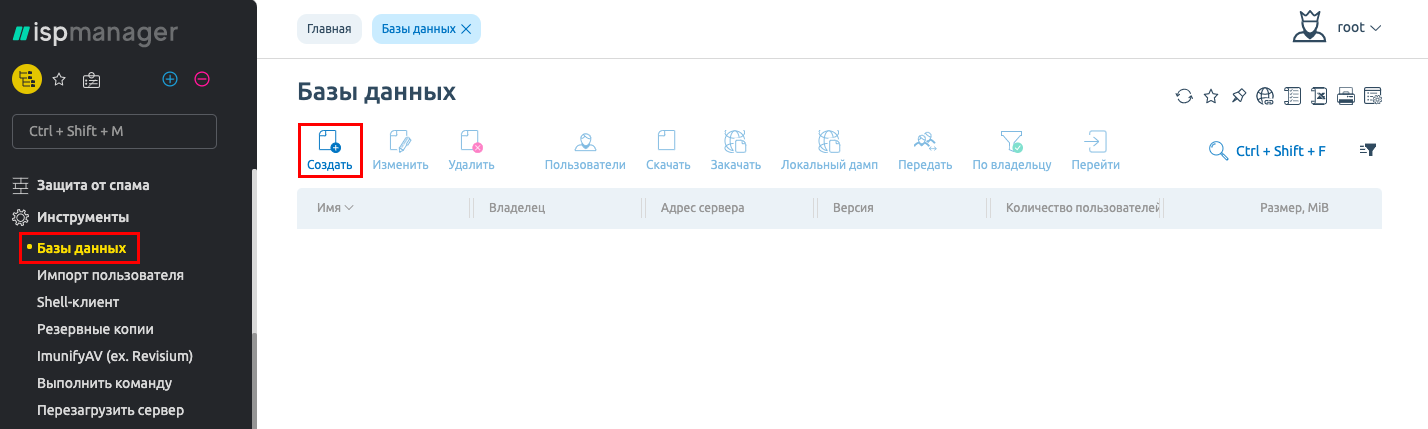
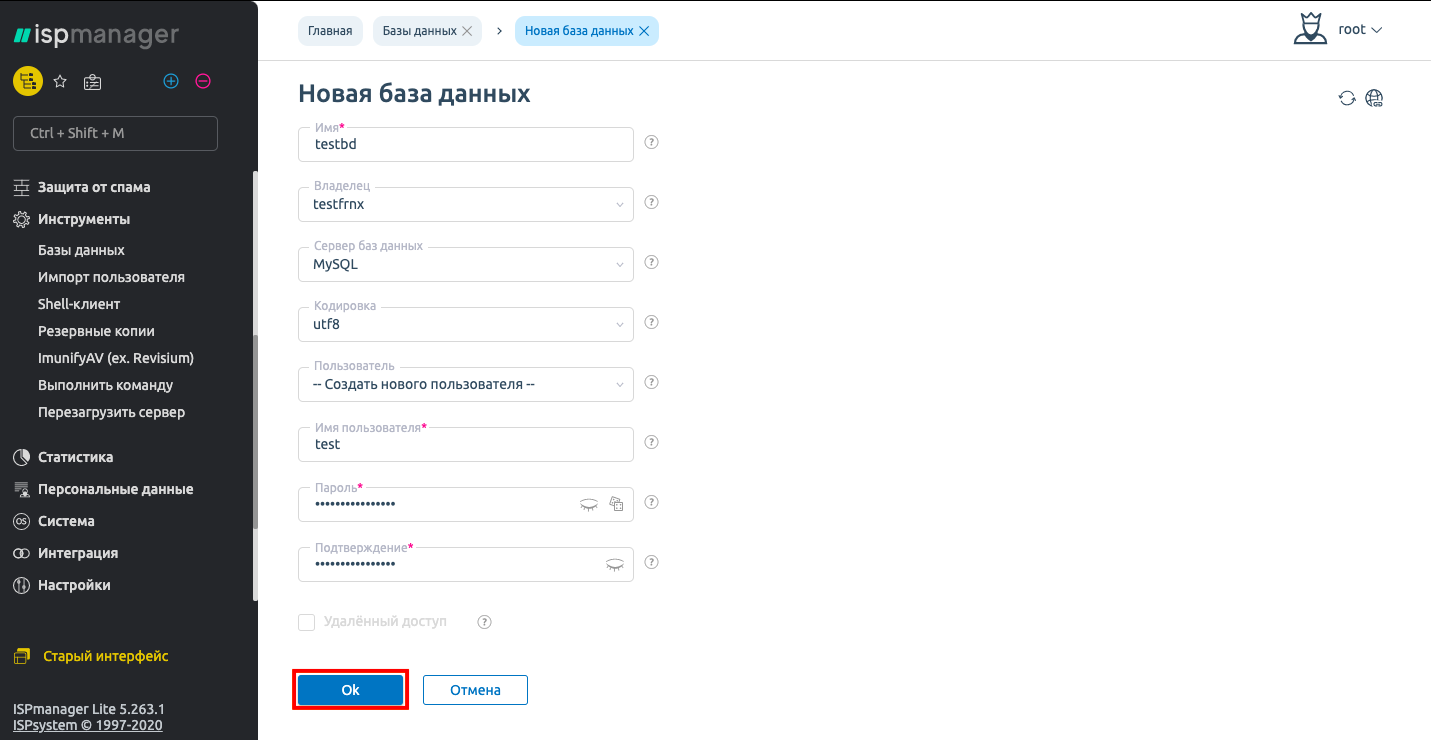
Now let's create a database, in the window that appears, specify the name of the database, the database user name and the password for the database user. Leave the rest of the parameters as they are.
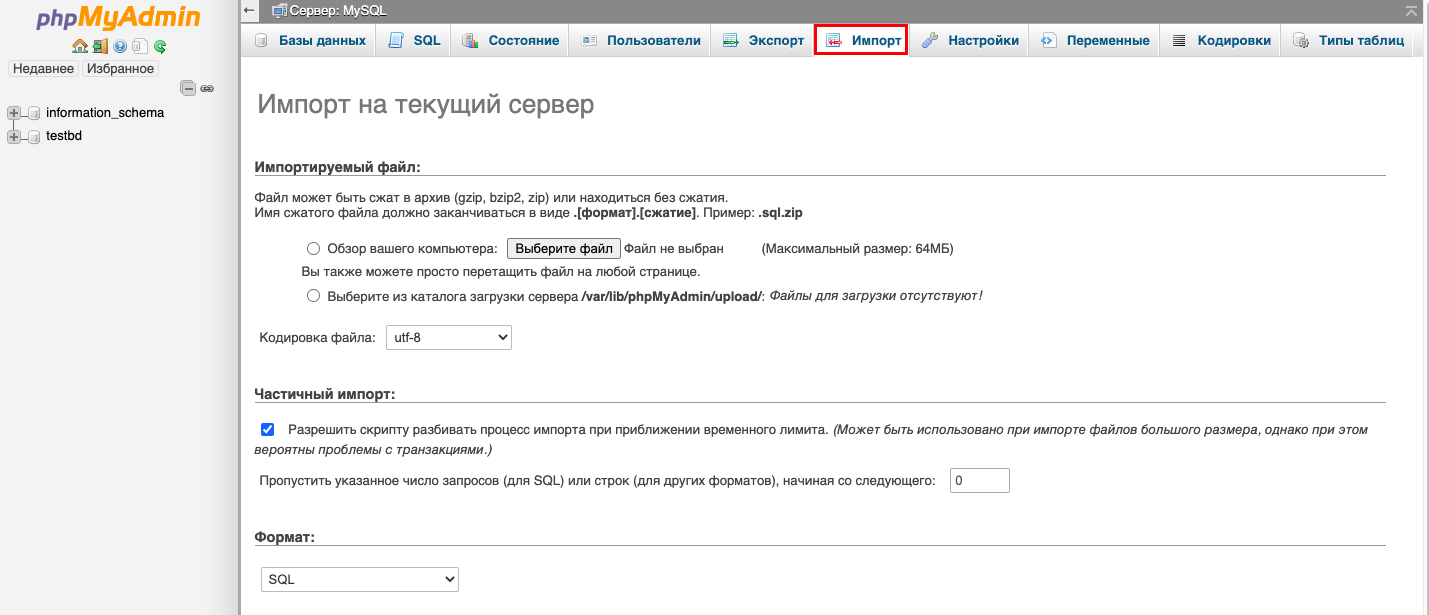
We perform a database import. To do this, go to phpMyAdmin and enter the username and password of the previously added database:
This completes the initial setup
After the health check it is necessary to add your site to our DNS panel, how to do it see here - DNS settings.
If you have any additional questions, you can always contact our support via Ticket System.