Setting up the Mail client in MacOS on Virtual Hosting
Email Client Configuration Guide
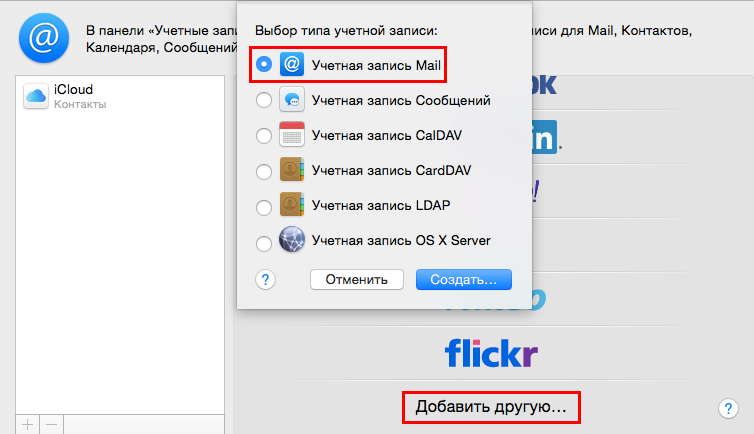
To configure the client, launch it and choose "Mail - Accounts" in the horizontal menu If you have a list of suggested standard mail services - choose "Add another..." and in the context window click "Mail account"
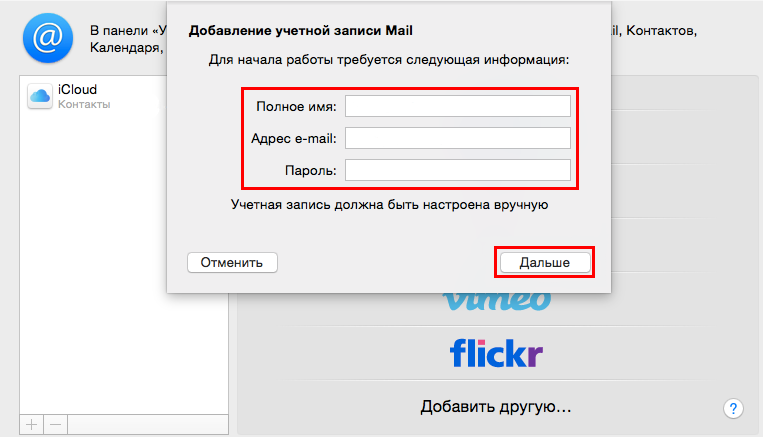
In the new window let's enter the credentials for our mailbox
-
"Full name" - your name.
-
"E-mail address" - your mailbox address, this is data from "Username" field.
-
"Password" - your mailbox password.
After creating the mailbox, select the protocol for incoming mail and specify "Mail Server", "POP3/IMAP server", and fill in the access data (user name and password):

- "Mail server " (both for incoming and outgoing mail): host####.fornex.org (connection data can be found in Mail Client Settings in cPanel for your mailbox)


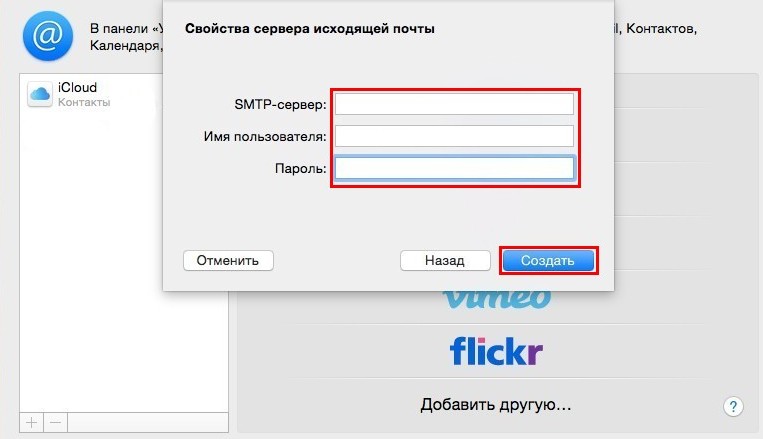
Let's fill in the details for outgoing mail to work (server, username, and password):
Select the created account in the window on the left and click "More..."

In the window that will appear let's specify port 993 to connect to incoming mail server check "Use SSL"

Then go to the box settings by clicking on the icon at the bottom and selecting "Edit account...." in the context menu

In the drop-down list of outgoing mail server select "Red List of SMTP Servers..." Go to the "Extras " section and uncheck "Automatically detect and manage account settings"
Let's re-fill in the necessary parameters - "Username and password", let's choose the method of "Authentication" choosing the "Password". Also check "Use SSL" and port 465
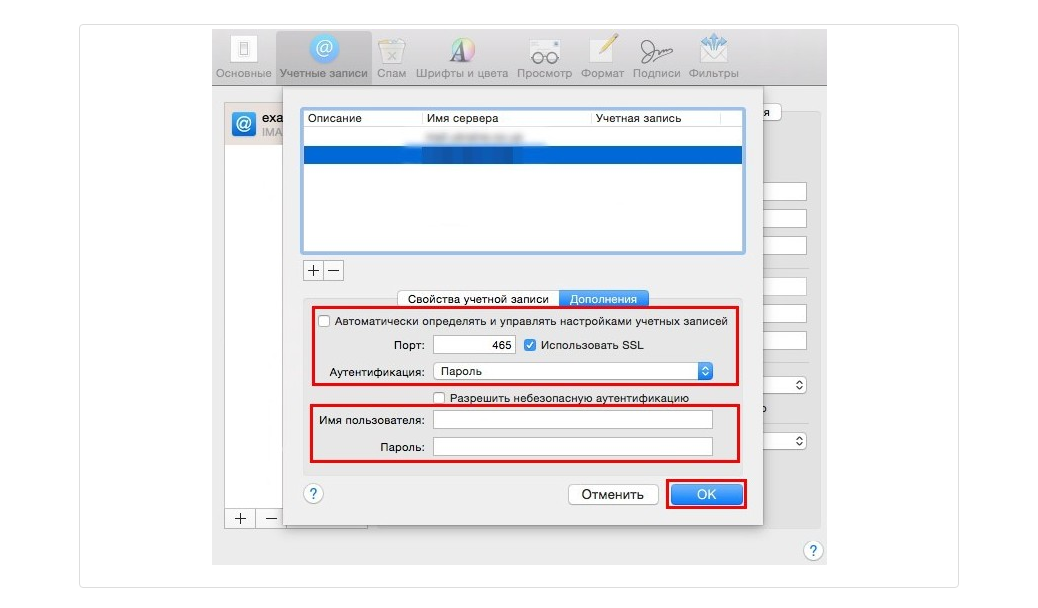
Click "Ok" to complete the settings