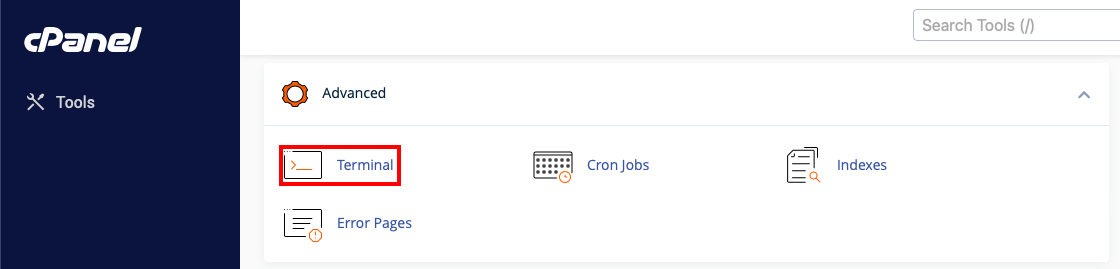
To use composer you need to connect to the server via SSH or go to Terminal in cPanel. For information on SSH access and using the terminal, see article.
In this article we will be entering commands in the terminal built into cPanel.
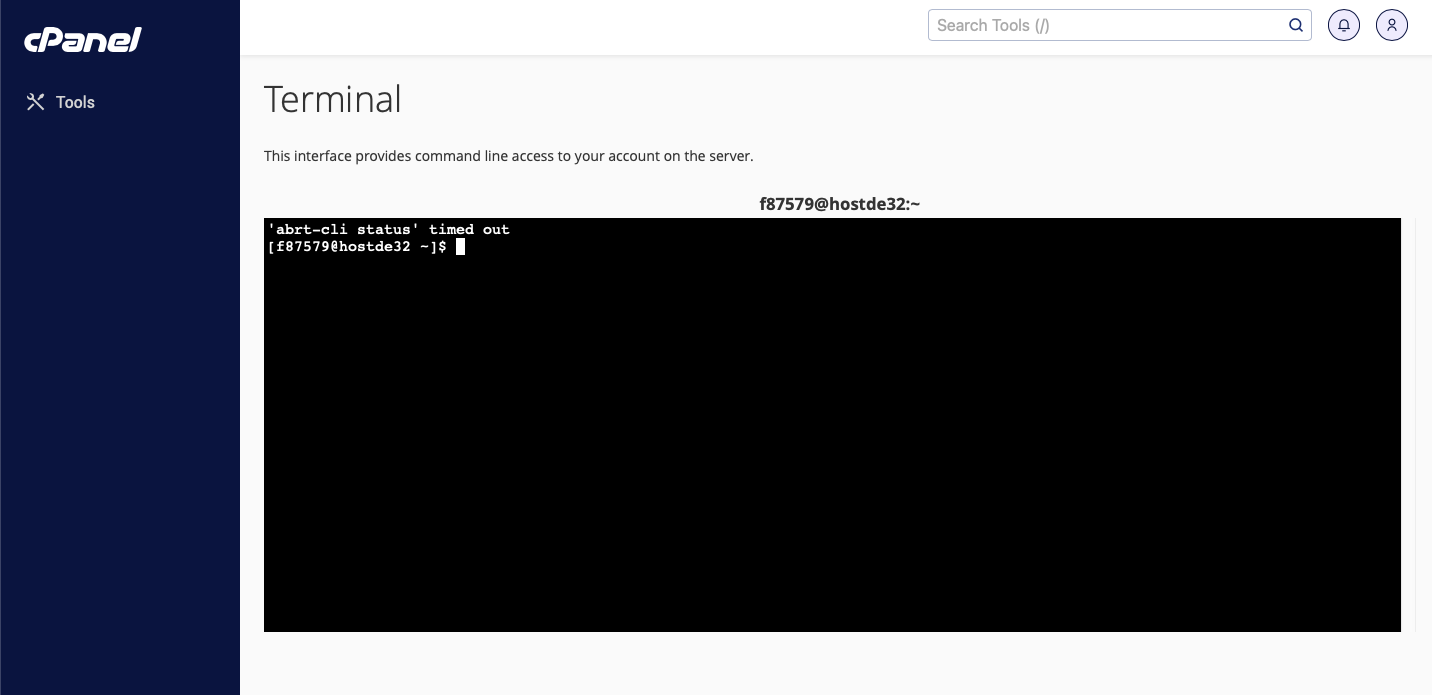
By default composer is installed on all shared hosting servers, for example, you can view the composer version with the command.
composer -V
Creating a project in Laravel
To create a new project in Laravel, we will first create a new project using composer.
Go to the public_html folder
cd ~/public_html/
Create a new project
composer create-project --prefer-dist laravel/laravel laravel-test.com
Replace laravel-test.com from the example with the desired folder name for the new project.

Next, let's add a domain, on which our project will be located in cPanel, an example of adding a domain can be seen at link. In our case the domain will be called laravel-test.com .

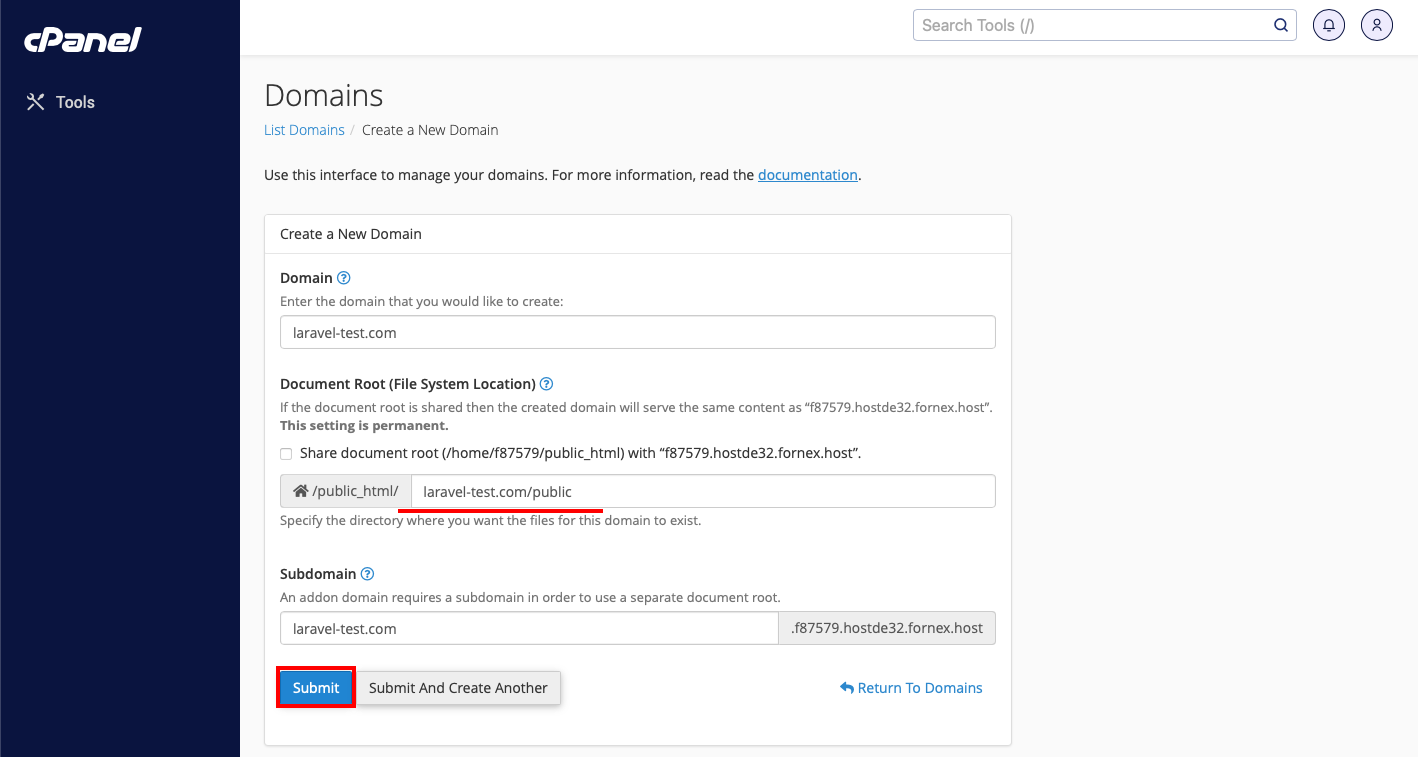
Info
For Laravel, when specifying the path to the root directory of the site at the domain creation stage, you should specify the project_folder/public directory, rather than using the default option - domain_name*
Next, specify a php version for the created domain of at least 7.1, this is the minimum requirement for Laravel version 5.7, which we are using in this tutorial.
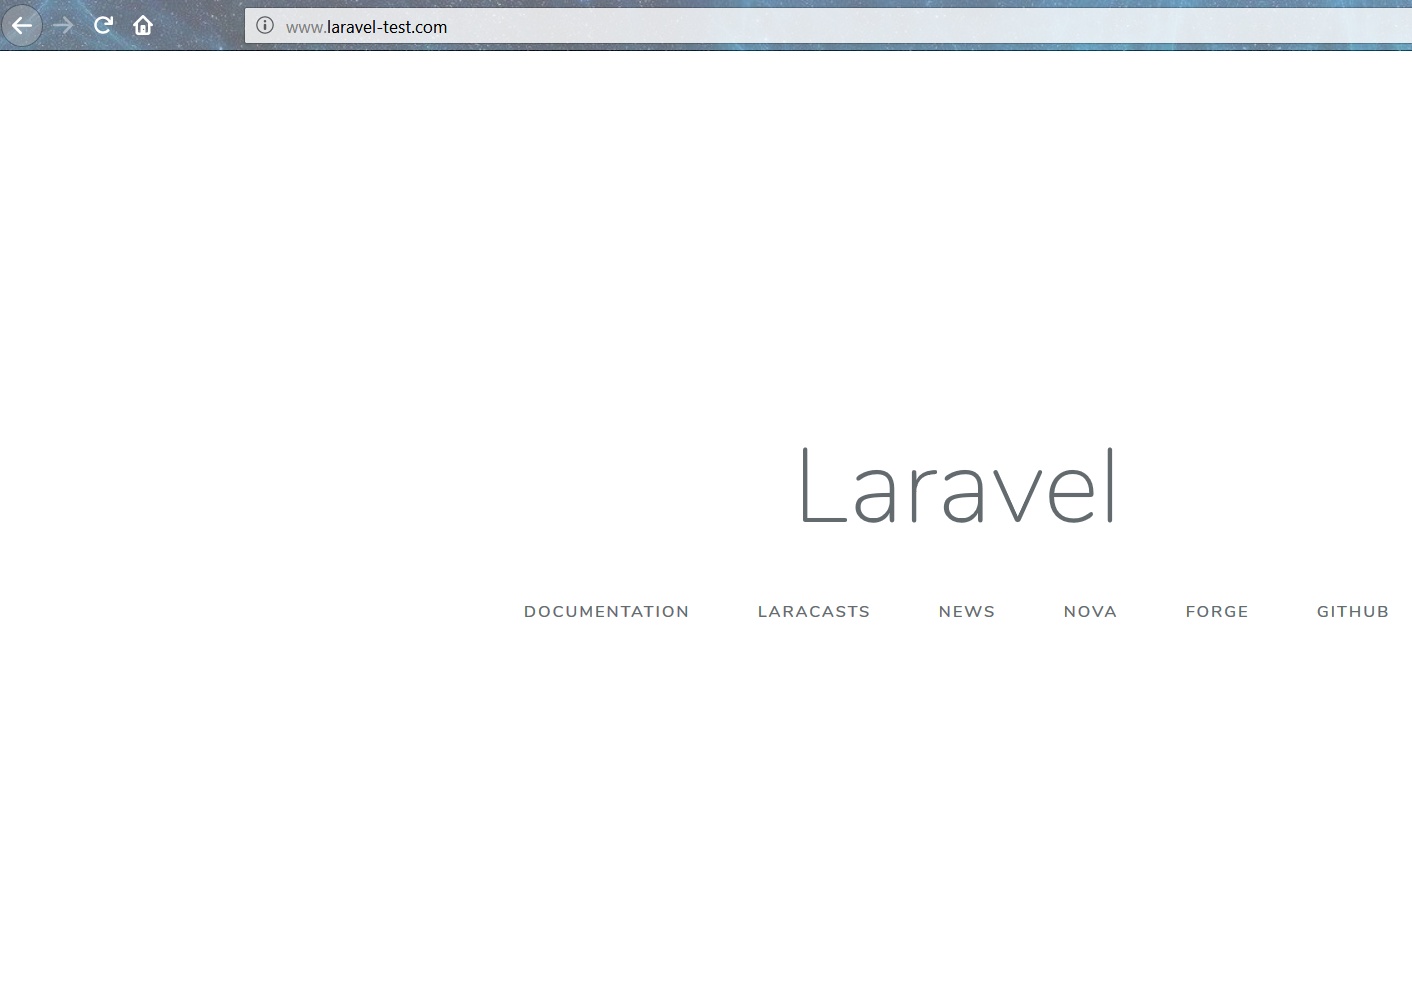
Let's test the created project in the browser.
Info
If you have any difficulties or need help, please create a support request via ticket system and we will be happy to help.