How to Install Russian Language in Windows Server 2019
Step-by-step guide for adding and configuring the Russian-language interface.
Note
Windows Server OS is available for installation on all VPS and dedicated server orders.
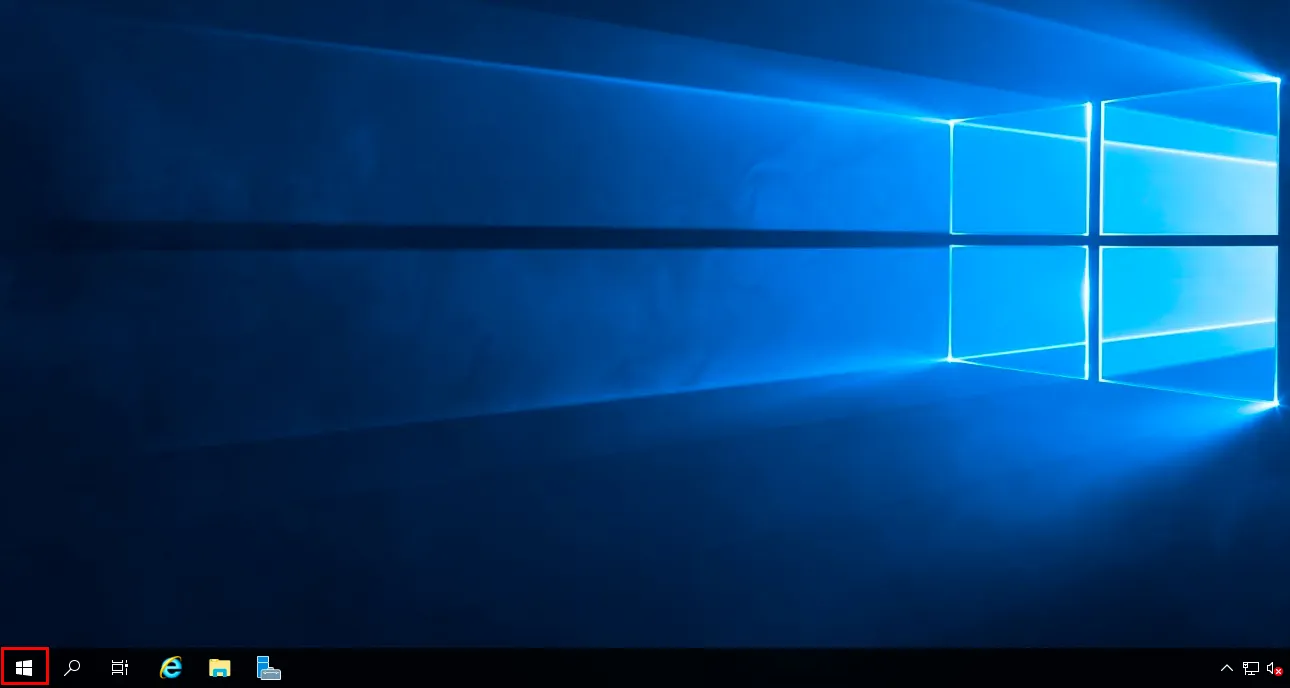
By default, Windows Server 2019 OS interface is set to English. To add Russian language, first connect to the server via RDP.
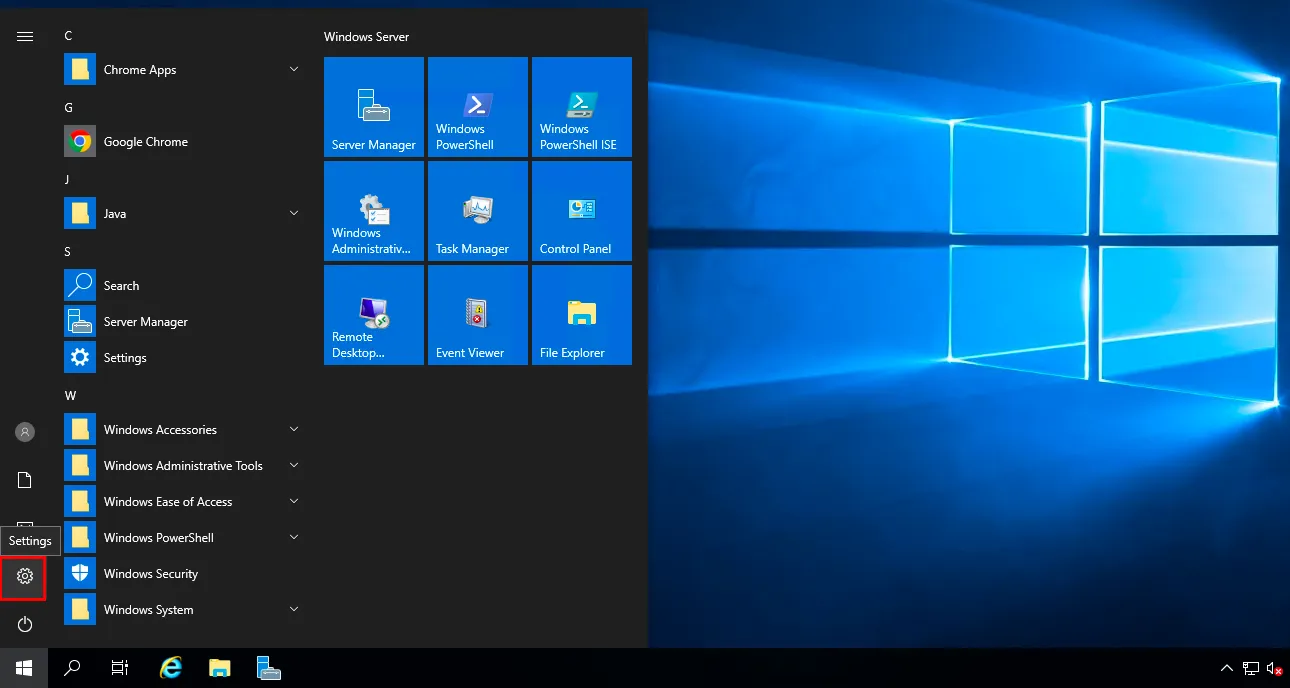
After the system loads, go to the control panel "Start" → "Settings".
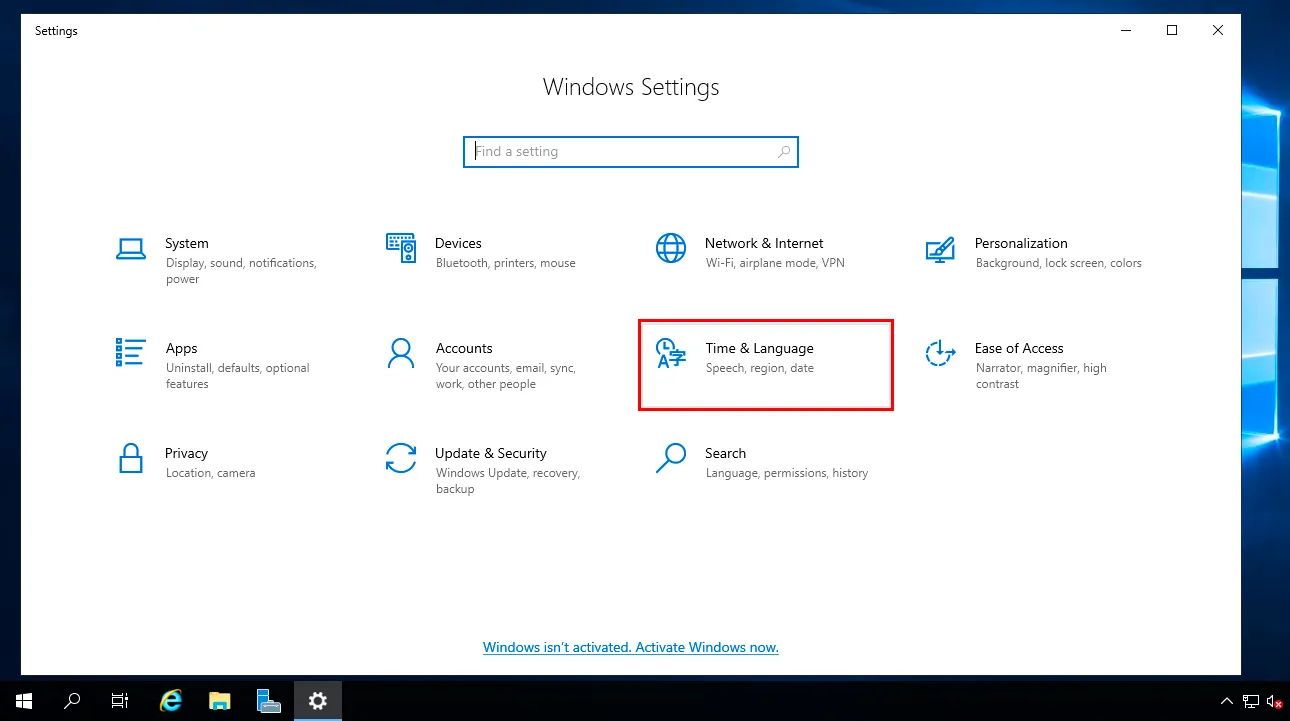
Next, open the "Time and language" section.
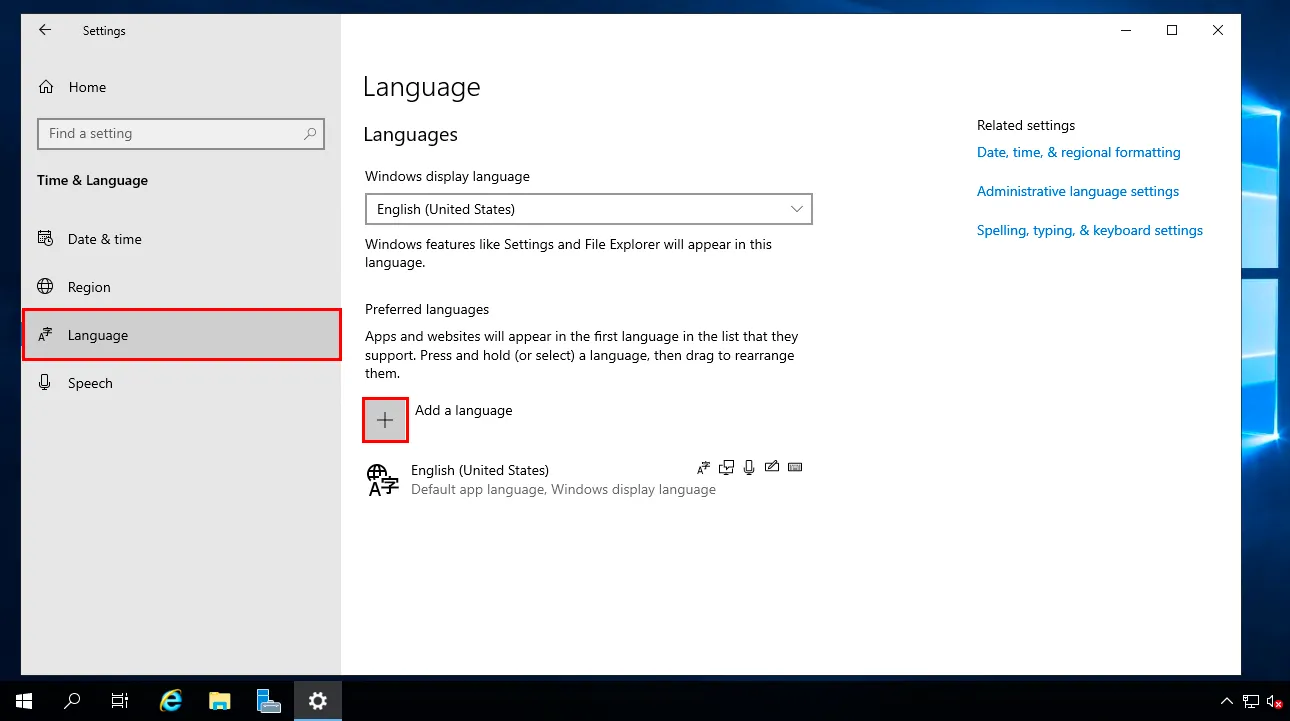
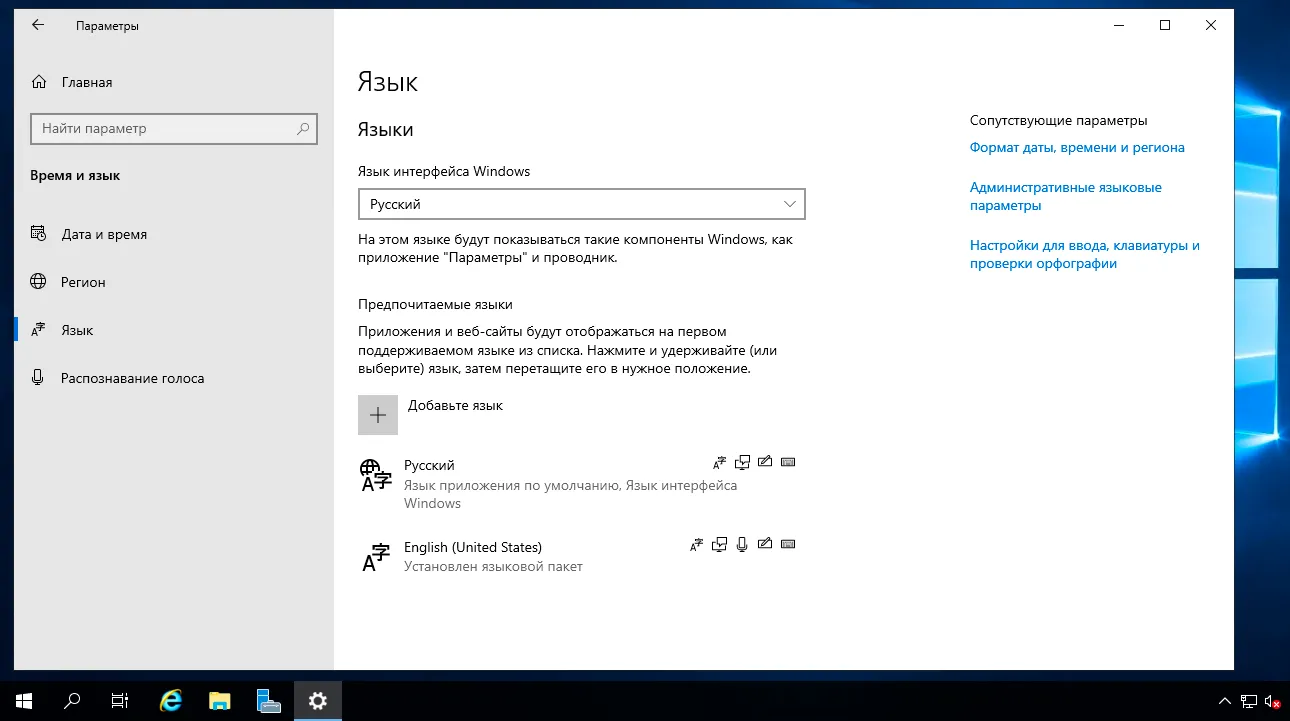
Go to language settings, "Language" section, and click the "Add a language" button.
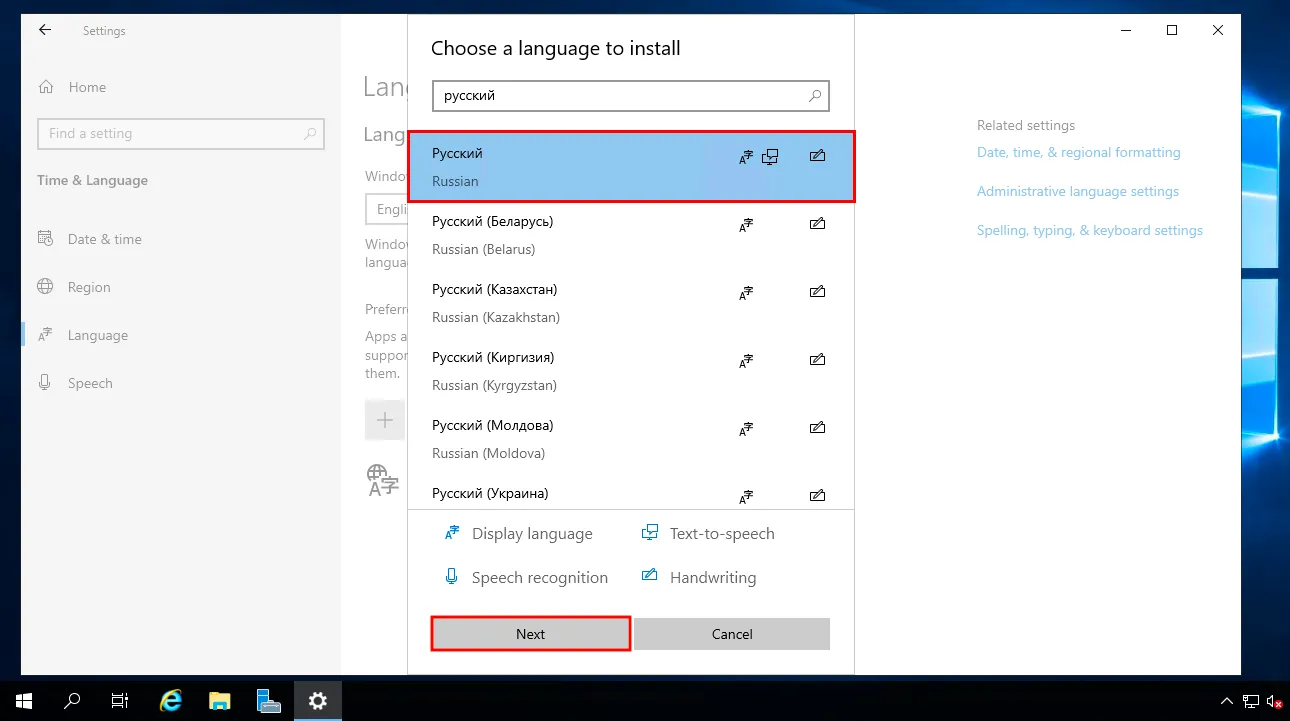
In the "Choose a language to install" search field, type "Russian". The language will appear in the list — this means it has been added but not yet downloaded. Click the "Next" button.
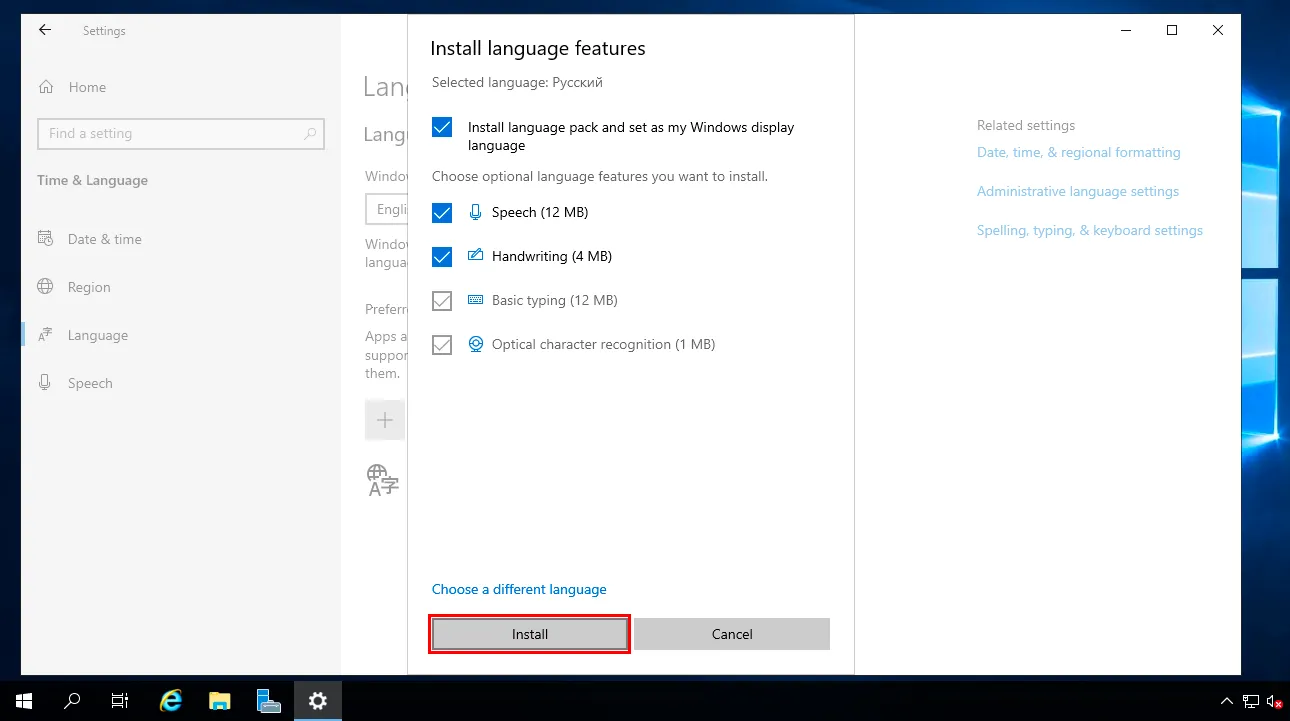
In the new window, click "Install".
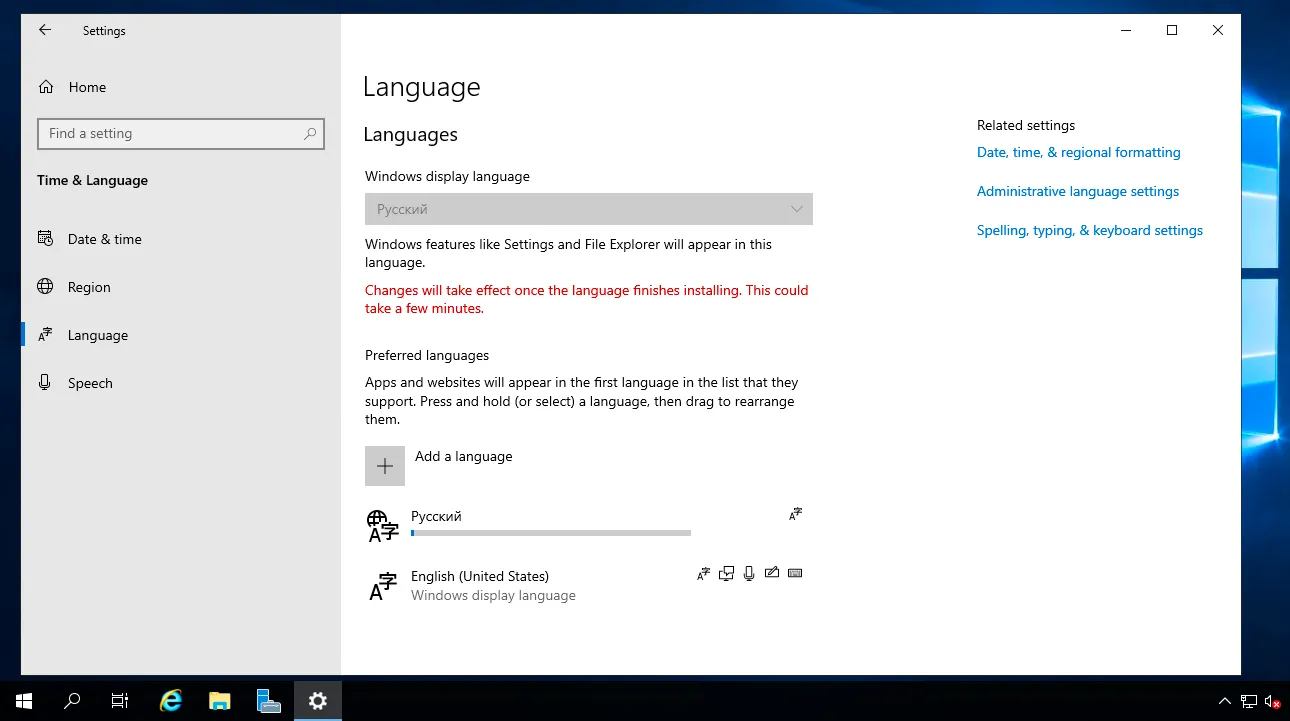
Wait for the language pack to finish downloading and installing.
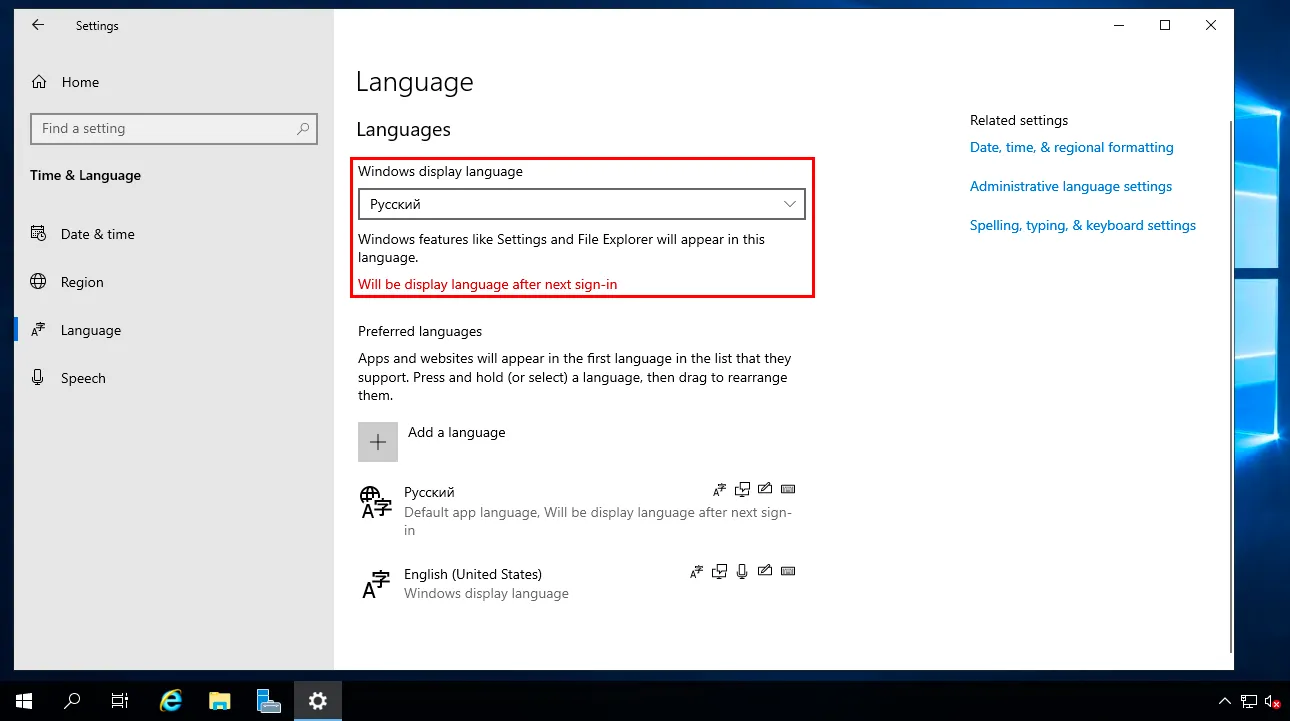
To apply the changes, restart the system.
Important
The connection to the server will be disconnected, and all open programs will be closed.
After reboot, you will see the Russian-language Windows OS interface.
Help
If you have any questions or need assistance, please contact us through the ticket system — we're always here to help!