Installing CMS WordPress in Hestia CP
Instructions for installing CMS WordPress in the control panel using the Quick Install module.
Hestia CP is one of the most popular, simple, and user-friendly control panels for server management. With its help, you can add new sites, work with email and databases, configure Cron tasks, manage updates, use the file manager, and add SSL certificates.
![]()
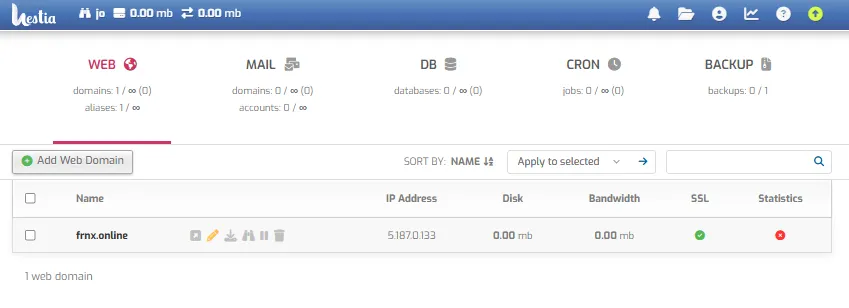
To use the automatic CMS installation module, navigate to the WEB section, select the desired domain, and click the Edit button.
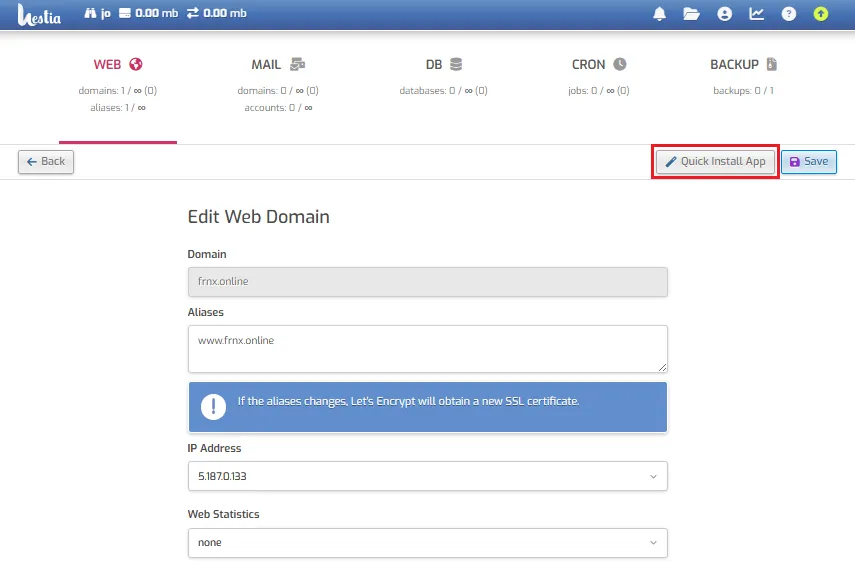
Next, go to the Install Application menu.
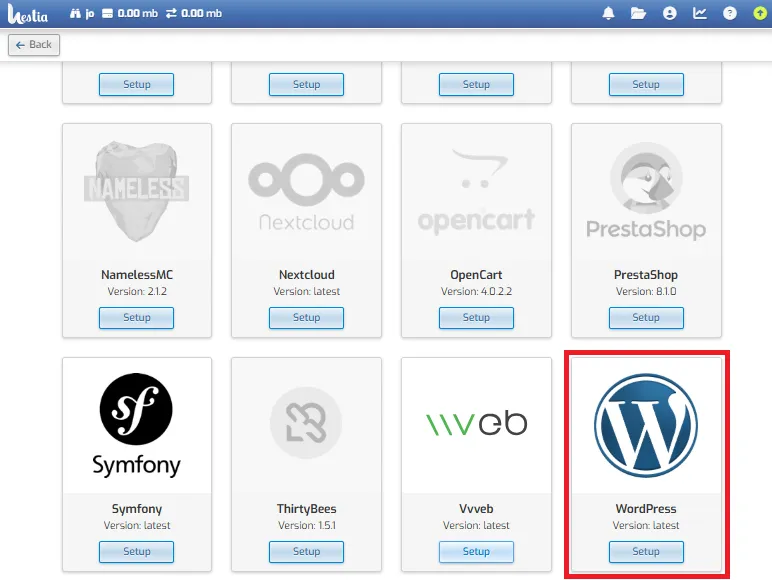
Click the Configure button for WordPress CMS.
Fill in the required information about your new WordPress site.
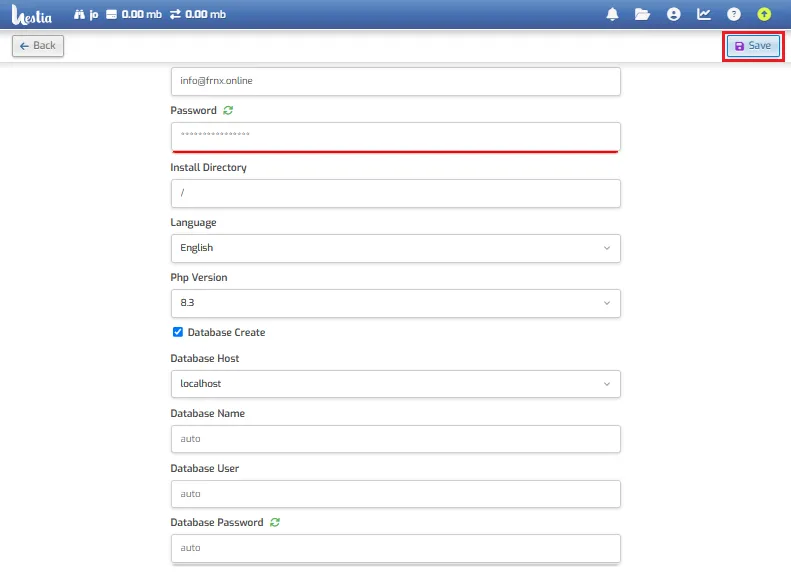
You have the option to connect to an existing database by filling in the corresponding fields, or create a new database — simply leave the database fields empty and they will be created automatically.
Important
Make sure to remember or save your password.
Click the Install button to start the installation process.
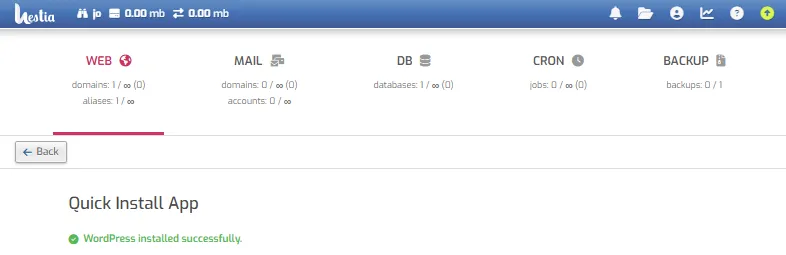
After a few seconds, you will receive a green notification confirming the successful installation of WordPress.
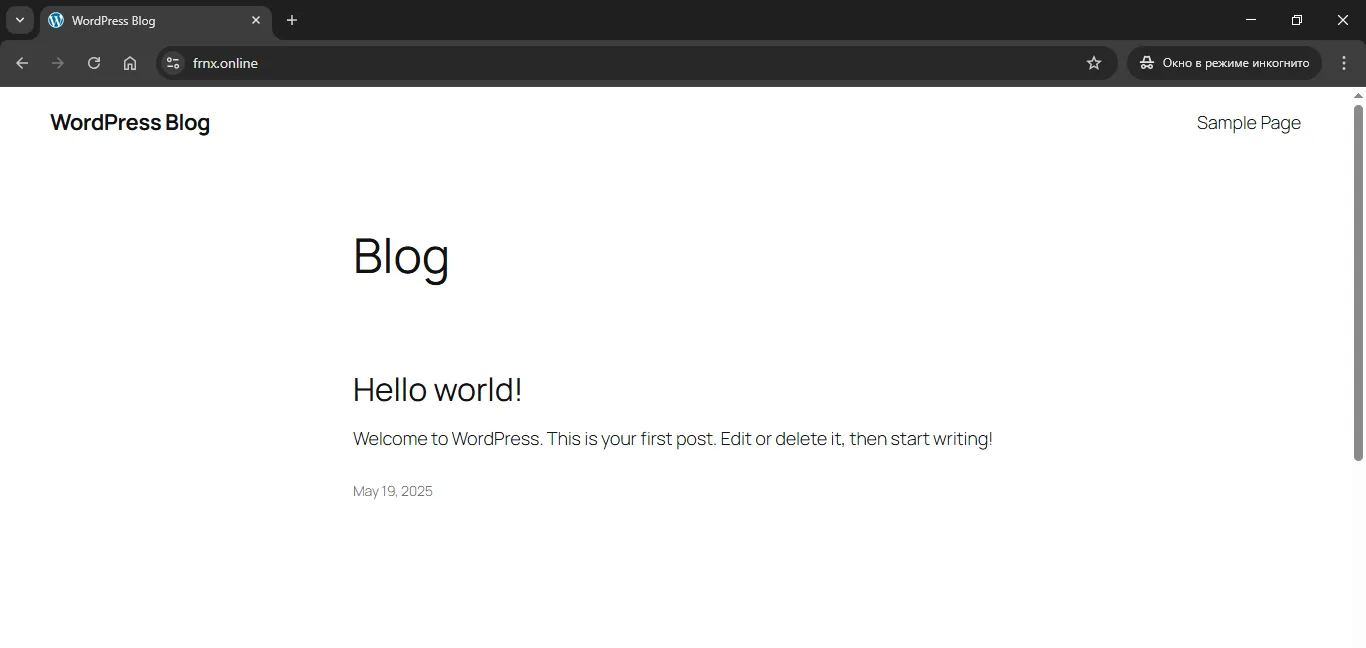
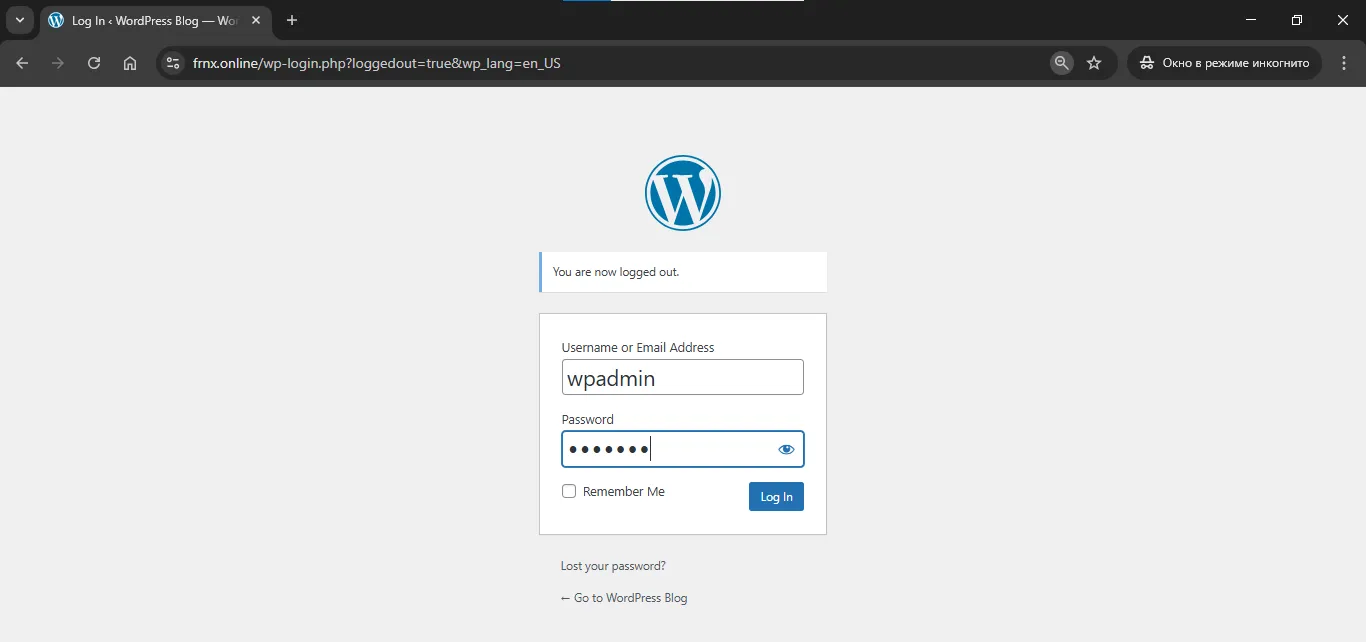
Log in to the administrative panel.

Help
If you have any questions or need assistance, please contact us through the ticket system — we're always here to help!