Setting Up Cron in BeAdmin Panel
A step-by-step guide to creating and managing scheduled tasks through the web interface.
BeAdmin is a modern, flexible, and user-friendly control panel designed to simplify server and website administration. Whether you're hosting websites, managing databases, or configuring services — BeAdmin provides all the necessary tools in a single convenient interface.
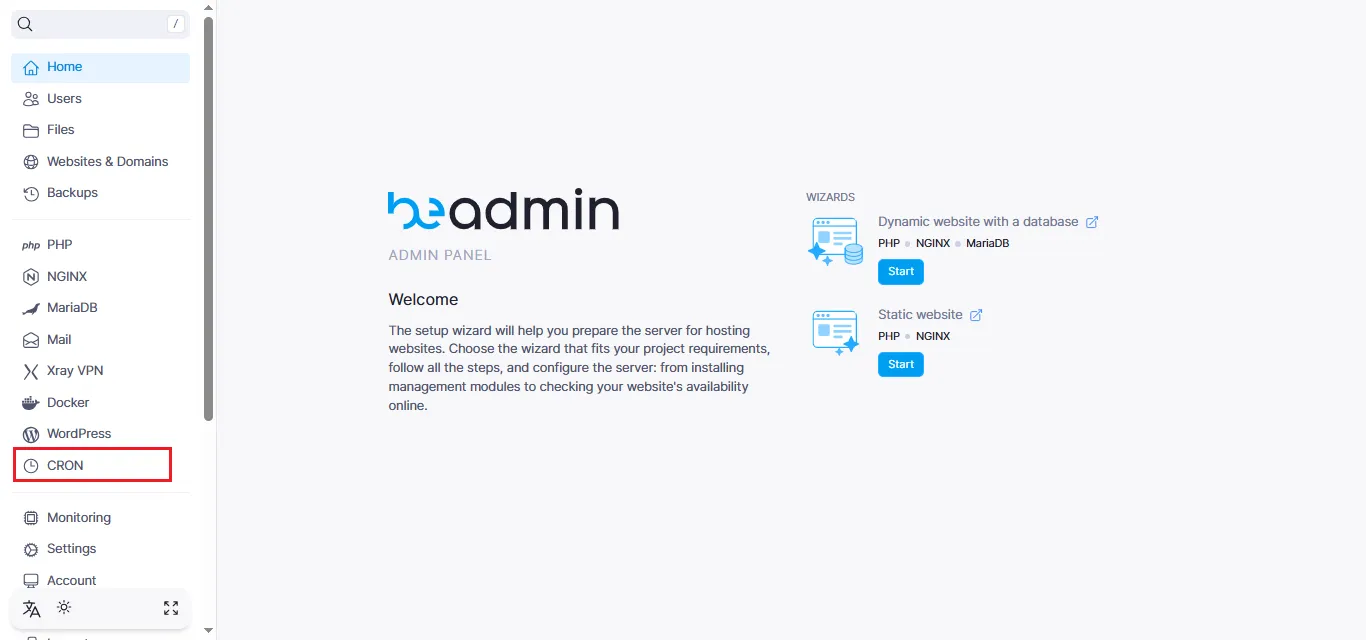
Creating a Cron Job
To get started with task automation, open the Cron section in your control panel:
Preparing the Script
Before creating a job, you need to prepare a script that will be executed on schedule:
As an example, we'll create a script to automatically delete old backups. This script will find and remove backups older than 14 days:
find /var/lib/beadmin/backup -type f -mtime +14 -print
Note
By default, Beadmin saves backups to the /var/lib/beadmin/backup directory. You can learn more about creating backups in our guide.
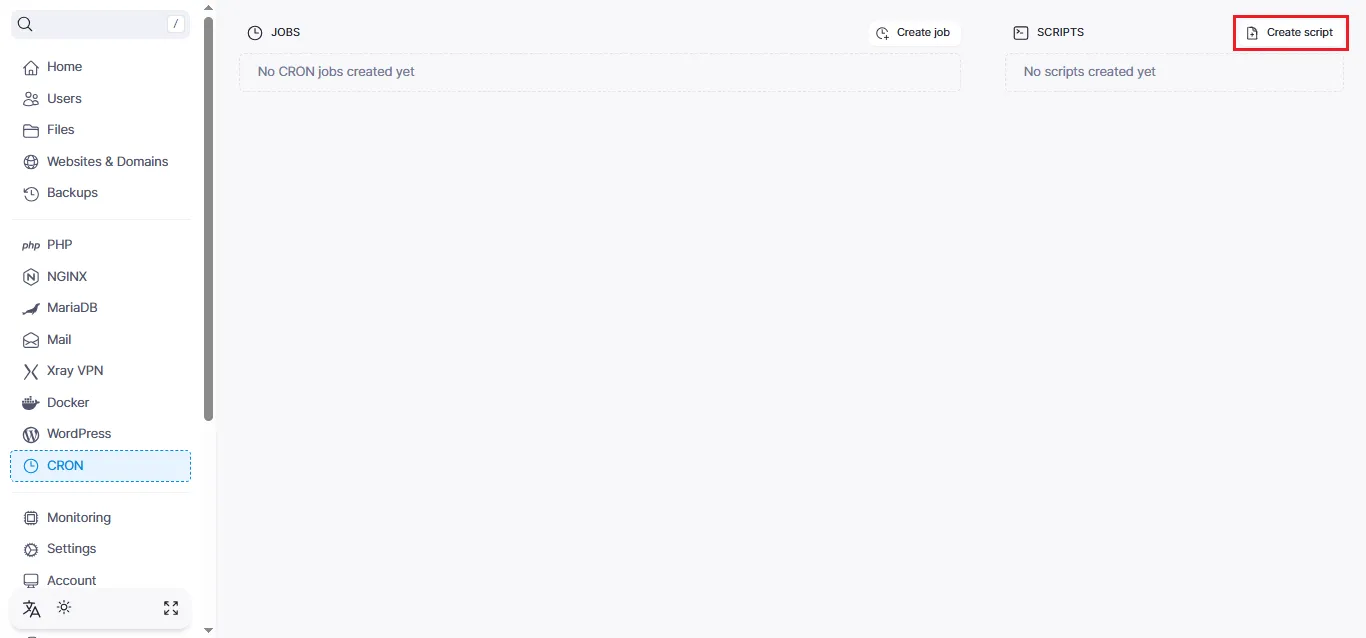
Creating the Script
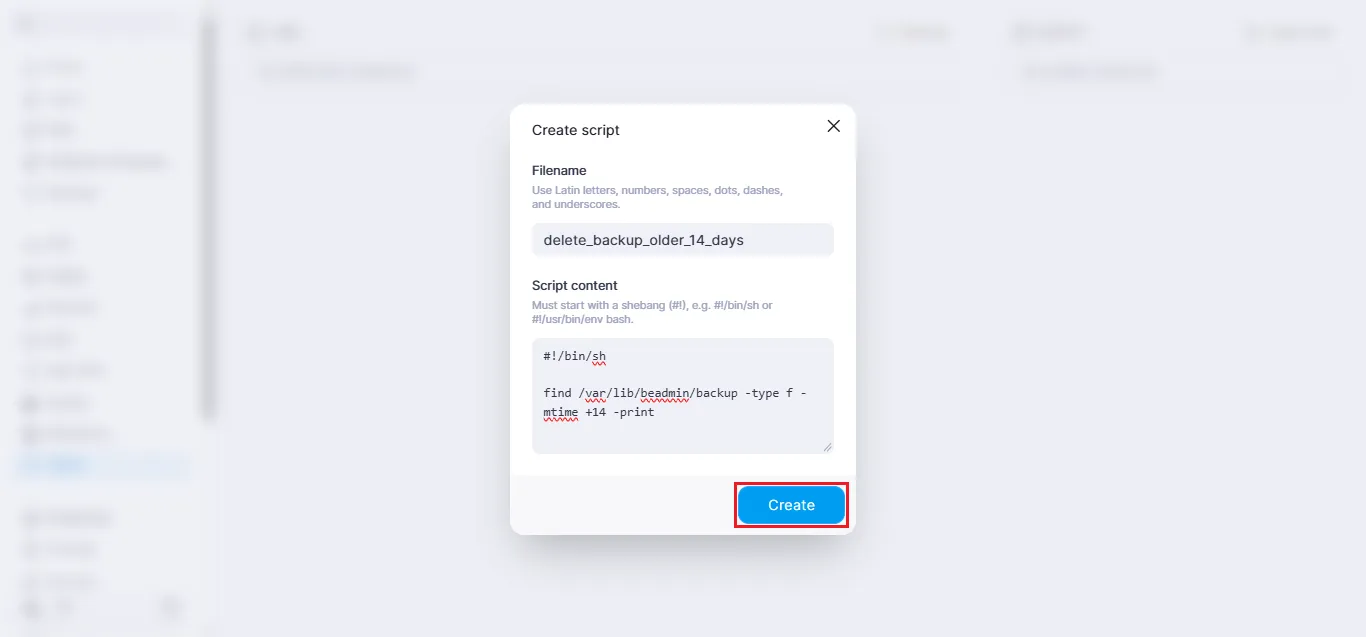
Click the Create Script button. In the window that appears:
- Enter a clear name, for example
delete_backup_older_14_days - Add the script code in the Script Content field
- Click Create
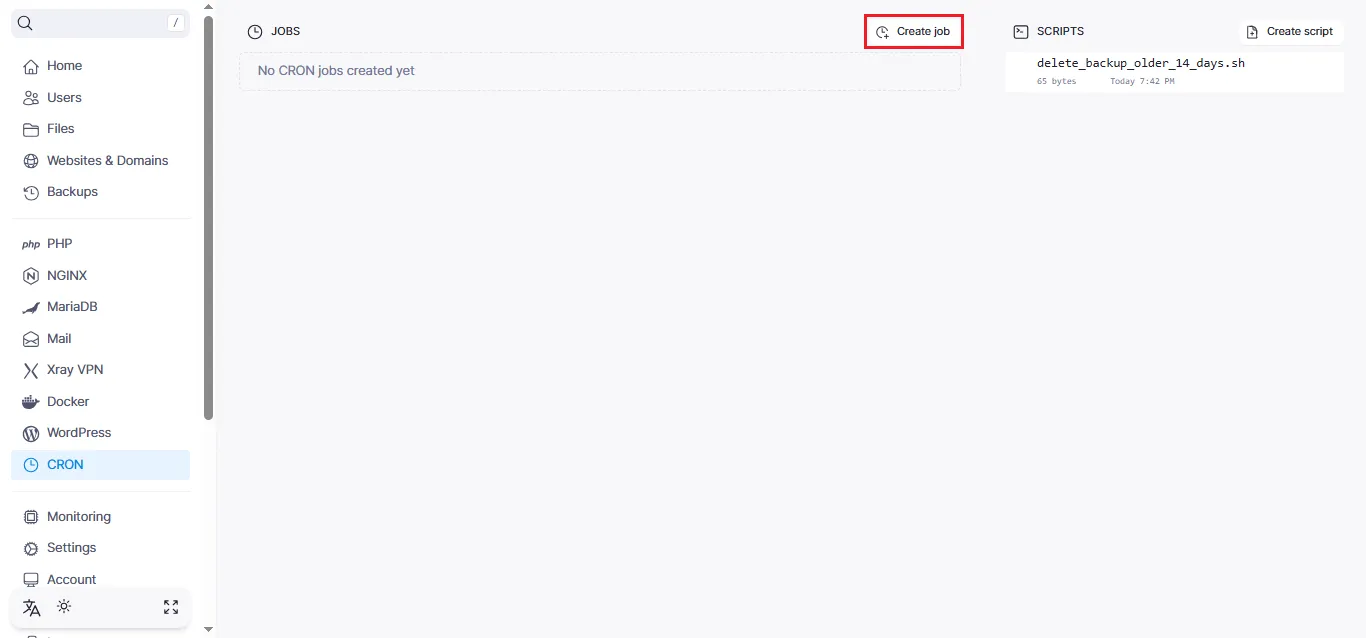
Configuring the Cron Job
Now that the script is ready, it's time to set up automatic execution. Click Create Job:
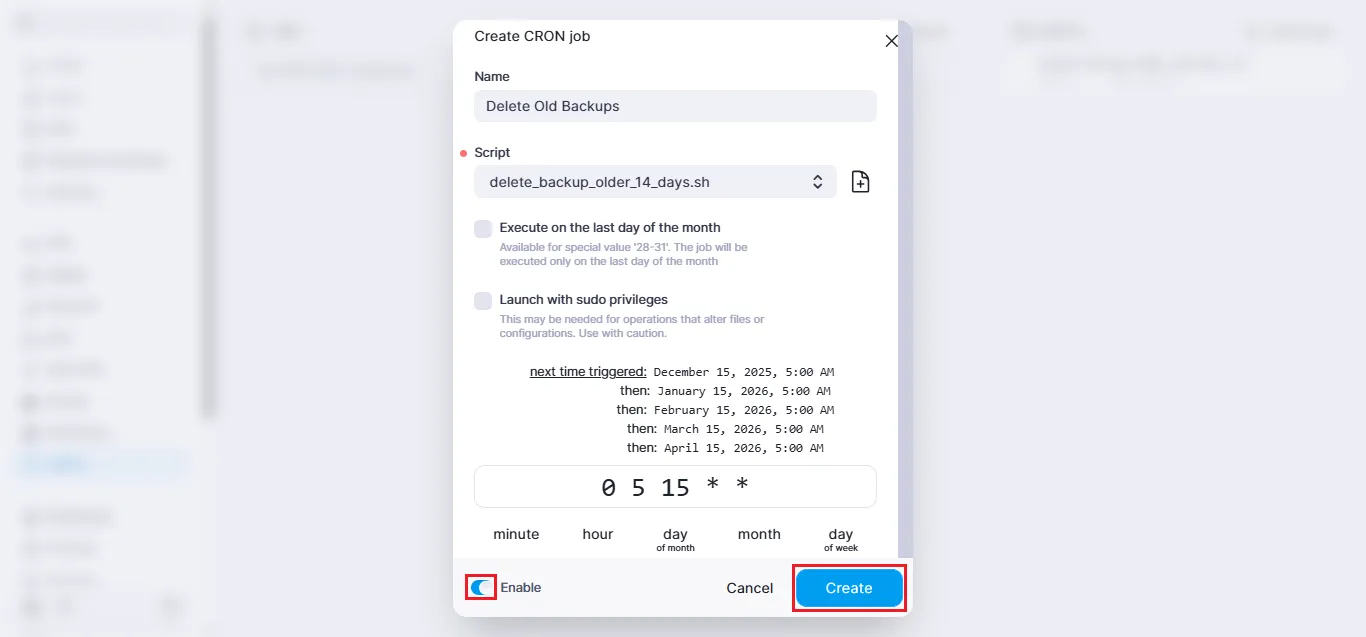
In the job creation form, fill in the following parameters:
Basic Settings:
- Job name:
Delete Old Backups - Select the previously created script from the dropdown list
Note
By clicking the plus icon, you can create a new script directly while setting up a Cron job — handy if you forgot to prepare something in advance.
Additional Options:
-
Run on the last day of the month — a useful feature for tasks that should run at month's end regardless of its duration (28, 30, or 31 days). For example, for generating monthly reports.
-
Run as superuser — enable this option if the script requires elevated permissions to work with system files or protected directories.
Execution Schedule:
Specify the execution time in cron format, for example: 0 5 15 * *
Note
This job will run on the 15th of every month at 5:00 AM
Switch the toggle to Activated and click Create:
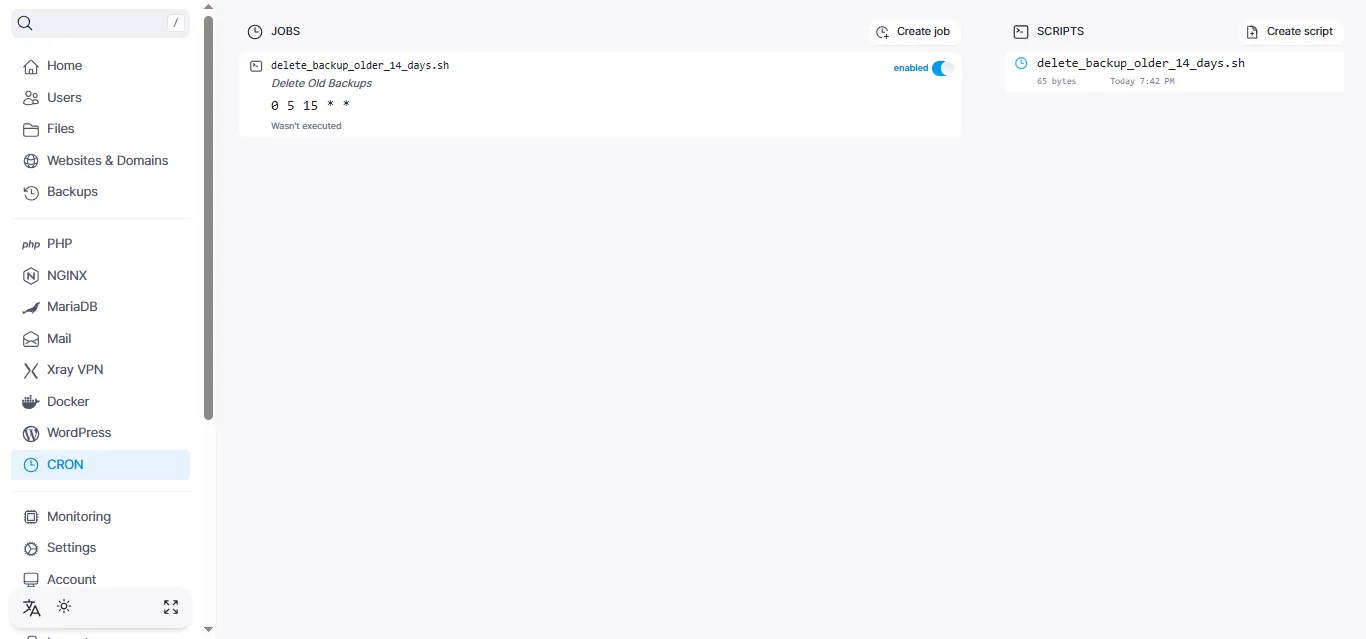
Done! Your Cron job has been successfully created and will appear in the general list:
Managing Jobs
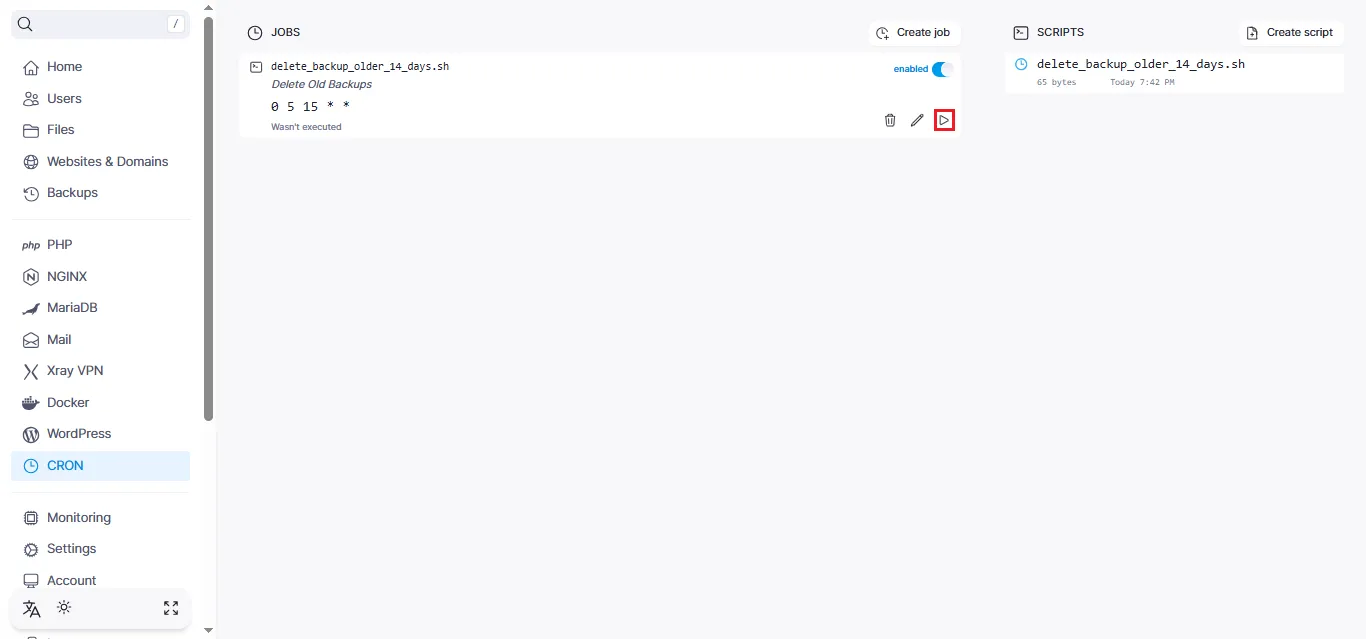
Running a Job Manually
Sometimes you need to run a task immediately without waiting for the schedule. To do this, simply click the Play button next to the desired job:
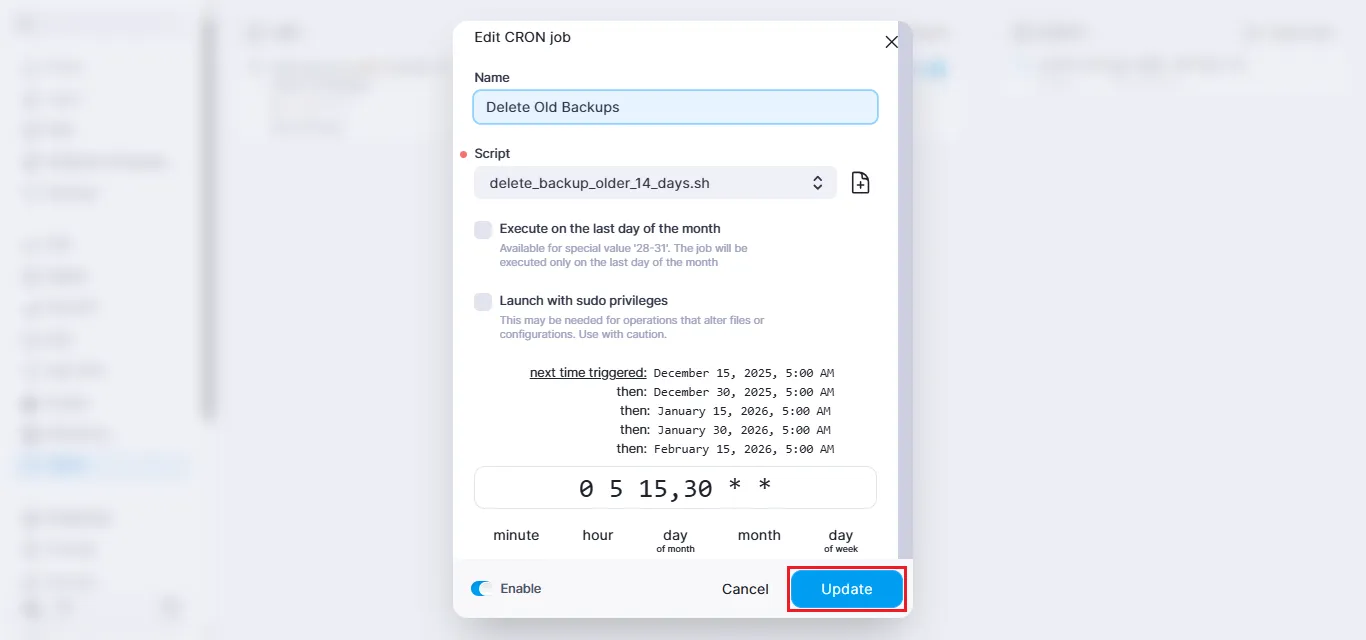
Editing a Job
To modify the parameters of an existing job, click the pencil icon:
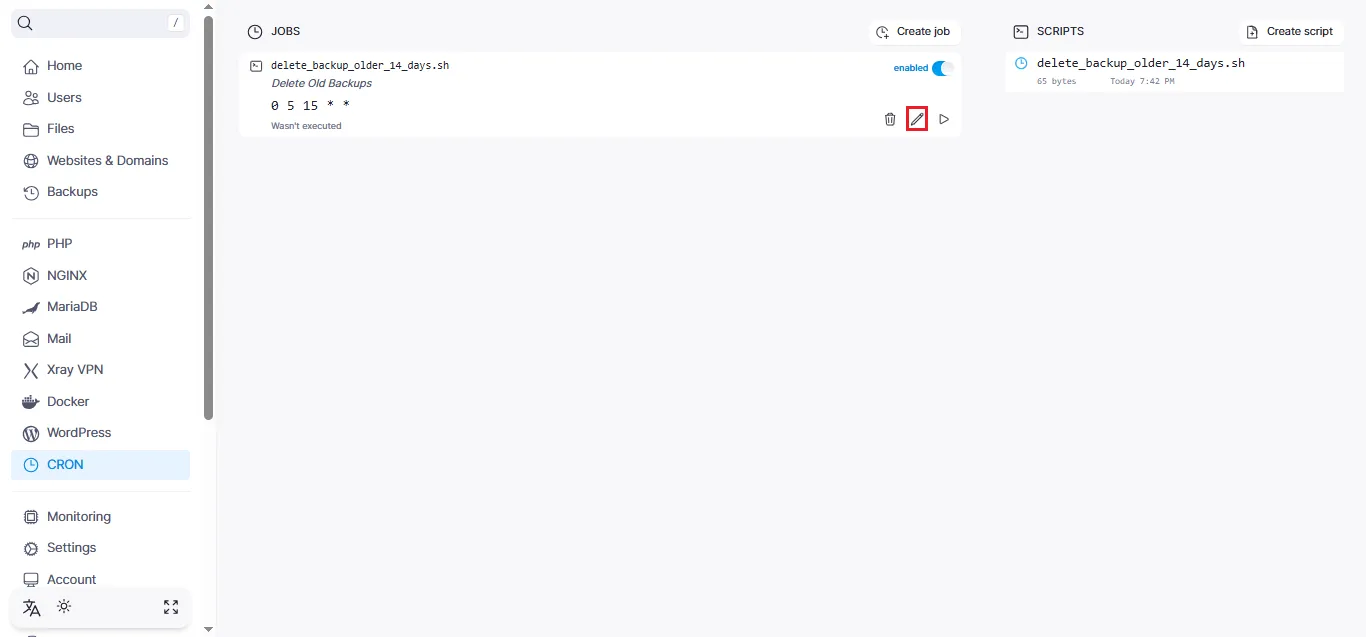
Make the necessary changes and save them by clicking Update:
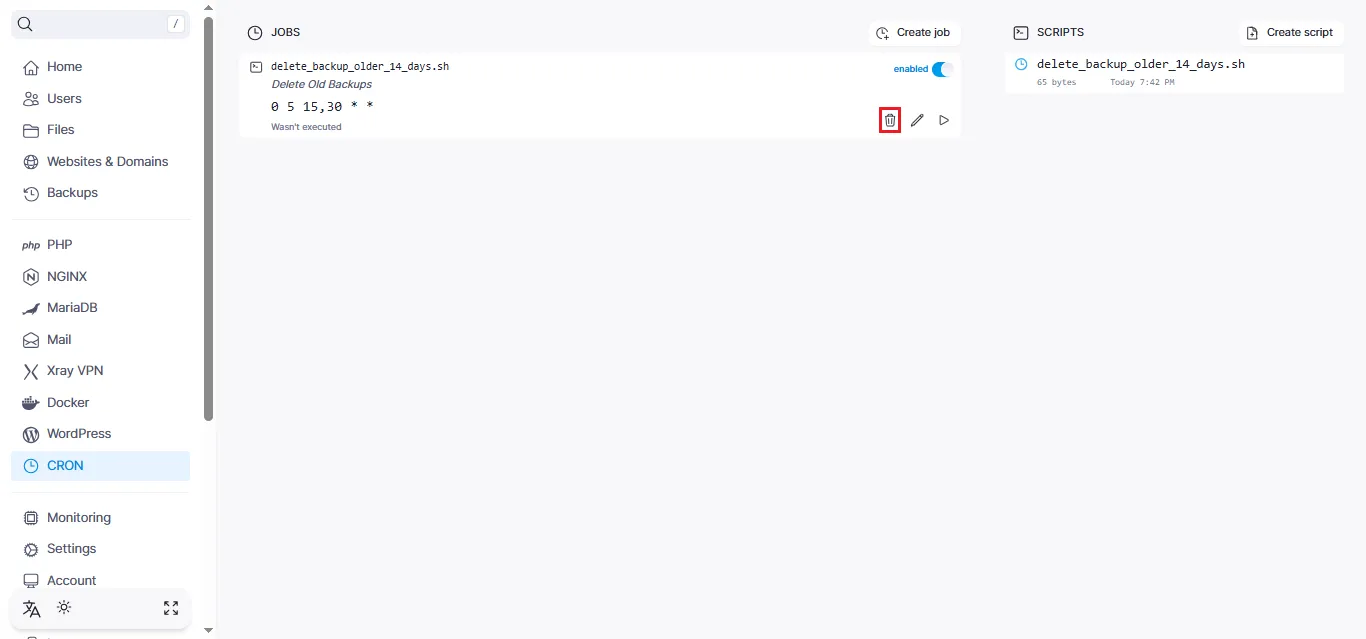
Deleting a Job
If a job is no longer needed, click the trash icon:
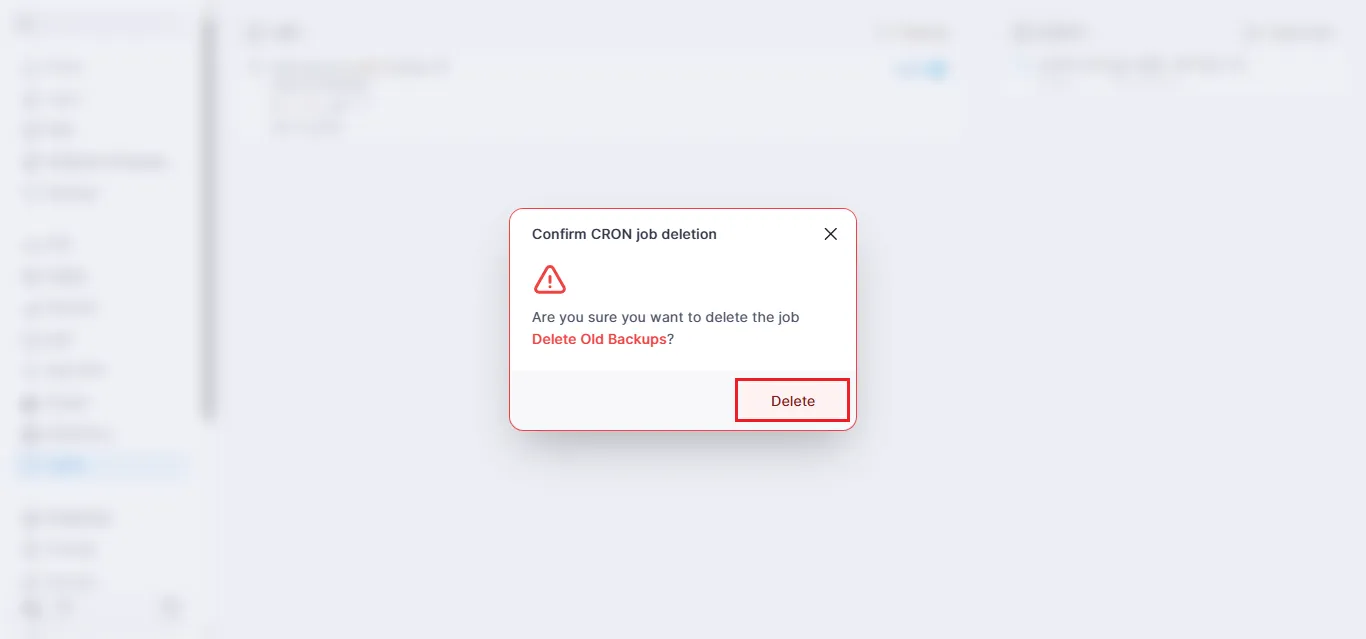
Confirm your decision in the dialog box:
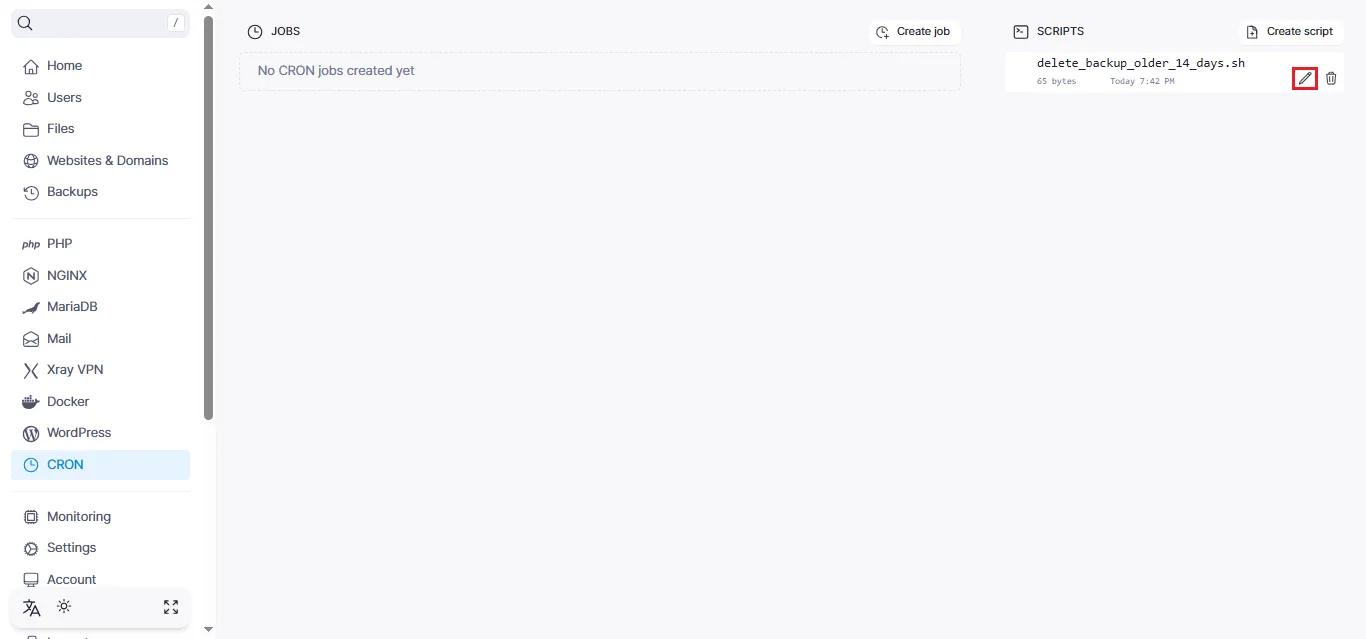
The job will be removed from the system:

Managing Scripts
Editing a Script
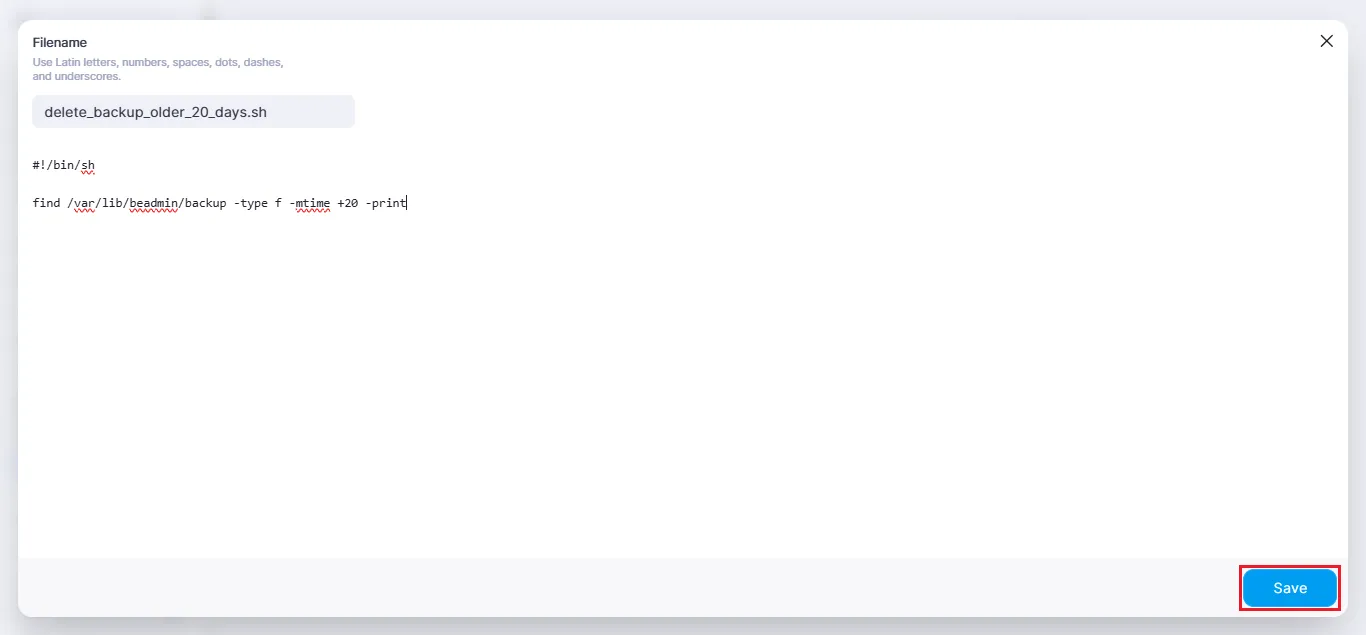
To change the script content, click the pencil icon in the scripts section:
Edit the code or parameters and click Save:
Deleting a Script
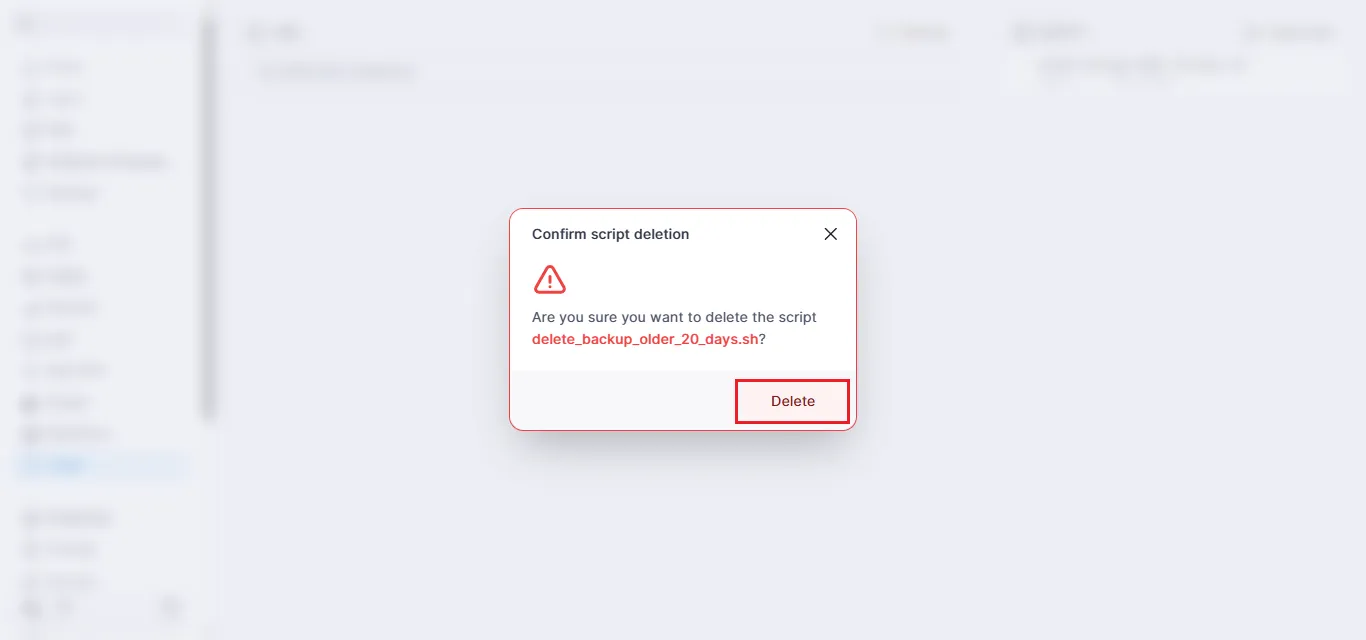
To remove an unused script, click the trash icon and confirm the action:

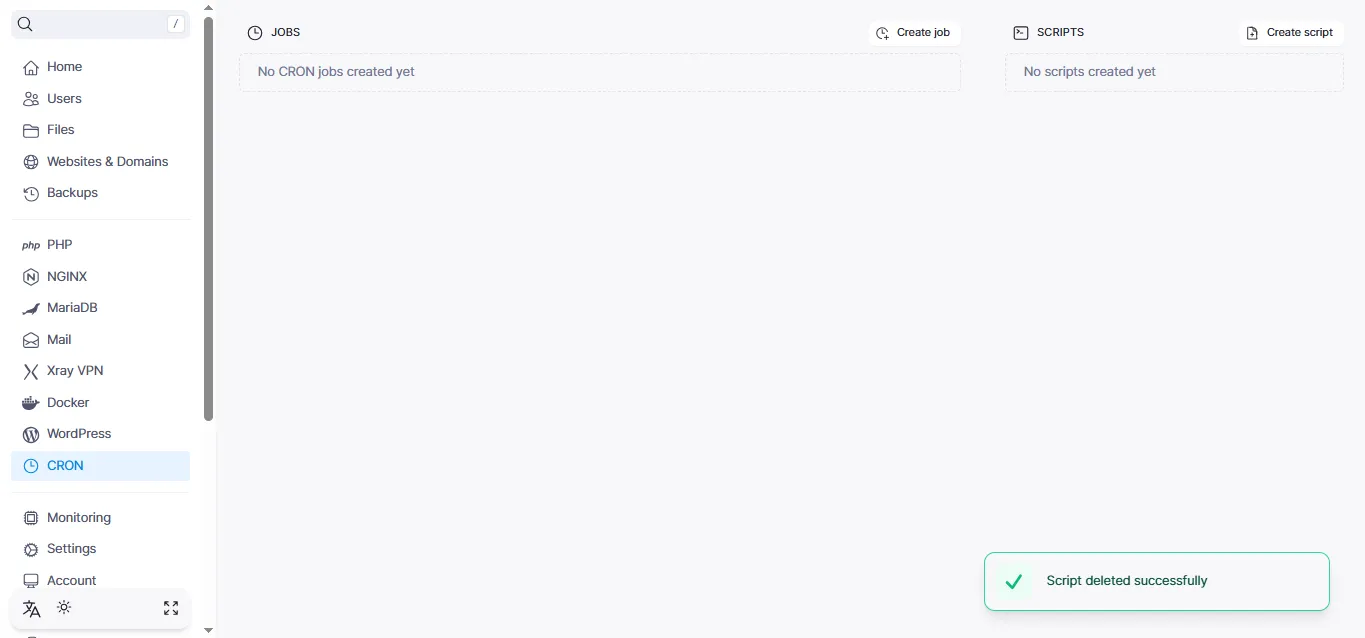
The script has been successfully removed from the system:
Help
If you have any questions or need assistance, please contact us through the ticket system — we're always here to help!