Setting the Russian language in the CMS OpenCart
CMS OpenCart language pack installation guide
If the default template for your site and control panel OpenCart in English, the Russian language must be downloaded and installed, separately.
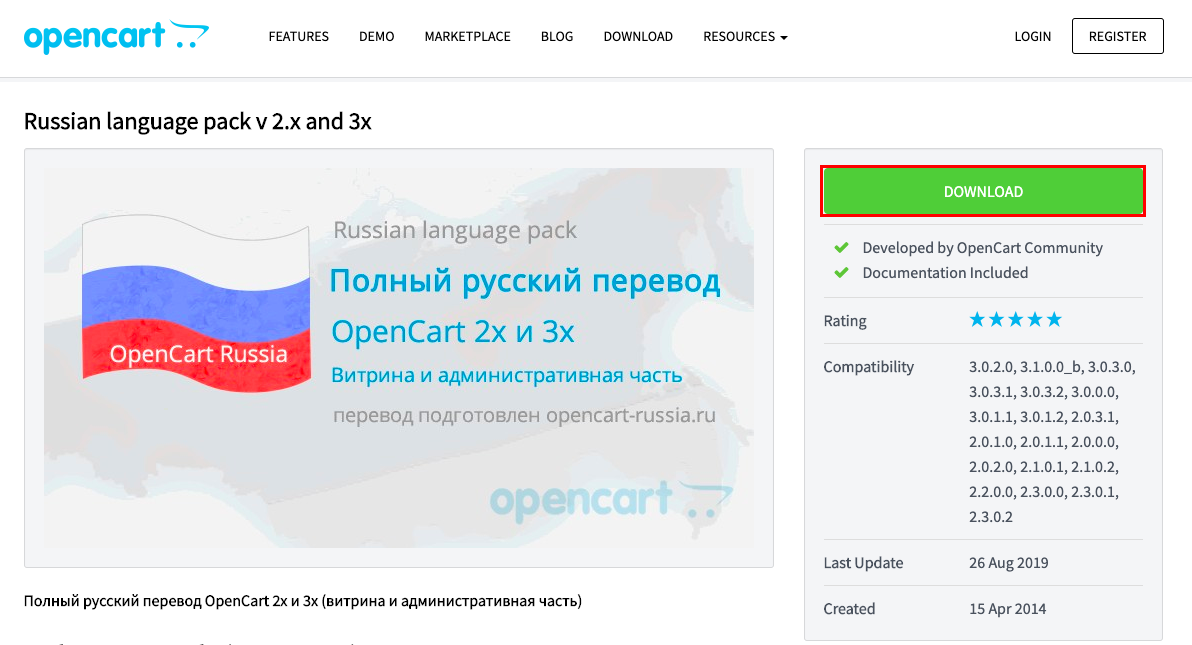
Download language package from the official website - OpenCart
After downloading, you need to upload the language pack to the hosting via FTP using FileZilla After connecting to the hosting order you unzip the archive and drag the admin and catalog folders to the hosting.
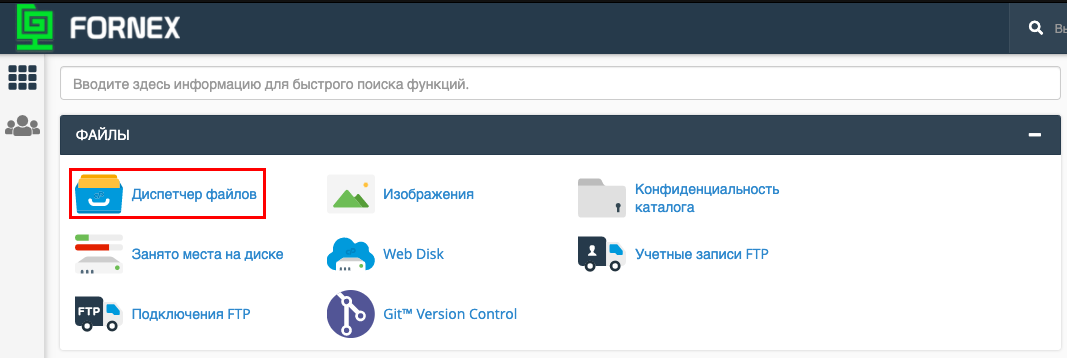
Or upload files via File Manager in cPanel
To do this, log into cPanel and go to Files → File Manager.
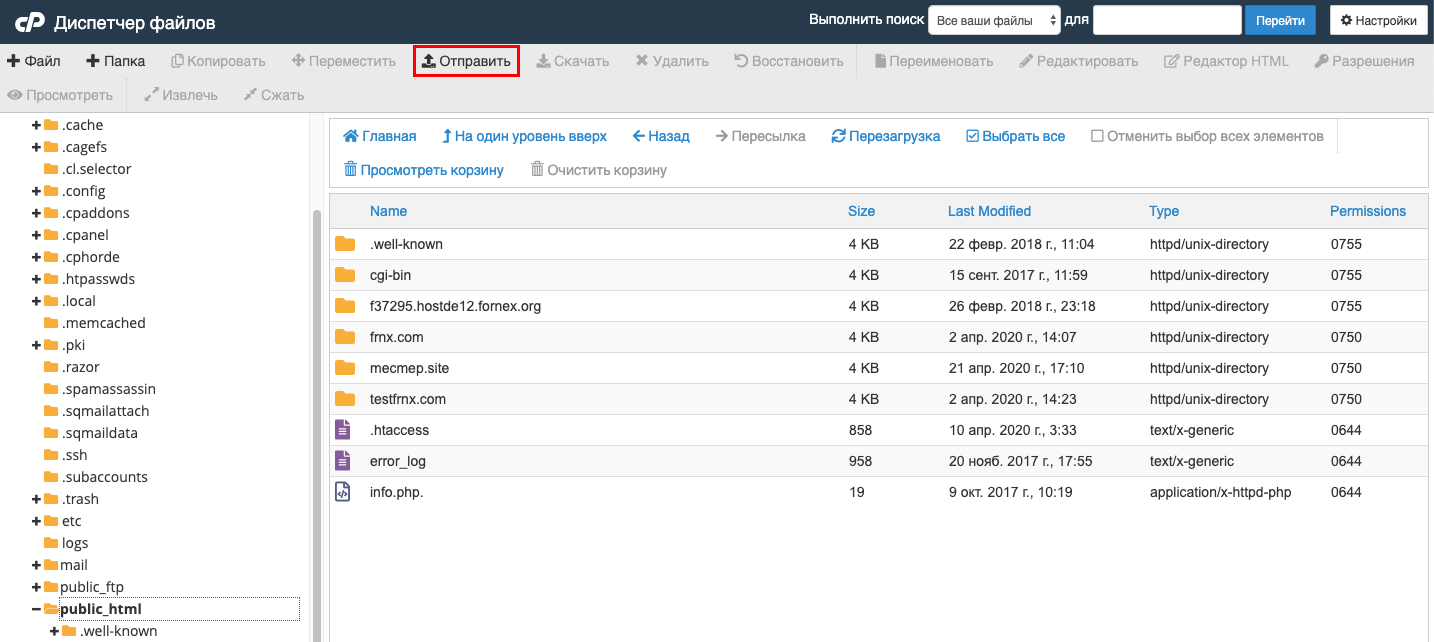
Go to the root folder public_html.
Click the "Submit " button to download the file.
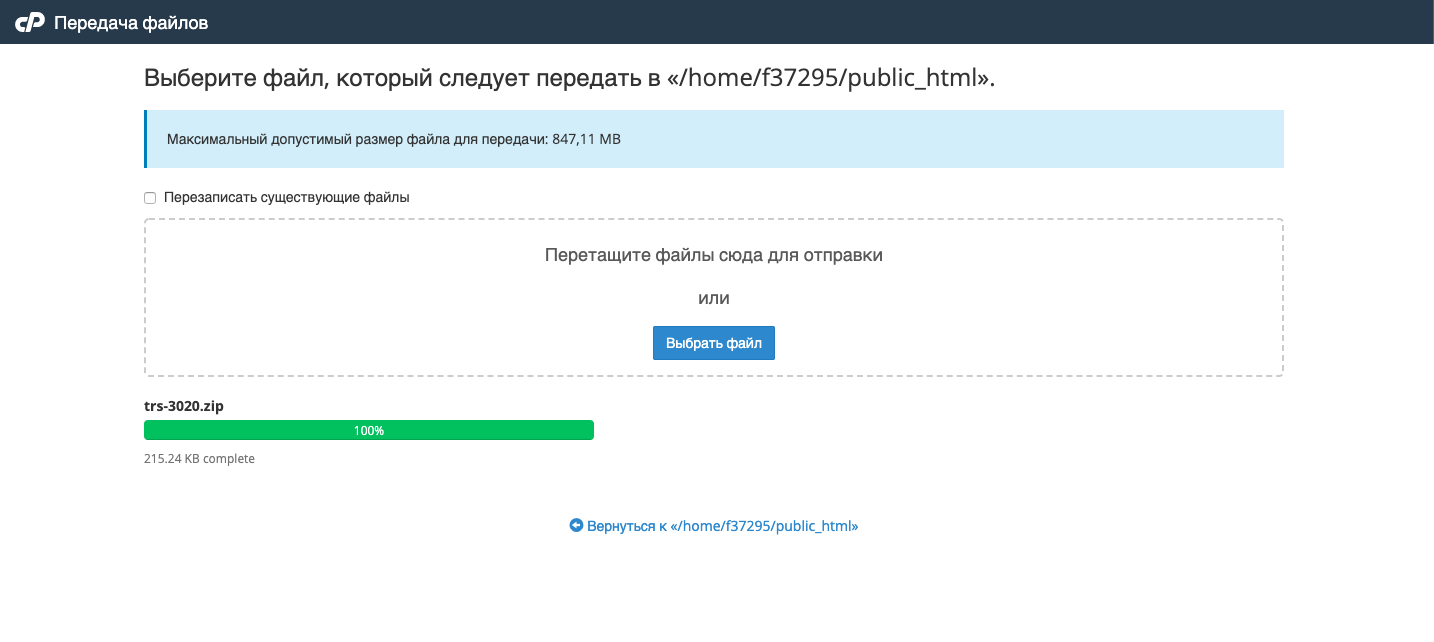
Drag and drop the file into the designated field or click Select File. Then click Go back to....
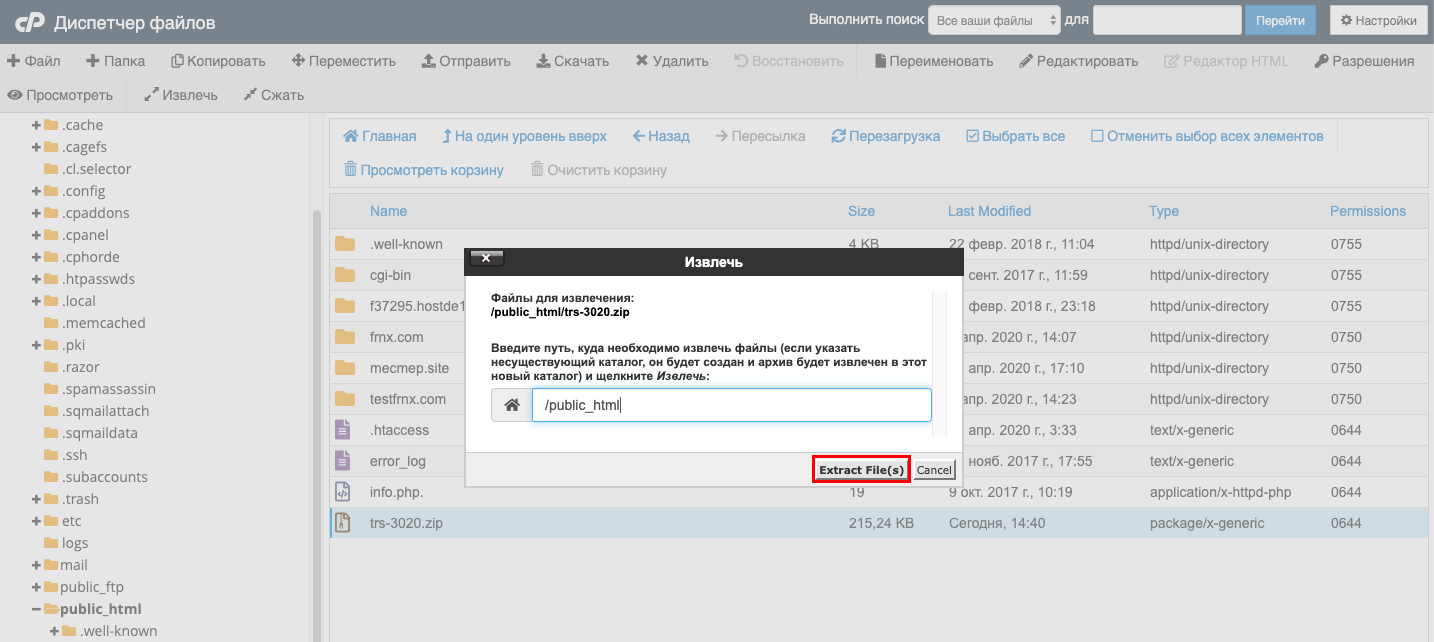
After downloading, highlight the file with the archive and click "Extract " in the top menu:

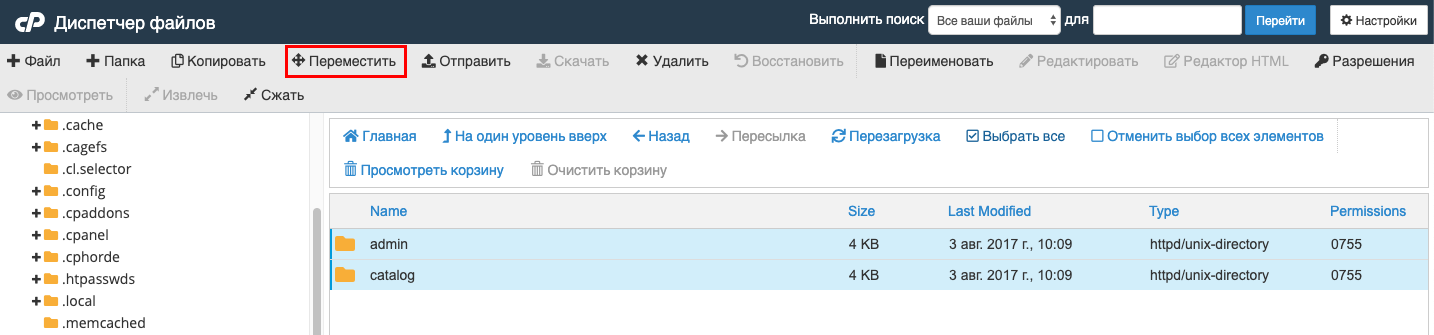
A folder with the same name as the archive will appear in the root folder. Go to it, and then go to the upload folder. There will be two folders in it: admin and catalog. Select them and click the "Move " button in the top menu:
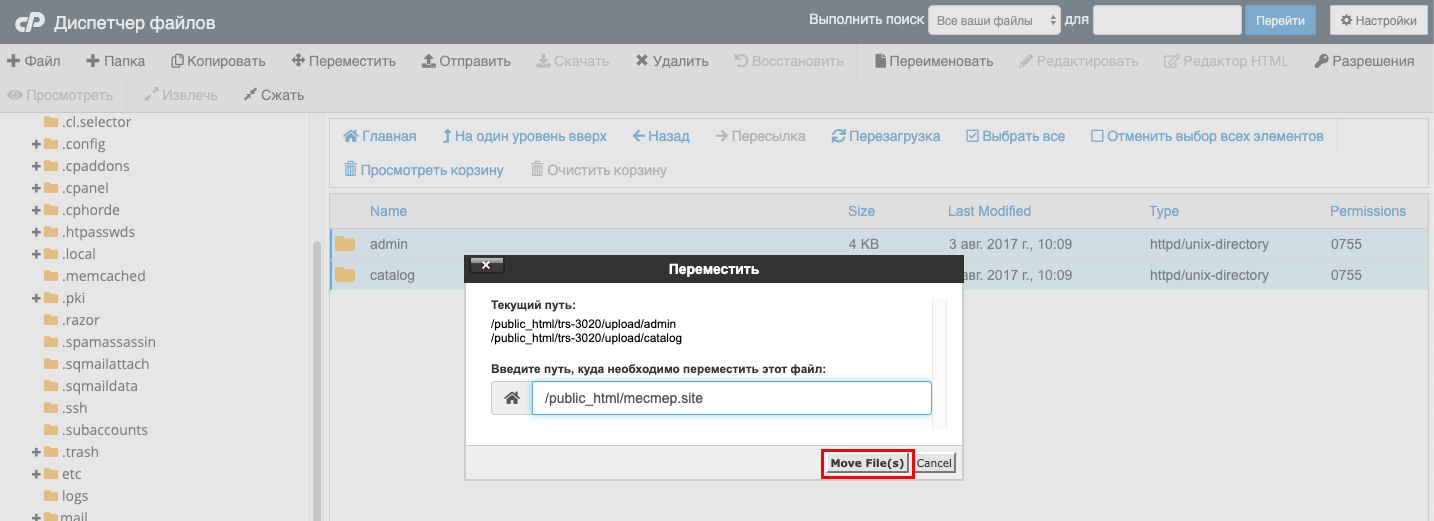
After that, a popup window will appear where you have to choose where to move the folders. Delete unnecessary folders so that the last folder is the root folder - public_html/your_domain. At the end click Move File(s):
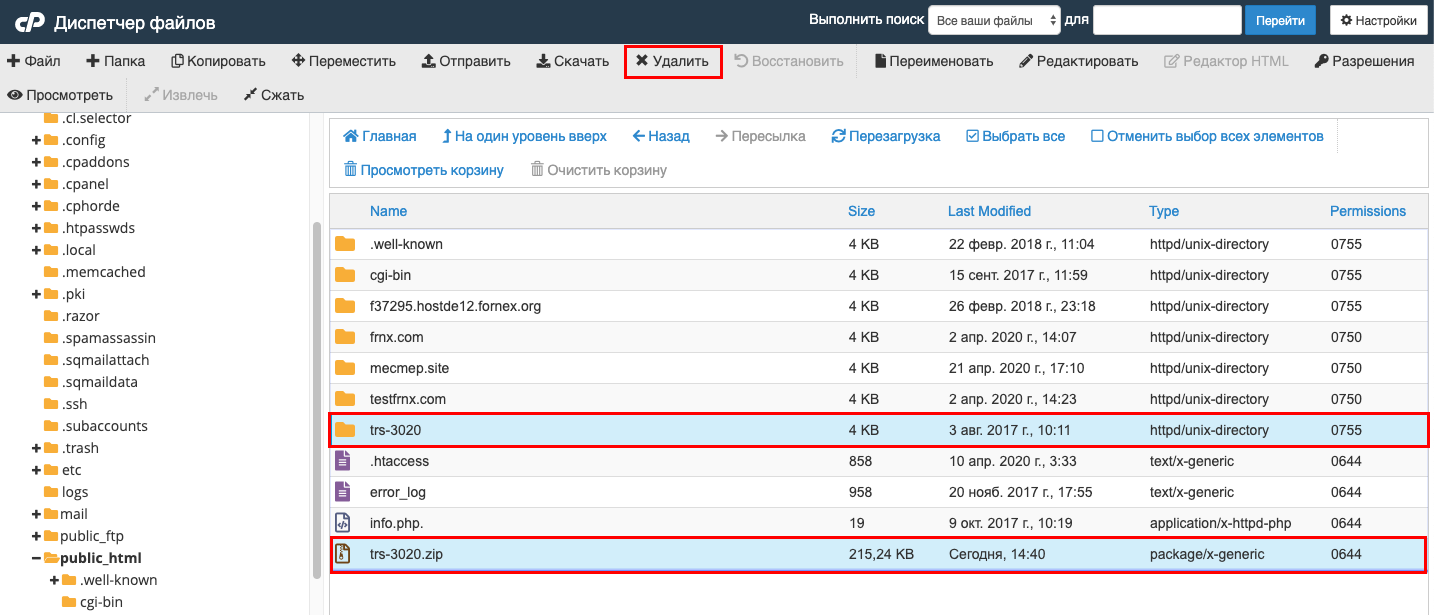
Go back to the domain root folder again, highlight the archive and the language pack folder and click "Delete " in the top menu:
Next, let's add Russian in the OpenCart control panel
Log in to the control panel OpenCart. To do this, enter in the browser your_domain/admin
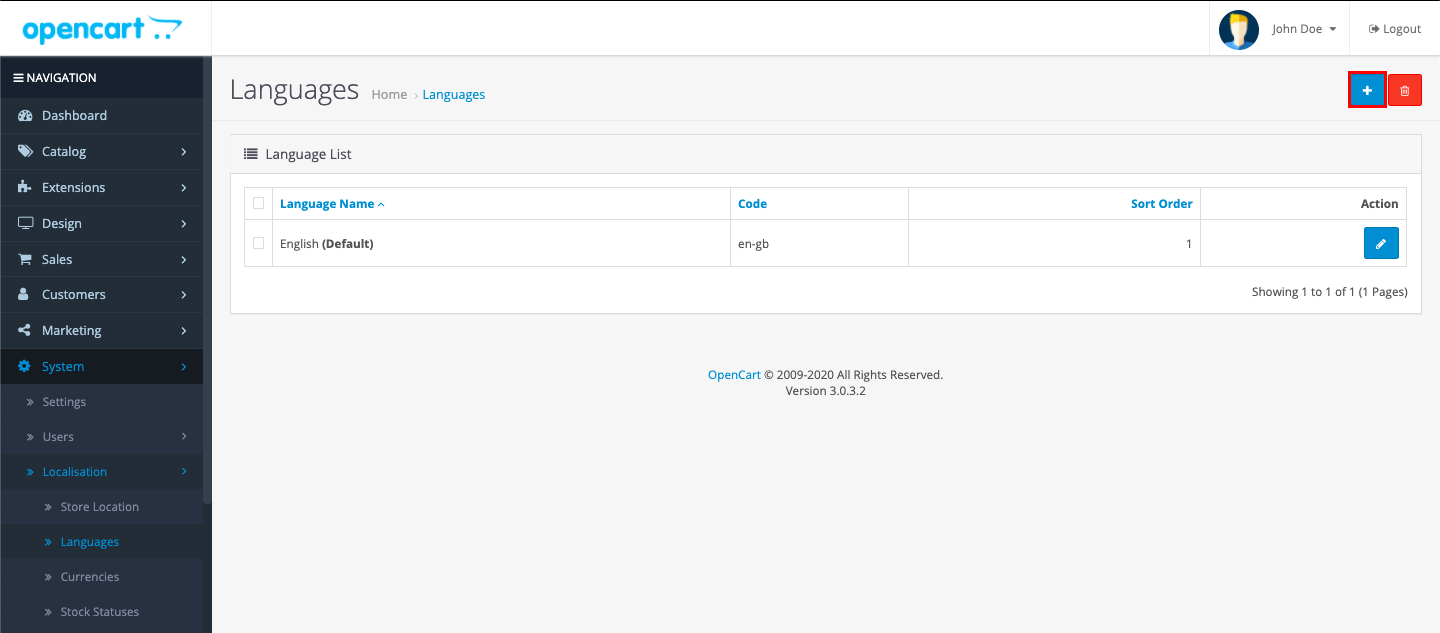
In the menu on the left side go to System → Locations → Languages and click on the blue button with a plus sign in the top right corner:
Fill in the fields on the new page with this data:
- Language Name: Russian
- Code: ru-ru
- Locale: ru_ru.UTF-8,ru_ru,ru-ru,russian
- Status: Enabled
- Sort Order: 1
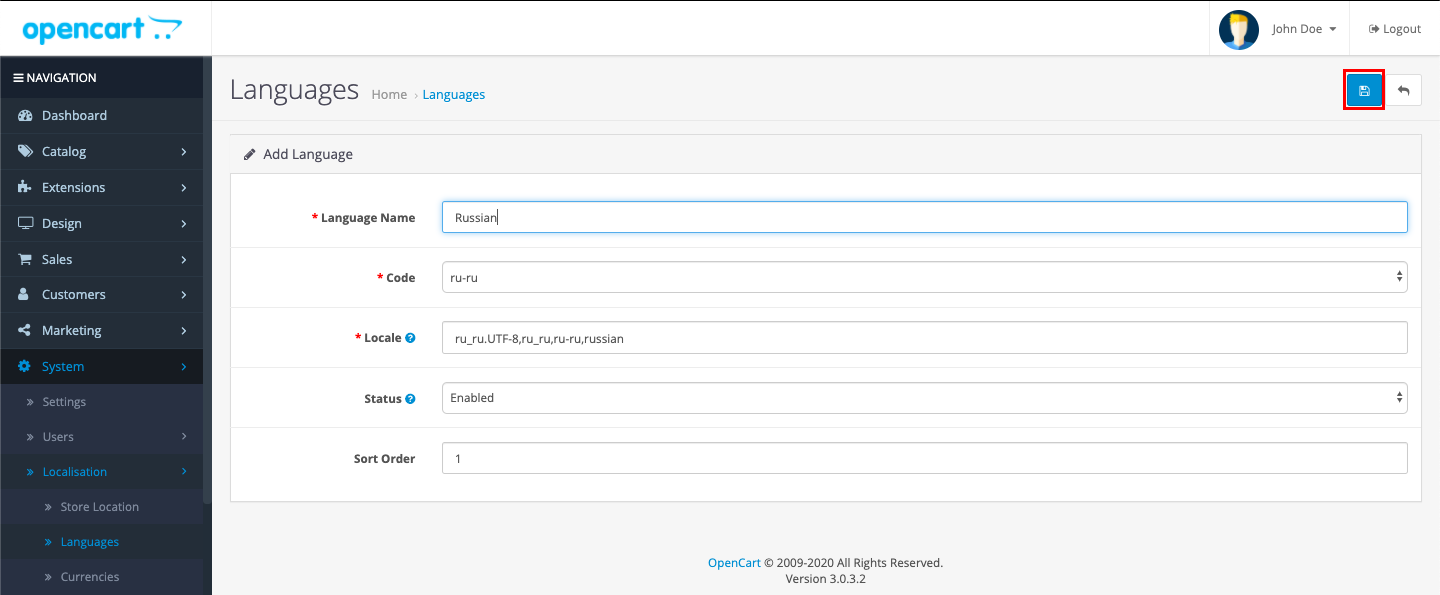
Click the button with the floppy disk icon to save your changes.
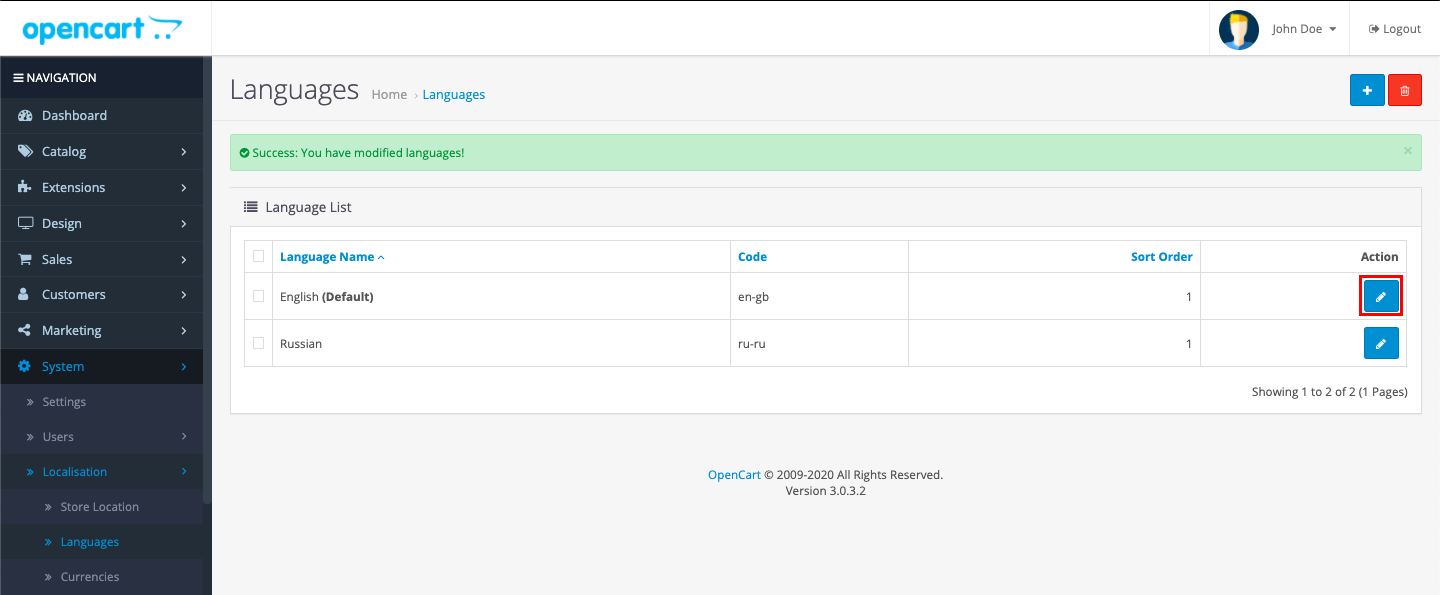
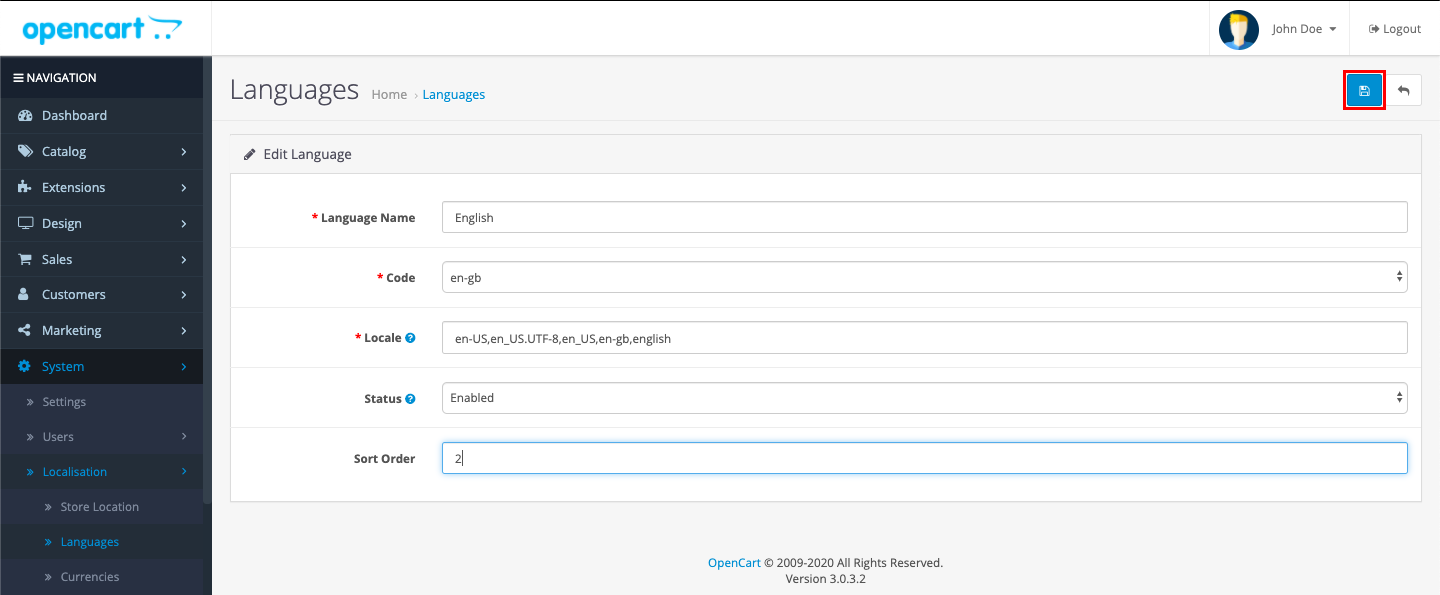
Then a second language will appear in the list. In the line with the English language, click the pencil icon button and change the value in the Sort Order field to 2.
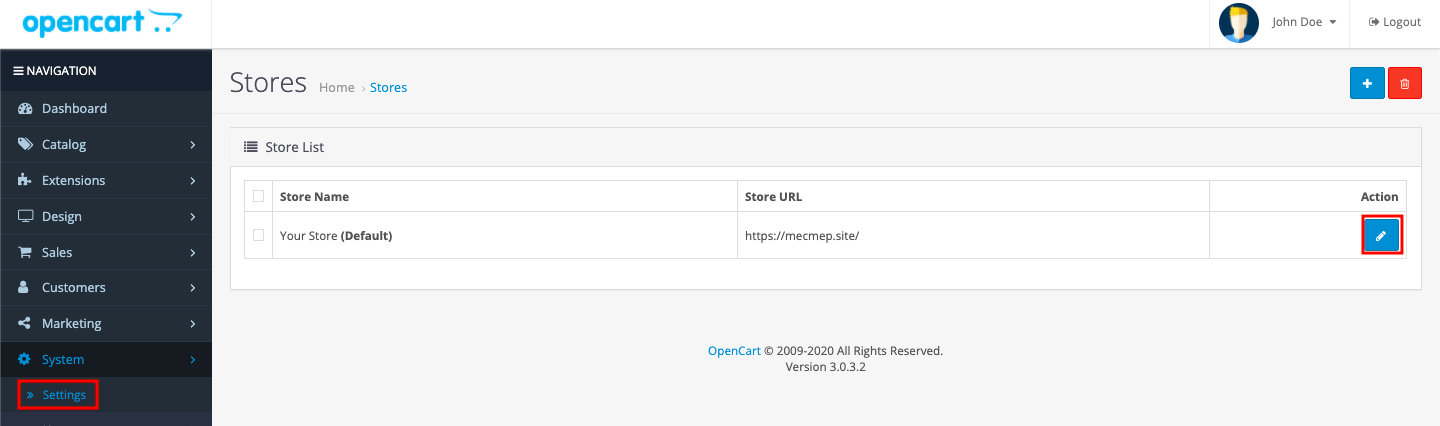
To activate Russian, go to System → Settings and click the button with the pencil icon in the store bar
Next, go to the Local tab, under Language and Administration Language select Russian, then save your changes.
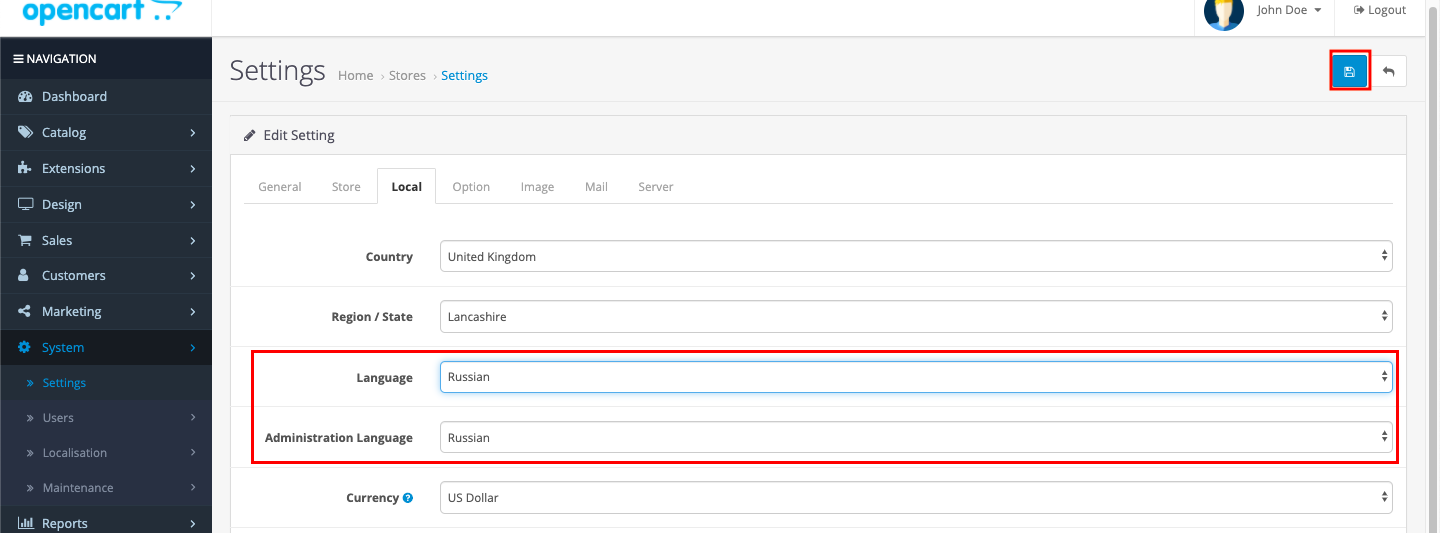
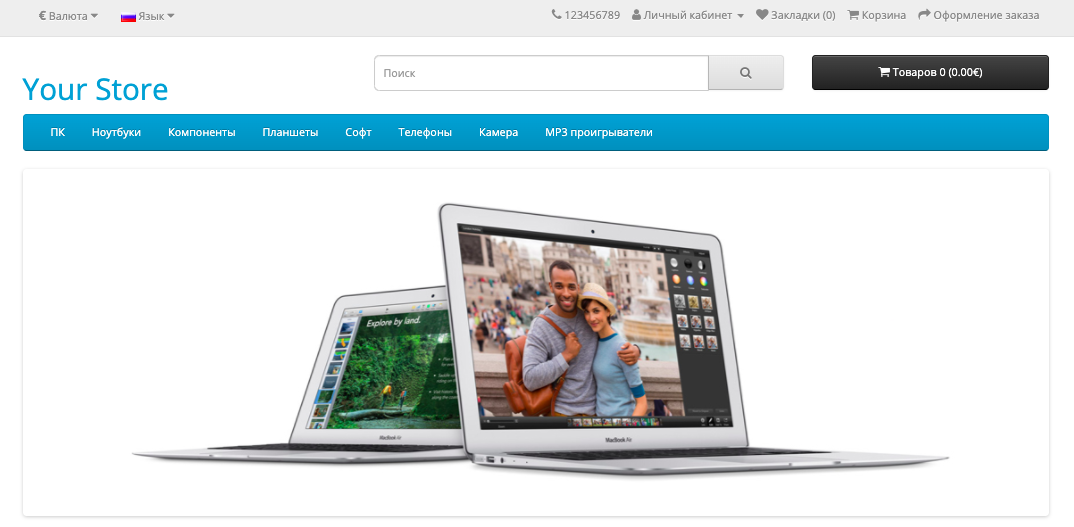
Russian language installation for the site and control panel is now complete.
If you have any configuration difficulties or have additional questions, you can always contact our support team via ticket system.