Log in to the "cPanel" control panel
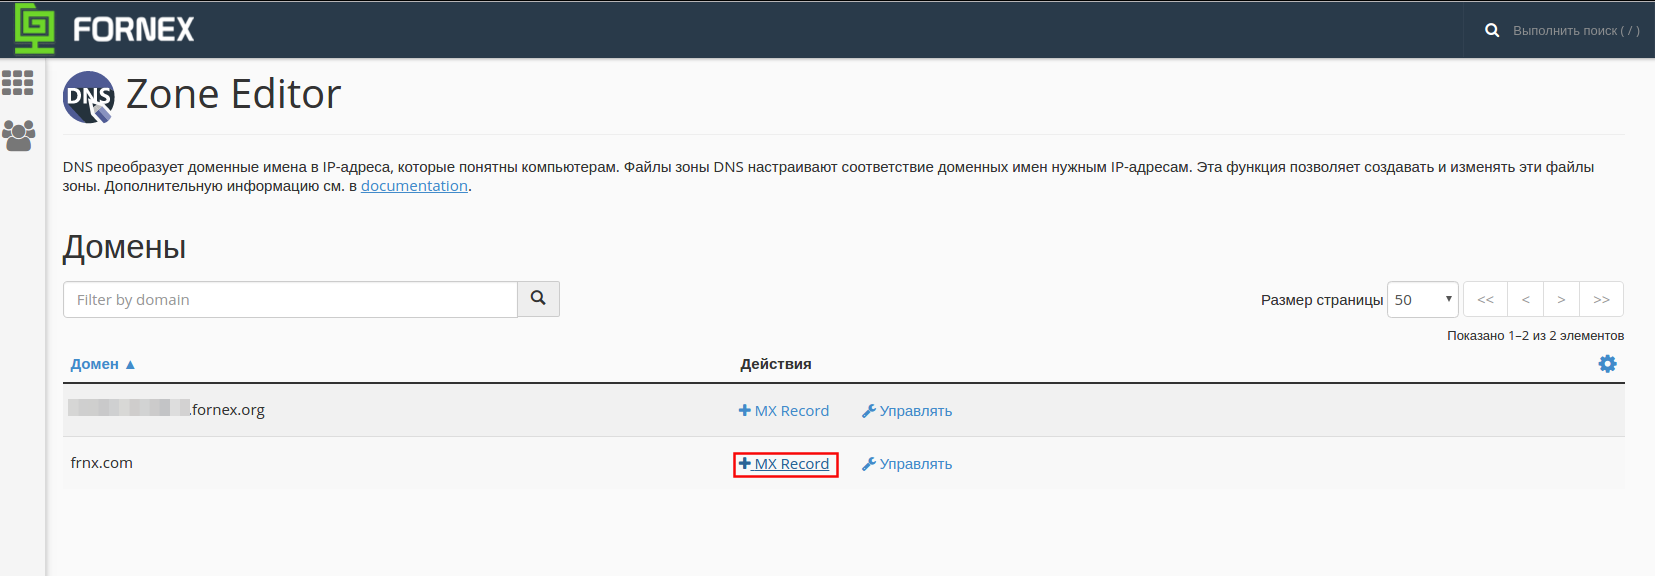
Go to "Domains → Zone Editor"

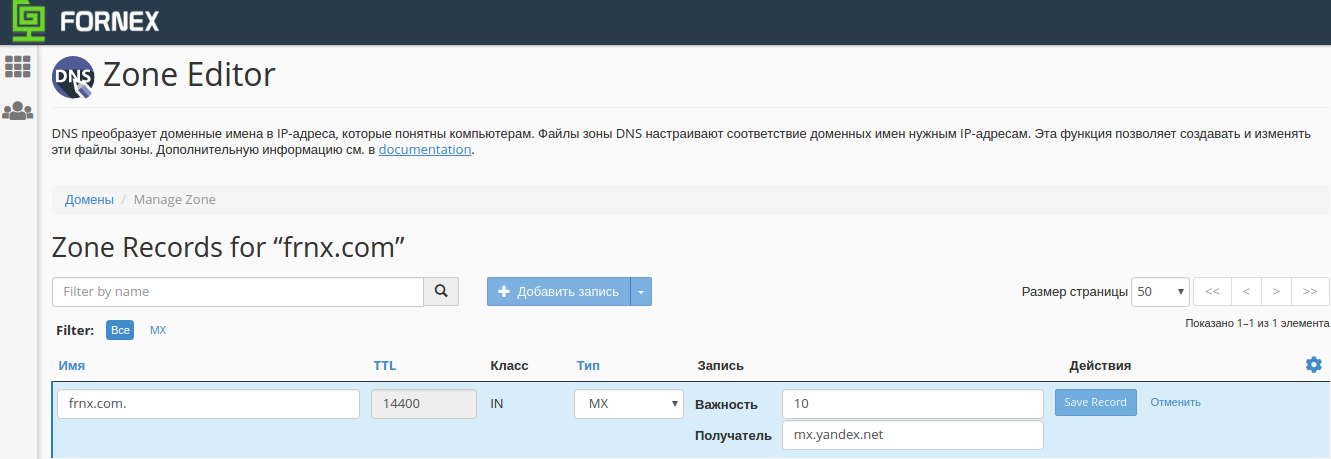
In the list of domains, select the domain you want and click "MX Record"
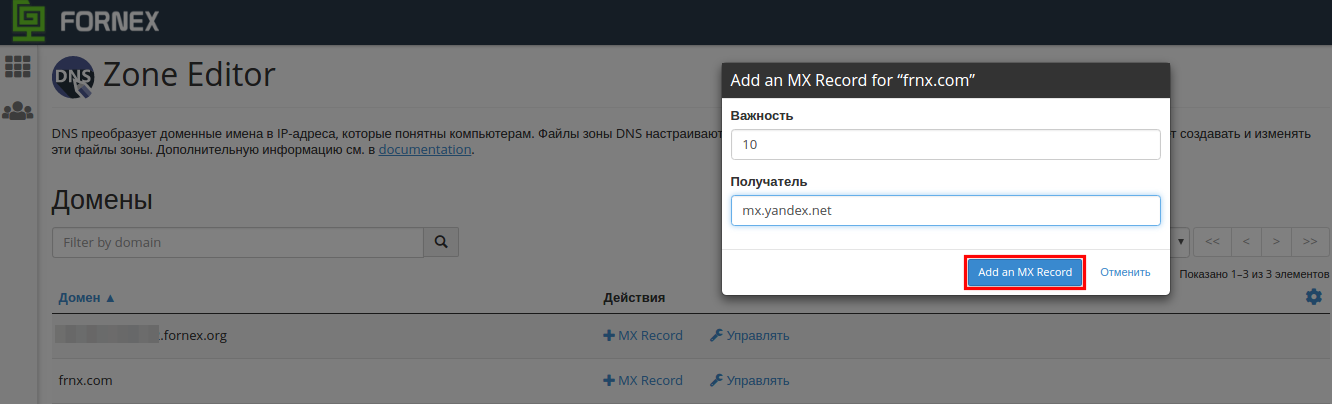
- "Priority" specify 10
- "Recipient" enter new mail server mx.yandex.net
Save the record - "Add an MX Record".
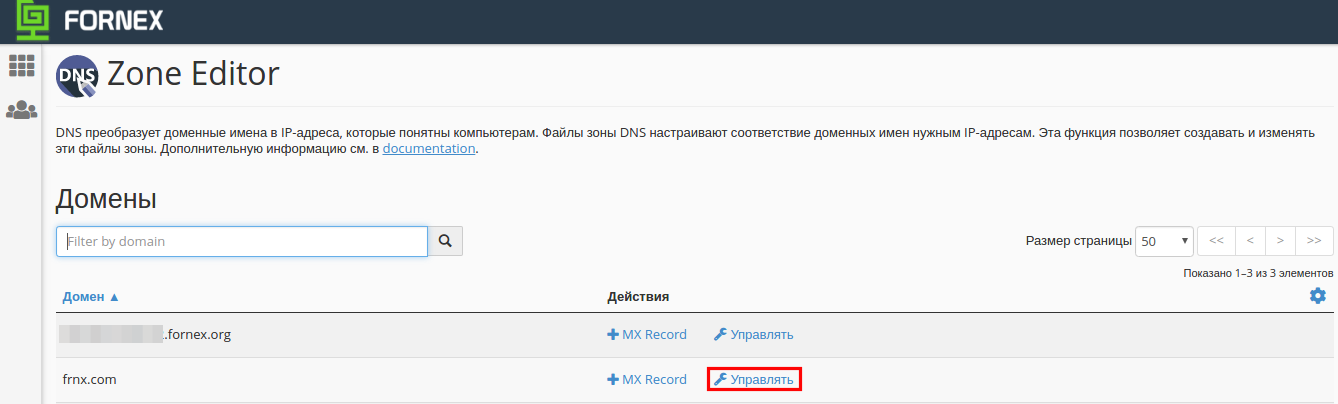
To edit the record, select the desired domain in the list of domains, press "Manage" button on its right side.
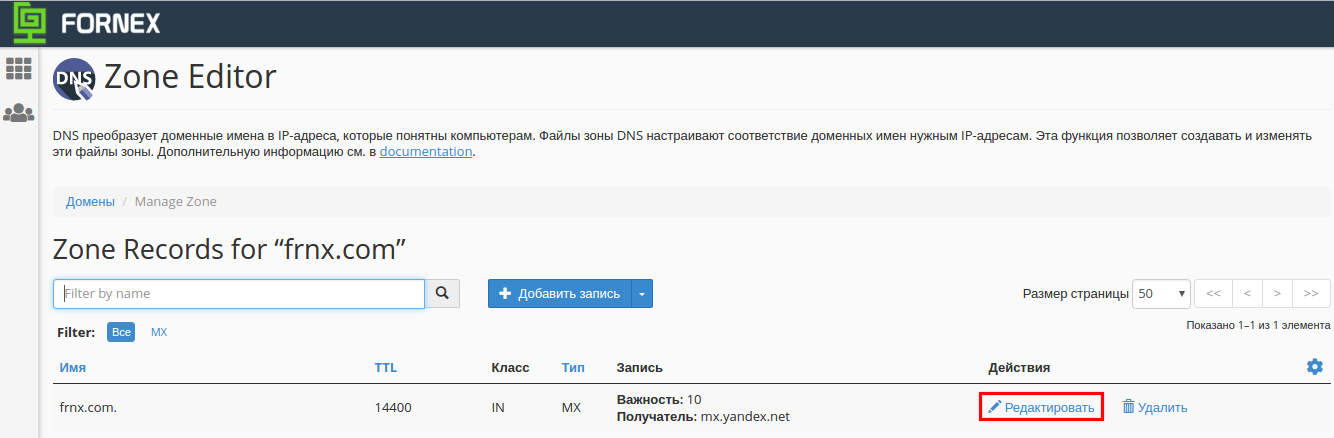
In the list of entries, click to the right of it "Edit"
The following MX record must be specified for YANDEX mail:
| Recipient | Importance |
|---|---|
| mx.yandex.net | 10 |
For Gmail you need to specify the appropriate MX records:
| Recipient | Importance |
|---|---|
| ASPMX.L.GOOGLE.COM | 1 |
| ALT1.ASPMX.L.GOOGLE.COM | 5 |
| ALT2.ASPMX.L.GOOGLE.COM | 5 |
| ASPMX2.GOOGLEMAIL.COM | 10 |
| ASPMX3.GOOGLEMAIL.COM | 10 |
| ASPMX4.GOOGLEMAIL.COM | 10 |
| ASPMX5.GOOGLEMAIL.COM | 10 |
For Mail .ru mail it is necessary to specify:
| Recipient | Importance |
|---|---|
| emx.mail.ru | 10 |
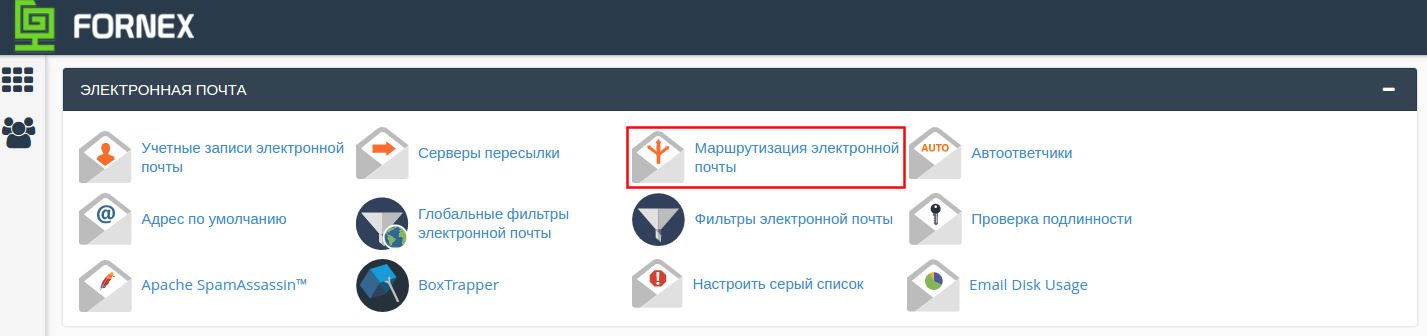
Then, let's go to "Email → Email Routing".
Select a domain from the list.
The "Configure Email Routing" menu appears
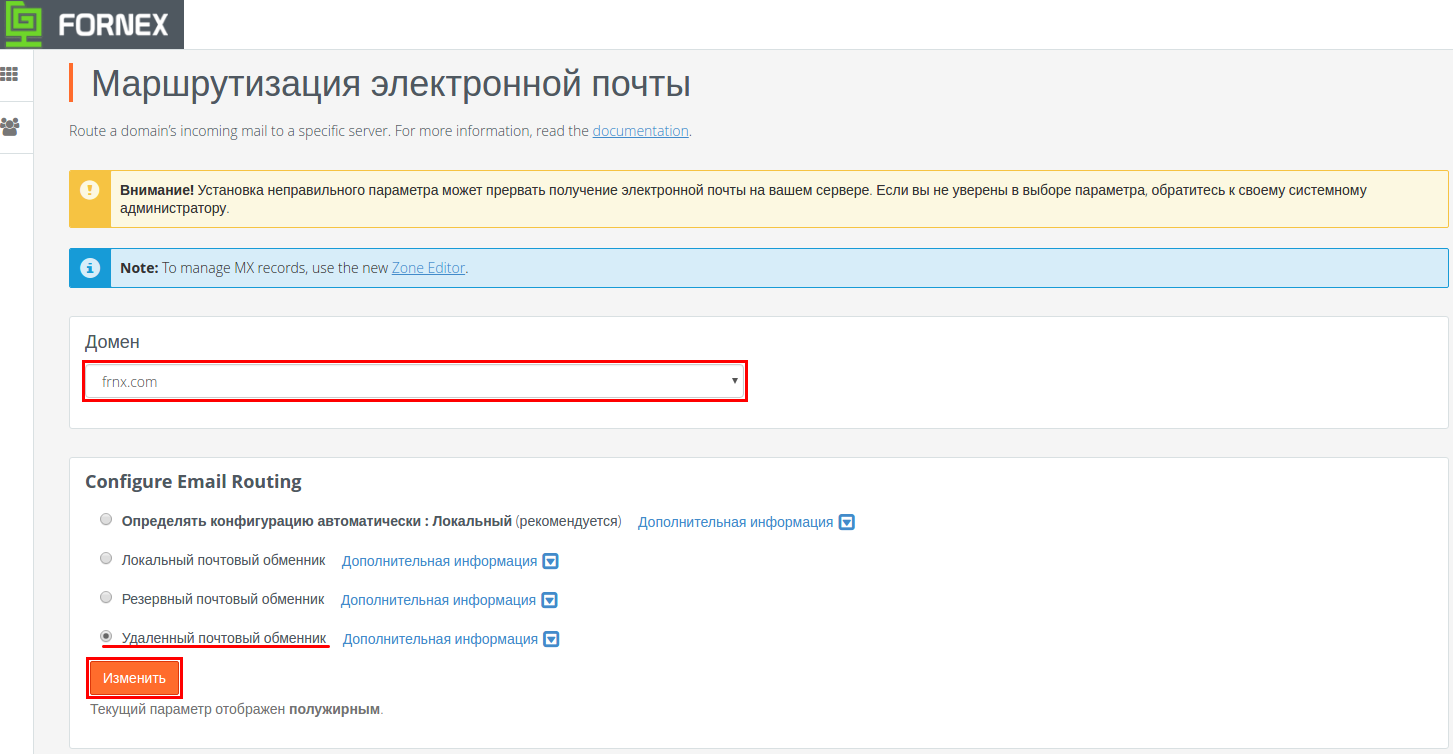
Select "Remote Mail Exchanger" and click "Change"
In the DNS control panel, look for MX records (at the bottom) and add the following record:
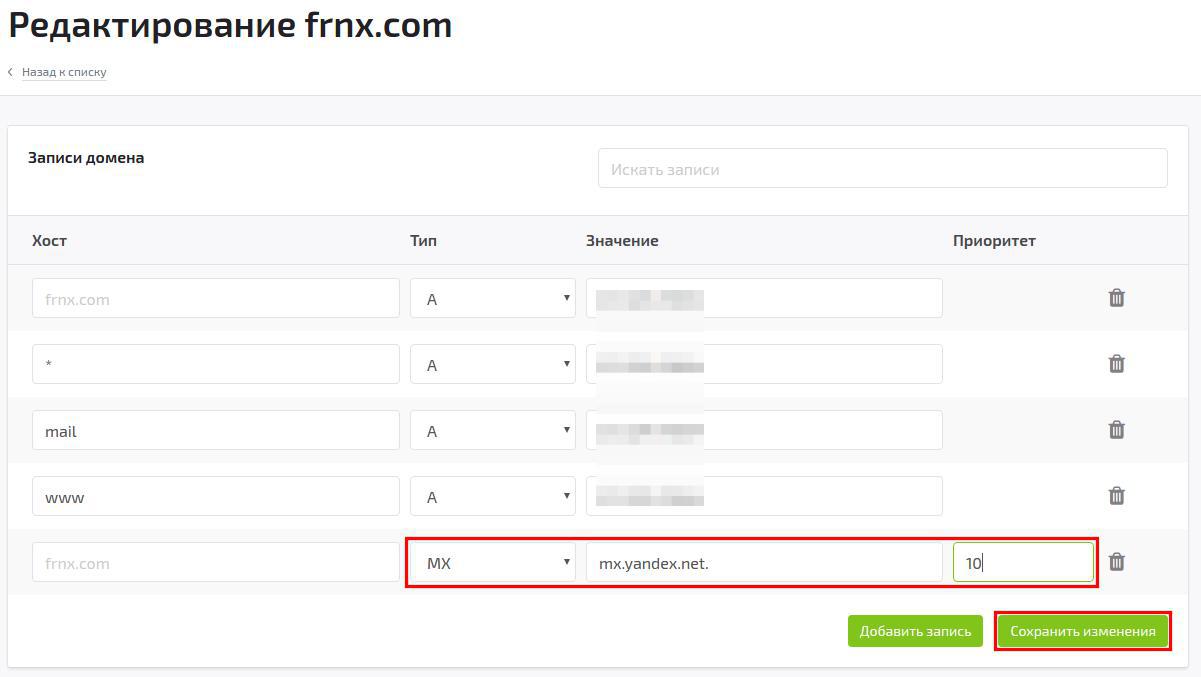
- mx.yandex.net.
Also note that the dot at the end of the server name is required!
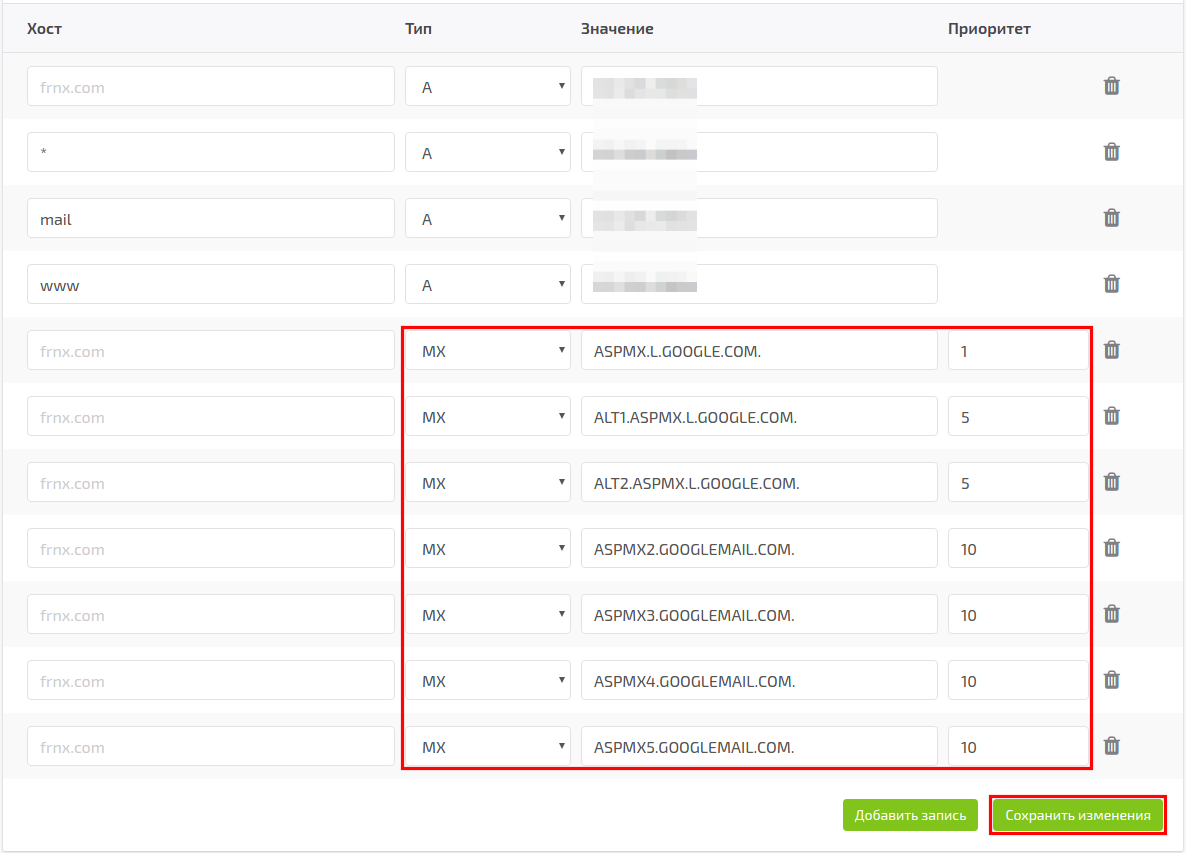
For Gmail, you need to specify the corresponding MX records in the same menu.
| Value | Priority |
|---|---|
| ASPMX.L.GOOGLE.COM | 1 |
| ALT1.ASPMX.L.GOOGLE.COM. | 5 |
| ALT2.ASPMX.L.GOOGLE.COM. | 5 |
| ASPMX2.GOOGLEMAIL.COM. | 10 |
| ASPMX3.GOOGLEMAIL.COM. | 10 |
| ASPMX4.GOOGLEMAIL.COM. | 10 |
| ASPMX5.GOOGLEMAIL.COM. | 10 |
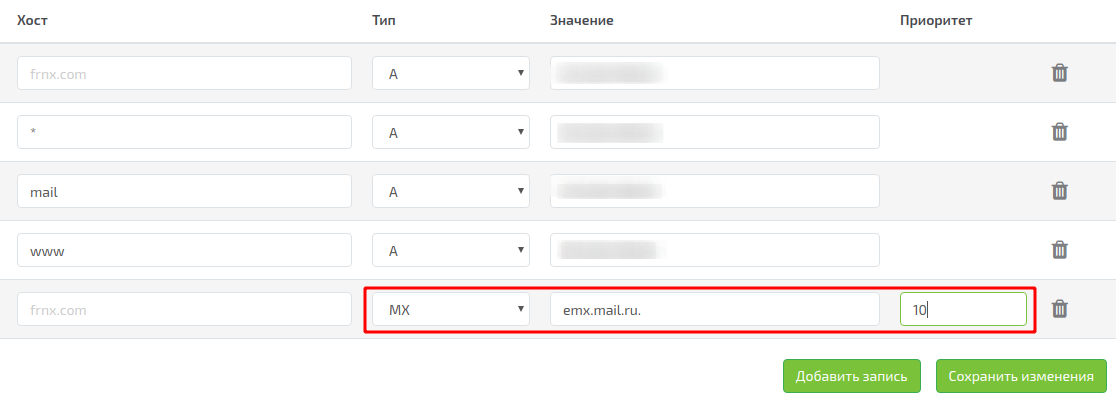
For Mail .ru mail you need to specify:
| Value | Priority |
|---|---|
| emx.mail.ru. | 1 0 |
After all the changes, wait for the DNS cache to refresh (usually 2-4 hours).
Also, add your mailbox directly to the service you did the setup for and where it will work.
If you have any difficulties in the configuration or have any additional questions, you can always contact our support service via ticket system.