CloudFlare provides services to secure and improve site performance
The main features of which are:
-
Blocking threats, malicious bots or robots that can significantly consume traffic and burden the virtual server;
-
Caching static data and placing it as close to visitors as possible;
As a result, the site, connected to this service, gets improved performance, as well as minimized risk of spam and network attacks. You can find a full list of services and pricing plans on the official website of the service in Features & pricing. Help information and contact CloudFlare representatives are located in the Help section.
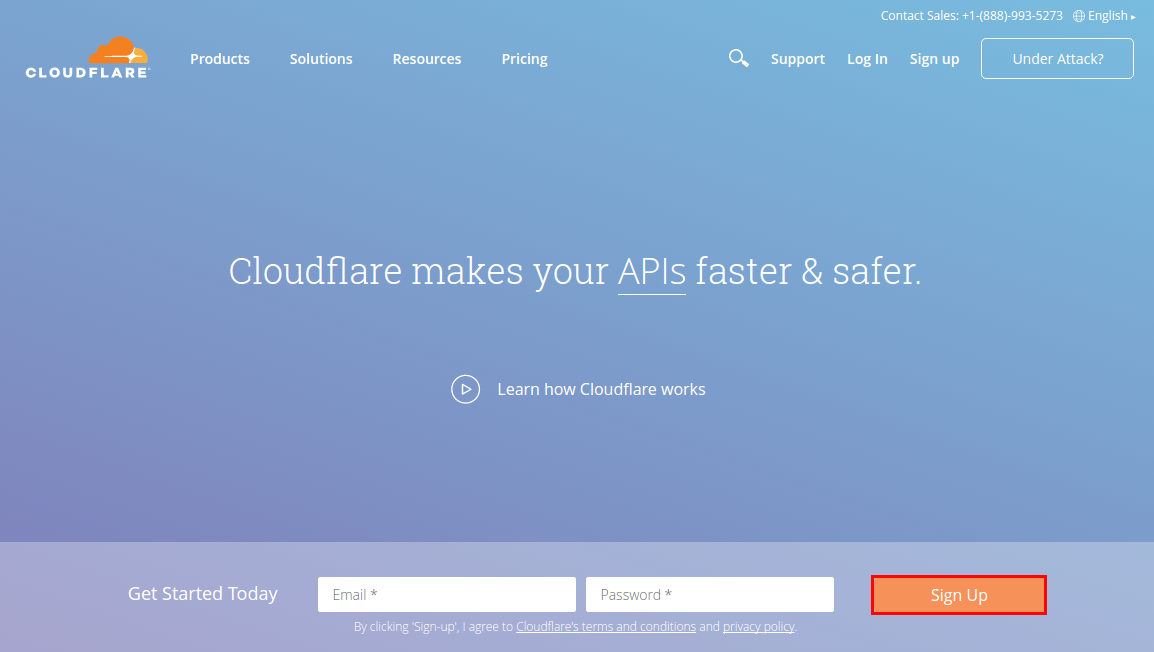
Account Creation
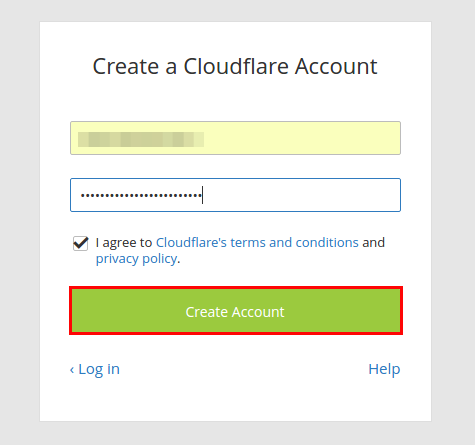
On the site of CloudFlare click on "Sign up ". In the form that appears, enter your e-mail address, username and password in the appropriate fields.
After reading the terms of use, agree to the terms by checking the box next to "I agree to CloudFlare's Terms of use " and click "Create account now "
Domain addition
Enter the domain name and click on "Scan DNS records "
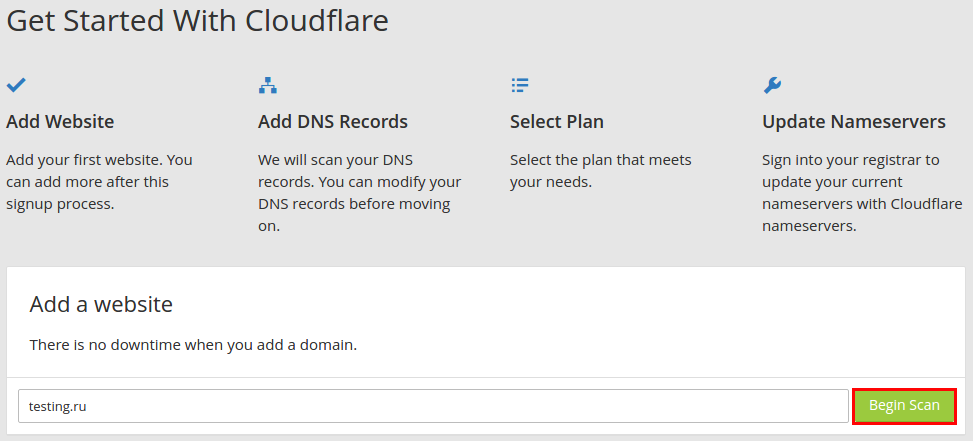
This will run a DNS records scan of the domain, which takes about a minute. Once it is complete, a "Continue " button will appear.
*Configure DNS records
All existing domain resource (DNS) records will be defined automatically by the program from the existing DNS zone.
Also a CNAME record with the name direct will be created automatically.
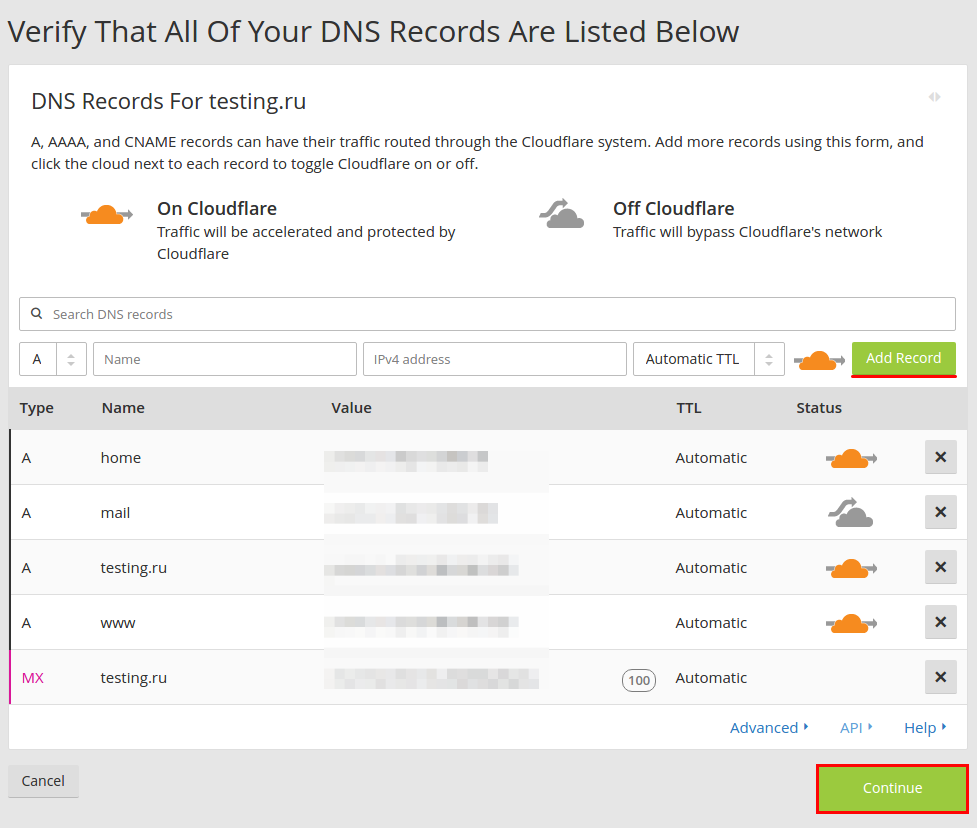
Check for all required DNS entries. Add the missing ones, specify type of DNS record, domain or subdomain name and its value and TTL (expiration date) and click "Add record ". If you are adding a DNS record for a subdomain, it is enough to specify part of the subdomain name without the main domain name.
Please note that when adding a DNS record for all subdomains (as the name indicates a *), the connection for the subdomains will not be protected by CloudFlare service. To provide such protection you will need to add a DNS record (type "A") for each subdomain separately. Connection to the site will be done via CloudFlare

You can edit DNS entries by simply clicking on the appropriate value and typing what you need
The new value will then be automatically saved. To delete an entry, just click the cross icon to the right of it.
After making all necessary changes, press the I've added all missing records, "Continue" button
*Selecting the necessary parameters
At this step we select the tariff plan.
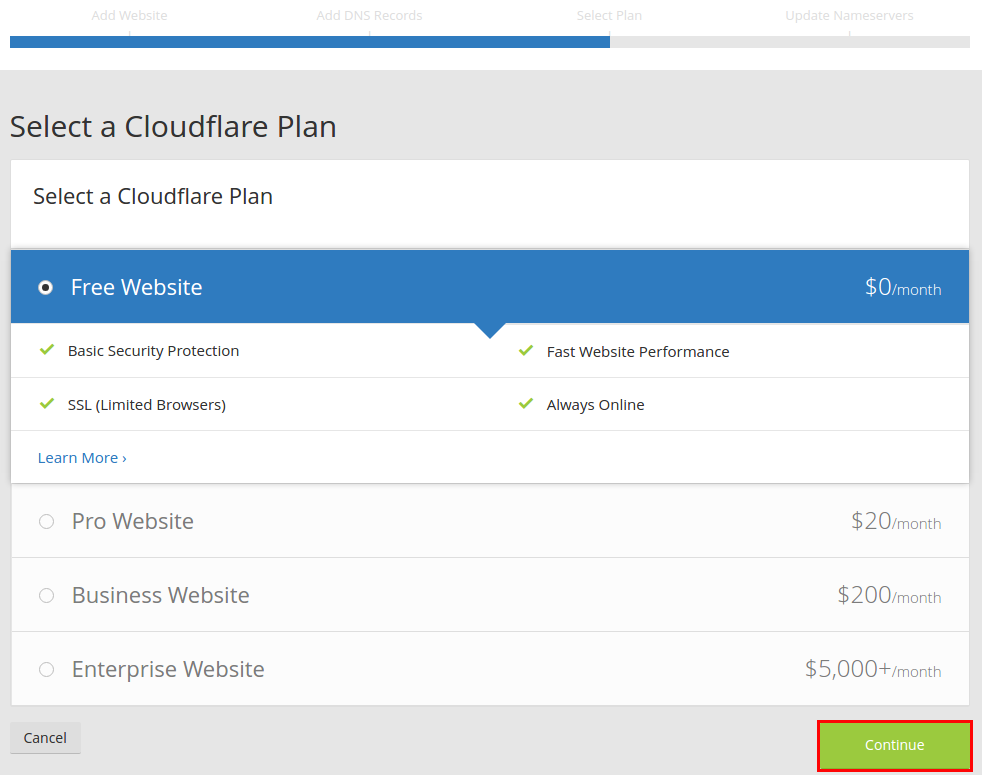
Note that the Free package does not support native SSL certificates. A warning about this will be displayed:
If you want to use your own certificate from one of the certificate authorities, you will need to choose one of CloudFlare's paid packages. The price of the SSL certificate will also depend on the security parameters you need.
Updating Your Nameservers
To make all the settings created in the previous steps, you will need to install CloudFlare nameservers for the added domain
Nameservers installation is performed in the control panel in the Domain Registrar Panel.
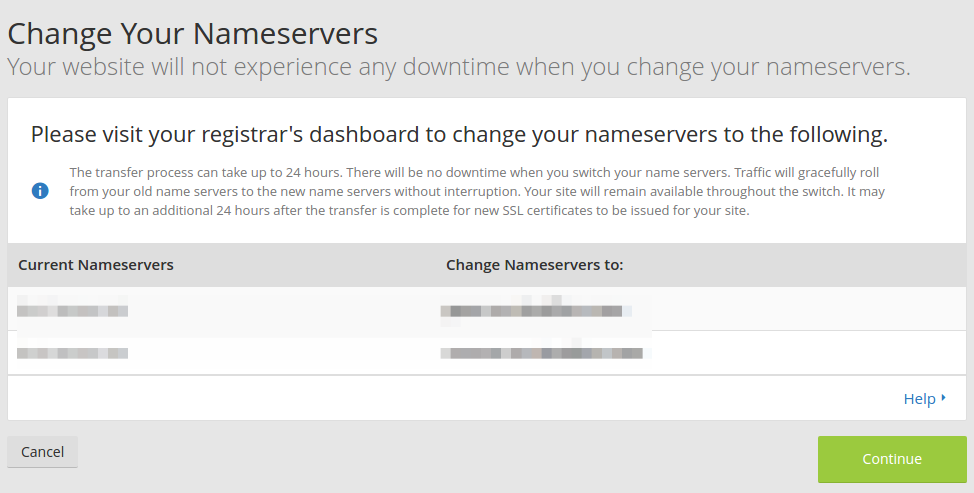
After changing the nameservers for the domain, click "Continue ". Note that it may take up to 24 hours to update DNS records. As a result, the domain will not be routed to CloudFlare immediately.
When the DNS records are updated, the status of the domain will be changed to "Active ".
