Getting Started with Virtual Server and BrainyCP
This guide will help you do the initial setup in the panel for your sites
BrainyCP is a popular free Linux hosting panel with a simple and user-friendly interface. BrainyCP on VPS hosting allows you to easily manage sites, SSL certificates, configure FTP storage and monitor the whole system.
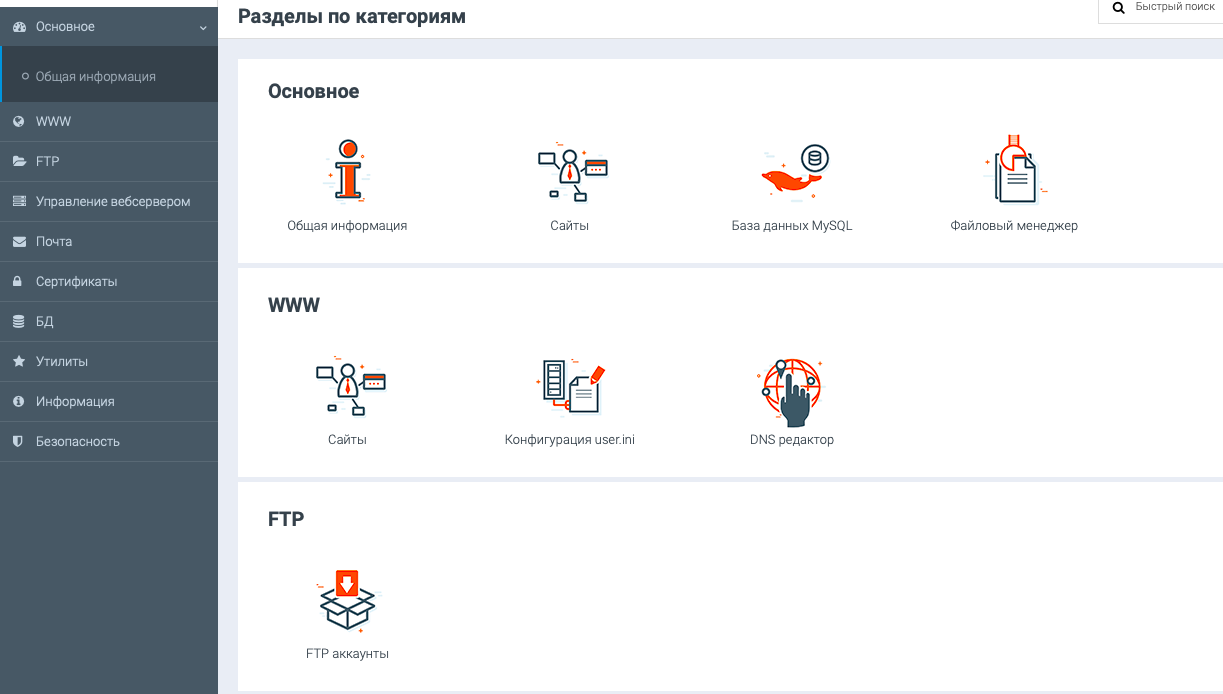
Once logged in, the user has access to the main page of the administration panel. You can use the web interface of the control panel to make the necessary settings for Brainy.
A host account admin with administrator rights is created by default for the control panel, and all operations on the server are performed on its behalf.
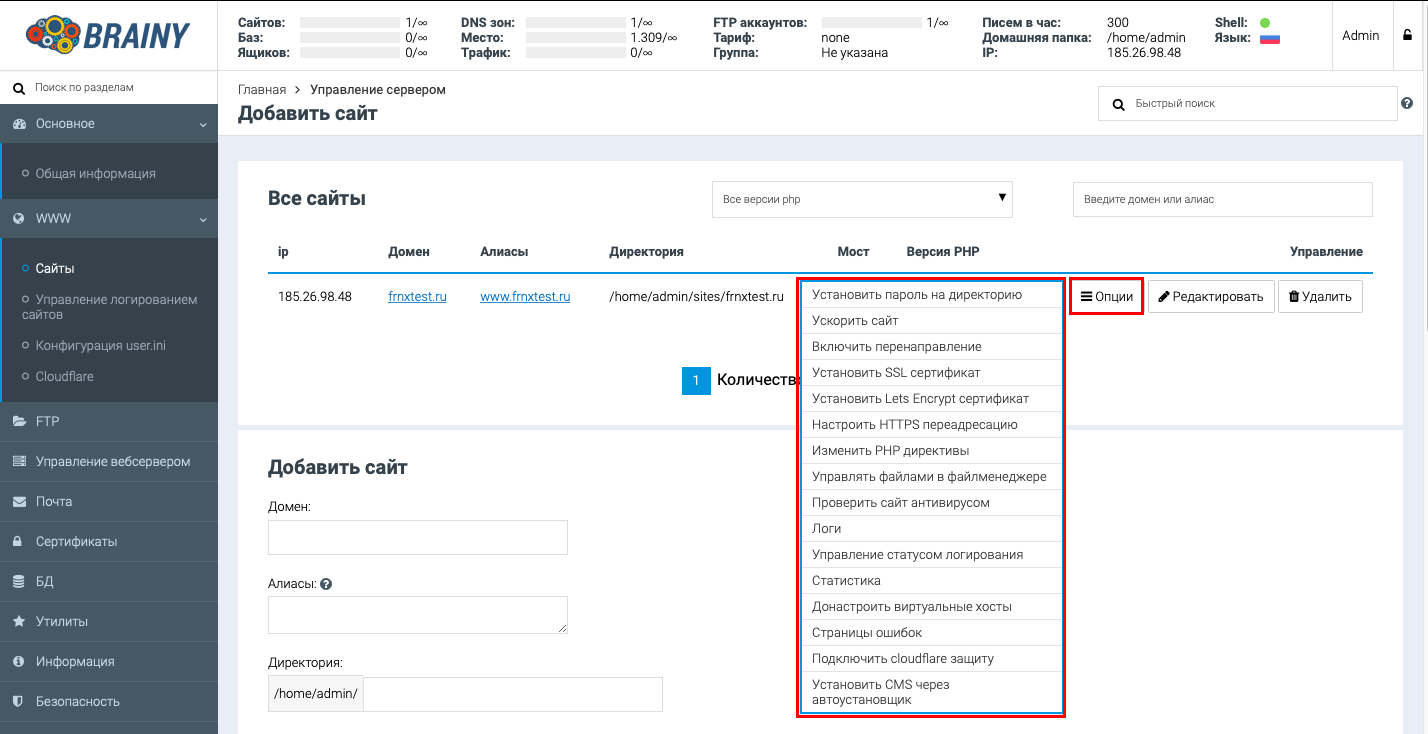
*Domain Addition.
In order to add a site you need to go to menu "WWW" → "Sites " and add domain
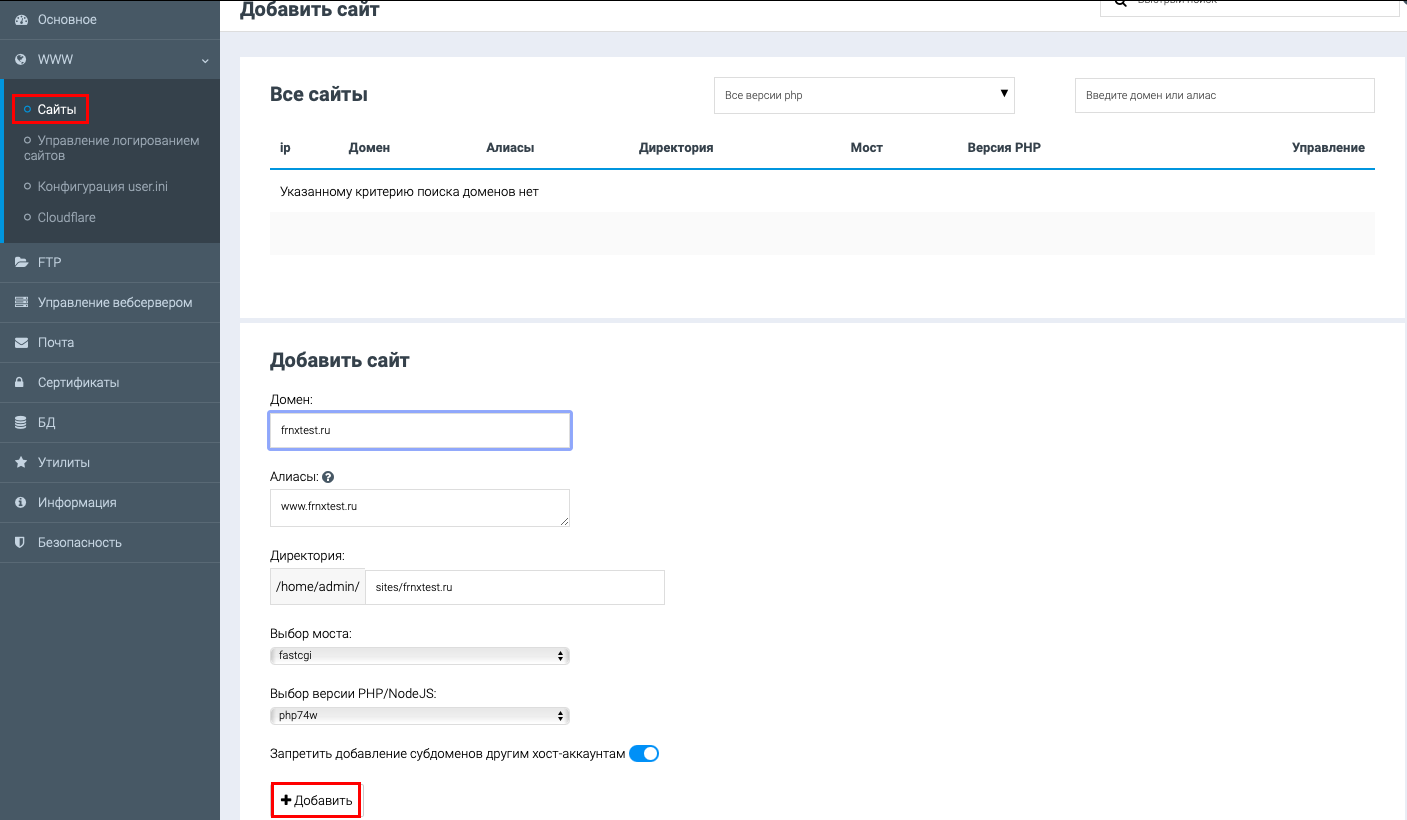
Fill in all the required fields:
- Domain
- Alias
- Select the desired PHP version
Click the Add button.
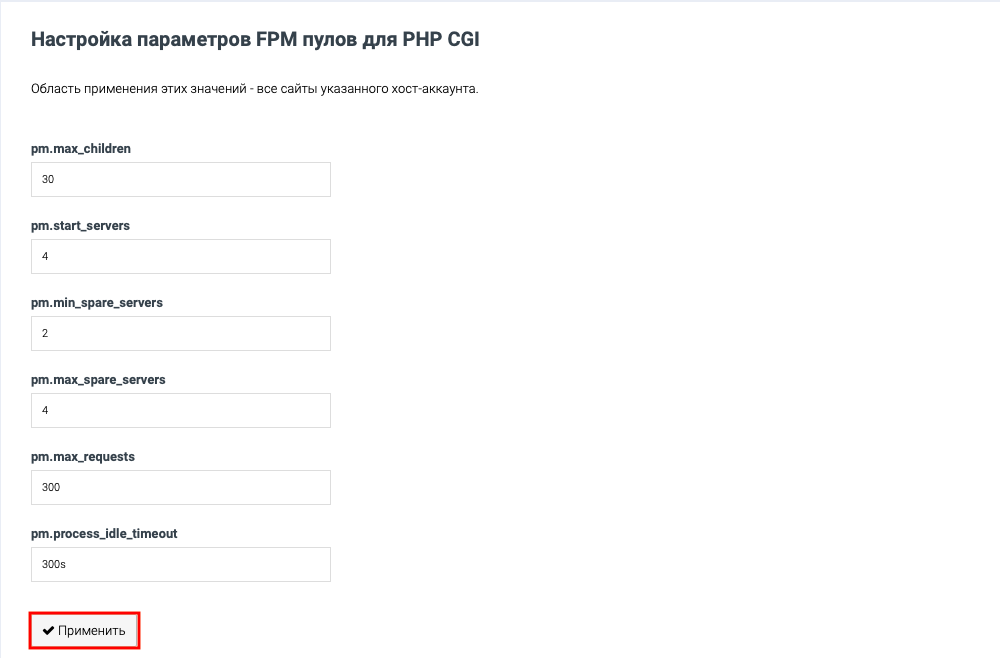
In this section you can also fine-tune FPM pools.
After adding a site, it appears in the list of available sites and you will be given the option to edit, and delete that site.
With the Options button you will have access to all available site modification options.
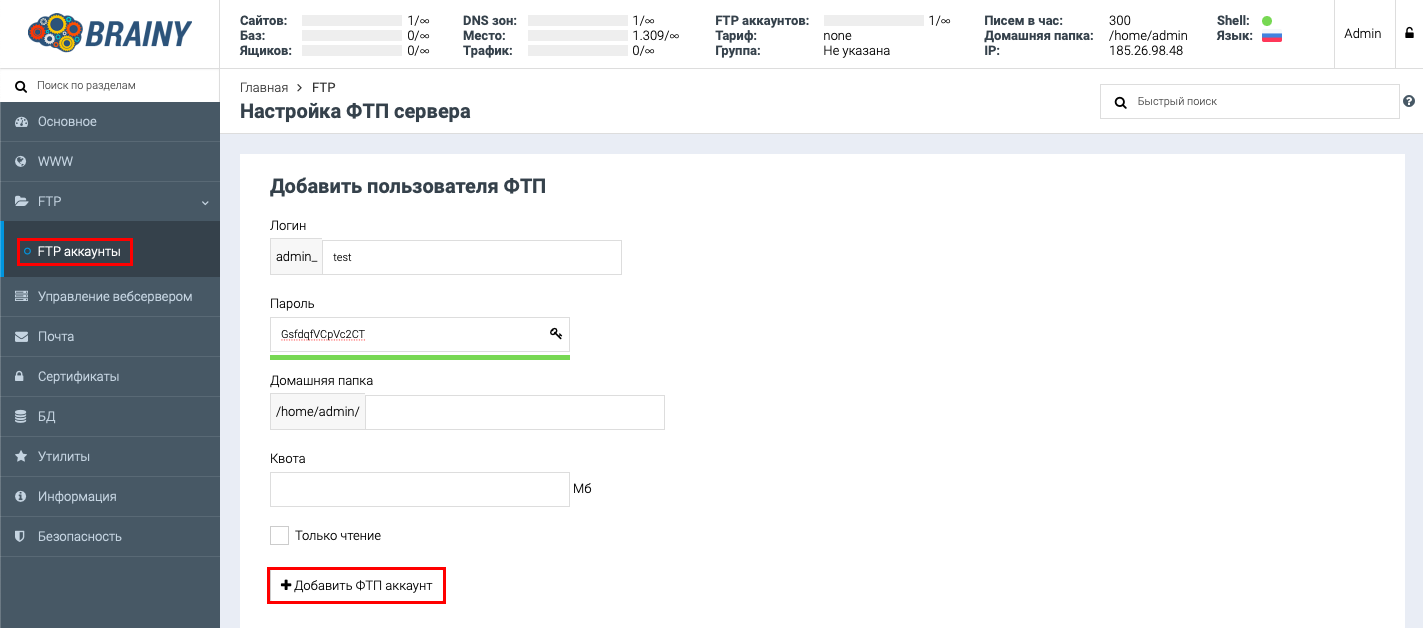
Creating an FTP user.
To create an additional FTP user, go to "FTP" → "FTP Accounts "
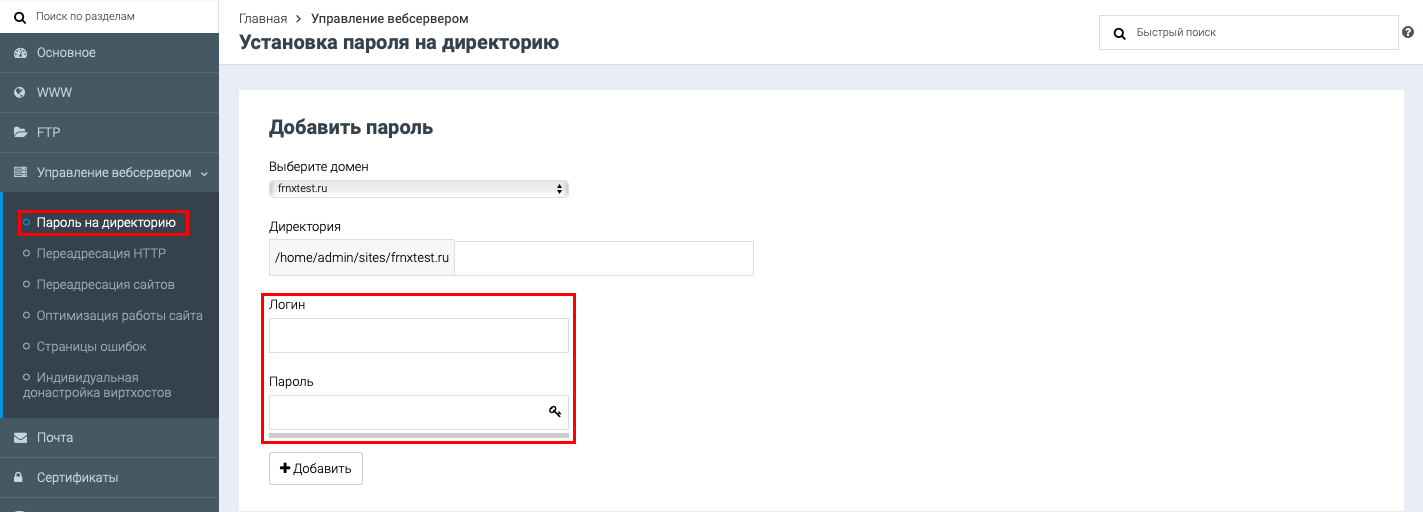
In "Web server management " you can perform such operations as setting redirection, setting password for some directory, optimizing your site, making specific settings for the web server, setting output of your own error pages and so on:
- Setting a password on a directory.
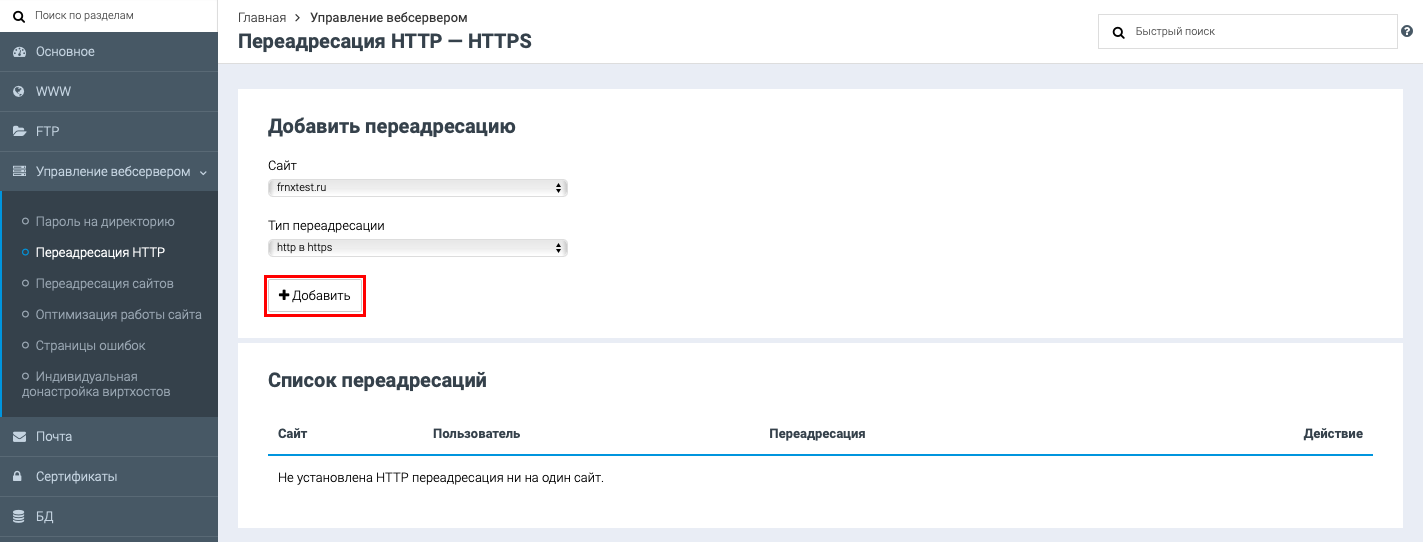
- HTTP to HTTPS redirect.
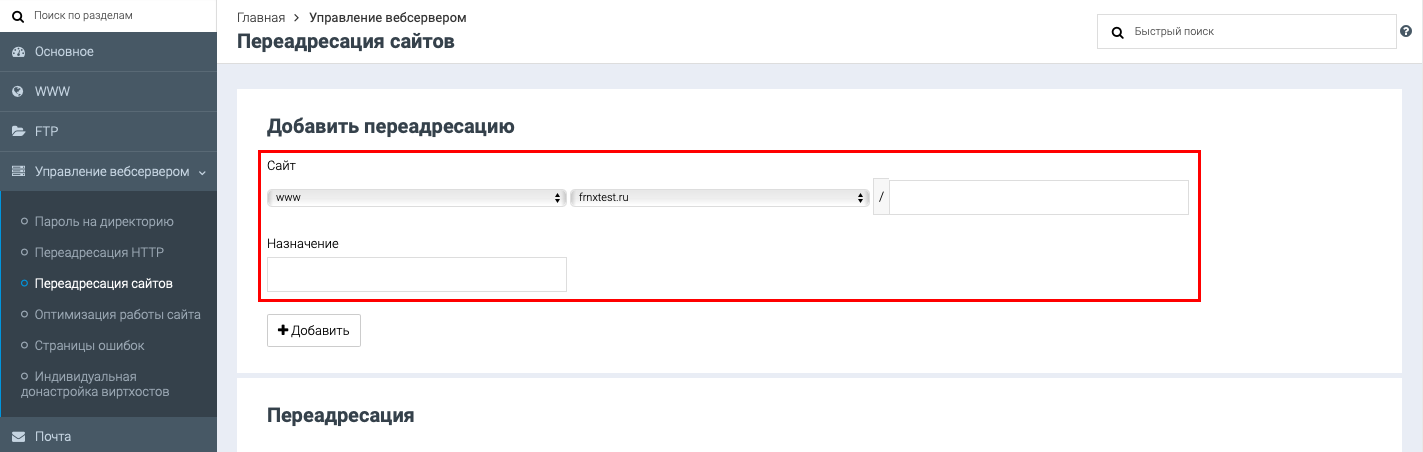
- Redirecting sites.
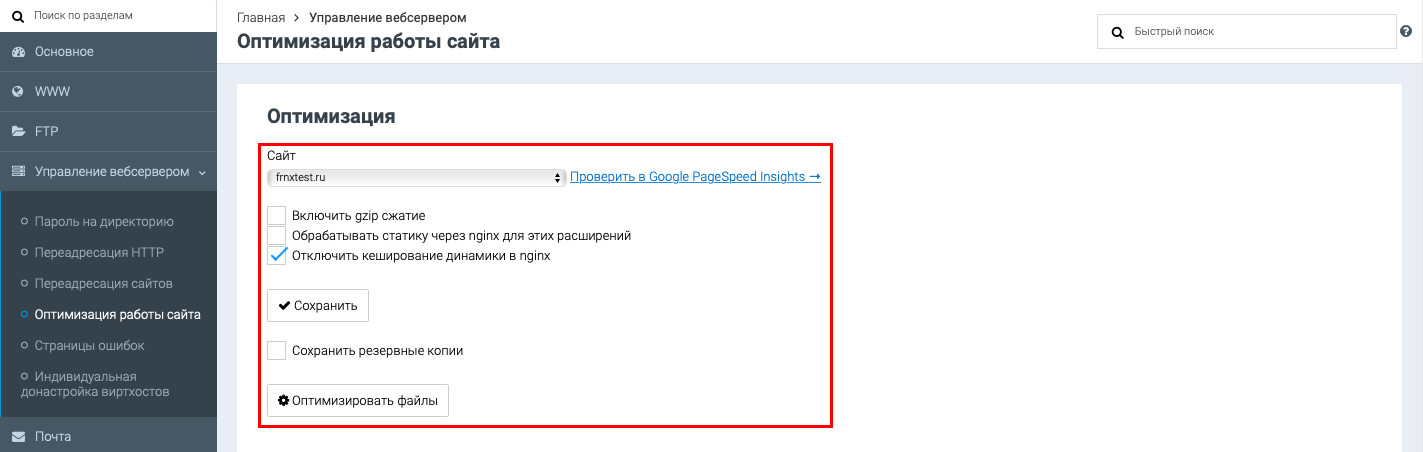
- Website optimization.
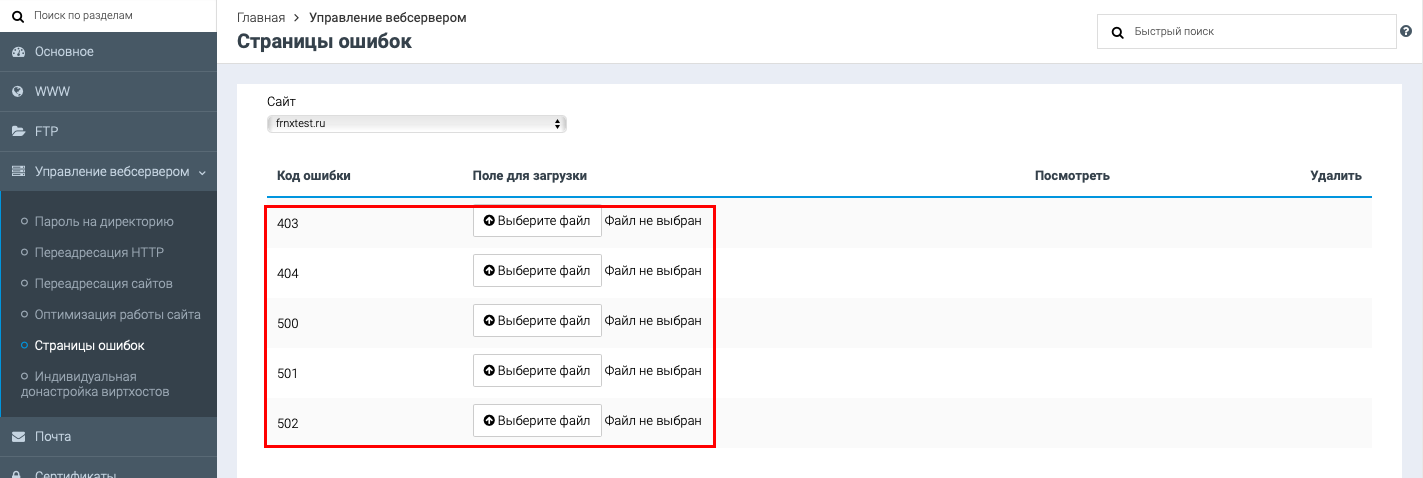
- Error pages.
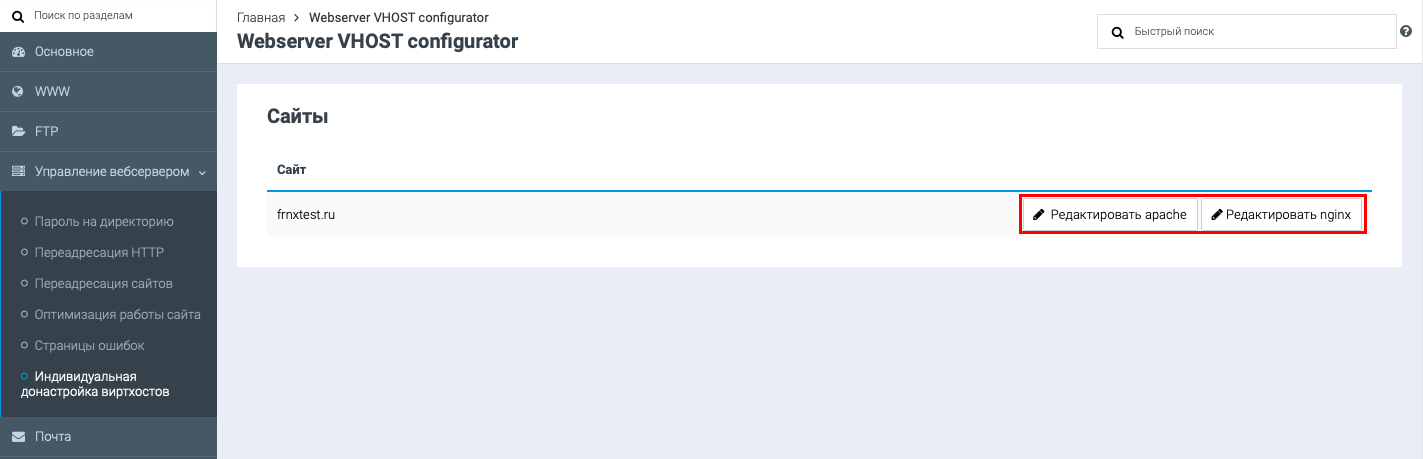
- Webserver VHOST configurator.
Mail creation.
To add a mail account, go to "Mail" → "Mailboxes " Here you can specify a quota for mailbox size in MB, as well as add DKIM and SPF entries
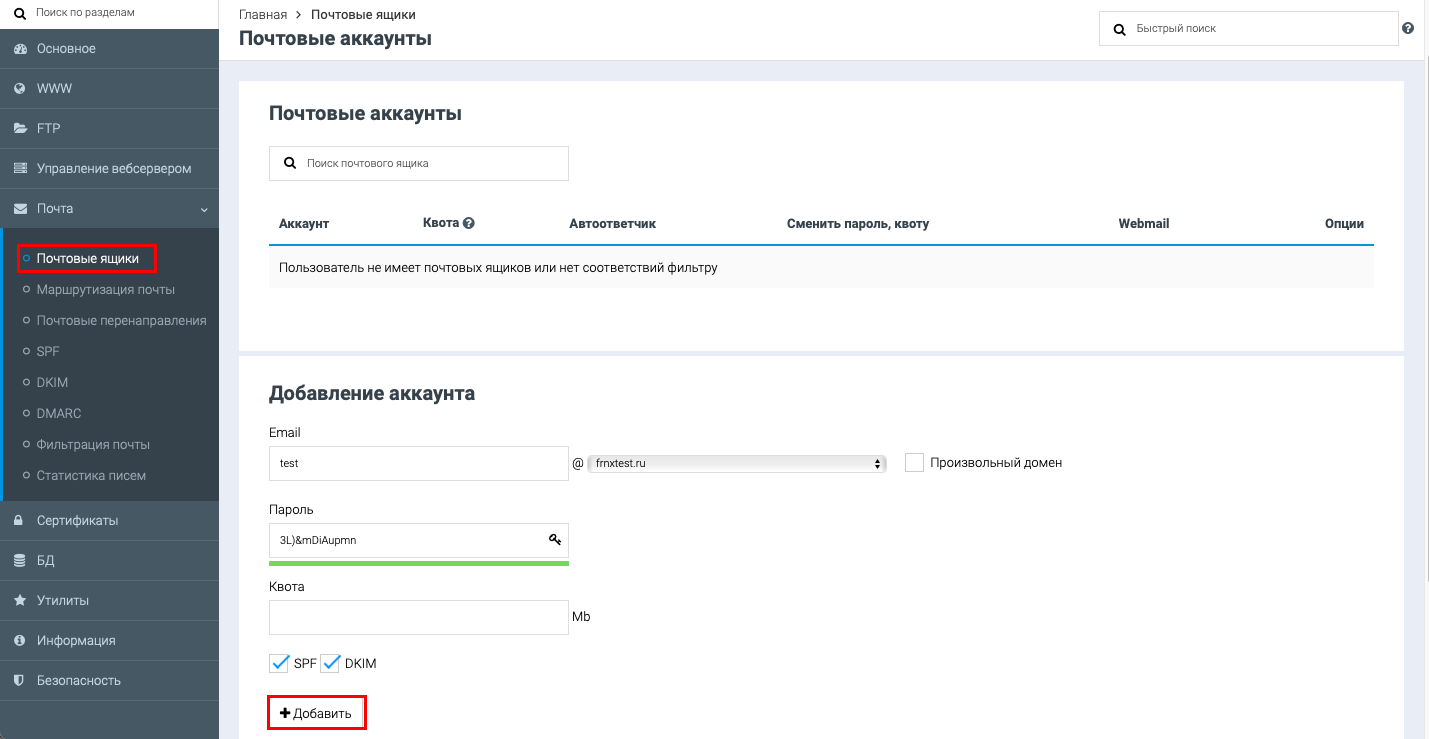
Save the specified data using the Add button.
**Add SSL for the domain
Next we need to install SSL certificate for our site, go to **"Certificates" → "SSL Management" **.
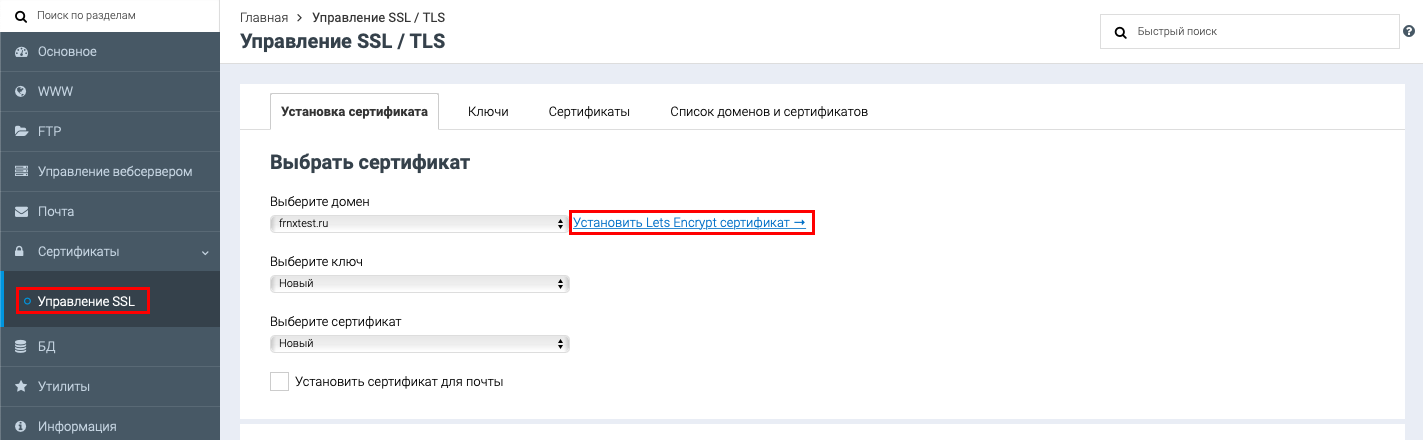
Choose our domain, and click on "Install Let's Encrypt certificate "
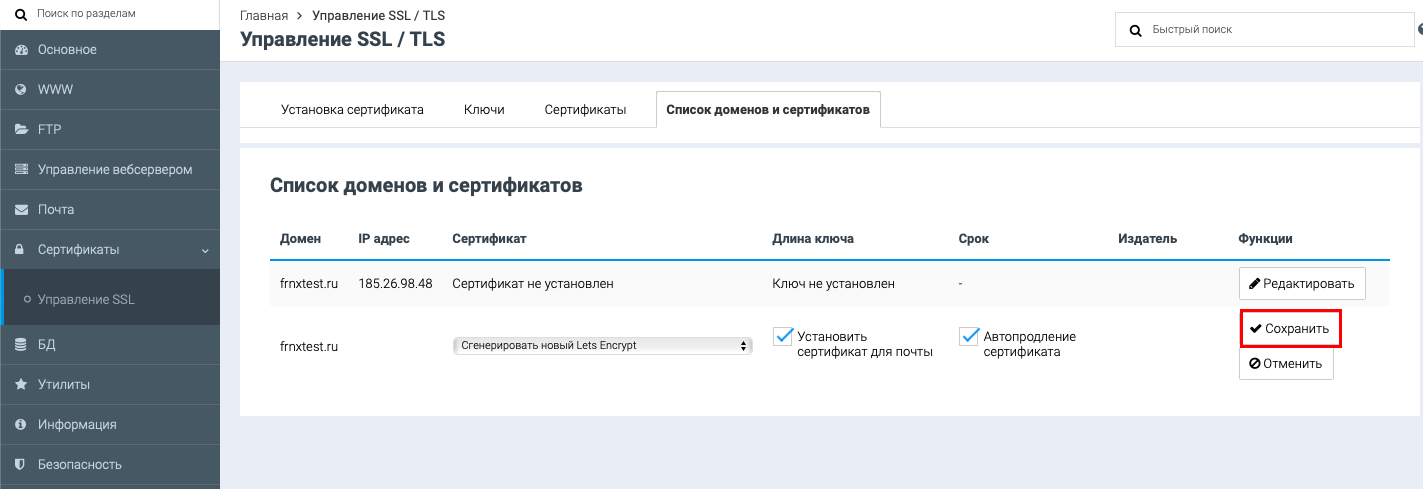
Save the specified data using the Save button.
Next we need to set up Redirection, to do this go to "Web server management" → "Redirection ". Choose our site, then http to https, and click on Add.
*Create database.
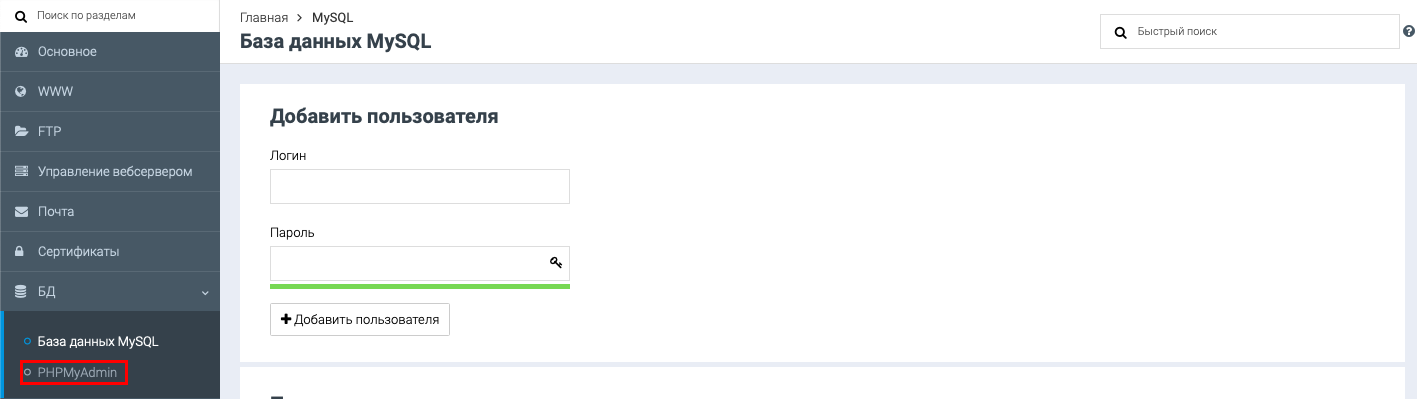
Go to menu "DB" → "Databases ", create a database and a database user.
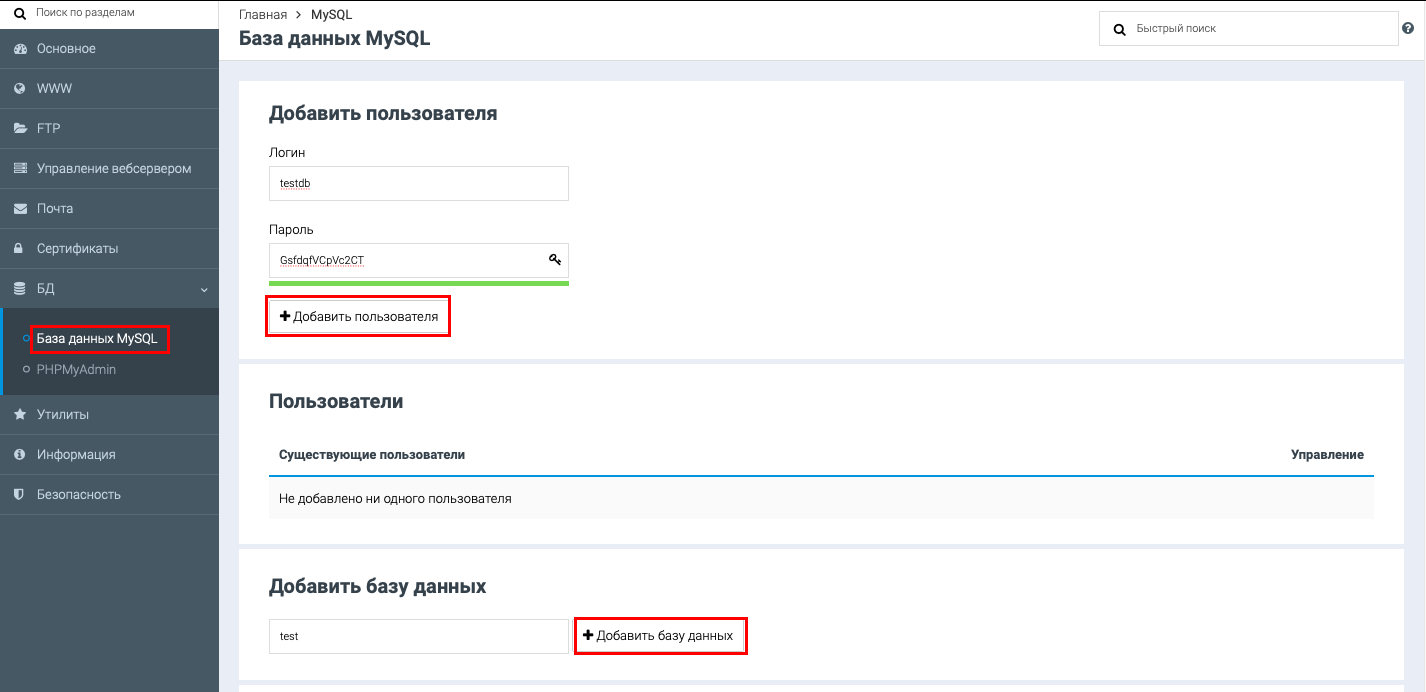
When creating a user and database, keep in mind that the prefix admin is added.
After creating the database, you need to give our user, all rights to the created database. Select the user, the database, and set all permissions.
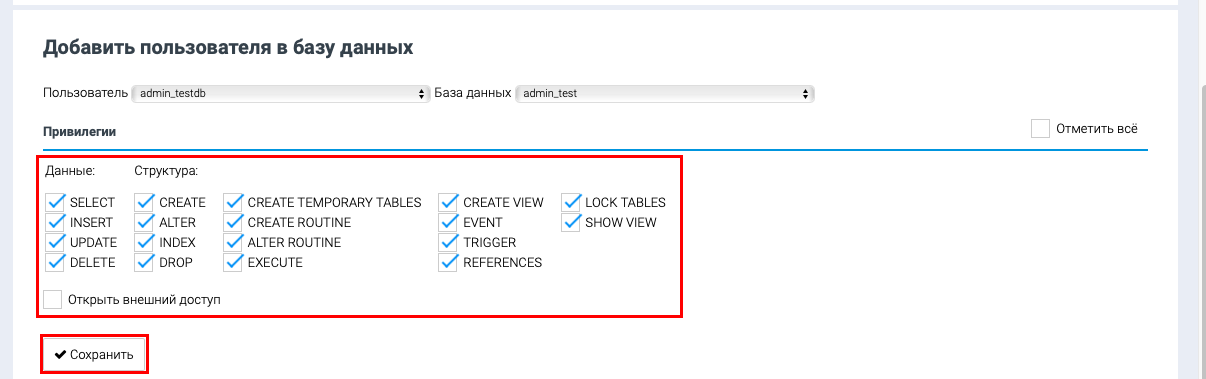
Save the specified data using the Save button.
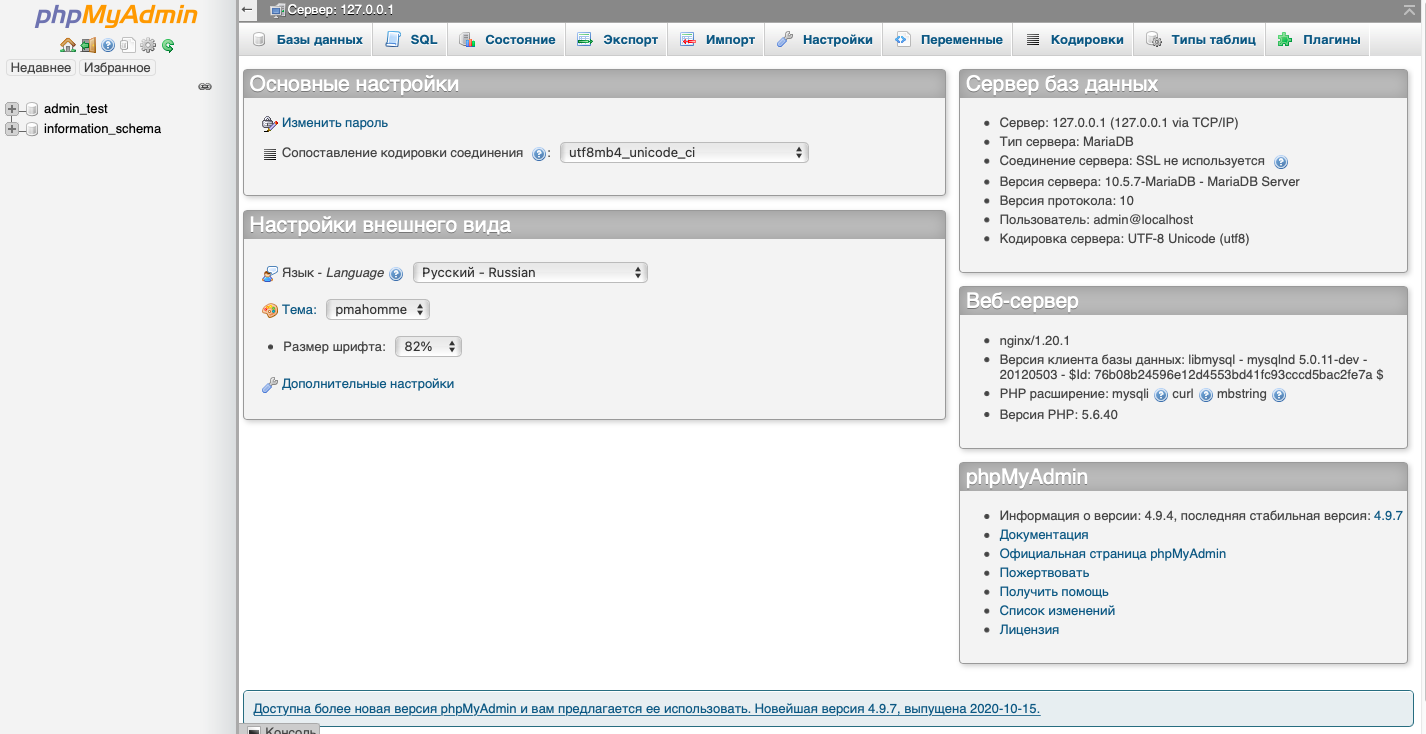
To go to the web interface of phpMyAdmin click the appropriate button.
If you have difficulty setting up or have additional questions, you can always contact our support team via ticket system.