Getting Started with Virtual Server and VestaCP
This guide will help you do the initial setup in the panel for your sites
Creating users
After entering we get to the main page "USER" where the information about all the users is presented. Initially a admin user with administrator rights is created.
If you want to add another user to the system, go to "USER" menu and press the green round button with a plus sign (Add ACCOUNT)

Here you can also specify the interface language for the user, as well as his mailbox, to which the access data will be sent.
Add domain
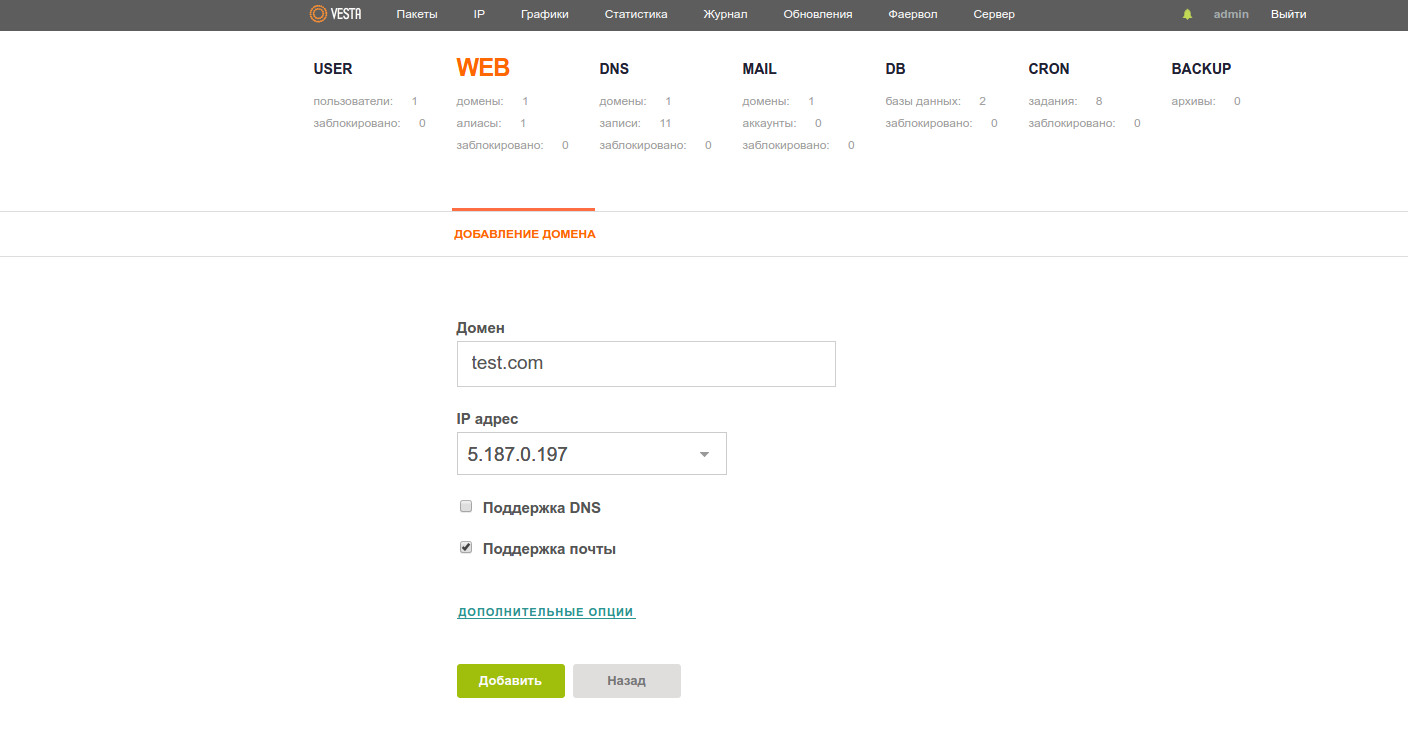
In order to add a site, you need to go to "WEB" menu and add a domain. Please note that the DNS Support checkbox must be unchecked. DNS management is done via https://fornex.com/my/dns/

In the "WEB" menu it is also possible to create an additional FTP user, for this press the button "ADDITIONAL OPPORTUNITIES"

Create database
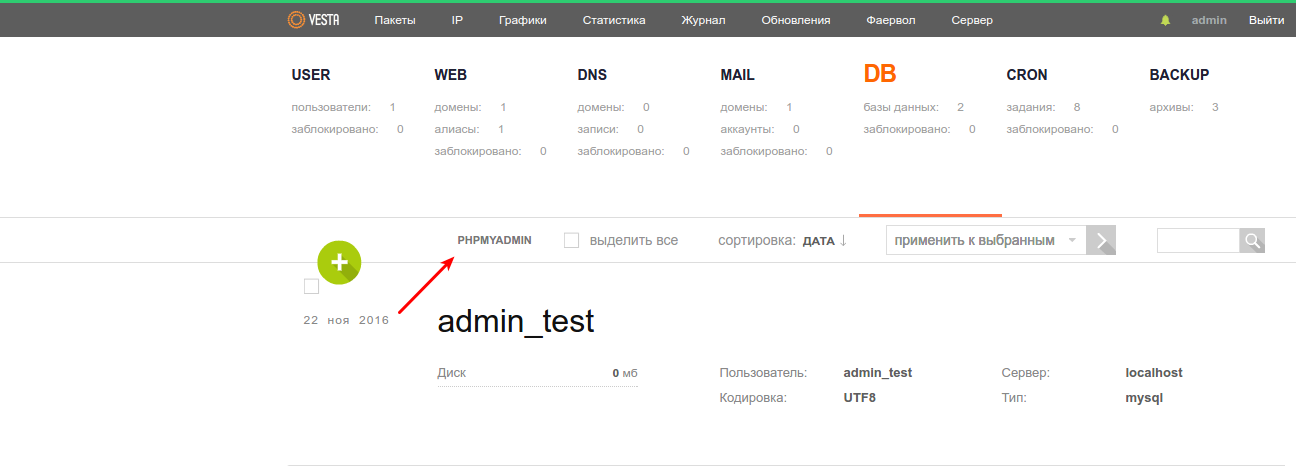
Go to "DB" menu and create the database and the database user by analogy with adding a user.

All entered data should be saved with the help of button "Add"

The phpMyAdmin panel is available for database management, the button to go to it is available on the same tab.

Creating mail accounts
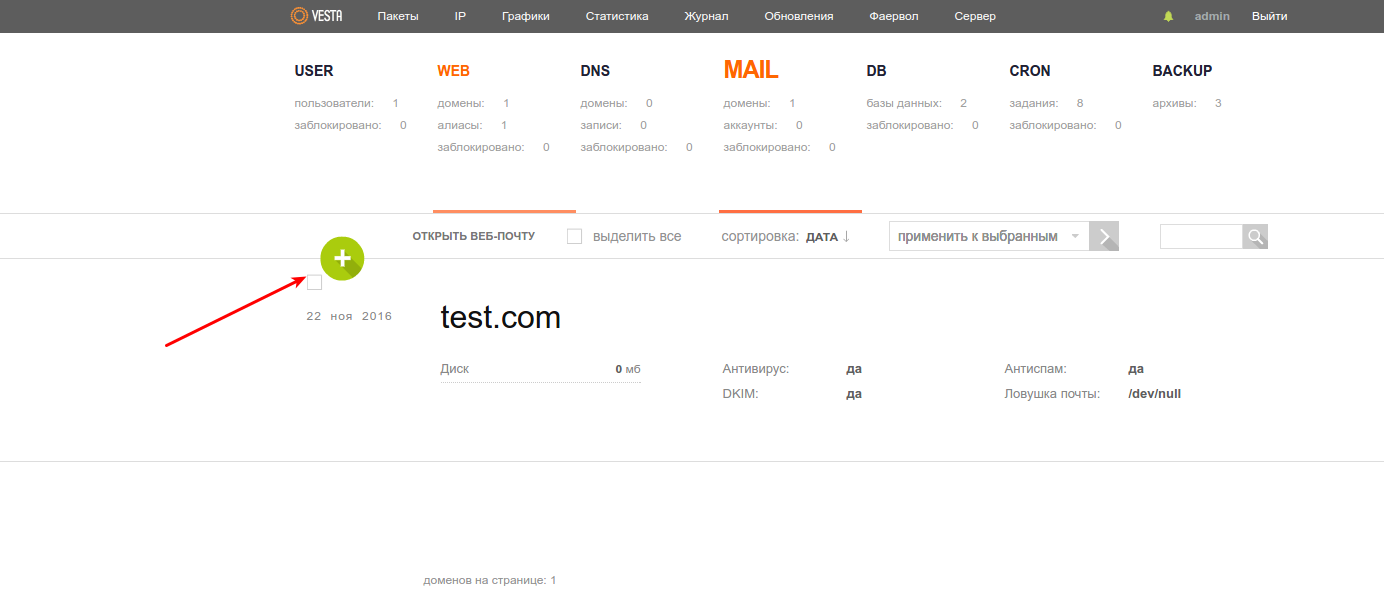
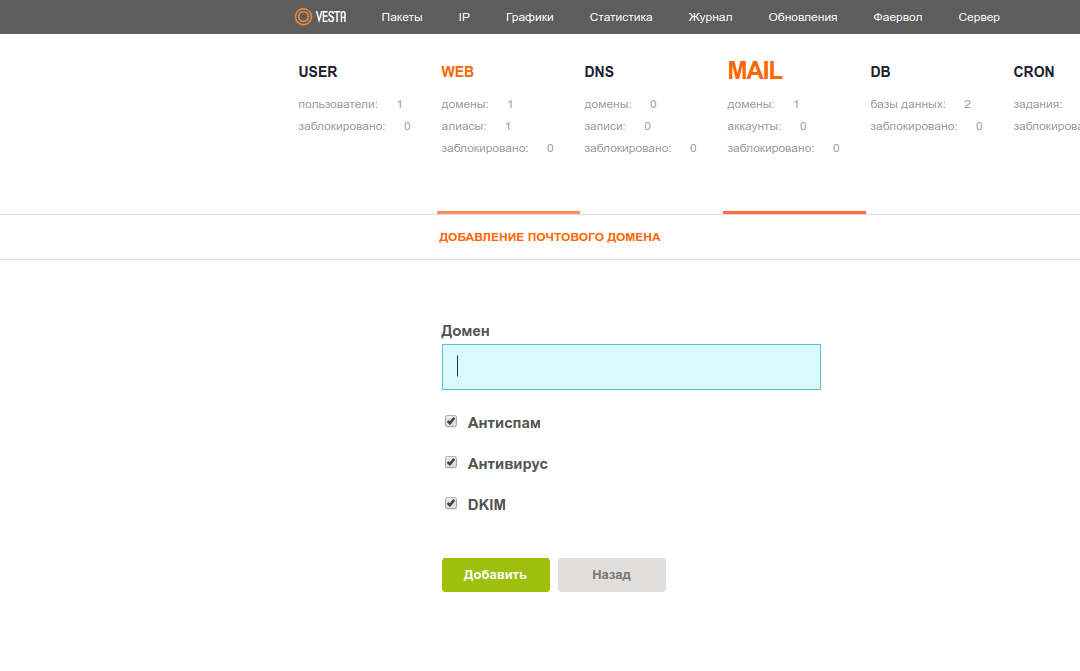
When you add a domain, the panel automatically creates a mail domain. To add an additional account, go to the "MAIL" menu and click the green round button with a plus sign.

Here you can expand the "ADDITIONAL OPTIONS" tab and specify the mailbox size quota in MB, as well as the account for mail forwarding. Save the specified data using the "Add" button.

If you have any configuration difficulties or have additional questions, you can always contact our support team via ticket system.